

В данной инструкции мы пошагово рассмотрим как подключить облако OneDrive с тарифным планом «Для бизнеса», или «Pro Plus» как сетевой диск в Вашу систему Windows. Процедура отличается от тарифных планов «Для дома» и «Personal».
1) Открываем браузер IE (Internet Explorer) и заходим на страницу https://login.microsoftonline.com/.
2) Совершаем авторизацию под Вашими учетными данными Microsoft Office 365.

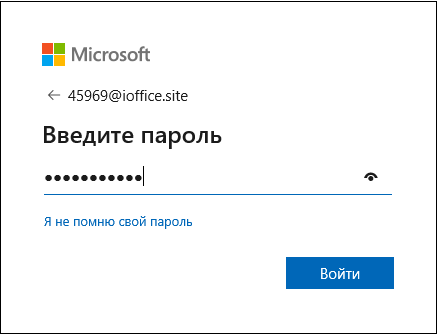
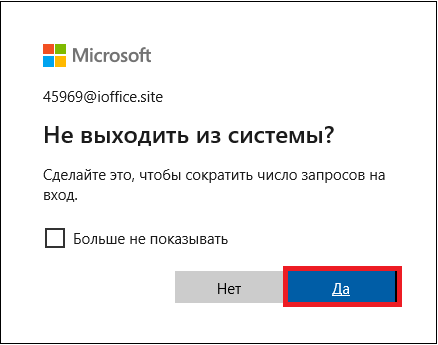
На пункте с вопросом «Не выходить из системы?» обязательно нажимаем кнопку «Да».
3) Теперь вы перешли в личный кабинет Microsoft Office. Заходим в приложение OneDrive.
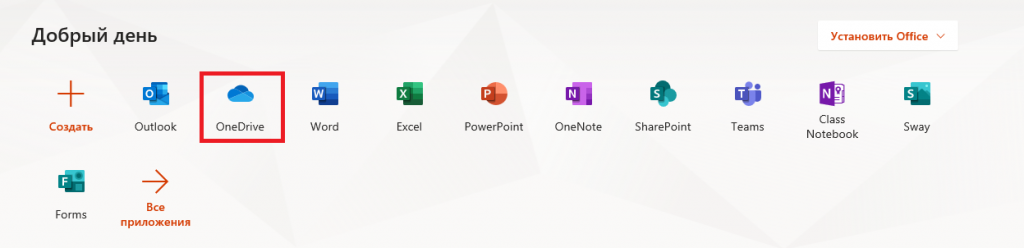
Далее, обратите внимание на адресную строку браузера. Скопируйте ее куда-нибудь в блокнот до начала слова «_layouts».

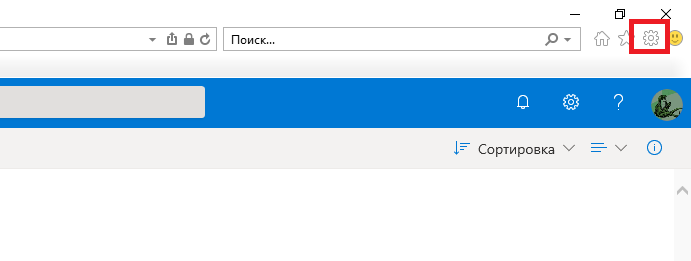
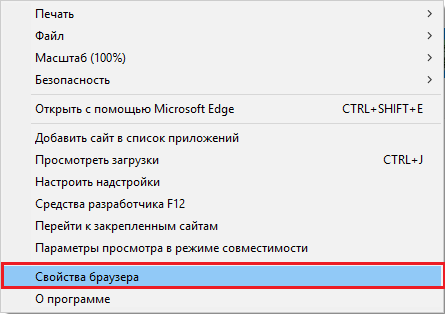
4) Теперь переходим в настройки браузера Internet Explorer. Свойства браузера => Безопасность => Надежные сайты => Сайты.
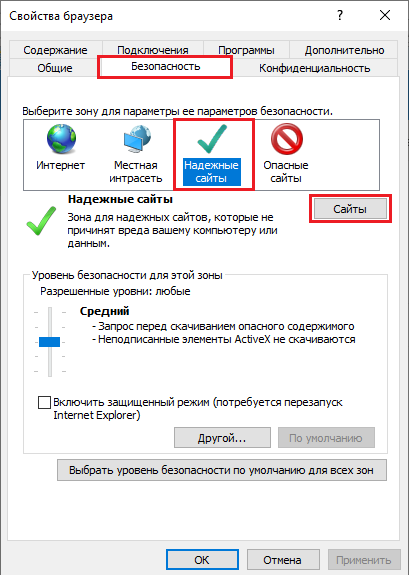
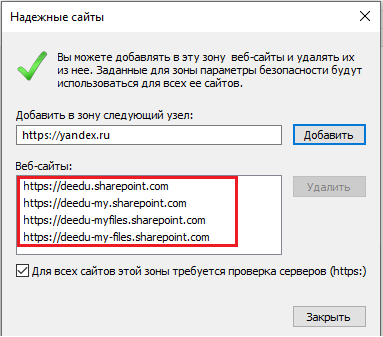
Теперь вводите туда в доверенные 4 адреса. Вместо «my_login» вводите Ваш url, который был до .sharepoint (без my):
https://my_login.sharepoint.com
https://my_login-my.sharepoint.com
https://my_login-myfiles.sharepoint.com
https://my_login-my-files.sharepoint.com
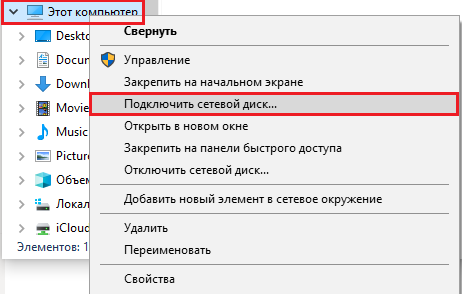
5) Теперь можно приступить к подключению самого сетевого диска. Из проводника нажимаем правой кнопкой мыши на «Этот компьютер» => Подключить сетевой диск.
В поле ввода «Папка» вставляем адресную строку из страницы OneDrive по инструкции пункта 3. Внимание! До слова _layouts. Обязательно проставляем все галки.
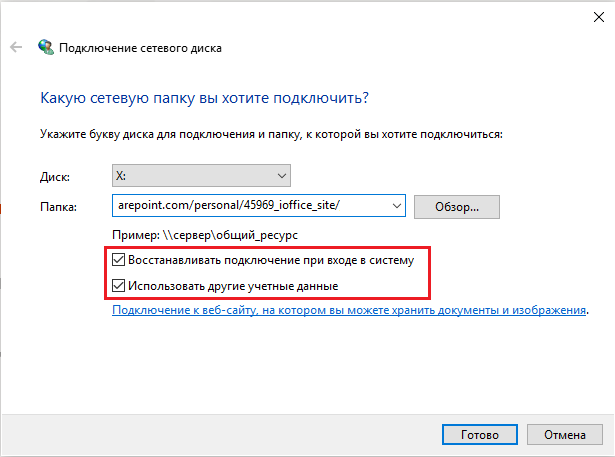
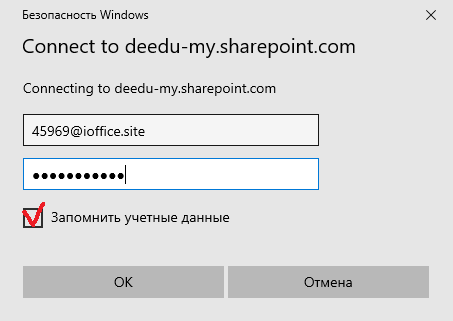
Следующим окном вводите Ваши данные (логин-пароль) от учетной записи Microsoft Office.
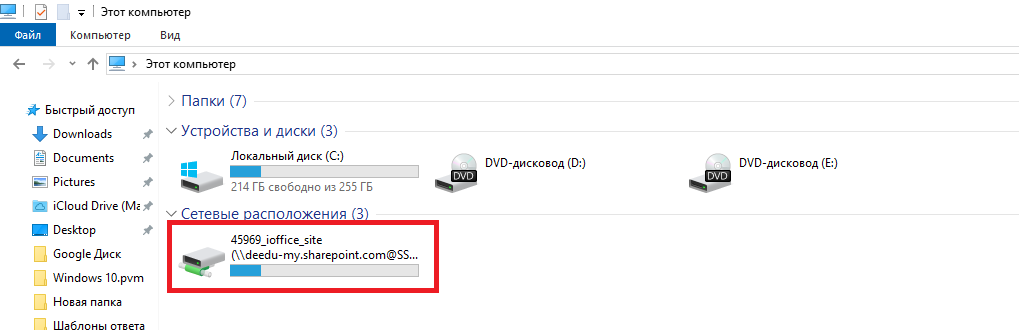
На этом собственно все, сетевой диск подключен. Синхронизация в облаке происходит через папку «Documents» в подключенном диске.
Приобрести бессрочную подписку на OneDrive 5ТБ можете в нашем интернет-магазине. Моментальная доставка доставка данных лицензии на Вашу электронную почту. Гарантия. Круглосуточная техподдержка. В состав лицензии входит Word, Excel, PowerPoint, Outlook, OneNote, Publisher, Access, а так же собственно сам доступ в OneDrive на 5 ТБ.


Создайте текстовый документ и вставьте туда
Измените расширение с .txt на .vbs и запустите файл
А что делать тем, у кого Windows11? Тут Интернет Эксплорера нет. Через режим Эксплорера в Эдже ничего не происходит хорошего.
Добавить нужно обязательно и этот сайт в доверительные иначе не будет работать!
https://webshell.suite.office.com
Объем сетевого диска не может быть больше объема локального жесткого диска. Для синхронизации файлов, которые больше объема вашего HDD — используйте веб-интерфейс OneDrive.
Почемуто объем подключенного сетевого диска зеркален размеру моего жесткого, хотя реальный объем моегоондрайв 5 тб
и при попытке закинуть на сетевой диск большой архив с компа выдает ошибку что не хватает места на диске
у кого было подобное и как исправить. Скриншоты скину.
Заранее спасибо
Все круто но не работает
Дай Бог вам здоровья)))) Я упарилась воевать с последним пунктом. Мануал точно не дописали немножко)) Сделала, как вы написали — и сразу все получилось))
Получилось! Добавляем в доверенные ссылку свою (панель управления-свойства браузера), типо https://<своё значение>.sharepoint.com. Заходим через браузер Internet Explorer в свой аккаунт. Edge, хромы и тд не катят. если уже в аккаунте, выйти и по новой зайти. после можно добавлять сетевой диск ссылкой https://<своё значение>.sharepoint.com/personal/<своё значение>/Documents
Отличную и нужную статью написали. Браво, вы лучшие !