

В этой статье рассмотрим, как навсегда отключить обновления в Windows 11. К сожалению, правки в реестре в Windows 11 для отключения обновлений не работают, разработчики Microsoft заблокировали возможность отключения обновлений. Из-за правок в реестре, система может работать не корректно, либо обновления начинают снова автоматически устанавливаться через некоторое время.
Если вы хотите что бы авто обновления Windows были выключены по какой либо причине, вы сможете это сделать буквально в несколько кликов. Для этого вам понадобится приложение Windows Update Blocker.
Скачать приложение Windows Update Blocker можете в нашем каталоге.
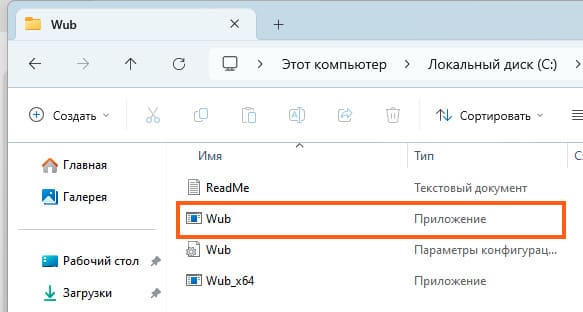
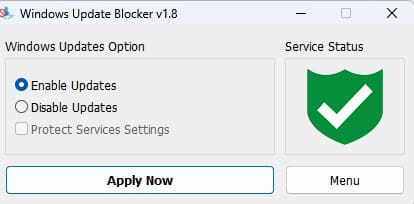
— После скачивания вам нужно будет разархивировать архив в любое удобное для вас место, и перейти в саму папку в которой будет файл с названием Wub.exe, кликаем два раза левой кнопкой мыши и запускаем программу.
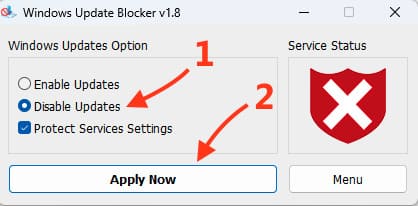
— Далее вам нужно просто установить галочку в пункте «Disable Updates» и после этого нажать «Apply Now». Если вдруг вы передумаете, Вы всегда сможете вернуть обновления обратно.
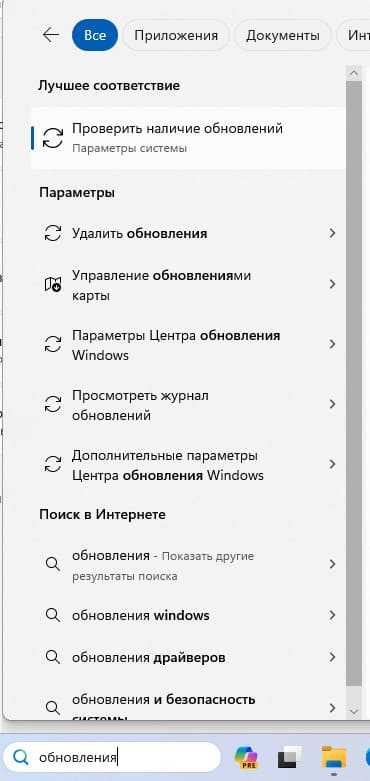
— Теперь проверим отключились ли обновления. Переходим в поиск и вводим «обновления», далее кликаем на «Проверить наличие обновлений»
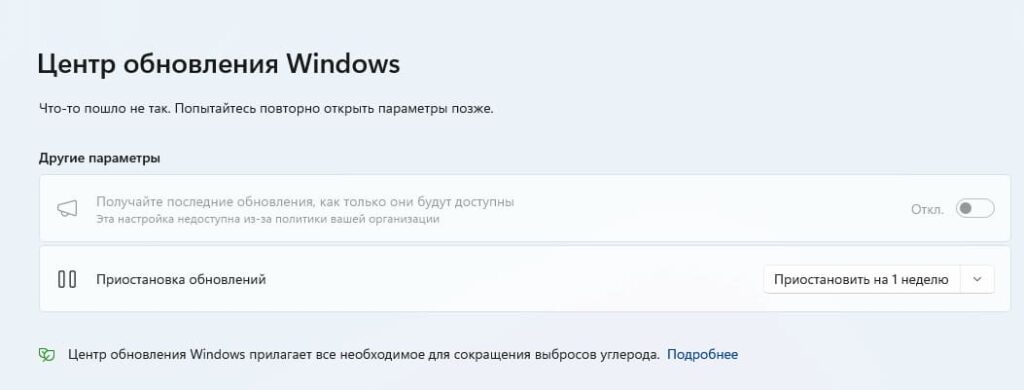
— В открывшемся окне Центра обновлений Windows, вы увидите надпись: «Что-то пошло не так. Попытайтесь повторно открыть параметры позже», это означает что вы успешно отключили обновления Windows 11.
— Давайте попробуем включить их обратно, возвращаемся в программу и выбираем «Enable Updates», после чего нажимаем «Apply Now».
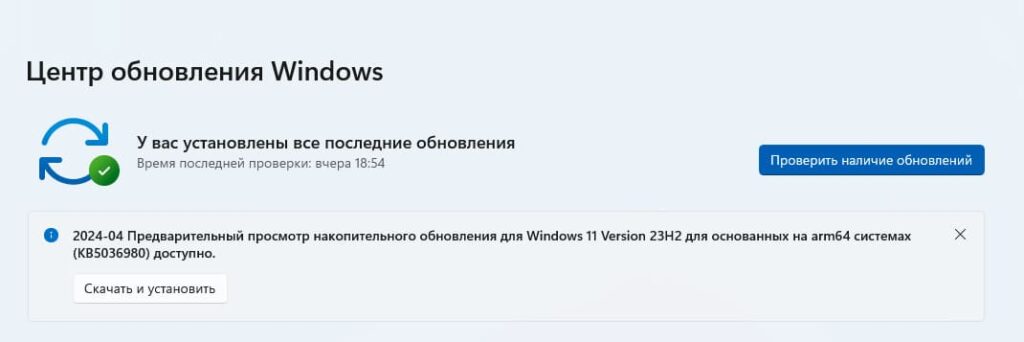
— Теперь проверим, включились ли обновления Windows 11, переходим в Центр обновлений и убеждаемся в этом.
Таким образом в несколько кликов вы можете отключать и включать обновления Windows.
Мы настоятельно не рекомендуем отключать обновления в Windows 11. Они помогают исправить ошибки системы, а так же сохраняют безопасность системы на должном уровне. Отключайте обновления только в случае крайней необходимости!
Так же, Вы можете приобрести оригинальные ключи активации Windows 11 в нашем каталоге, по самым выгодным ценам от 1690.