


В данной статье рассмотрим порядок установки системы Windows 11 Pro for Workstations (Для рабочих станций). Устанавливать систему на примере мы будем с нуля, из под UEFI (Биоса) на загрузочной флешке.
1) Первое, что нужно сделать — это скачать сам дистрибутив Windows 11 Pro for Workstations. Скачать его можете в нашем каталоге на следующей странице.
— После этого, необходимо записать дистрибутив на флешку. Рекомендуем записывать с помощью приложения Rufus по инструкции из нашей прошлой статьи.
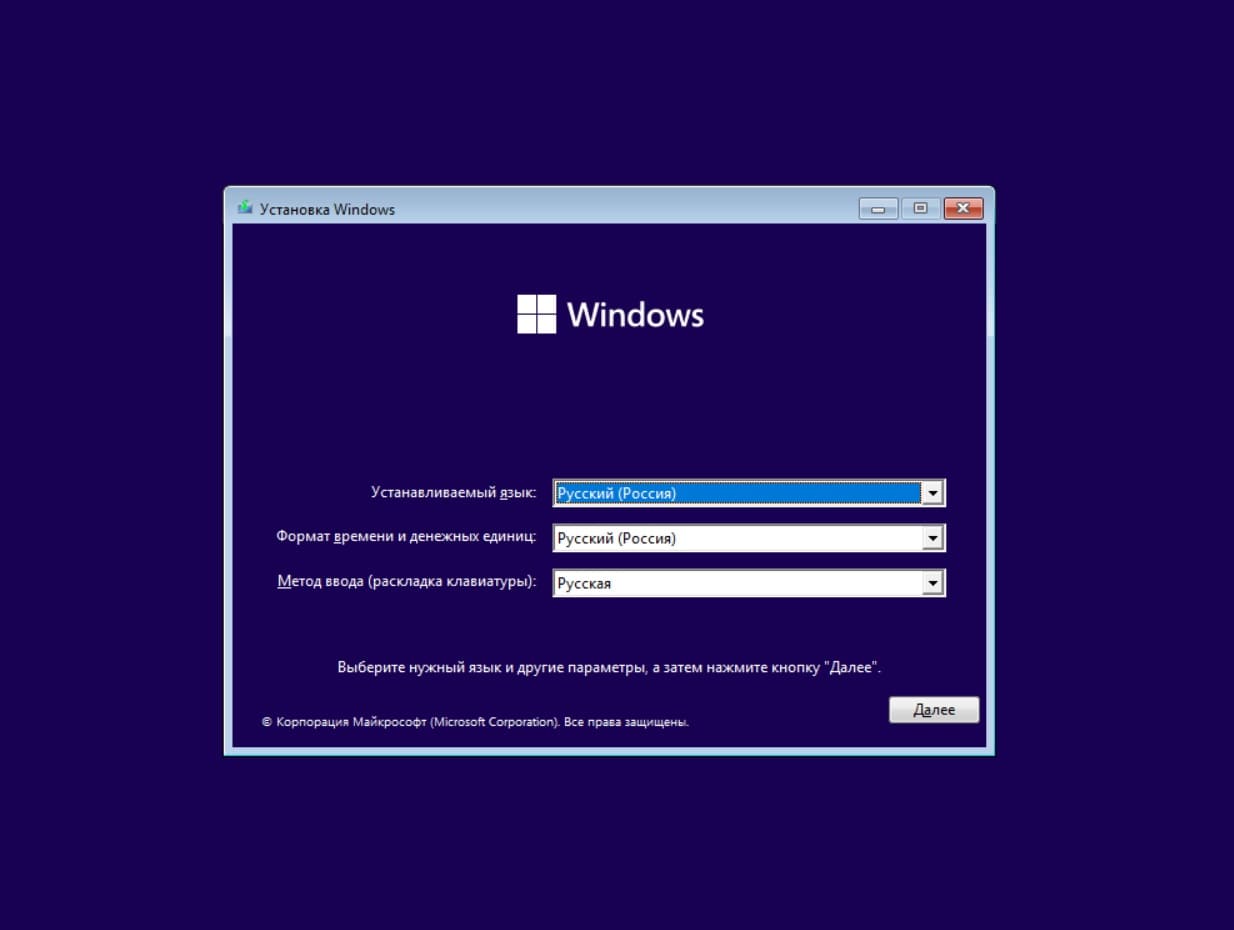
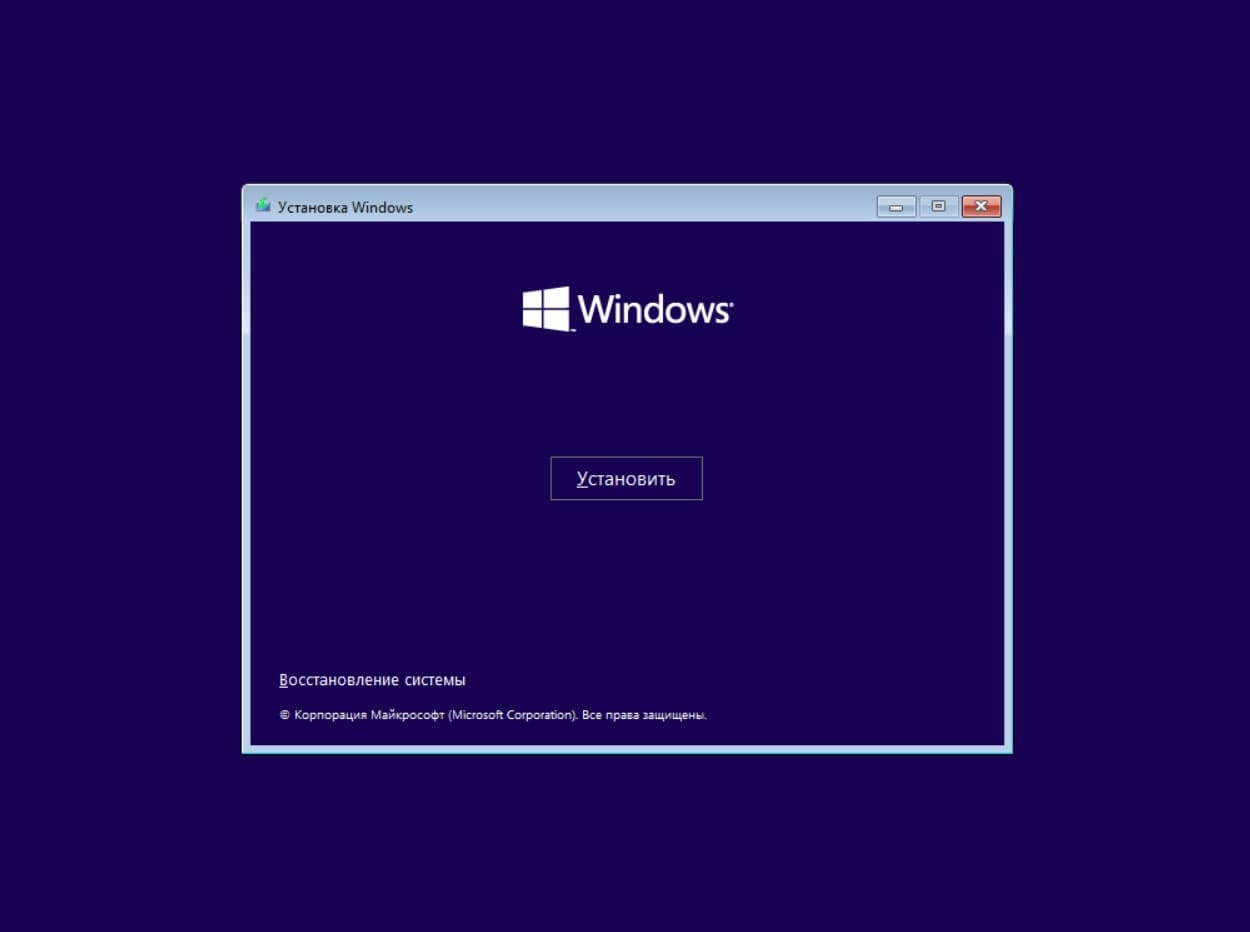
2) Далее, загружаемся на флешку, выставив ее приоритетной для загрузки в UEFI (Биосе) и приступаем к установке.
— Нажимаем в первом окне «Далее» => Установить.
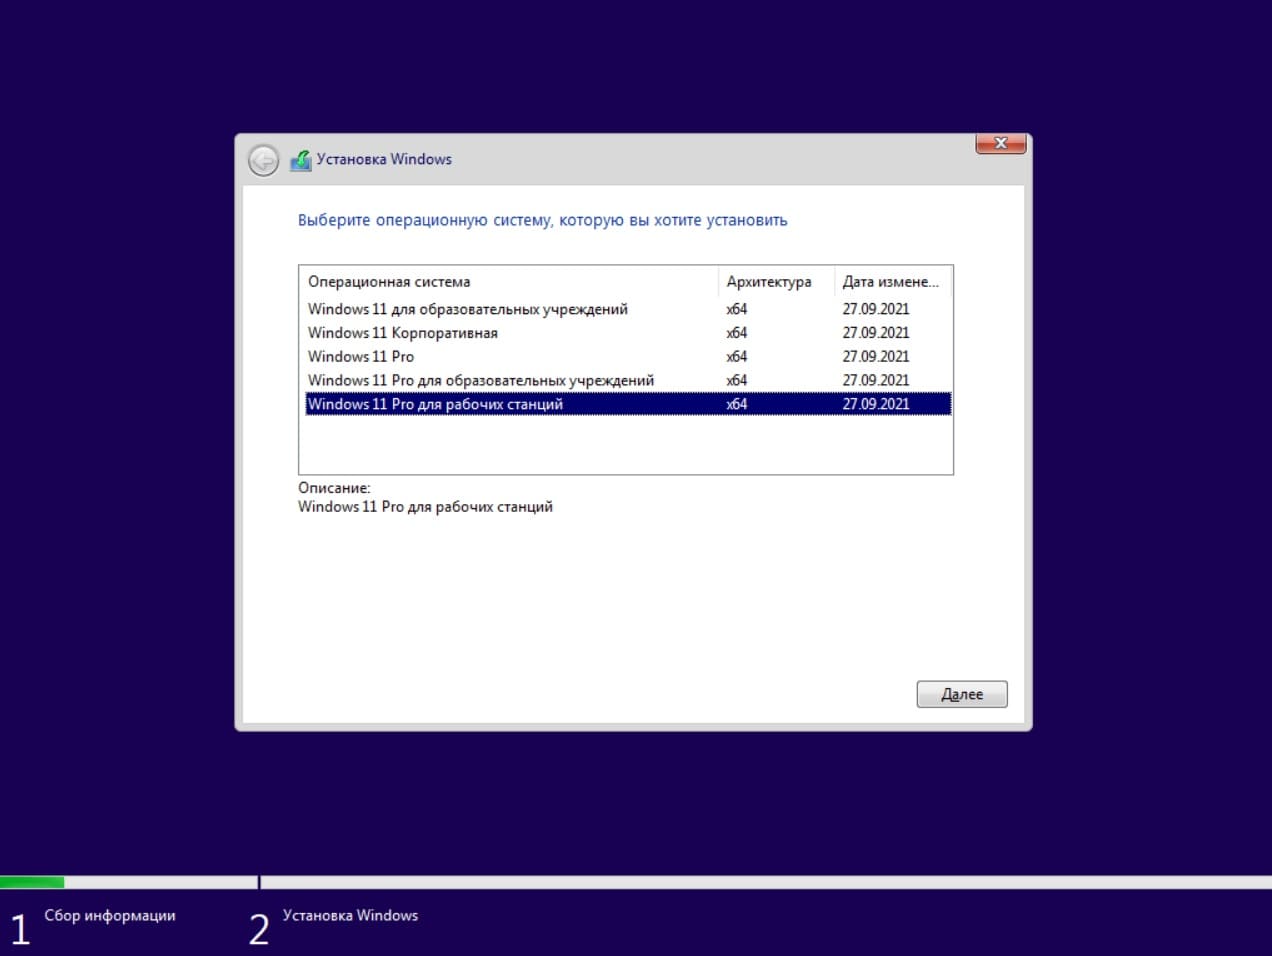
— Выбираем нужную нам версию Windows 11 Pro для рабочих станций.
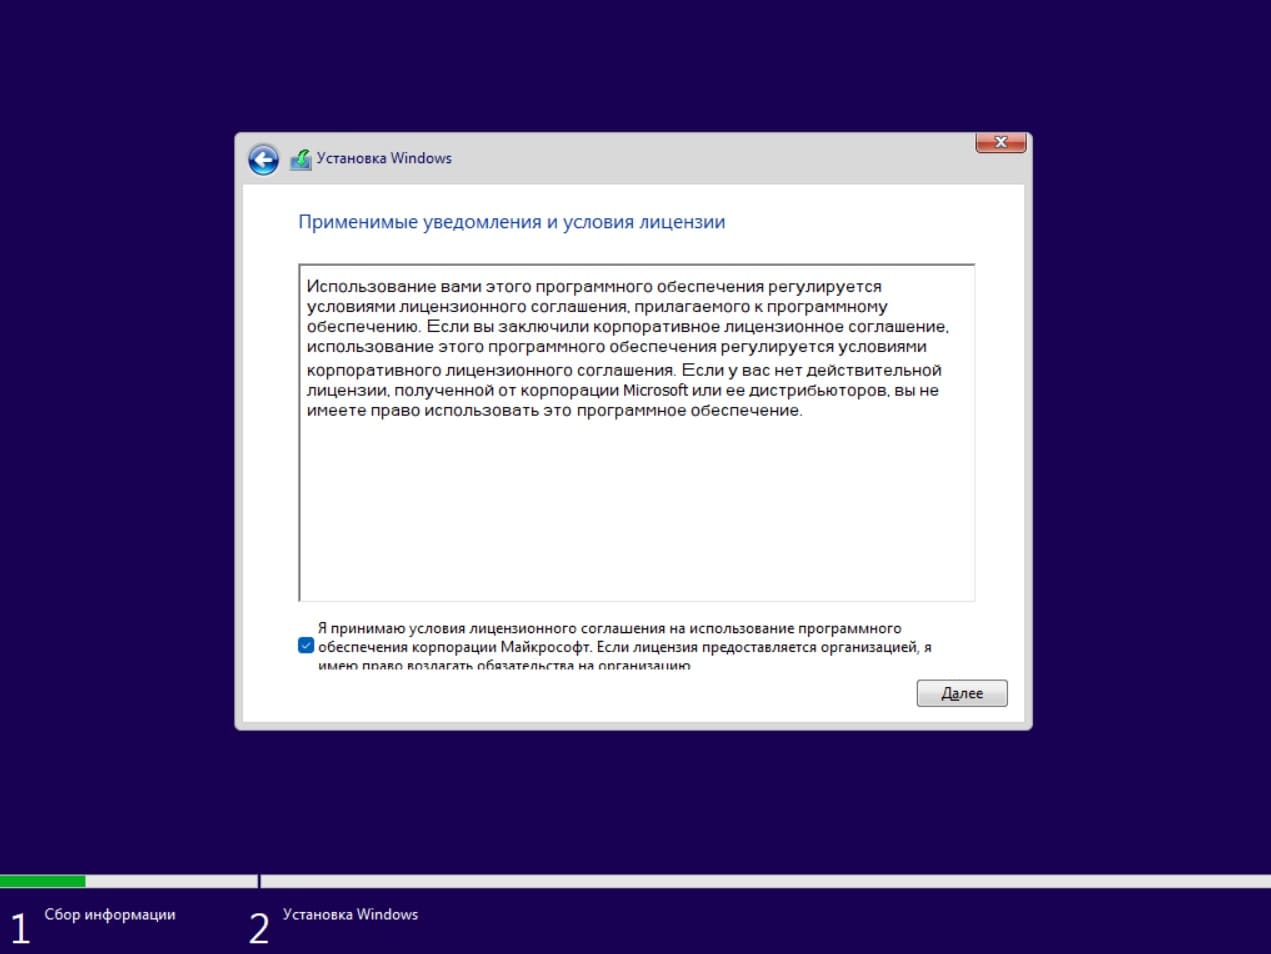
— Принимаем условия лицензионного соглашения.
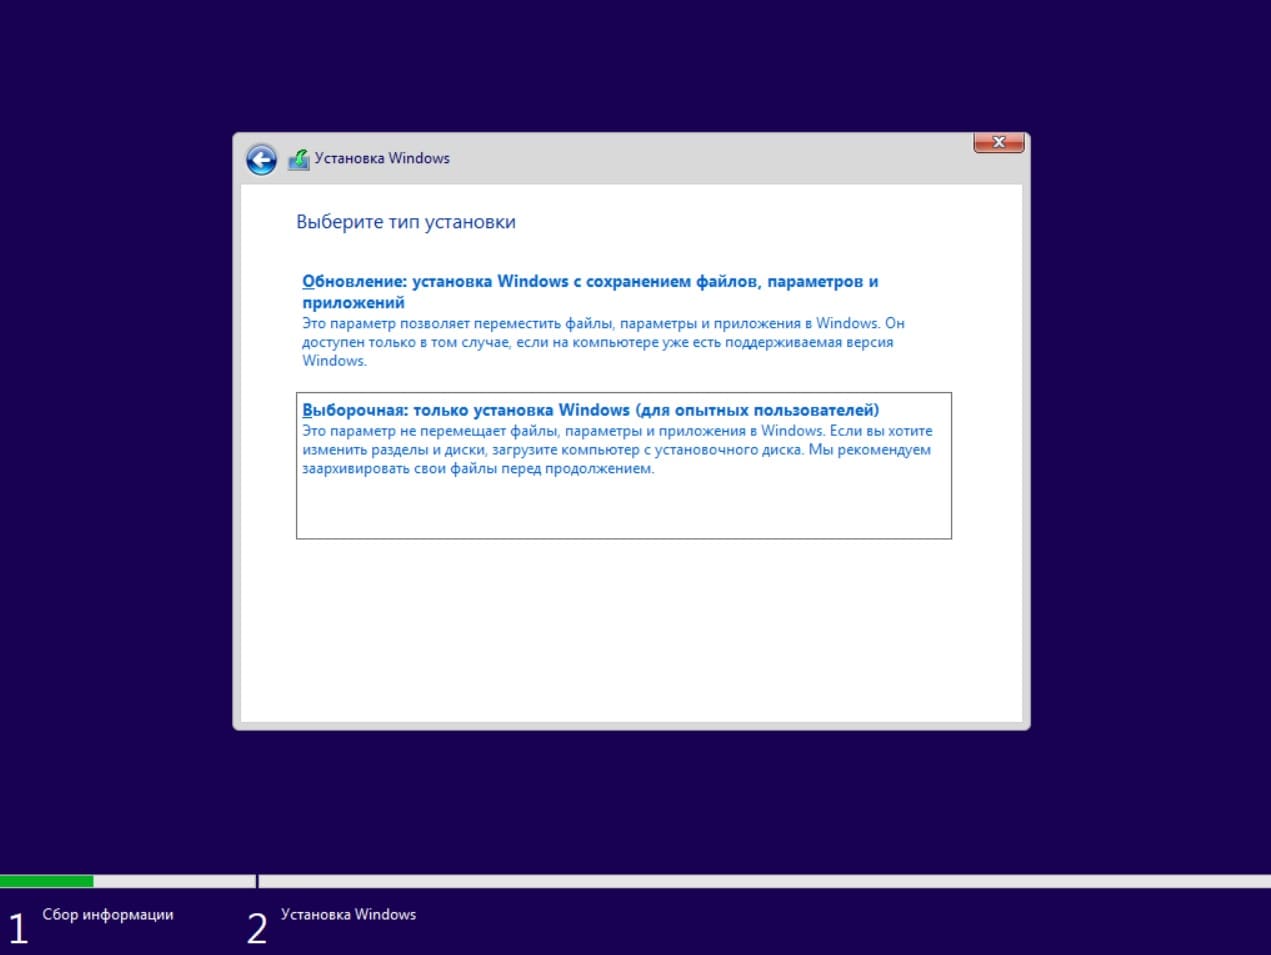
— Т.к мы устанавливаем «с нуля», то выбираем пункт «Выборочная: только установка Windows».
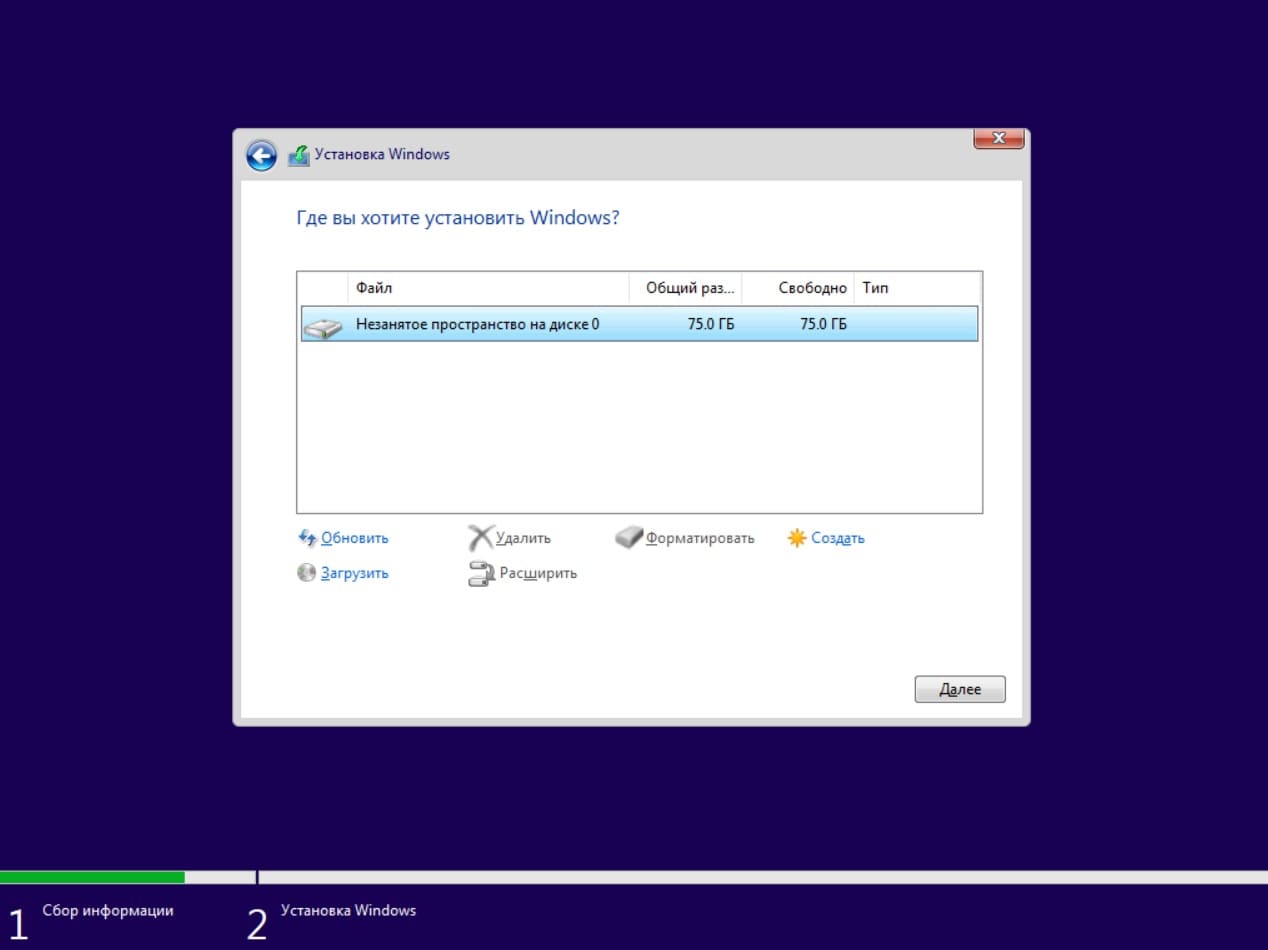
— Выбираем нужный диск для установки системы. На примере у нас один диск, но у Вам могут быть несколько разделов, или дисков. Выберите нужный для установки.
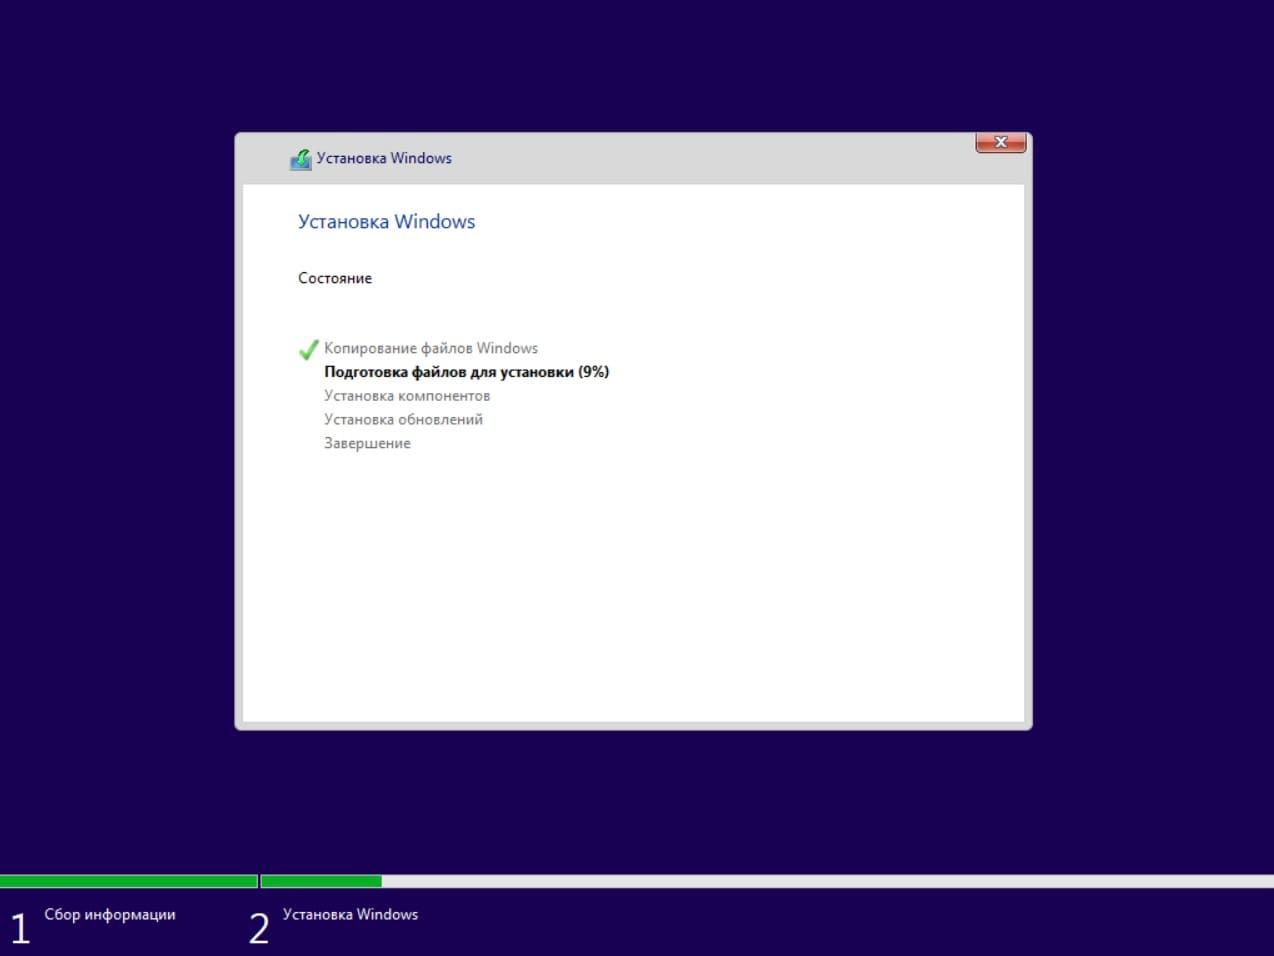
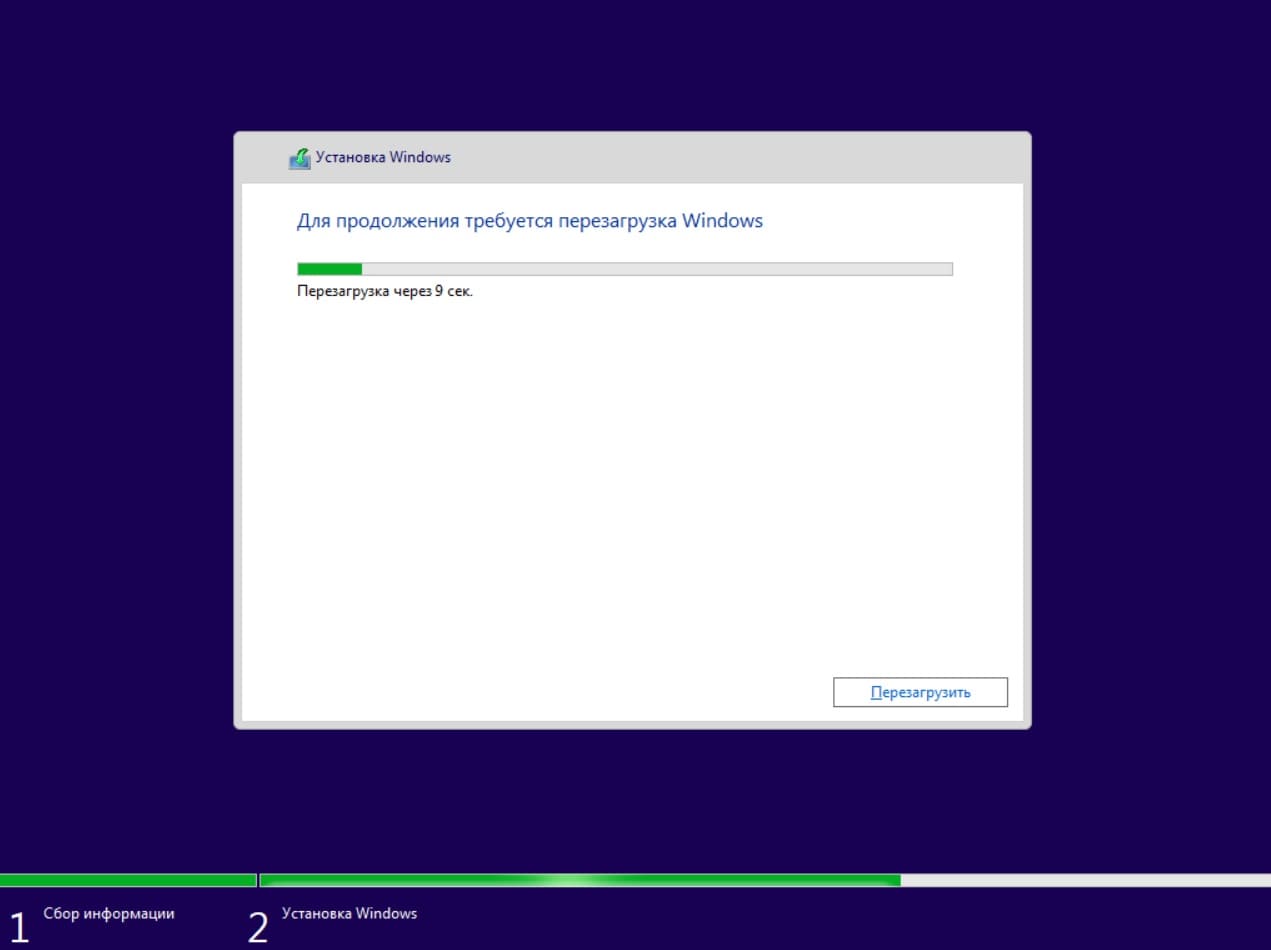
— Дождитесь окончания установки, после Ваш ПК совершит перезагрузку.
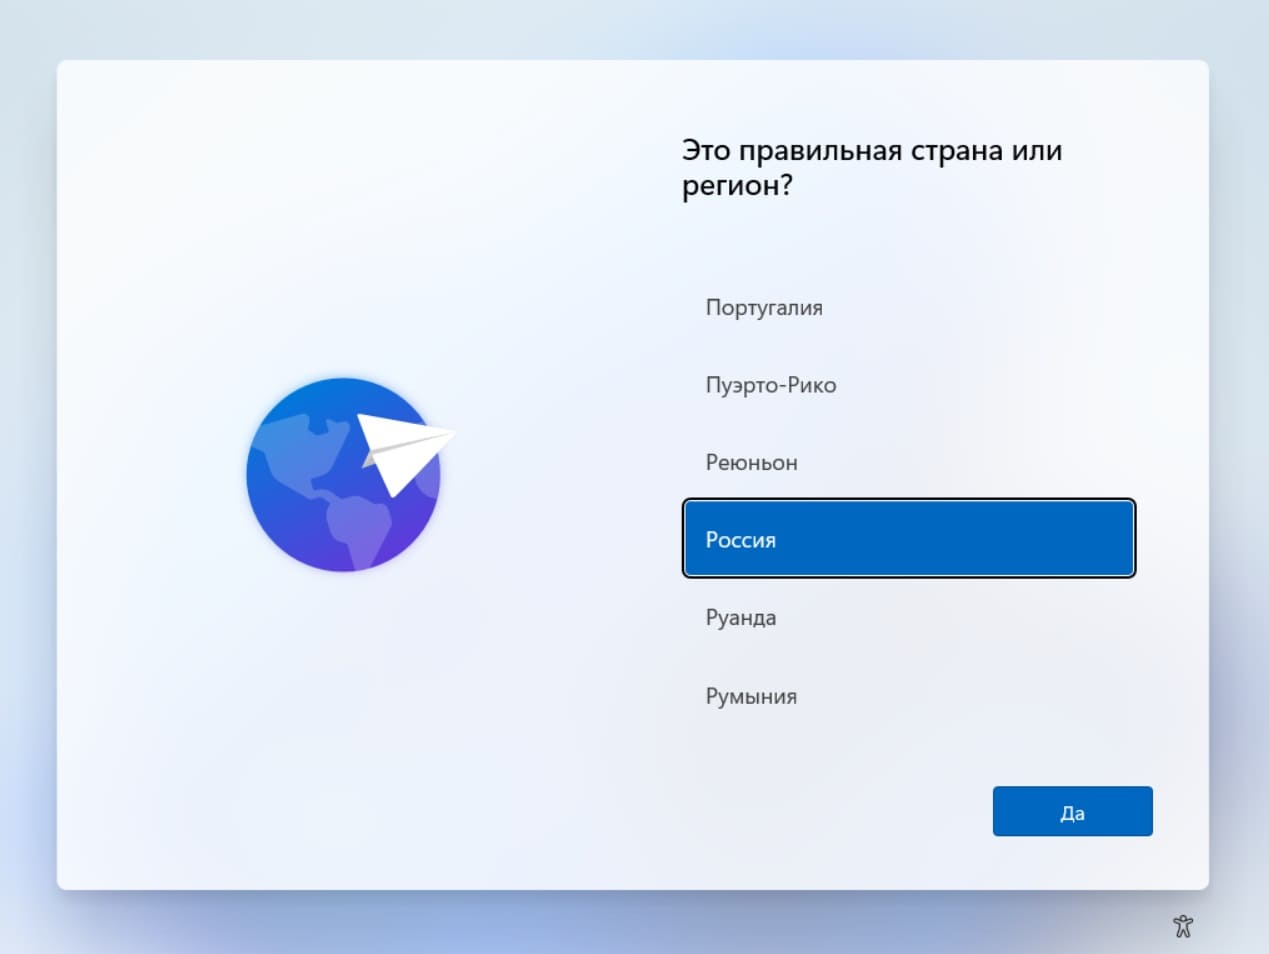
3) Далее, после перезагрузки переходим к начальной настройке Windows 11 Pro For Workstations. Выбираем Ваш регион, и основную раскладку клавиатуры.
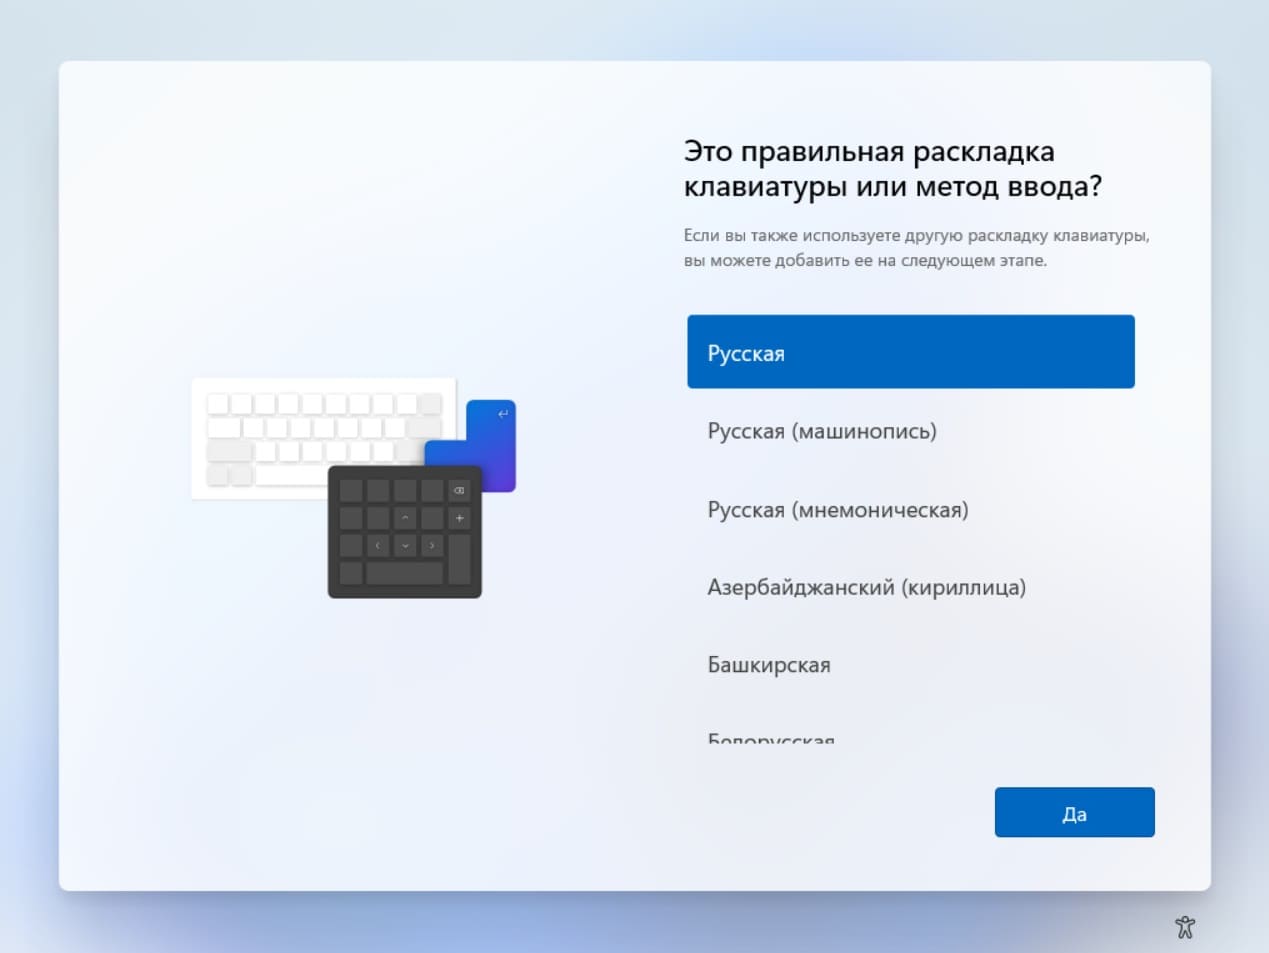
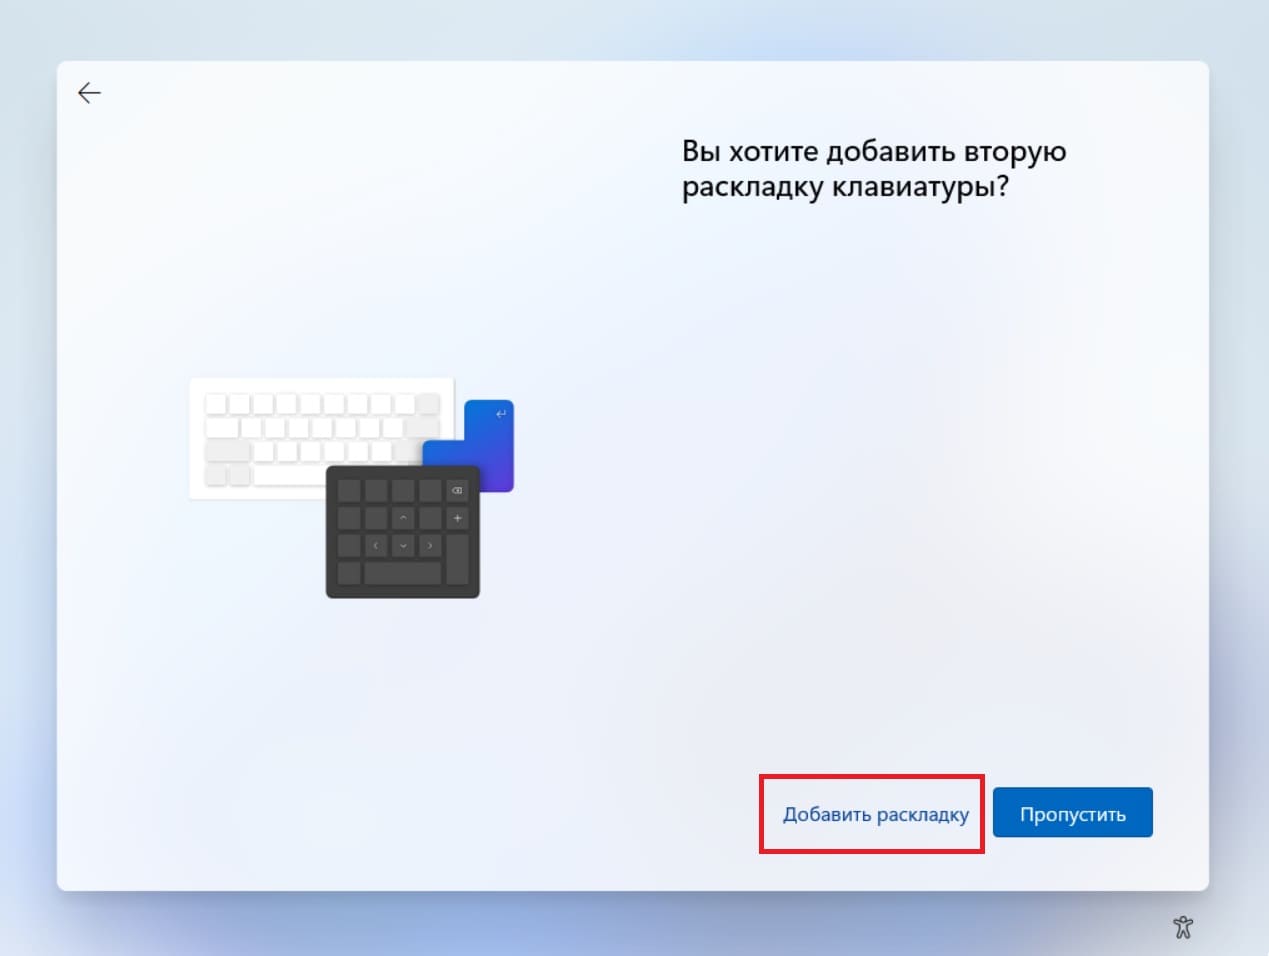
— Добавим доп. раскладку клавиатуры на Английском языке. Нажимаем «Добавить раскладку».
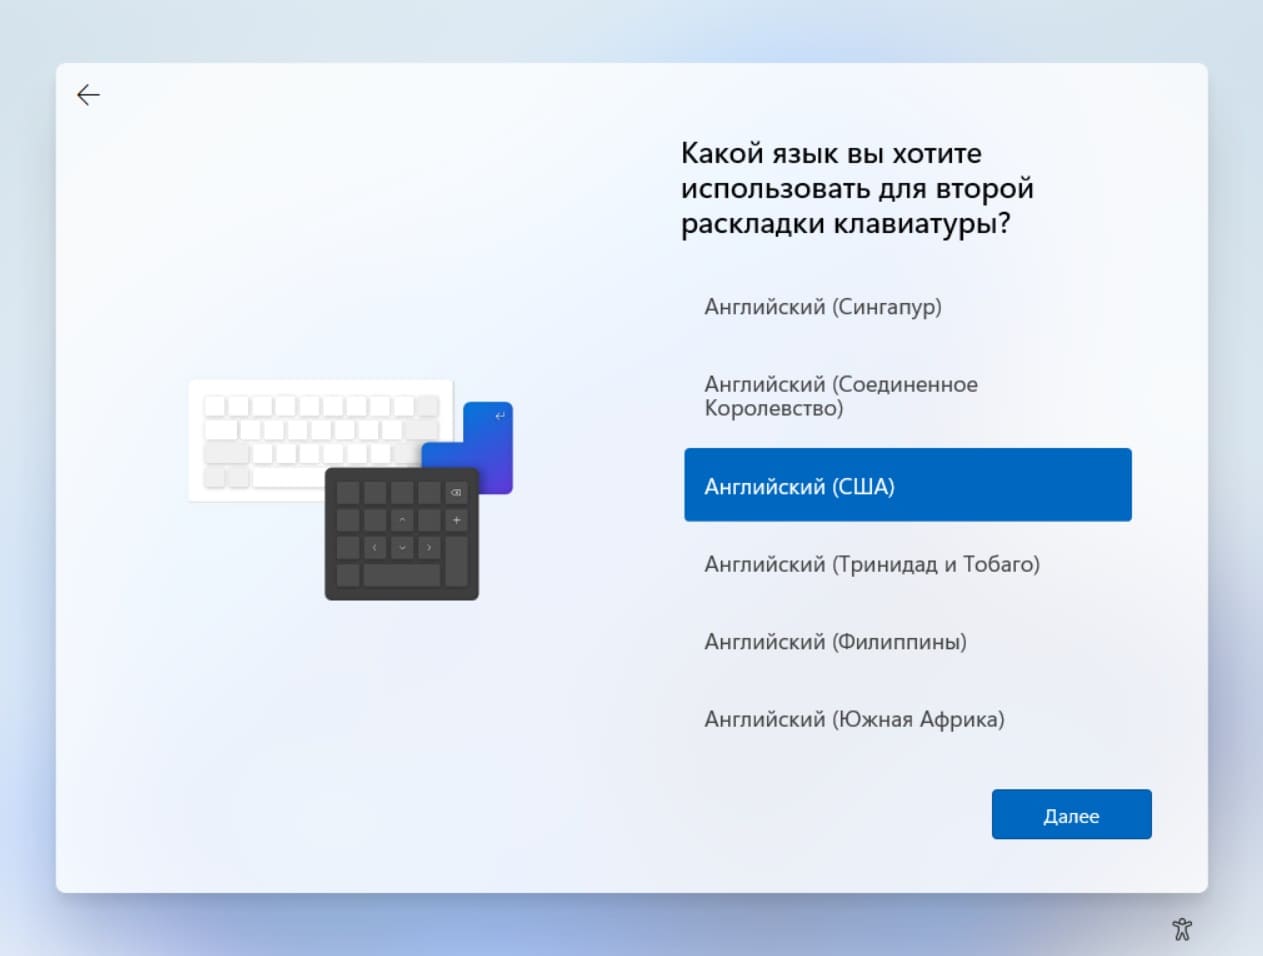
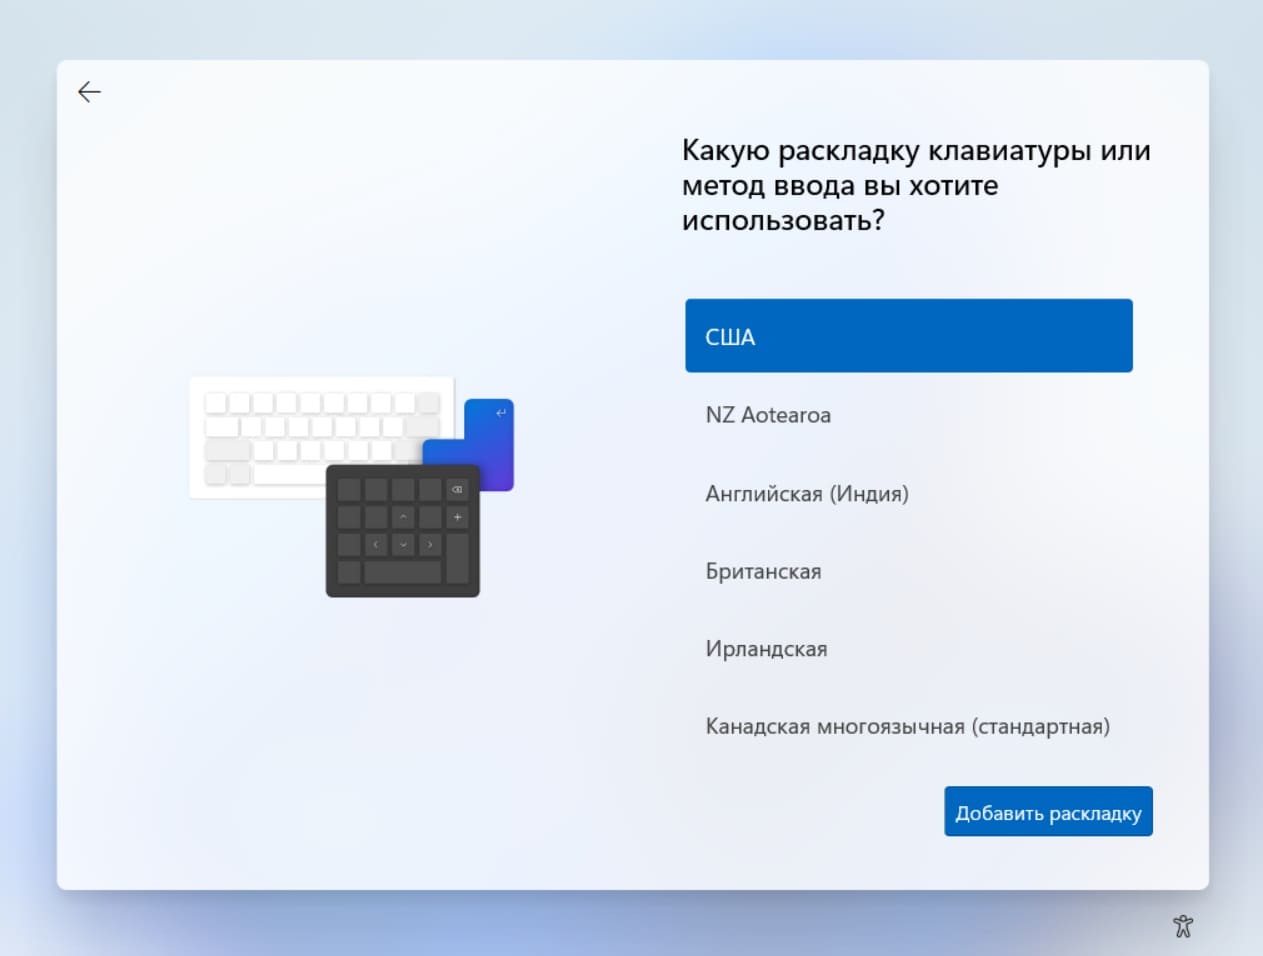
— Выбираем «Английский США» => США => Добавить раскладку.
— Дождитесь, пока система найдет и установит все актуальные обновления.

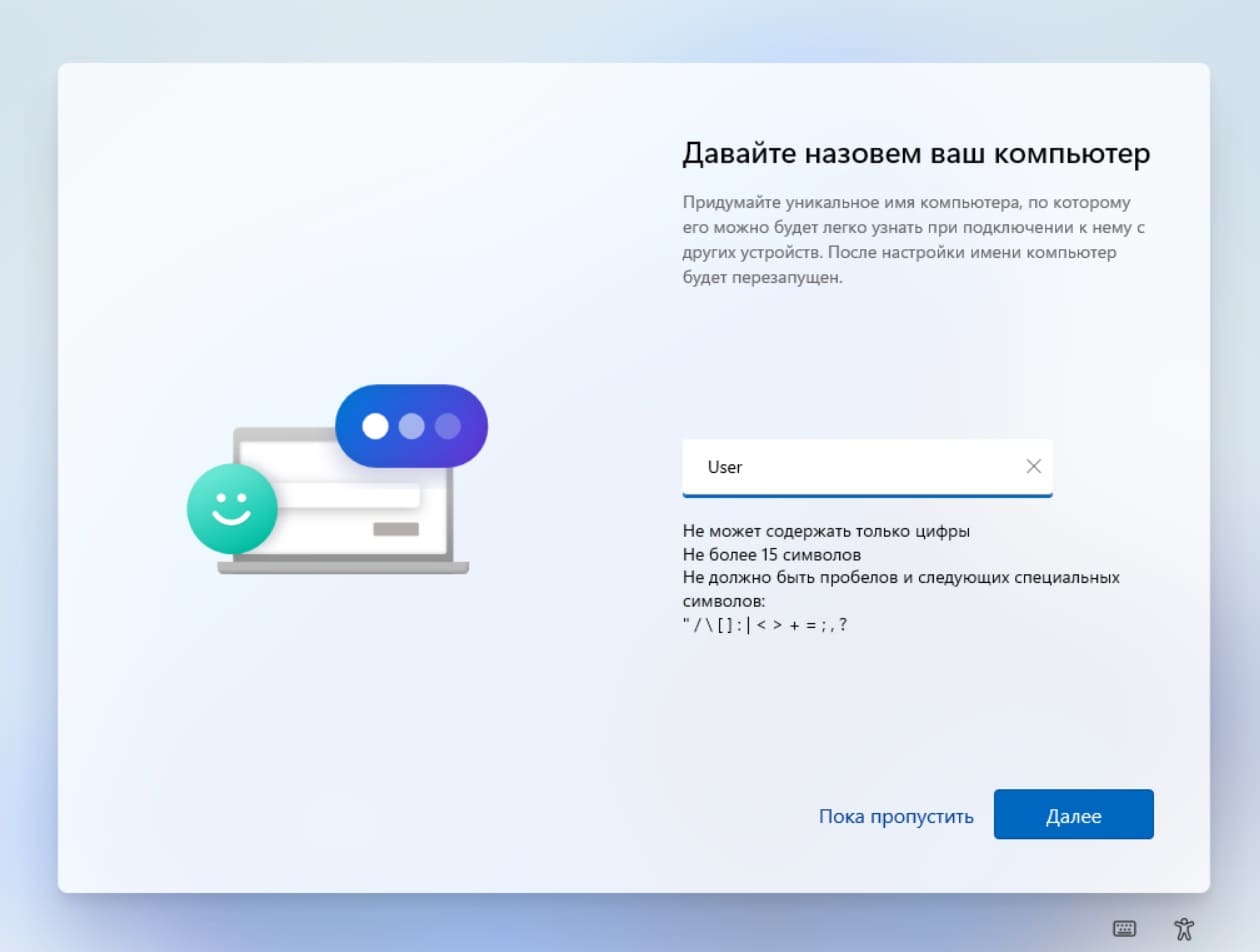
— Задаем имя для ПК.
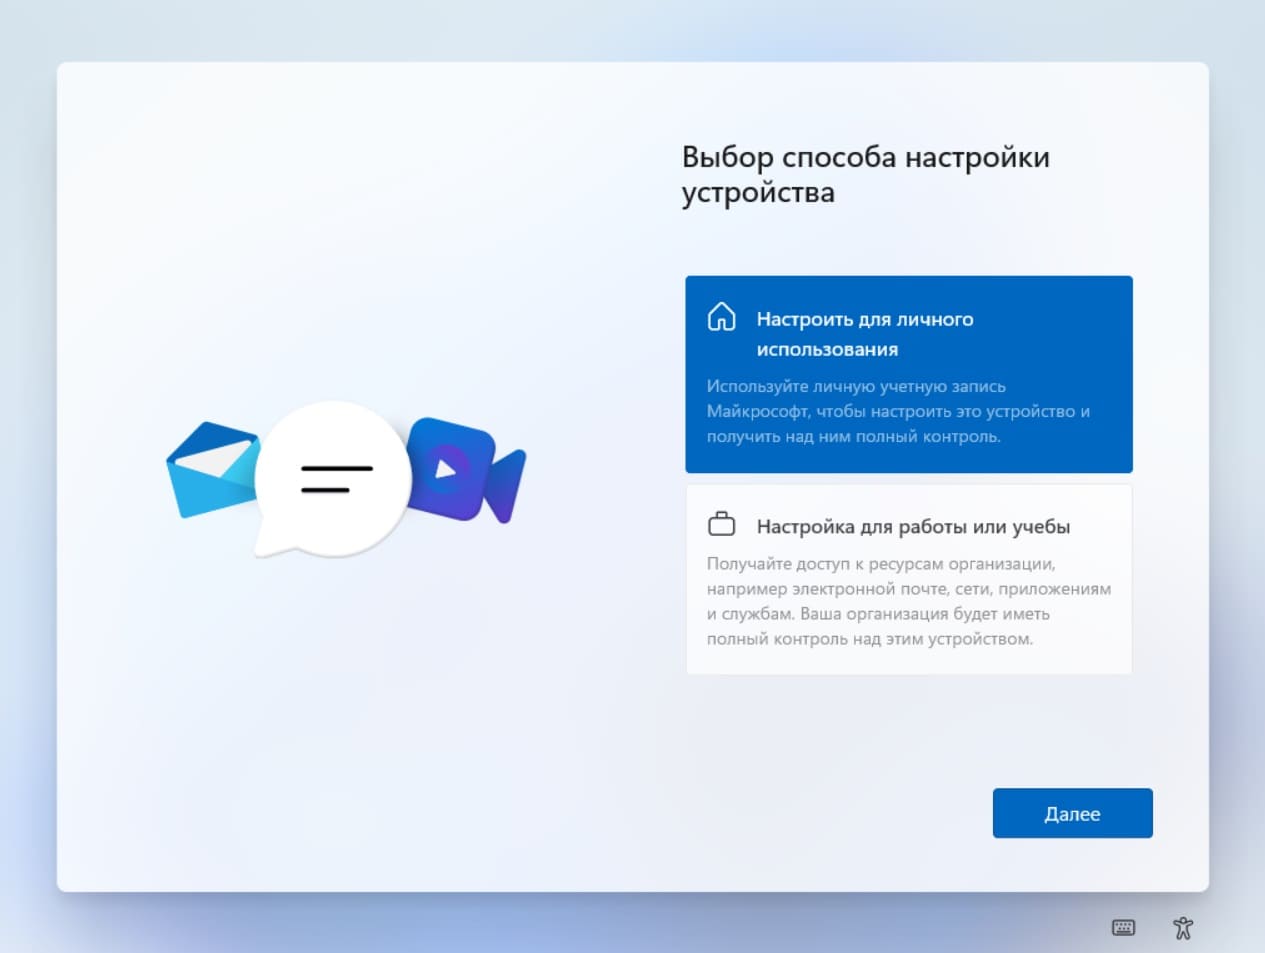
— На примере мы будем настраивать систему для личного использования. Выбираем соответствующий пункт.
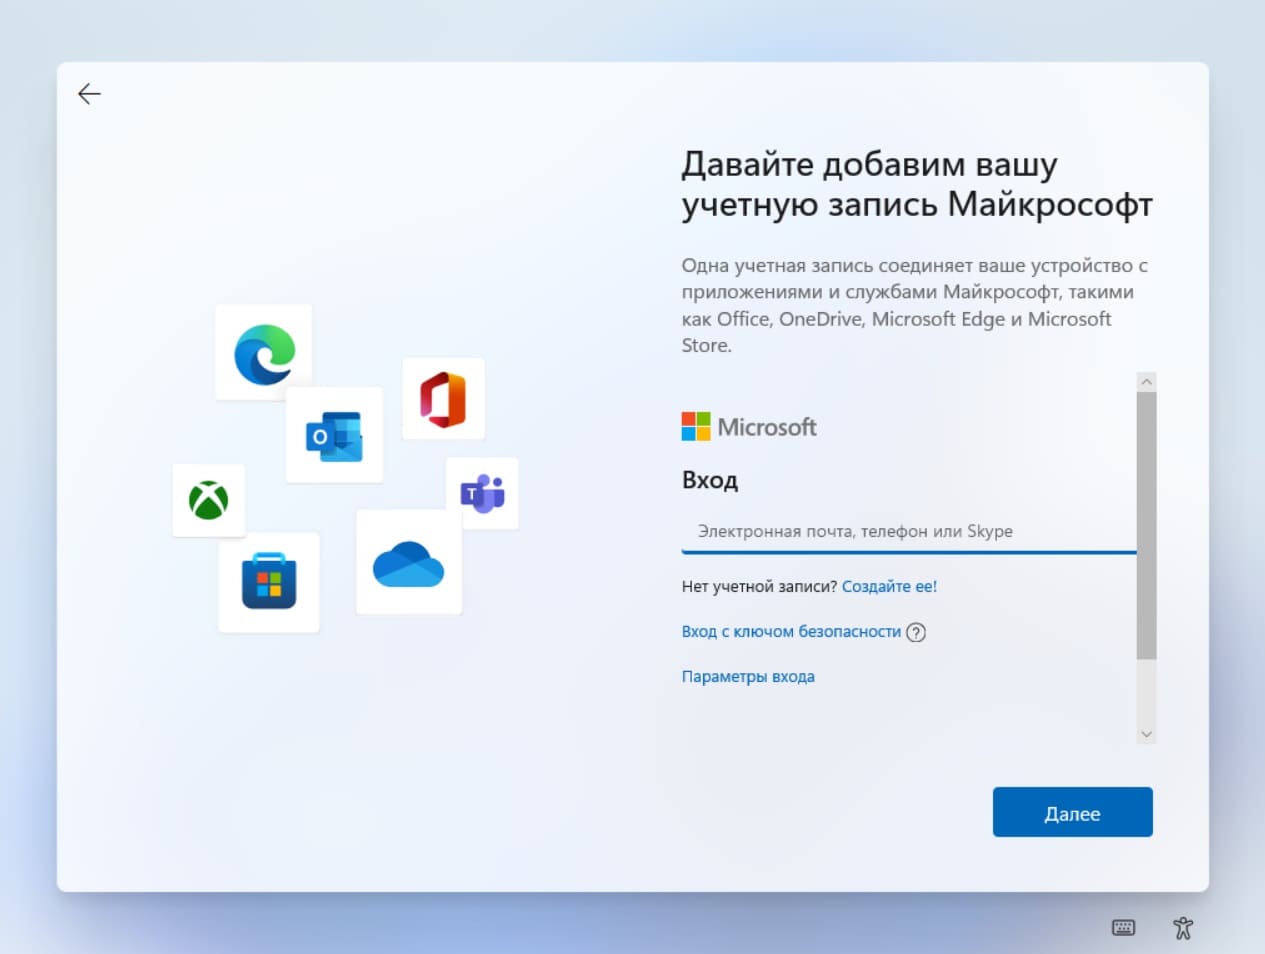
— Войдите под Вашей учетной записью Microsoft.
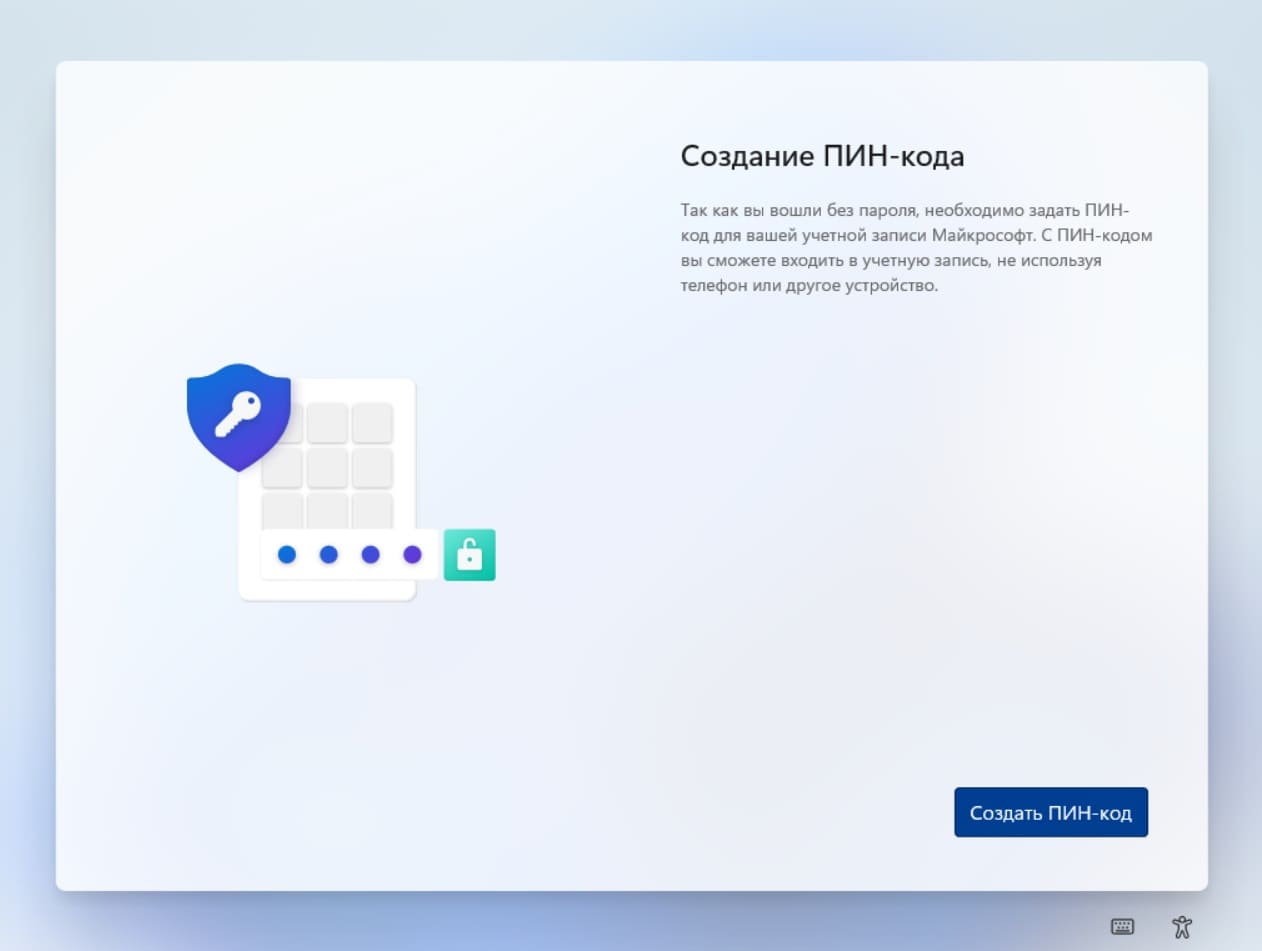
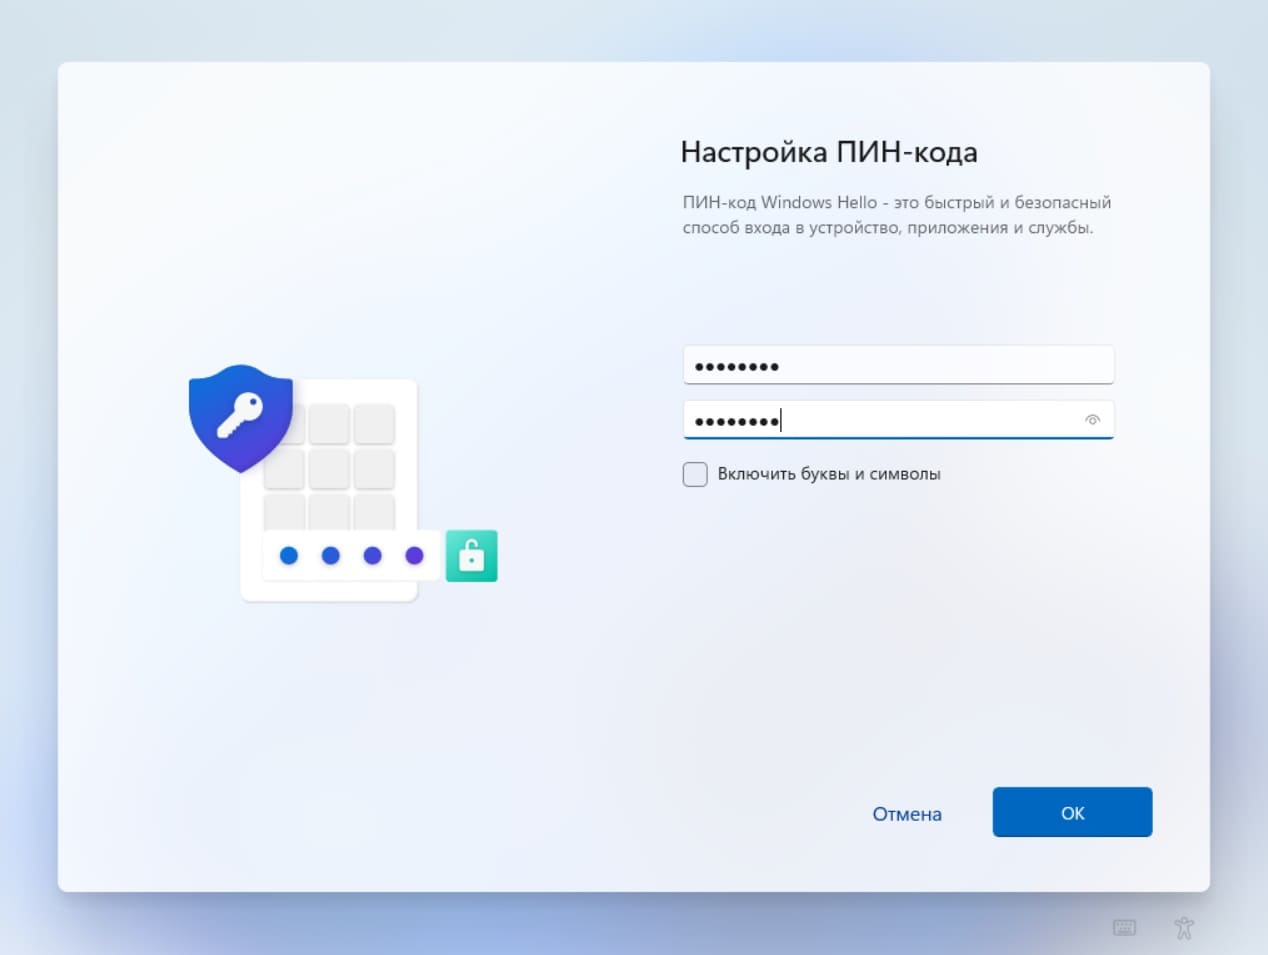
— Далее Вам предложиться создать пин-код для быстрого входа в систему (чтобы не вводить Ваш пароль от учетной записи Microsoft).
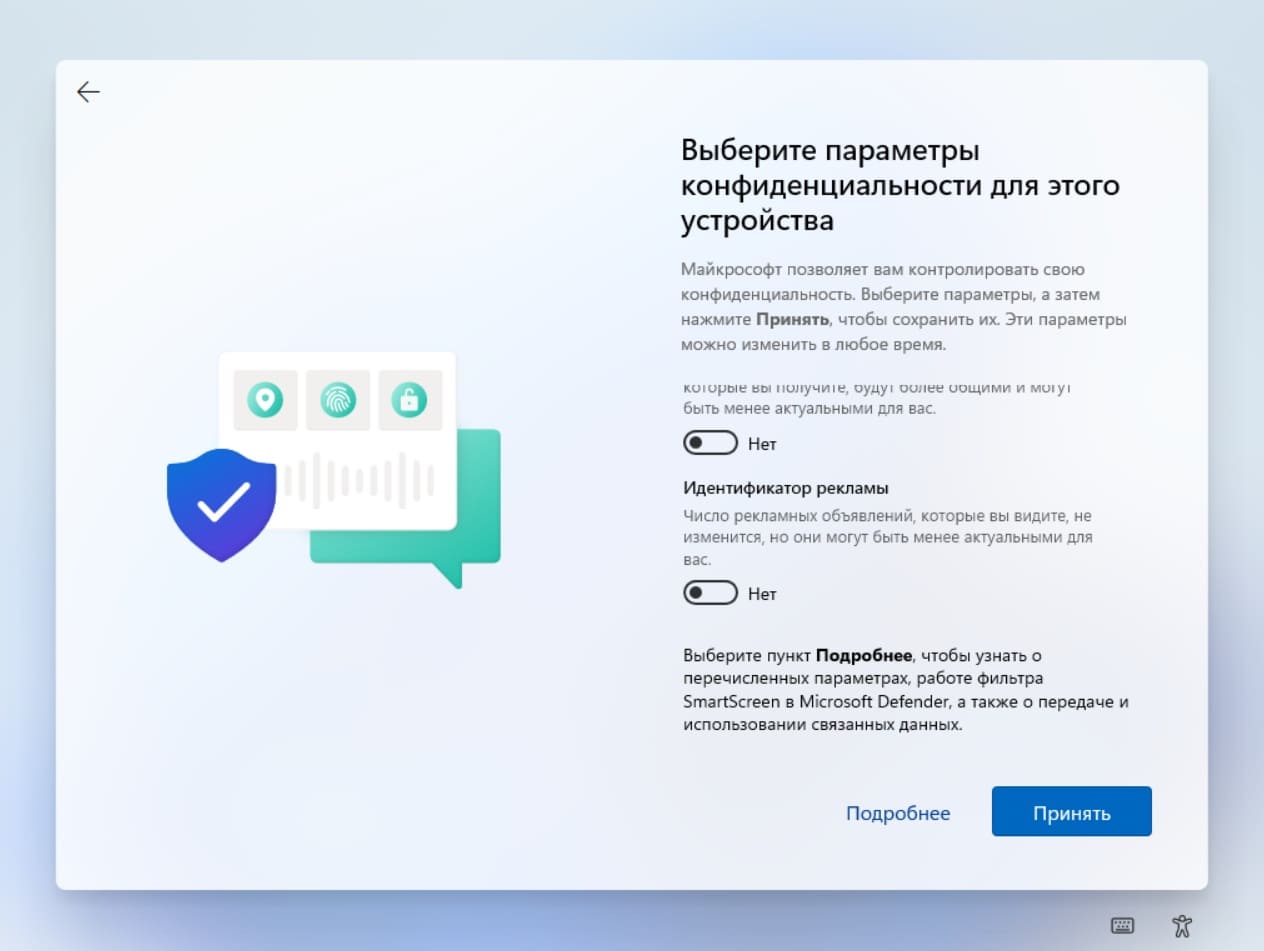
— Следующим пунктом настройки нужно будет выбрать параметры конфиденциальности. Мы снимем все пункты, Вы можете их задать на свое усмотрение.
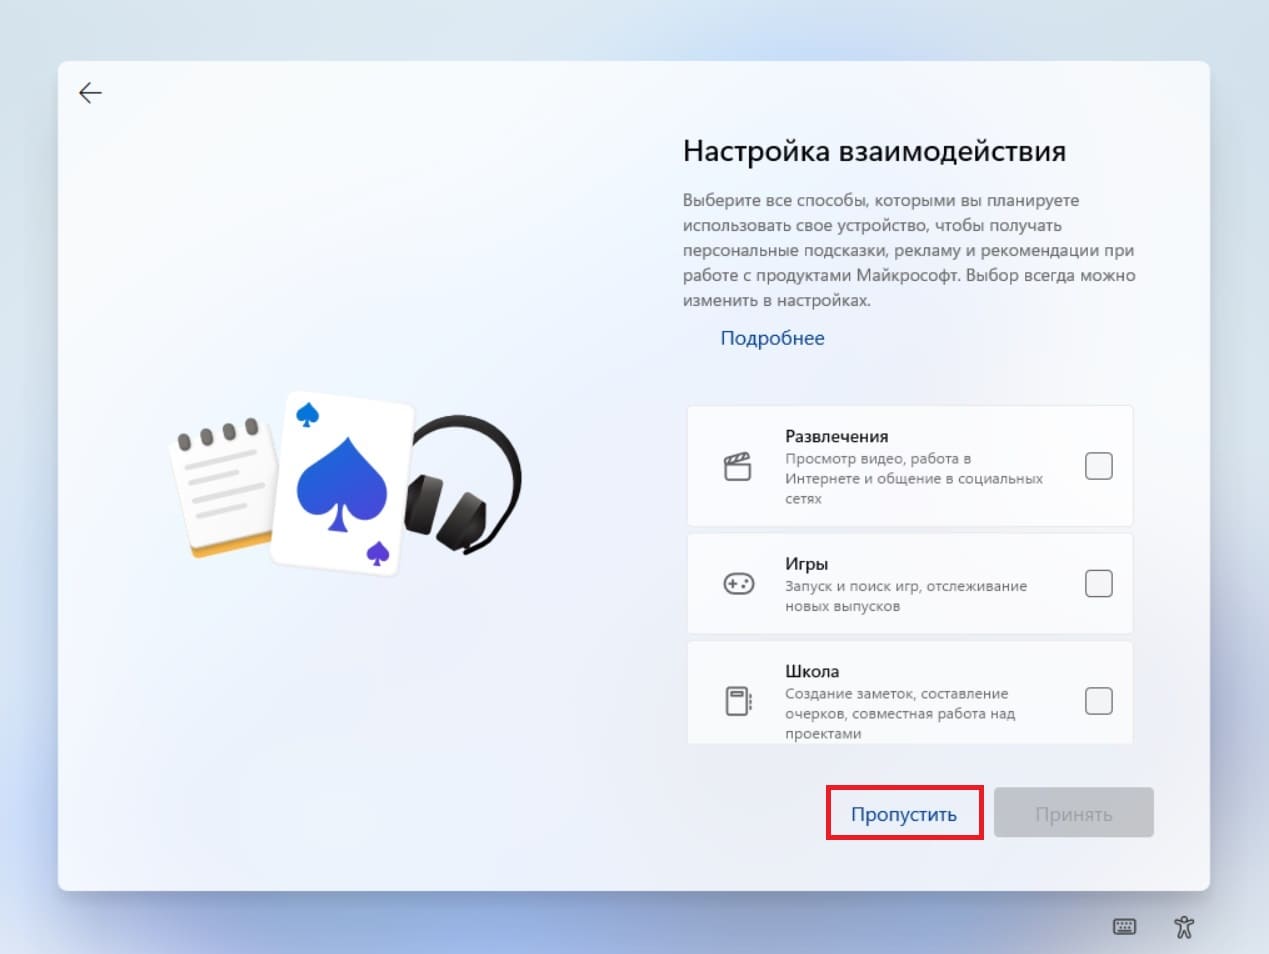
— Далее будет пункт настройки взаимодействия. На примере мы пропустим данный пункт, т.к он не является обязательным.
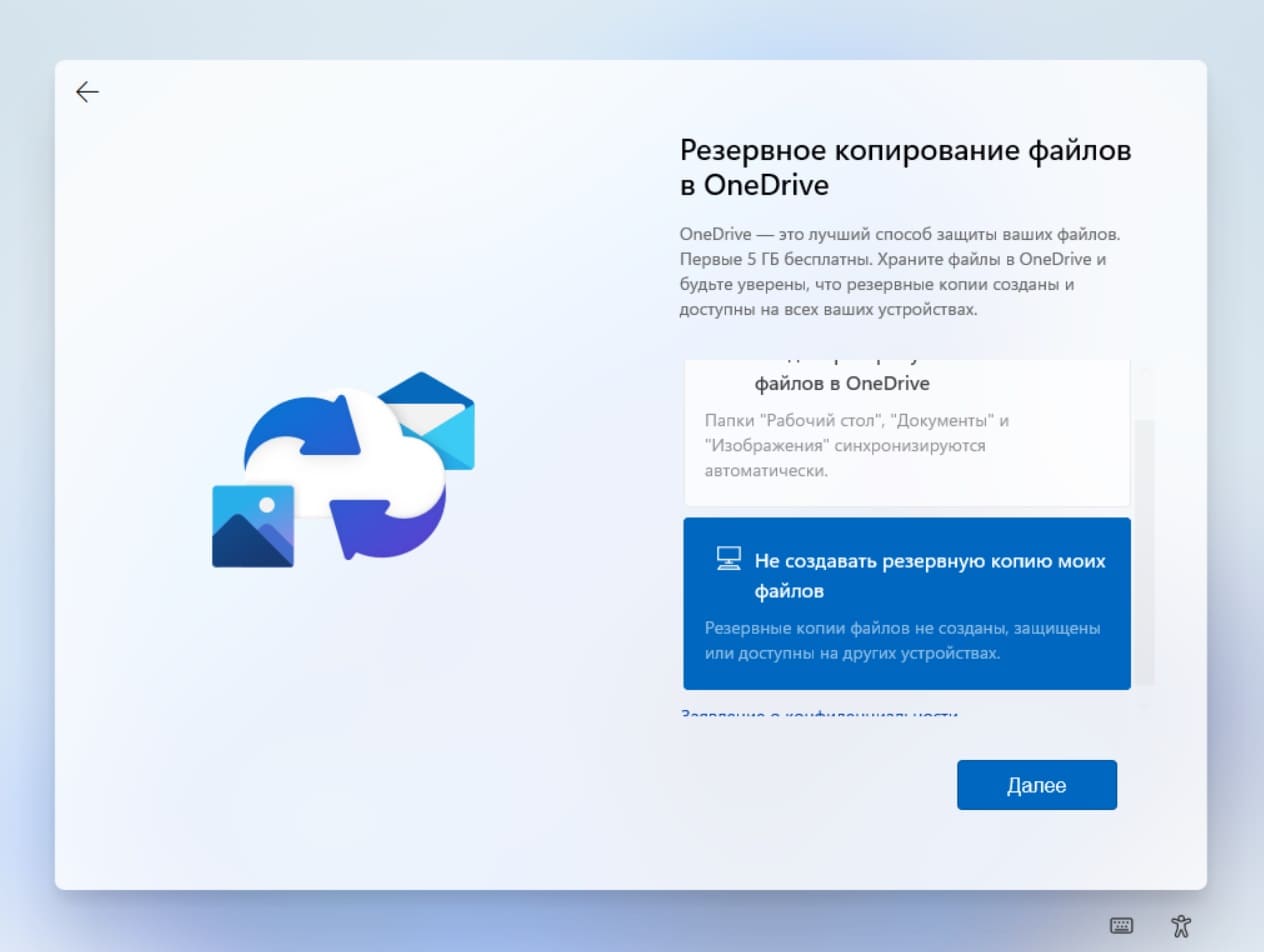
— Так же, отключим синхронизацию с OneDrive. (Вы можете ее включить на свое усмотрение).
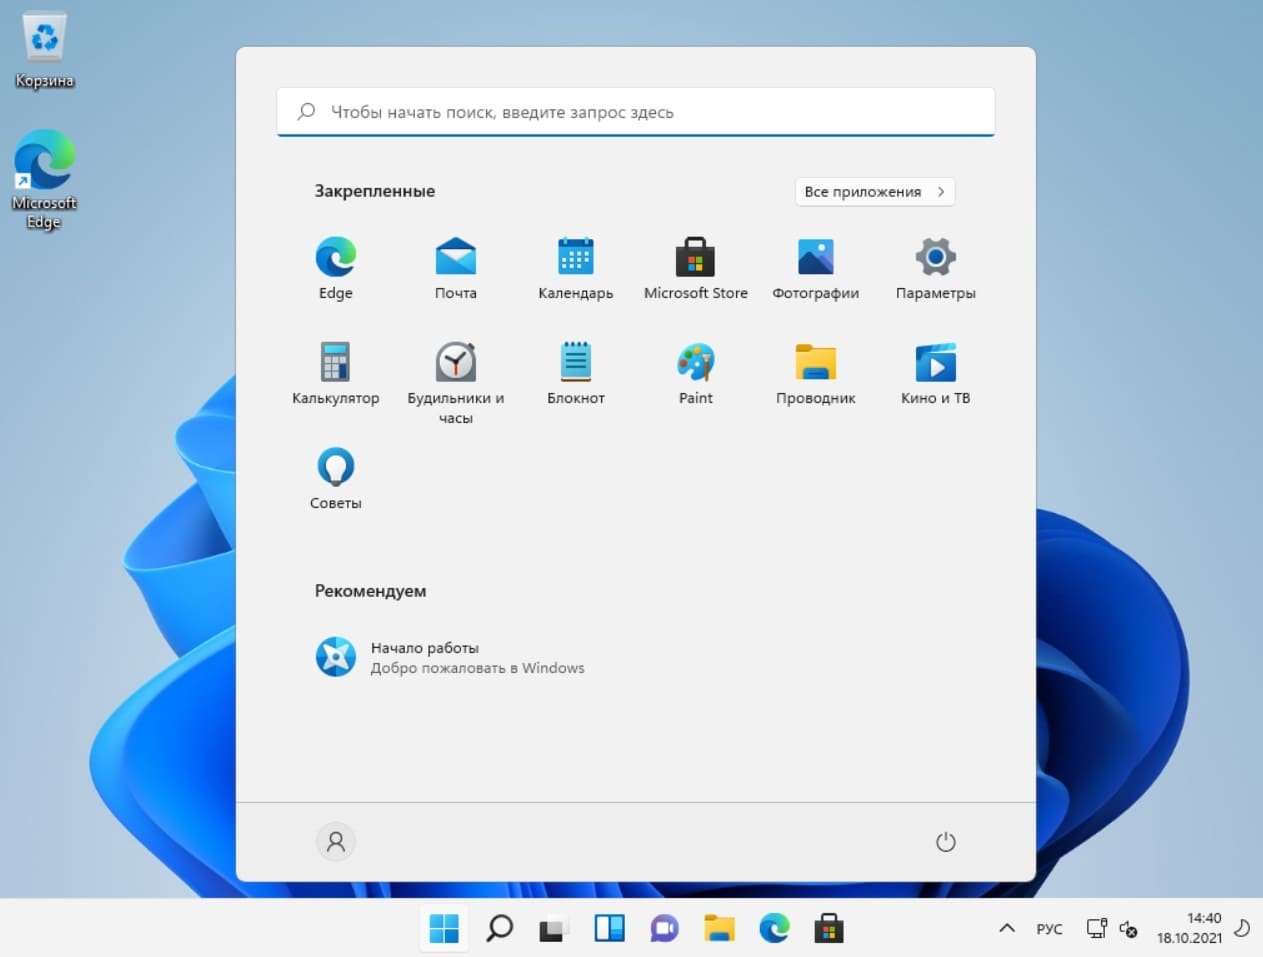
— Дождитесь загрузки рабочего стола.


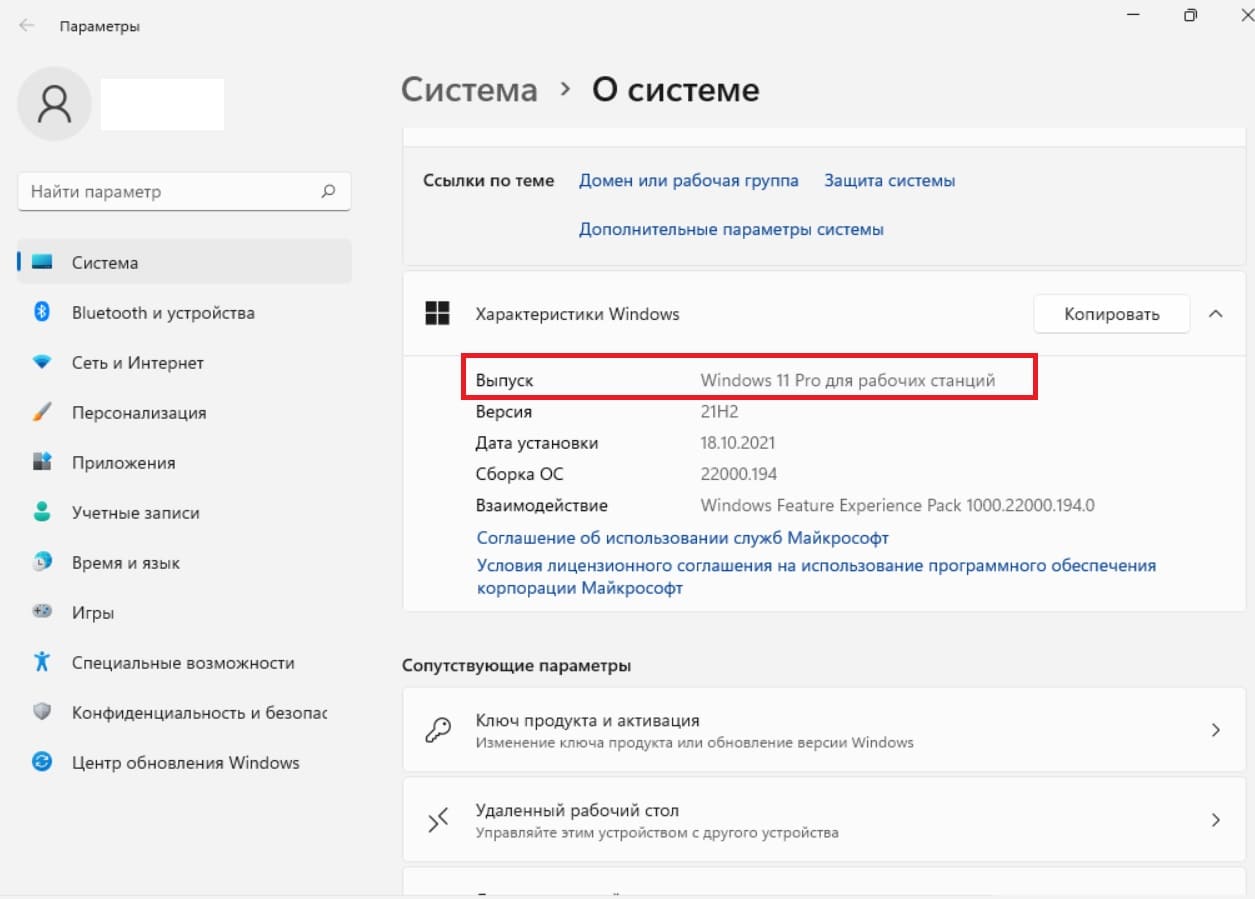
4) Готово! Мы загрузились на рабочий стол. Можем теперь проверить версию системы из меню «Пуск» => Все приложения => Пролистымваем вниз меню «Система» и открываем пункт «Характеристики Windows».
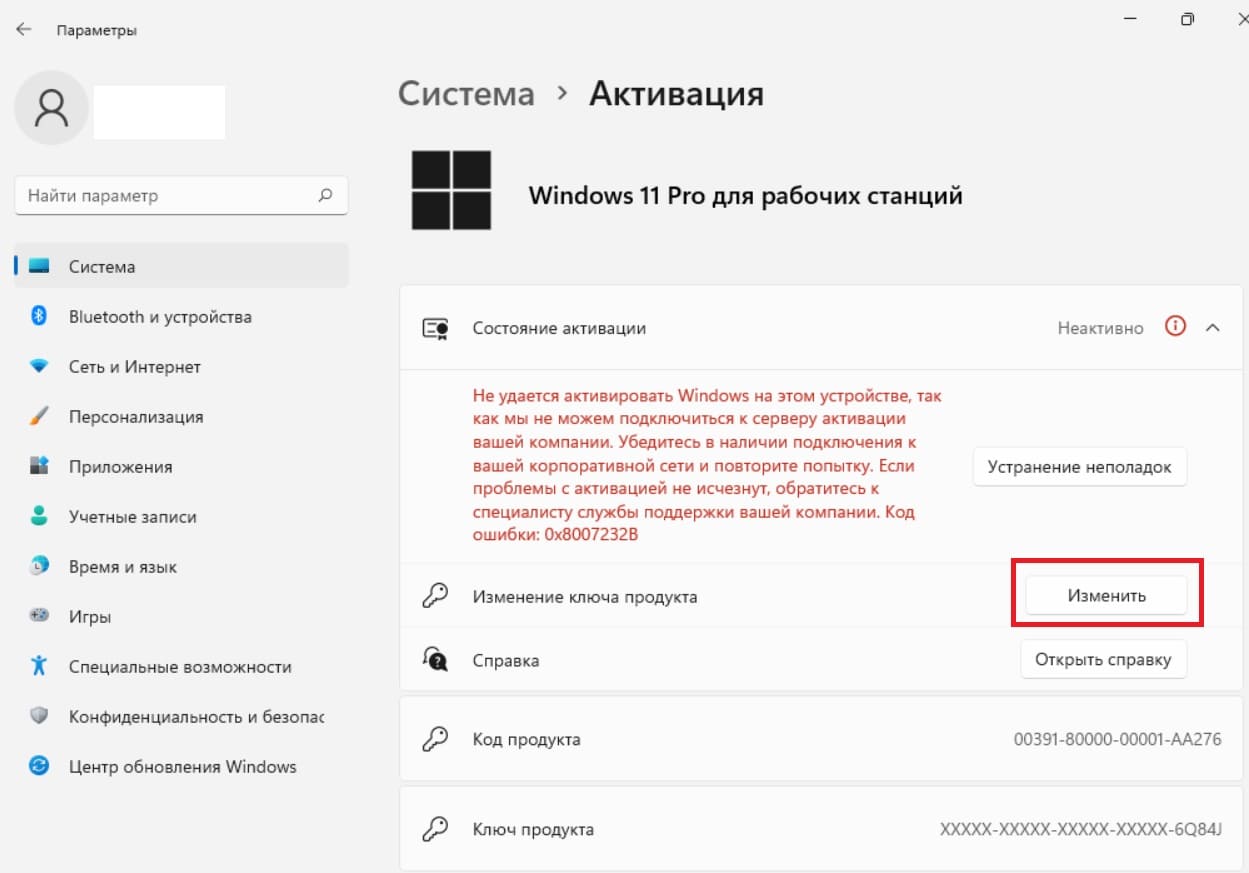
5) Теперь необходимо активировать систему. Пролистываем данное меню еще немного вниз и нажимаем «Ключ продукта и активация».
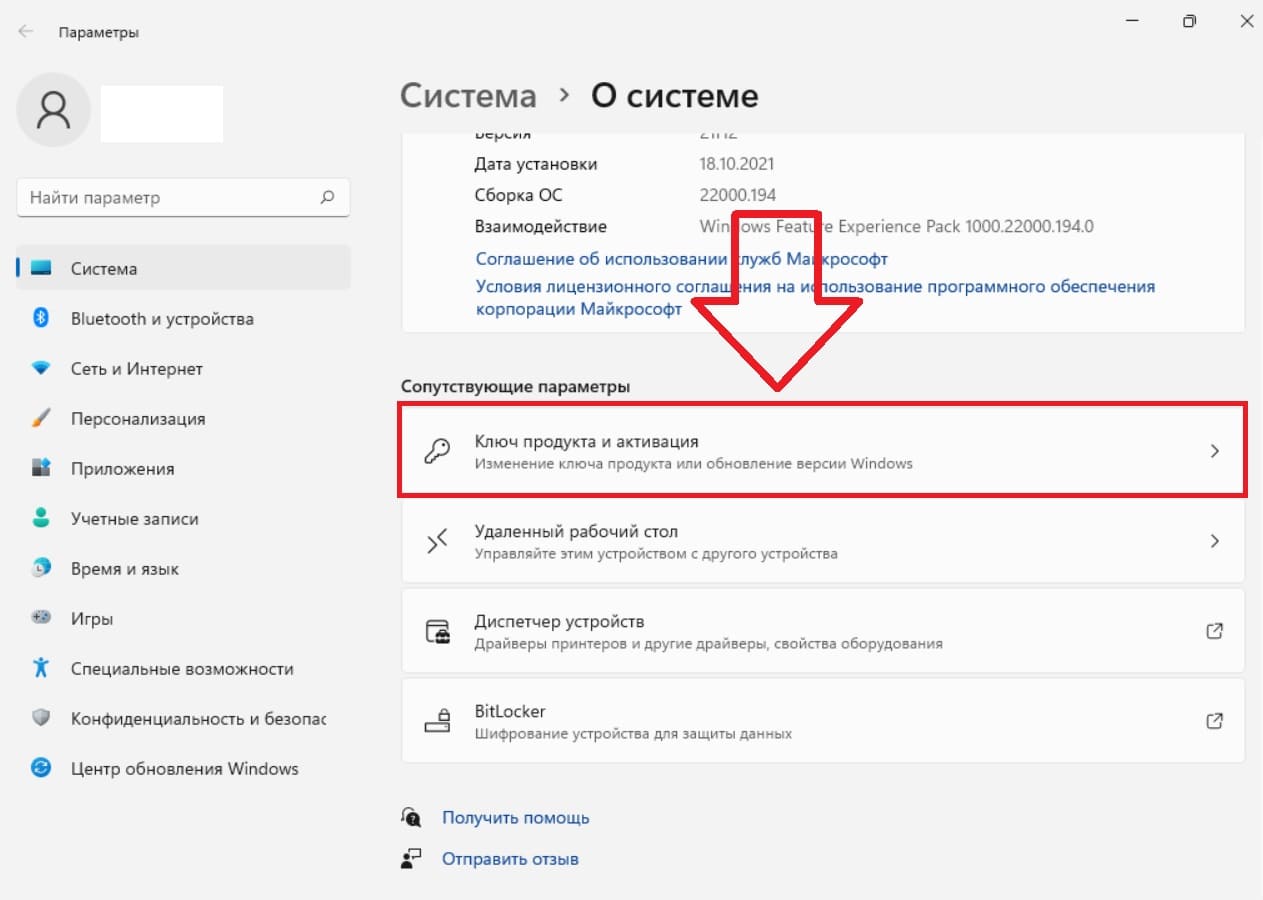
— В этом меню видим, что состояние активации в состоянии «Неактивно». Для активации необходим ключ активации Windows 10 Pro For Workstations. Приобрести ключ можете в нашем каталоге. Быстрая доставка ключа на Вашу электронную почту в течение 3х часов после оплаты. Гарантия и круглосуточная техподдержка.
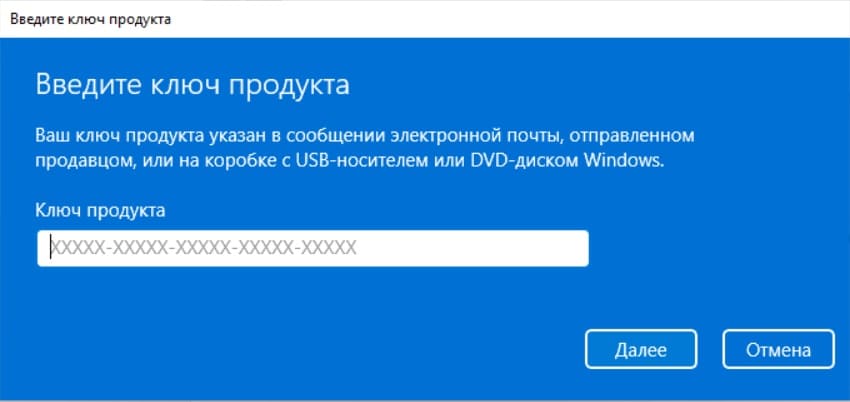
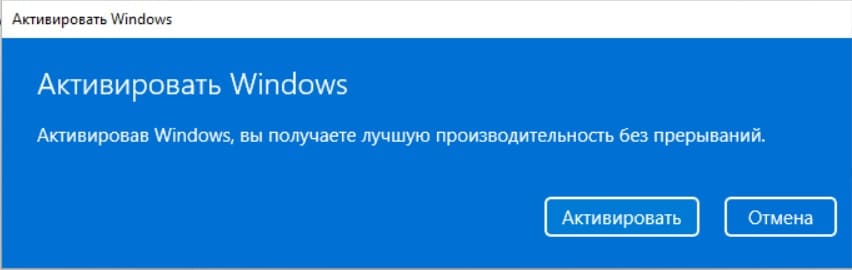
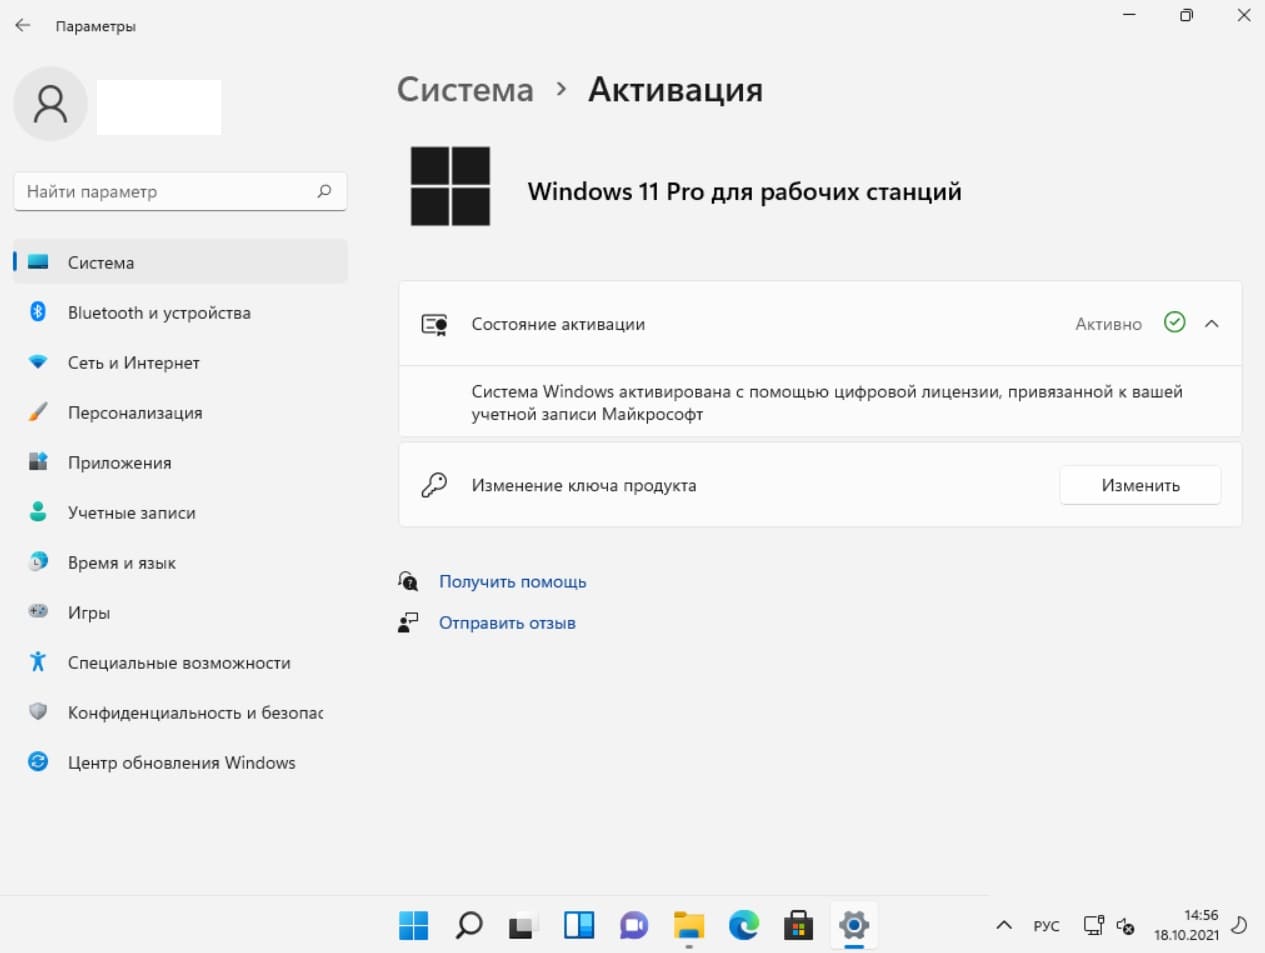
Итак, у Вас есть ключ активации Windows 10 Pro For Workstations. Нажимаем на кнопку «Изменить». Вводим ключ в новое окно для ввода ключа активации, нажимаем «Далее» => Активировать. Если все прошло успешно, то система выдаст сообщение, что Windows активирована.