


В данной статье покажем как установить Windows 10 (да и в принципе любую версию Windows) на виртуальную машину VMware Workstation Pro. С помощью виртуальной машины у Вас будет возможность изолированно использовать систему, не опасаясь за основную, к примеру тестировать различные приложения.
1) Скачать VMware Workstation Pro можете с официального сайта. Бесплатный триальный период — 30 дней.
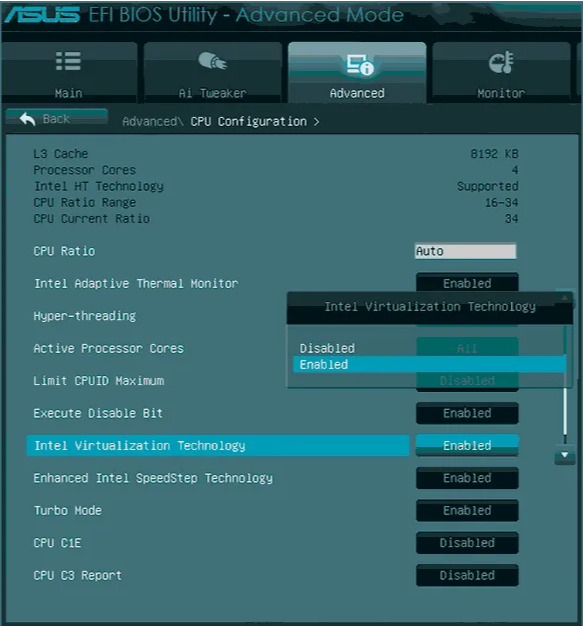
2) Далее, определитесь какую технологию виртуализации Вы будете использовать, аппаратную или программную. Аппаратная работает существенно быстрее по своему отклику, но ее нужно включить. Сделать это можете в Биосе, в зависимости от Вашего процессора Вам нужно будет включить «Intel Virtualization Technology», либо «AMD Virtualization Technology», в каком меню Биоса ее найти уточнайте в инструкции под Вашу материнскую плату. Примерные меню в Intel и AMD.

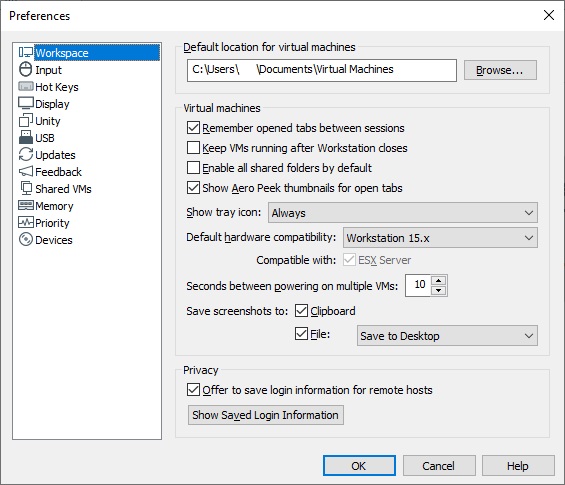
3) После скачивания и установки приложения VMware Workstation Pro запускаем его нажимаем Edit => Preferences.
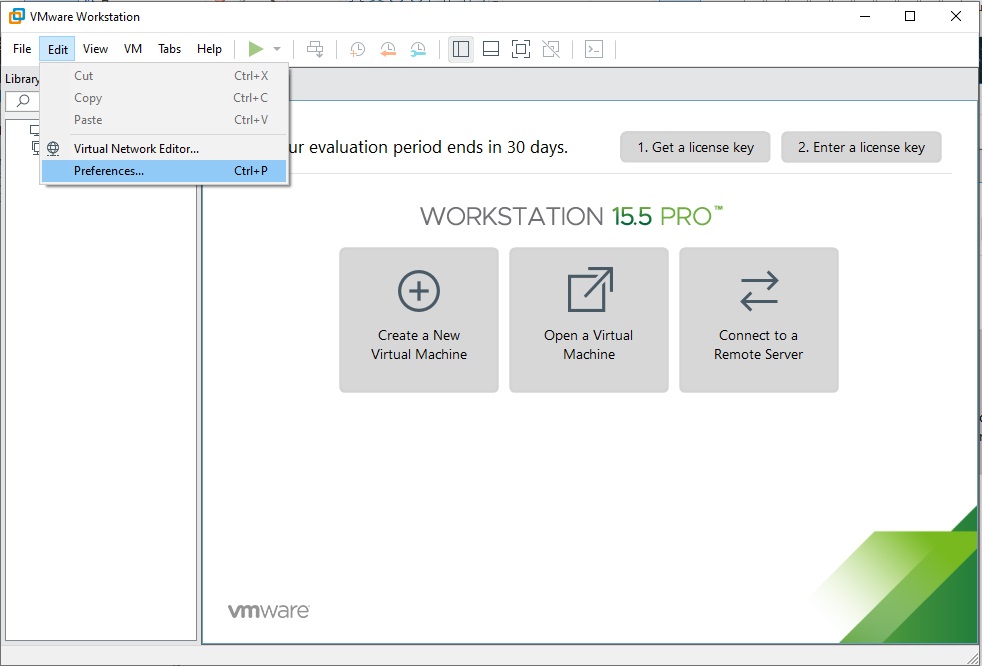
В меню Workspace Вы можете выбрать месторасположение виртуальной машины. Можете оставить как есть, либо поменять на Ваше желаемое (к примеру на другой диск). После выбора места, нажимаем Ок.
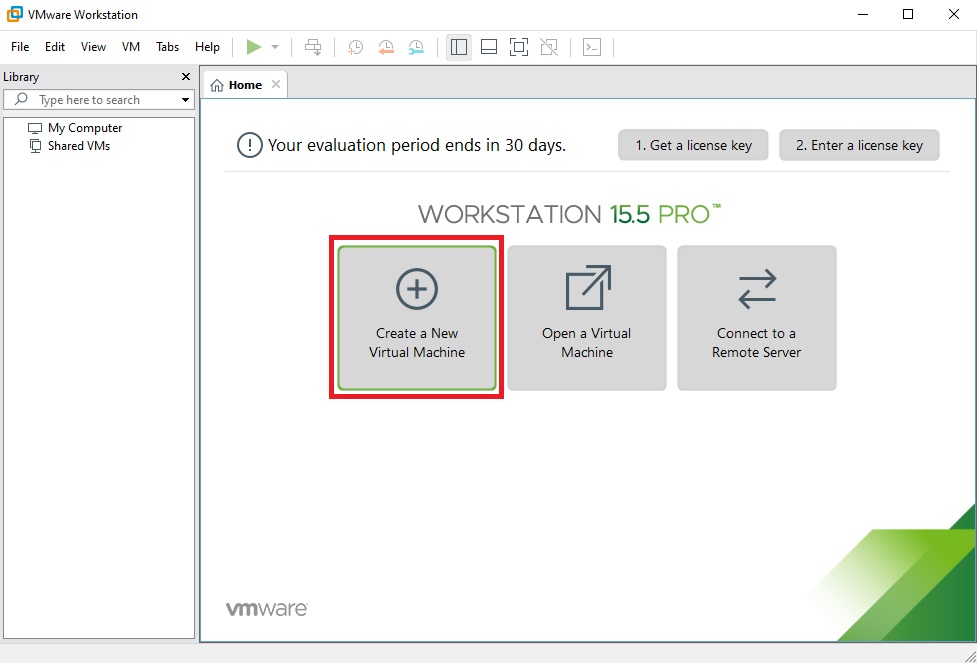
Теперь создадим саму виртуальную машину. Открываем главное окно приложения и нажимаем на Create a New Virtual Machine.
Выбираем первый пункт «Обычная установка».

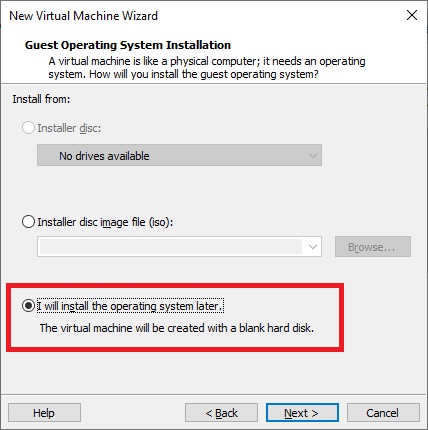
Далее, пропускаем выбор дистрибутива, его мы выберем позднее.
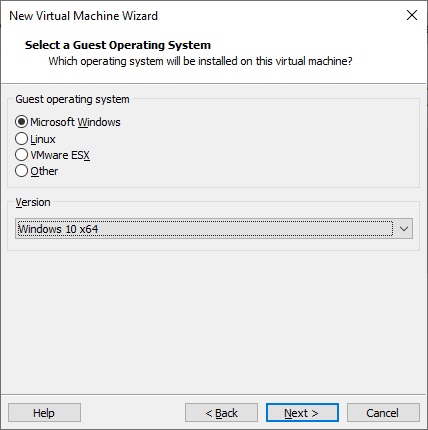
Укажите желаемую ОС, в нашем случае это будет Windows 10 x64.
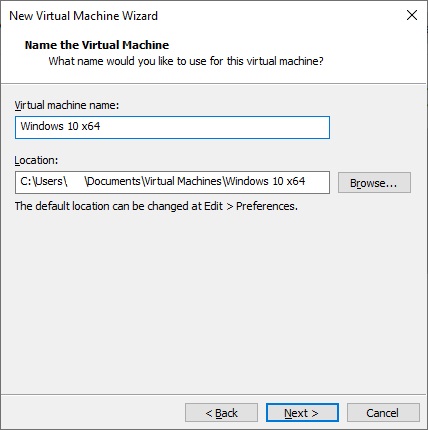
Задайте название и местоположение (можете оставить по умолчанию) виртуальной машины.
Следующий пункт -это выбор между:
1. Сохранение диска в виде одного файла.
2. Разделение диска на несколько файлов.
Если не планируете переносить виртуальную машину на другой ПК, то для увеличения производительности рекомендуем выбрать первый вариант.

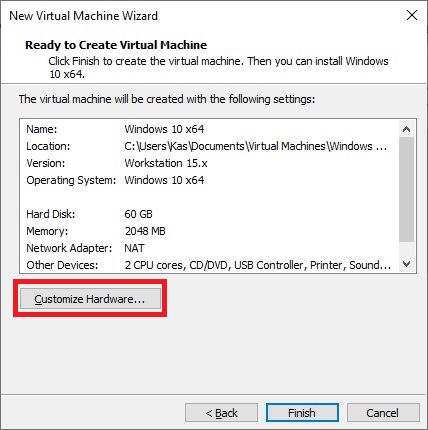
В следующем окне нажимаем Customize Hardware.
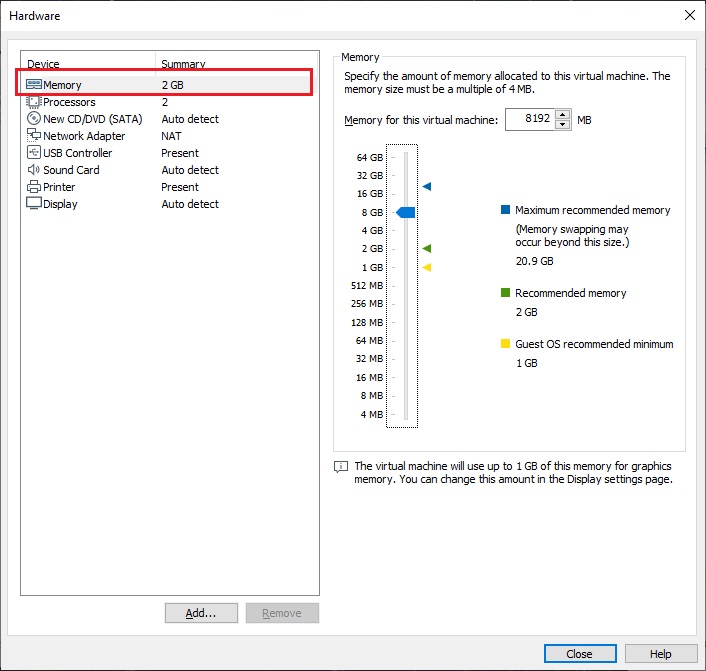
Настроим производительность нашей виртуальной машины. Первым пунктом будет выбор размера оперативной памяти, которая будет выделяться для работы виртуальной машины, само-собой, чем больше, тем лучше. Выбирайте ее исходя из Вашего реального объема ОЗУ на ПК, так, чтобы при работе ВМ Ваш ПК не завис.
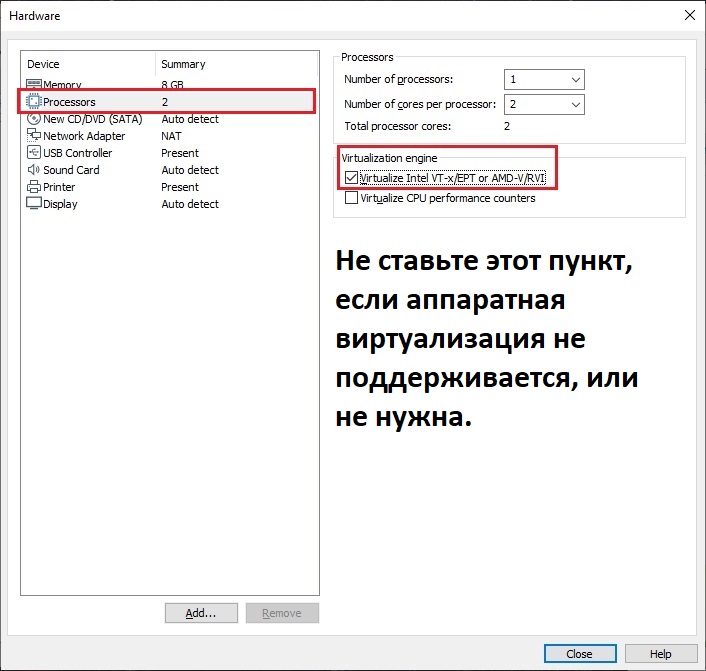
Следующий пункт количество ядер, которое будет выделяться для работы ВМ. А так же актируйте аппаратную виртуализацию, если Вы ее активировали в Биосе. Если нет, то не отмечайте этот пункт.
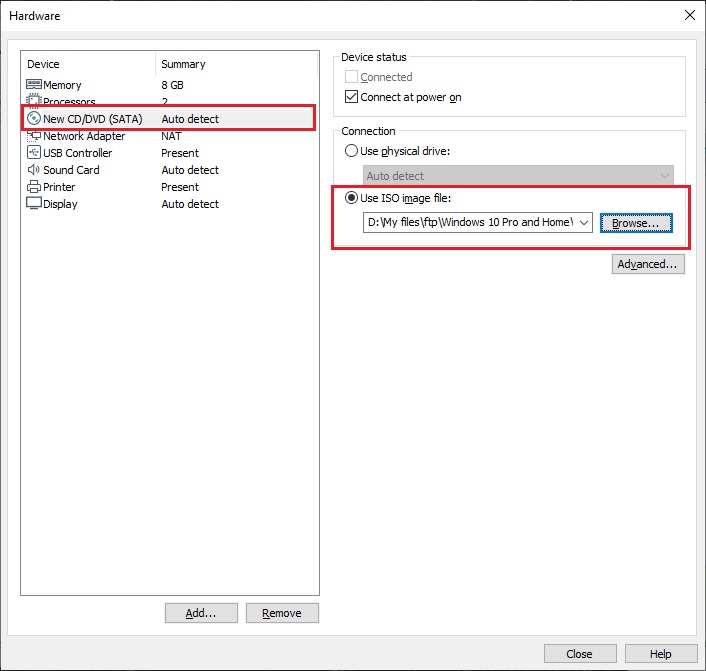
Теперь уже выбираем нужный Вам дистрибутив Windows, который предварительно был скачан и сохранен на Вашем ПК. Если у Вас нет дистрибутива, то скачать оригинальные дистриубтивы Windows можете из нашего каталога. Мы на примере установим Windows 10 Pro.
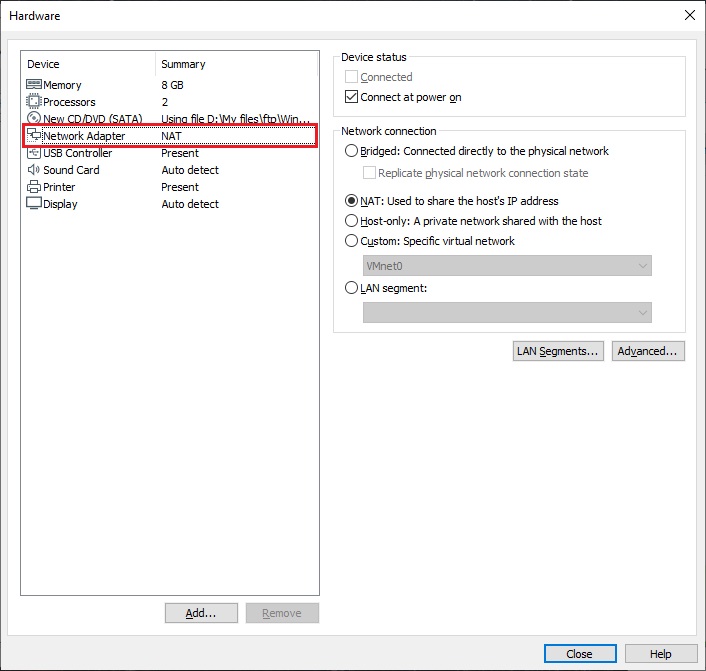
Настройки сети, можете оставить как есть, либо сделать настройку нужную Вам.
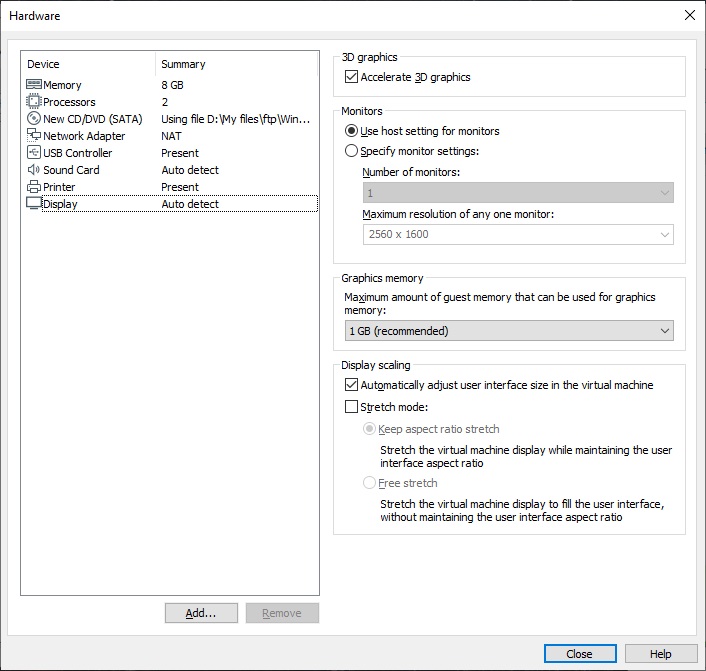
Настройки разрешения. Чем больше, тем лучше. Так же, можете выбрать объем графической памяти выделенной для ВМ. (так же можете оставить все по умолчанию).
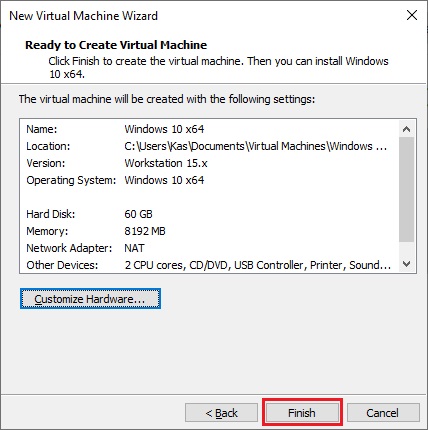
Последним окном нажимаем Finish.
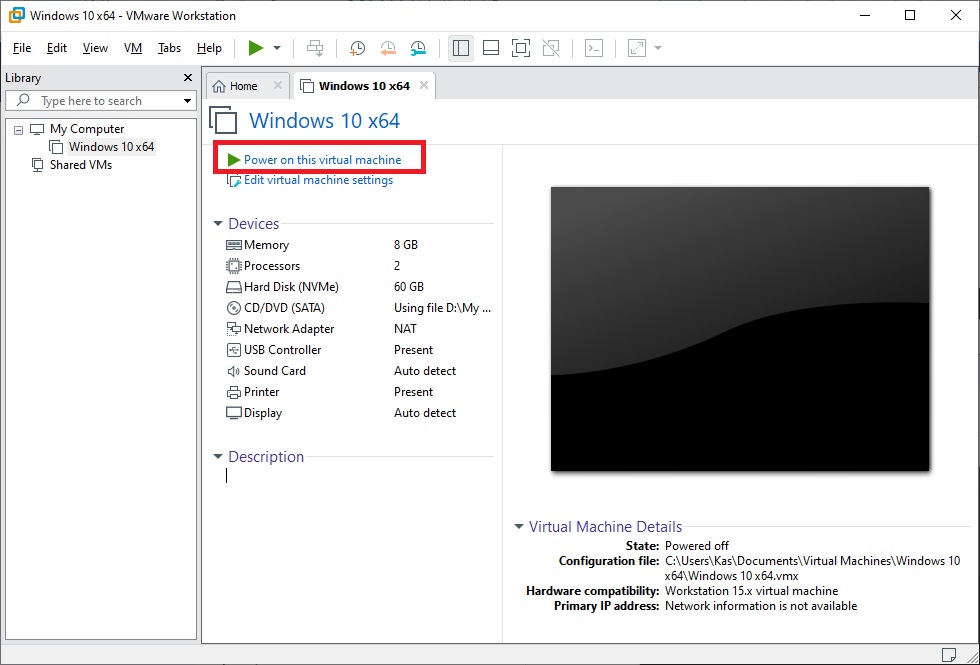
Теперь можем запустить установку системы нажав — Power on this virtual machine.
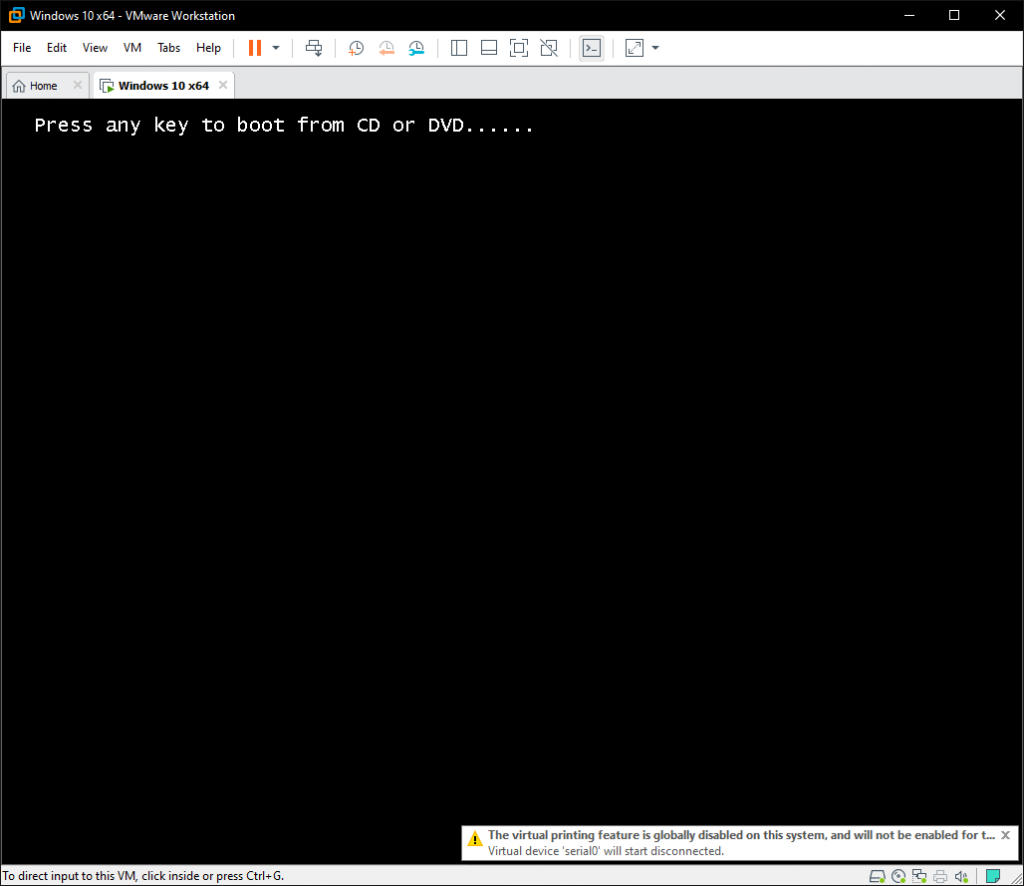
Когда появится надпись Press any key to boot from CD or DVD — нажмите Enter.
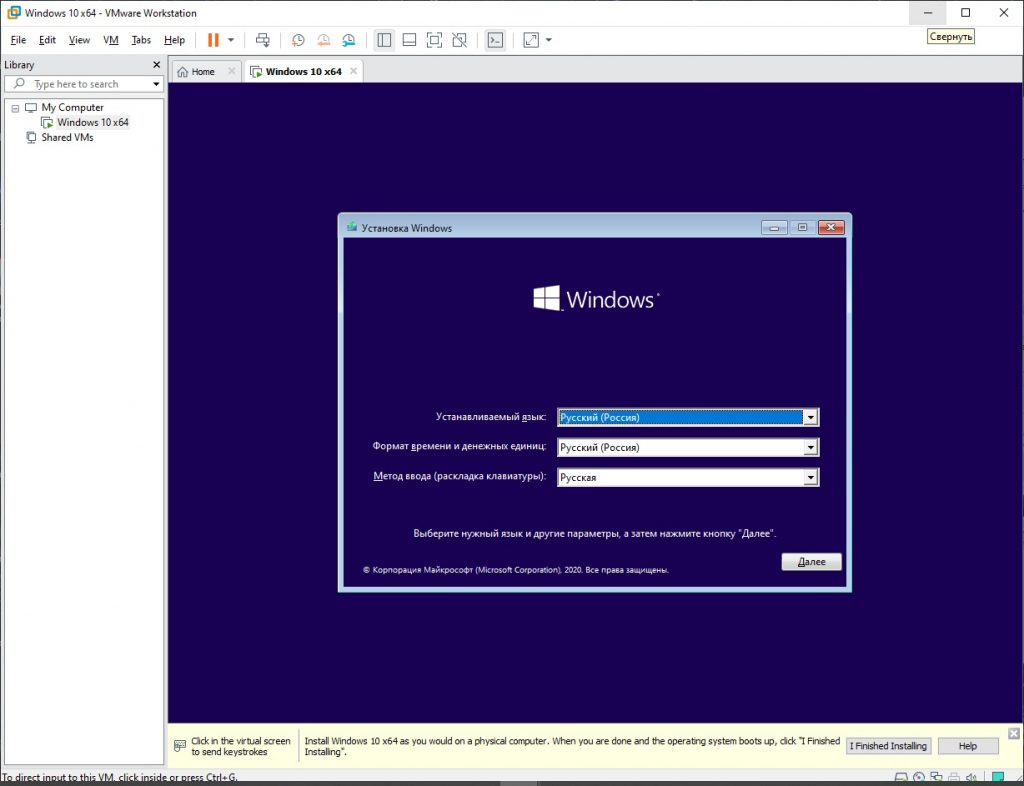
Далее начнется обычная установка Windows 10, она ничем не отличается от обычной. С процессм установки Windows 10 Вы можете ознакомиться в нашей прошлой статье.
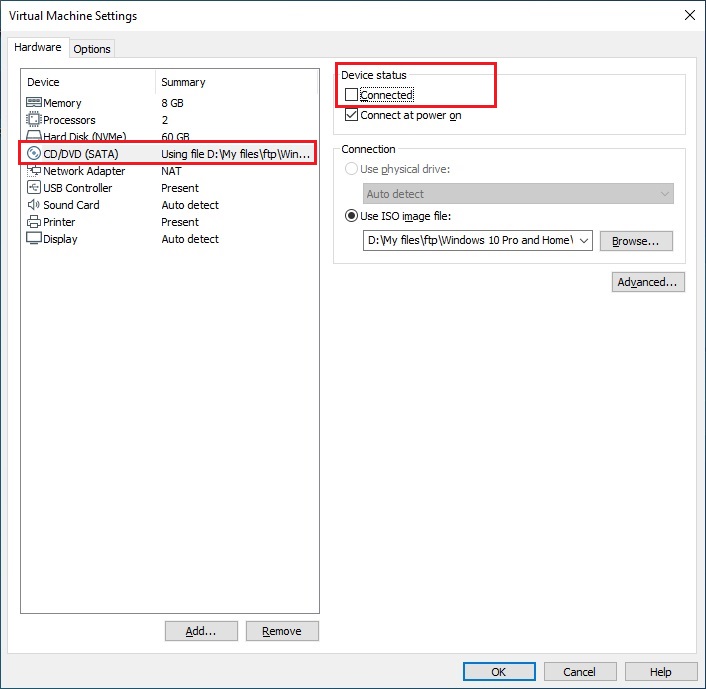
После установки системы, когда она покажет рабочий стол — нажмите правой кнопкой мыши на вкладку Вашей действующей ВМ => Settings
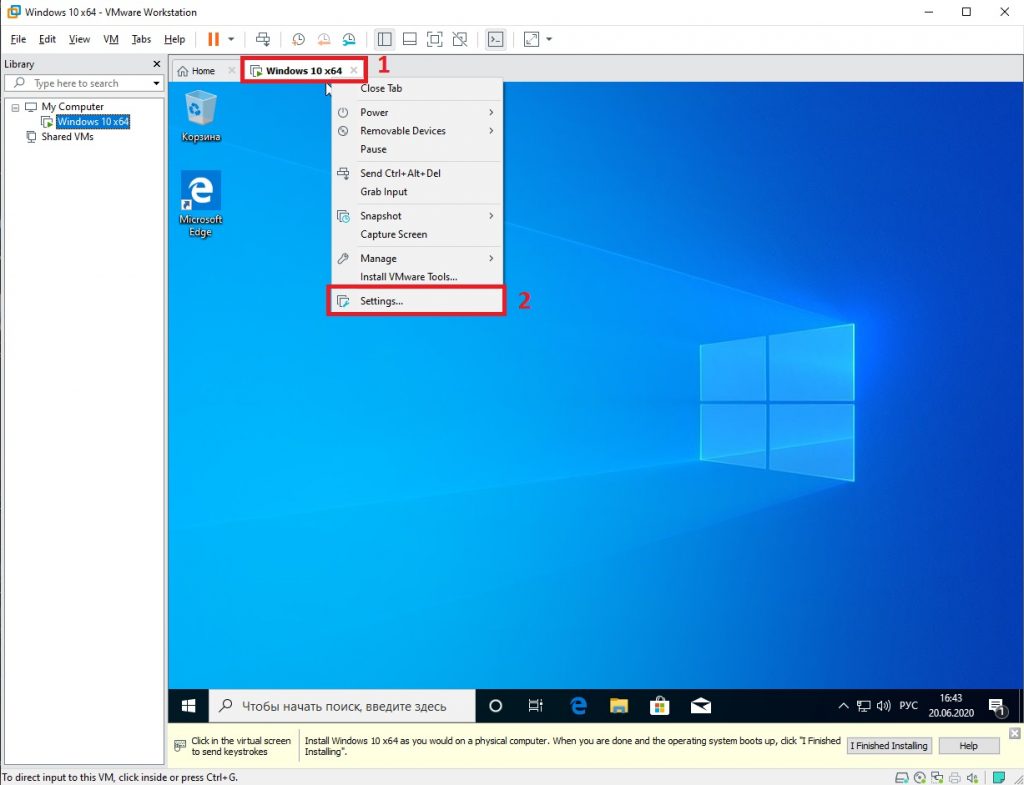
Переходим во вкладку CD/DVD и снимаем галку с Connected, чтобы у нас загружался «жесткий диск», т.е сама система, а не снова ее установка при каждом включении ВМ.
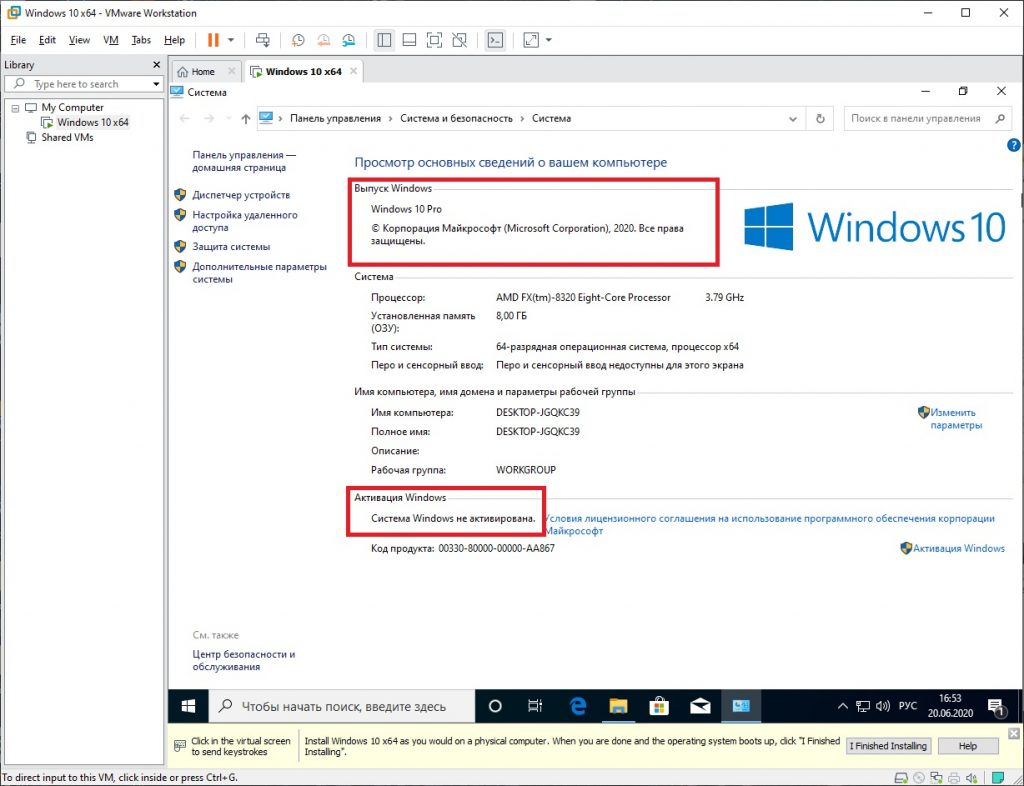
У нас установилась обычная Windows 10 Pro, которая изолирована от основной системе и на ней можно безопасно тестировать приложения, и это не затронит основную систему. Но ее так же необходимо активировать как и обычную Windows. Приобрести оригинальные ключи активации от 1570 можете в нашем каталоге. Моментальная доставка ключа в автоматическом режиме сразу после оплаты на Ваш Email.


Нужно включить визуализацию в биос. У меня на ASUS это SVM нужно установить в положение Enabled (Включено)
Помогите пожалуйста,вылезла ошибка : This host supports AMD-V,but the AMD-V implementation is incompatible with VMware Workstation
VMware does not support the user level monitor on this host
Прошу помогите)