


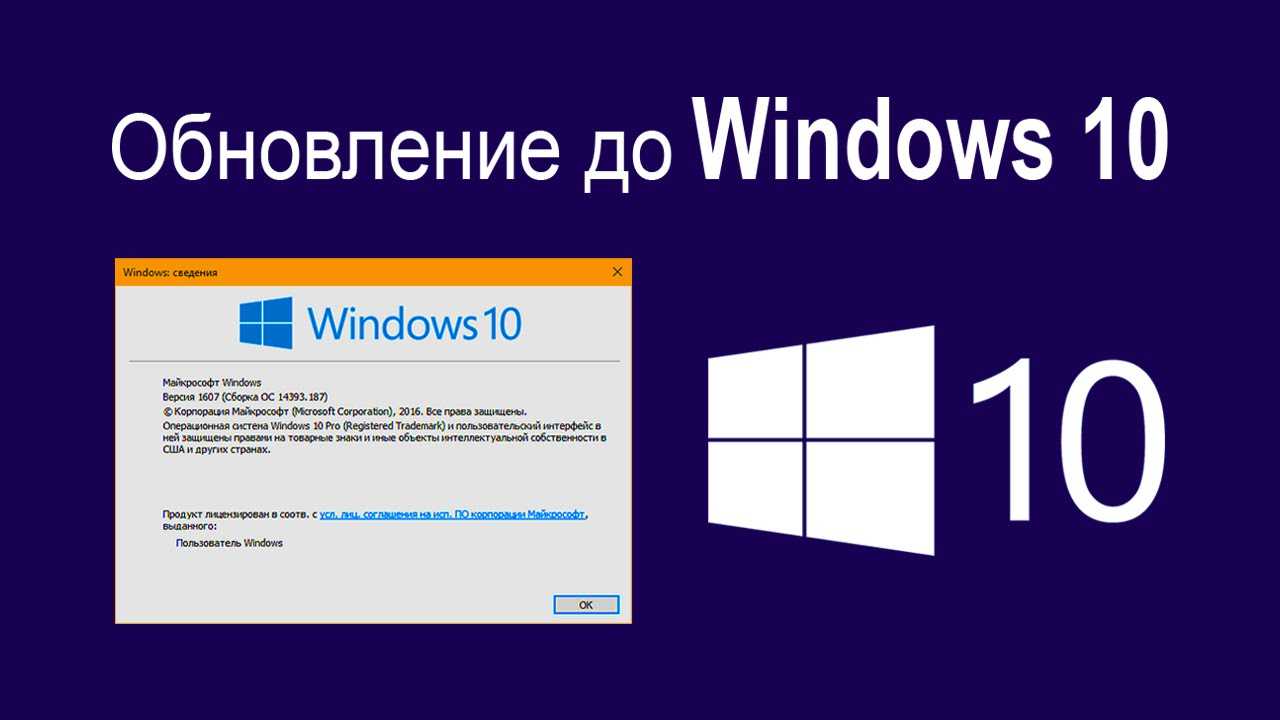
В этой статье мы пошагово покажем как обновиться с Windows 7 до Windows 10. На примере исходная операционная система у нас будет Windows 7 Professional, соответственно она обновится до Windows 10 Pro.
Если у Вас Windows 7 Ultimate, то она обновится так же до Windows 10 Pro, если у Вас Windows 7 Home (базовая или расширенная), то она обновится до Windows 10 Home (Домашняя).
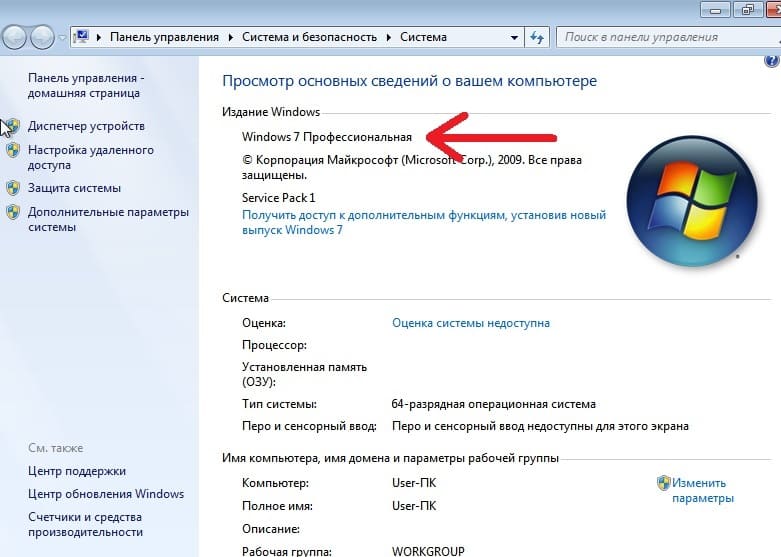
1) Первым шагом желательно проверить, какая именно версия у Вас установлена, на нашем примере как мы уже сказали ранее Windows 7 Профессиональная (Pro).
На данный момент для пользователей из России из-за действующих ограничений имеются проблемы с использованием официального онлайн установщика (приложения для обновления) от Microsoft — Media Creation Tool, а так же для пользователей из РФ имеются проблемы скачивания дистрибутива с сайта Майкрософт. Вы можете попробовать скачать дистрибутив Windows 10 с официального сайта Microsoft, но данный метод как правило не работает для пользователей из РФ.
2) Мы рекомендуем:
— Скачать дистрибутив Windows 10 с нашего каталога на следующей странице. В нашем каталоге дистрибутивы оригинальные MSDN, проверить хеш-сумму можете на странице скачивания.
— Открыть дистрибутив можете по инструкции из п.2.
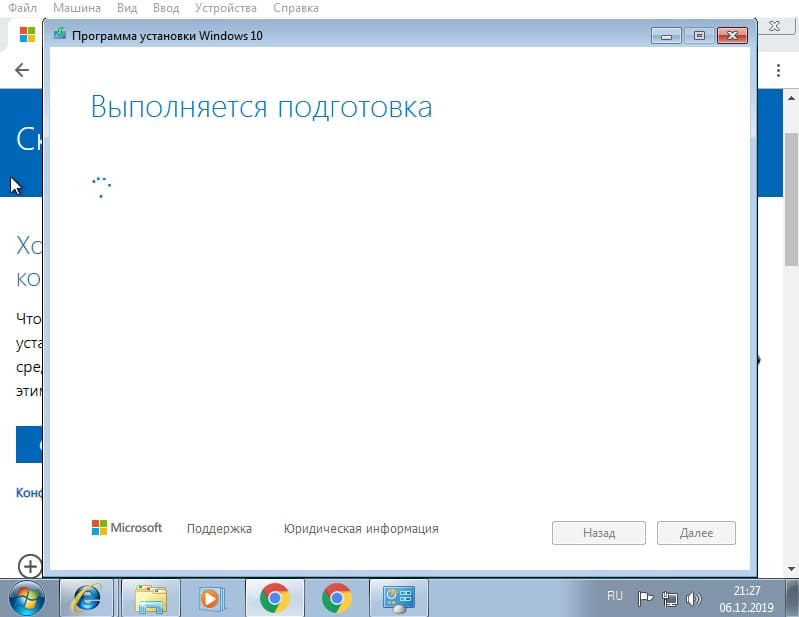
3) Запускаете дистрибутив.
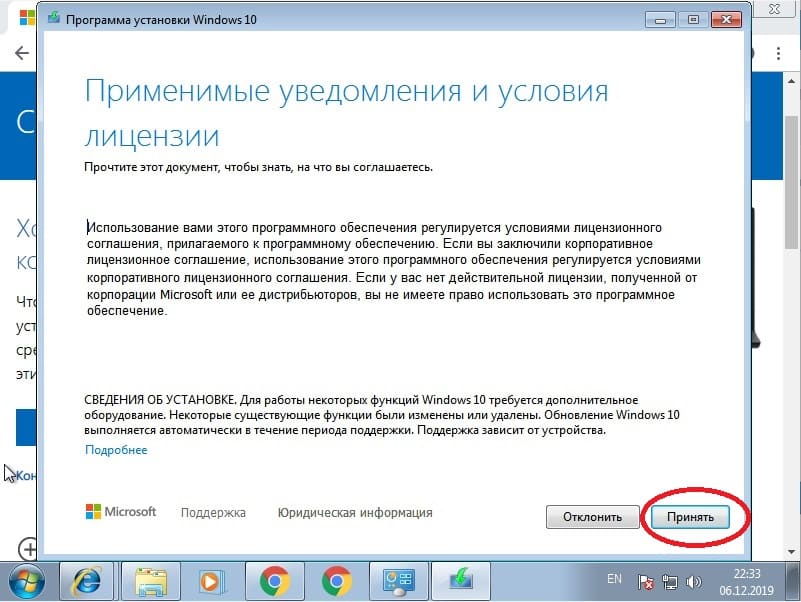
4) Соглашаемся с лицензионным соглашением.

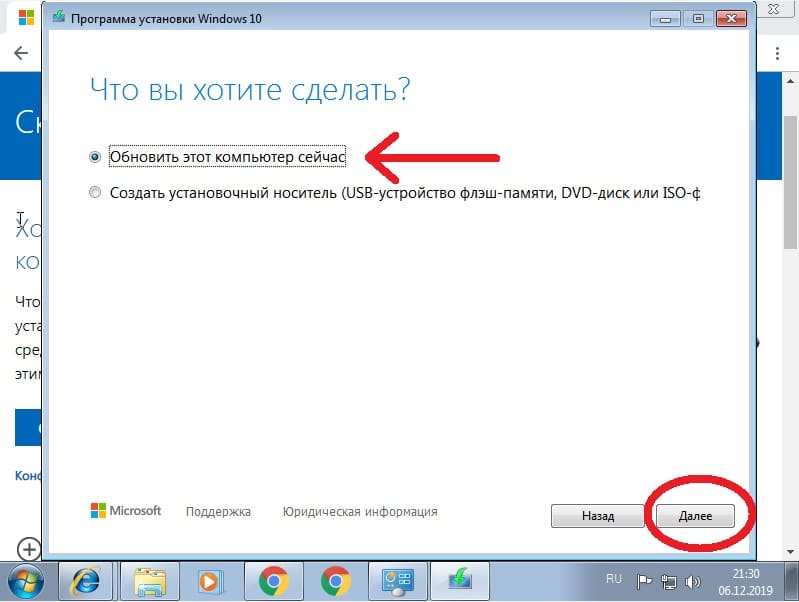
5) Выбираем пункт «Обновить этот компьютер сейчас» и жмем «Далее».
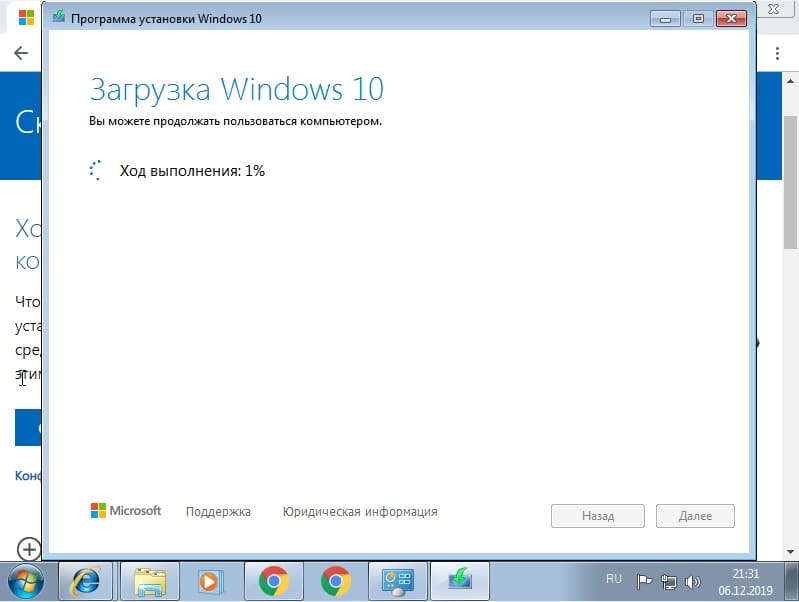
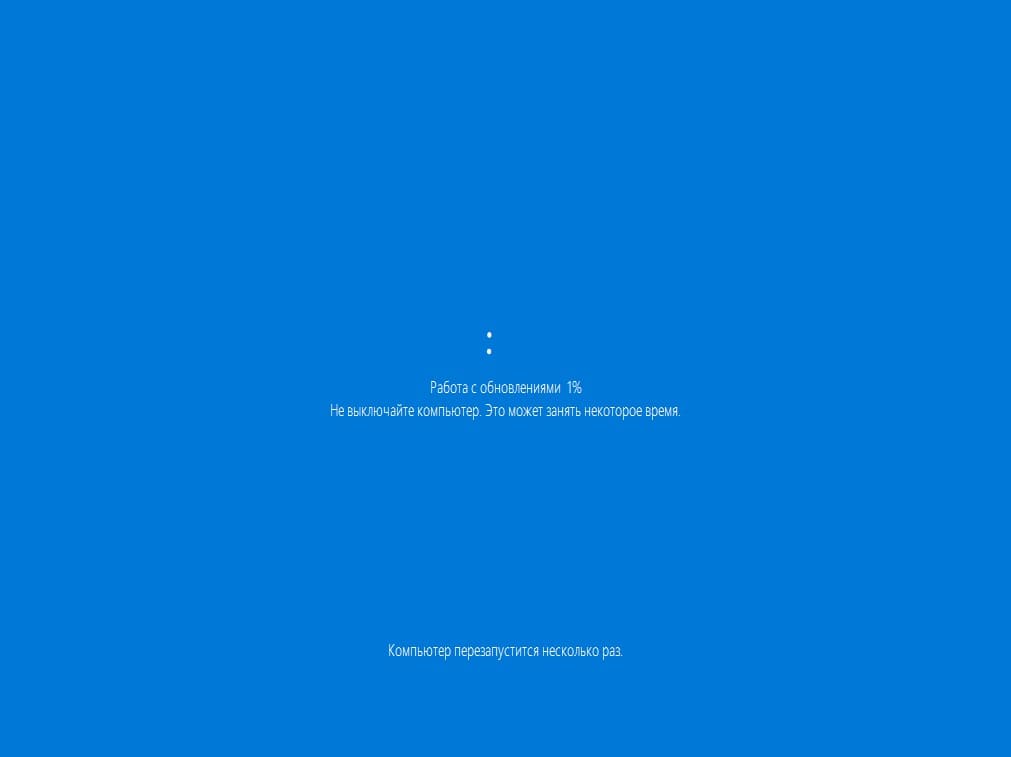
6) Ожидаете пока будет происходить загрузка файлов Windows 10. Скорость скачивания зависит от скорости Вашего соединения с интернетом.
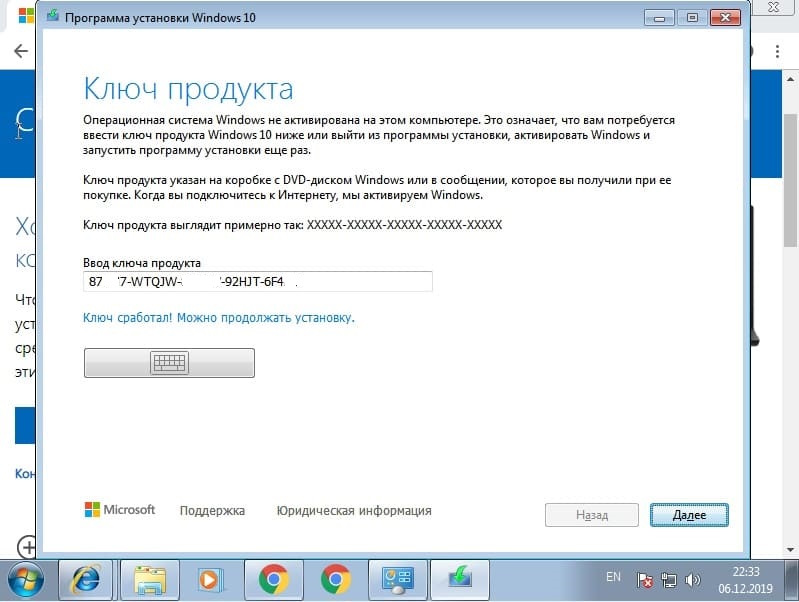
7) После у Вас запросит ввести ключ активации для Windows 10. В нашем случае ключ нужен от Windows 10 Pro. Приобрести ключ активации для различных версий Windows 10 можете в нашем каталоге по самым низким ценам, моментальная доставка ключа активации на Вашу электронную почту сразу после оплаты.
8) Снова принимаем лицензионное соглашение.
9) Когда файлы скачались, оставляем все пункты на своем месте. Т.е установку Windows 10 с сохранением всех личных файлов и приложений.

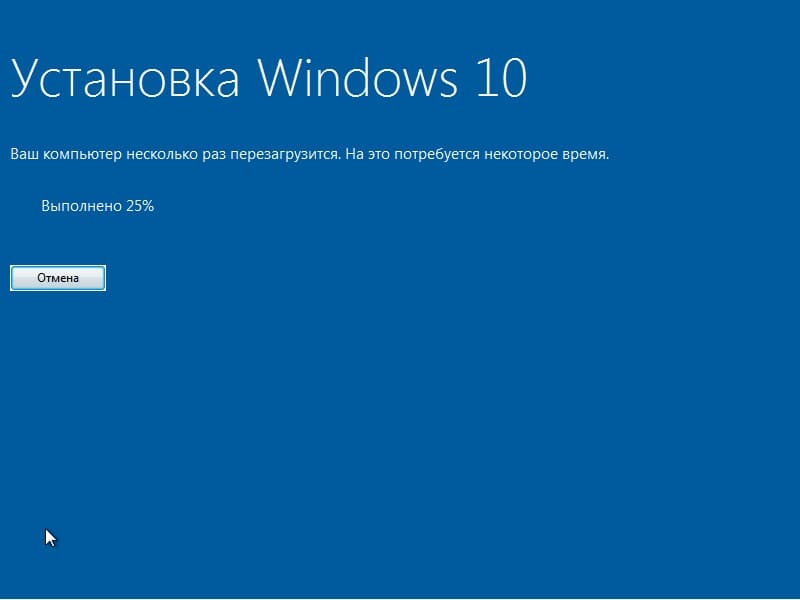
10) Ожидаете пока установится Windows 10. Компьютер пару раз перезагрузится для установки новой операционной системы.

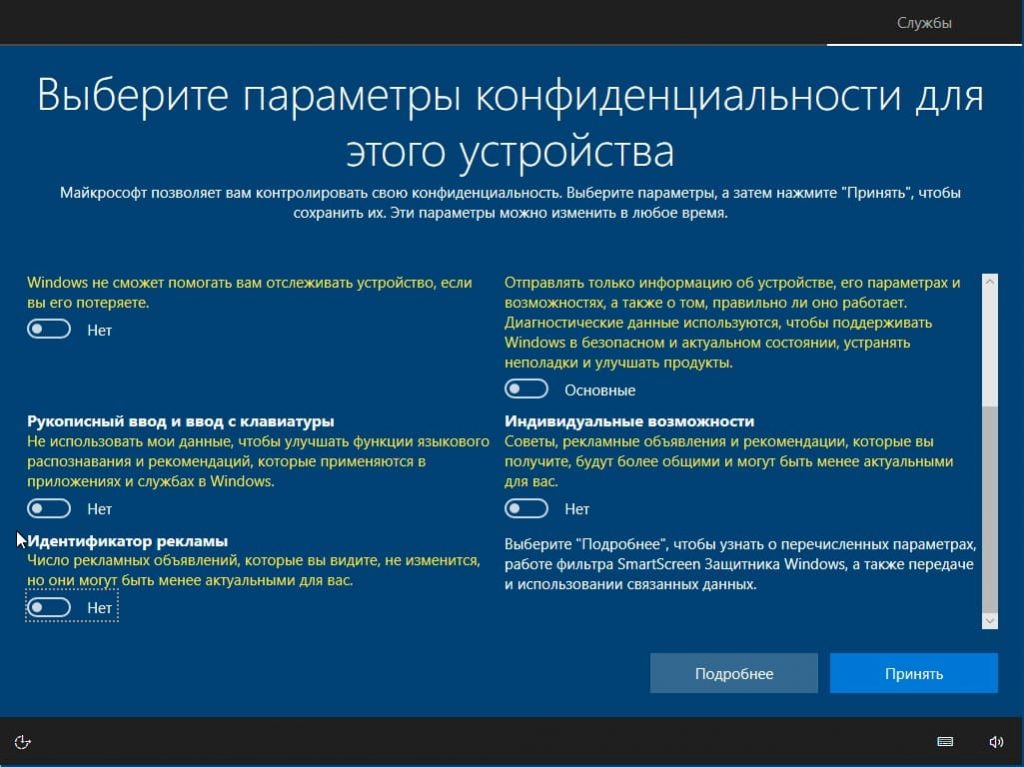
11) На шаге параметров конфиденциальности советуем отключить все пункты.
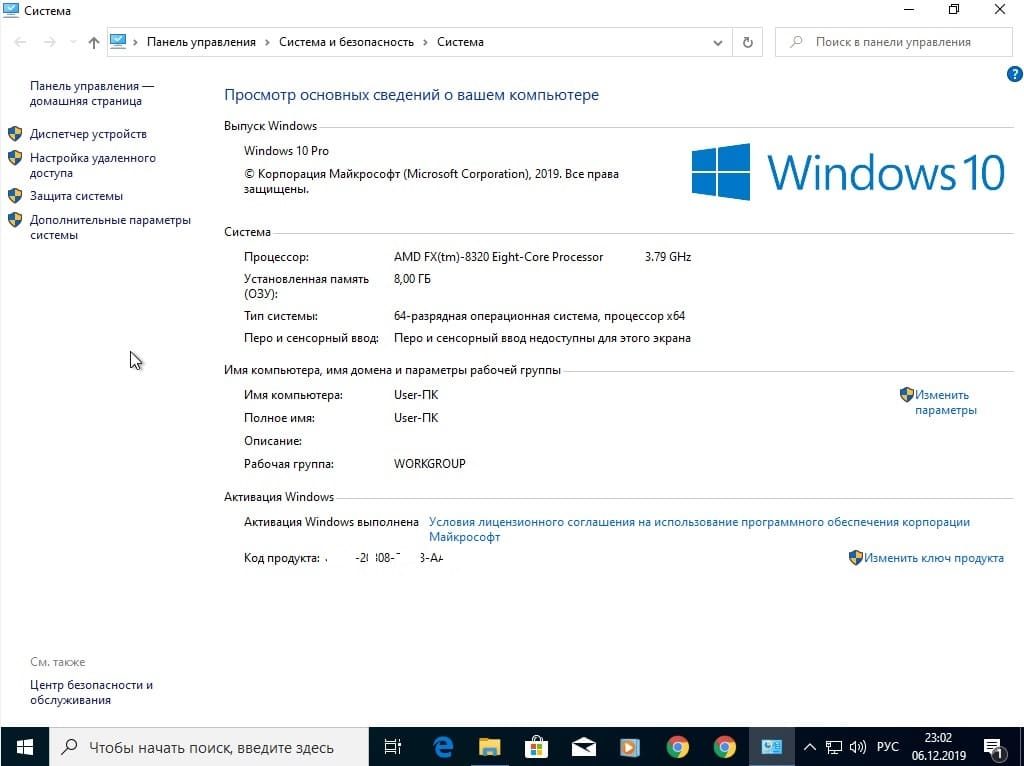
12) В целом все. Процедура по обновлению с Windows 7 до Windows 10 закончена. Вам остается только проверить в свойствах компьютера Вашу операционную систему. А так же после ввода ключа в начале обновления у Вас будет уже активированная Windows 10.


Здравствуйте! Да, верно. Бесплатное обновление с Windows 7 до Windows 10 уже невозможно. Приобрести ключ активации Windows 10 можете в нашем каталоге — https://softcomputers.org/windows/windows-10/
Получается, если не ввести сразу код, то дальнейшая установка невозможна