


В данной статье пошагово рассмотрим процесс установки Windows 7 (любых версий: Ultimate, Professional, Home Premium, Home Basic, Enterprise), процесс установки в различных версиях не отличается.
На примере мы будем устанавливать чистую систему с нуля, т.е с помощью загрузочной флешки из под Биоса/UEFI.
— Первое, что нам понадобится — это сам дистрибутив. Скачать оригинальные дистрибутивы Windows 7 можете в нашем каталоге. Хеш-суммы дистрибутивов указаны в описании.
— Теперь после того, как у Вас есть скаченный дистрибутив, его необходимо записать на флешку, сделав ее загрузочной. Это можно сделать несколькими способами.
1. С помощью официальной утилиты от Microsoft для записи загрузочной флешки: Windows 7 usb dvd download tool. Скачать утилиту и ознакомиться с инструкцией по записи можете в следующей инструкции.
2. Так же можете сделать загрузочную флешку с помощью популярной утилиты WinSetupFromUSB. Скачать ее и ознакомиться с инструкцией можете в нашей прошлой статье.
— Итак, теперь когда у Вас есть загрузочная флешка с Windows 7 — необходимо загрузиться на нее из под Биоса/UEFI. Единой инструкции нет, т.к Биосы бывают разные, с примерными инструкциями по разным Биосам можете ознакомиться в следующей видео-инструкции: https://youtu.be/SArCVCFVzI8?si=GvFbQNFz5rmbIVLU
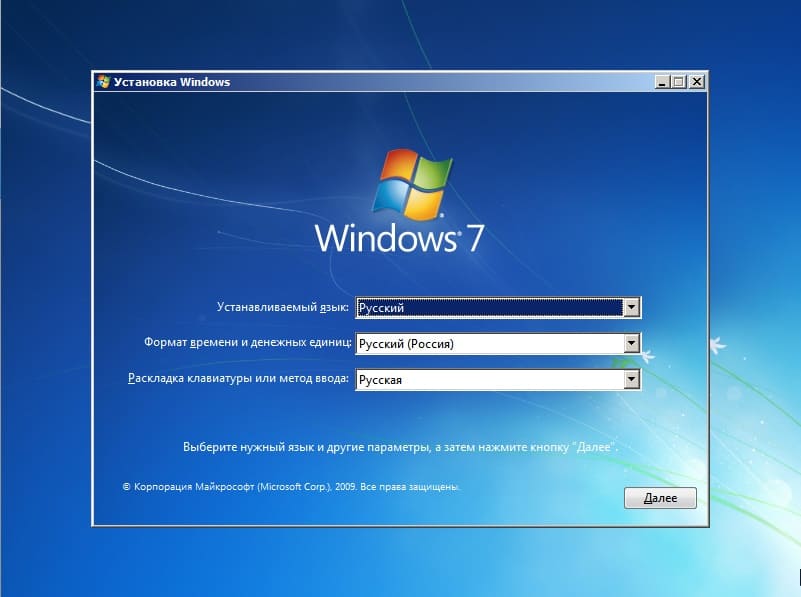
— Когда Вы успешно загрузились на загрузочную флешку можно приступать к установке: Выбираем язык и пр. региональные настройки.
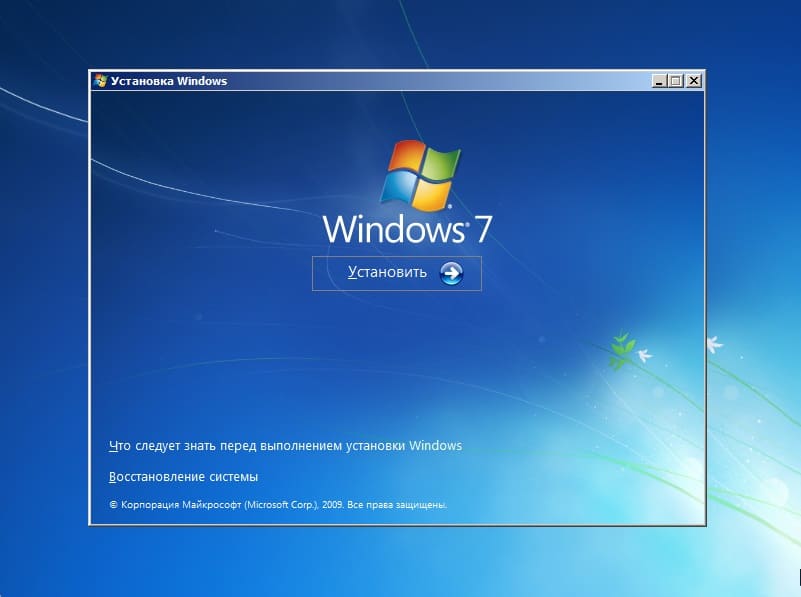
Нажимаем «Установить».
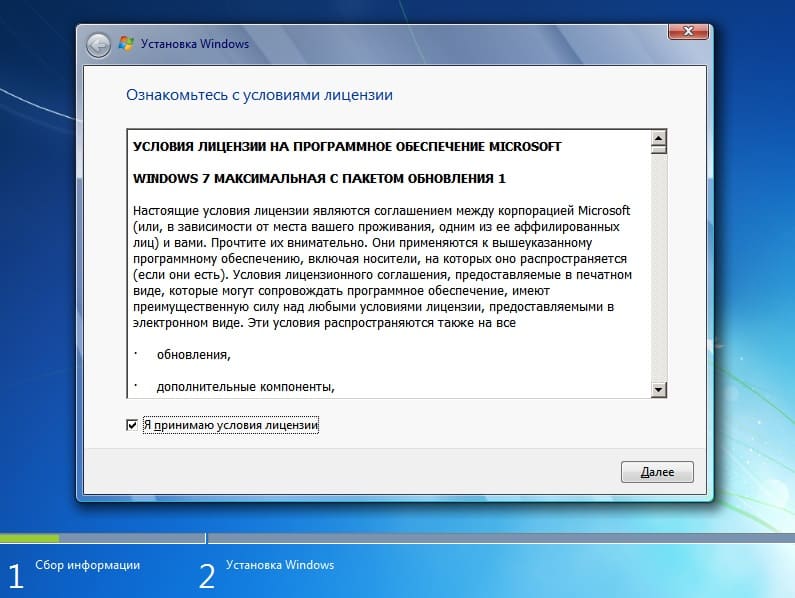
Принимаем лицензионное соглашение.
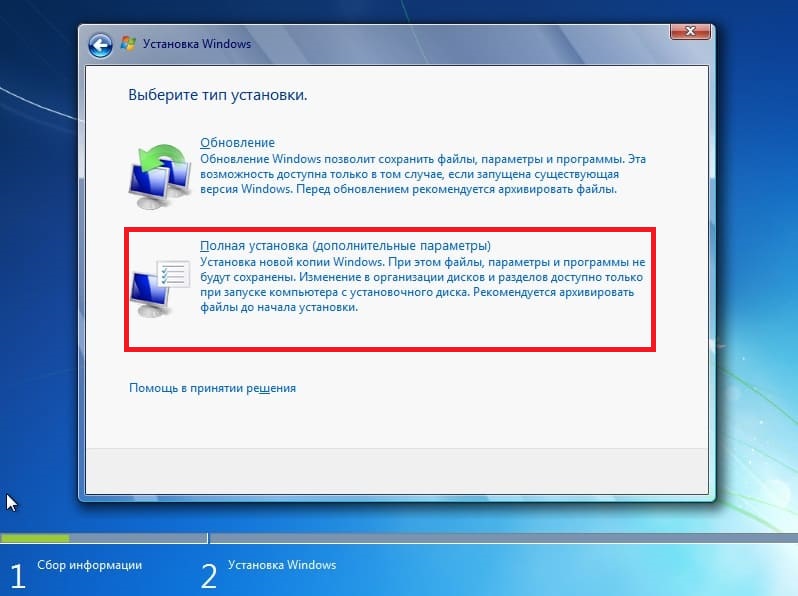
Выбираем пункт «Полная установка».
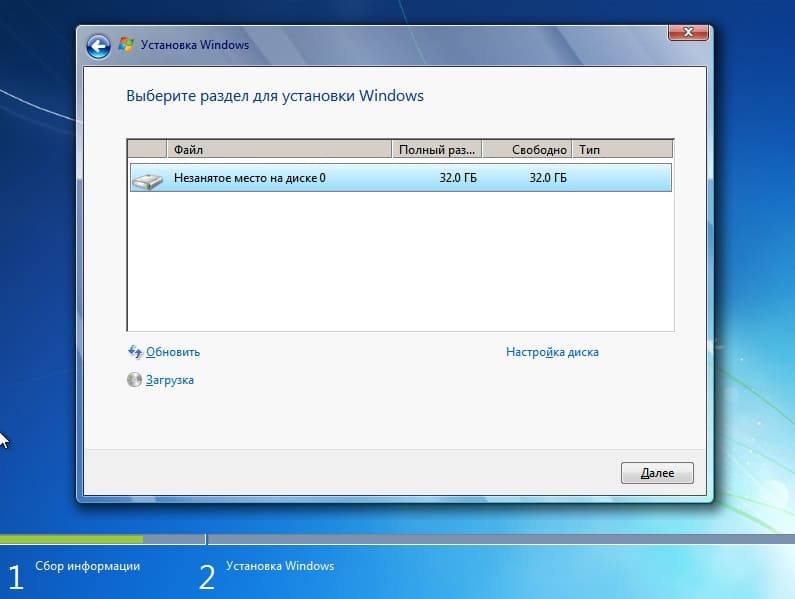
Далее система спросит на какой жесткий диск или раздел установить систему. В нашем случае раздел один и будем устанавливать на него. В вашем случае дисков, или разделов может быть несколько.
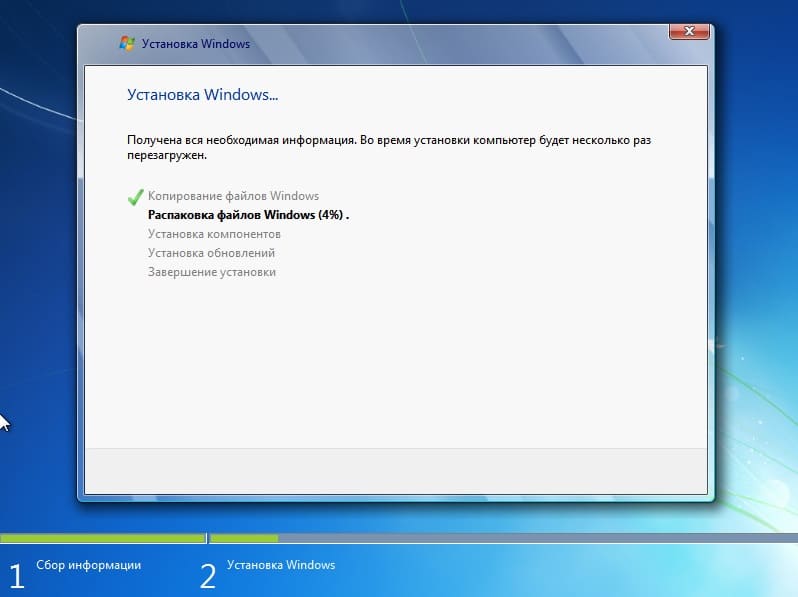
Начинается процесс установки.
После первой перезагрузки можете вытащить флешку.
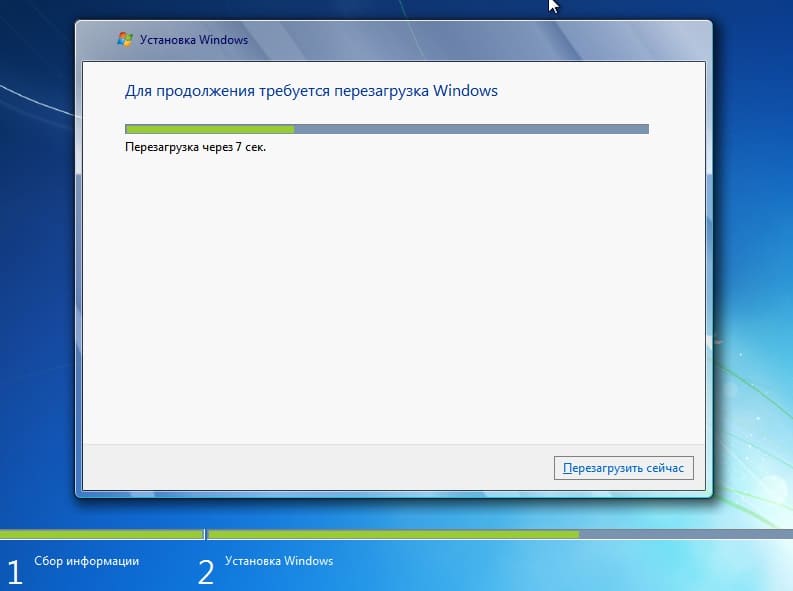
Система перезагрзится еще несколько раз во время установки.
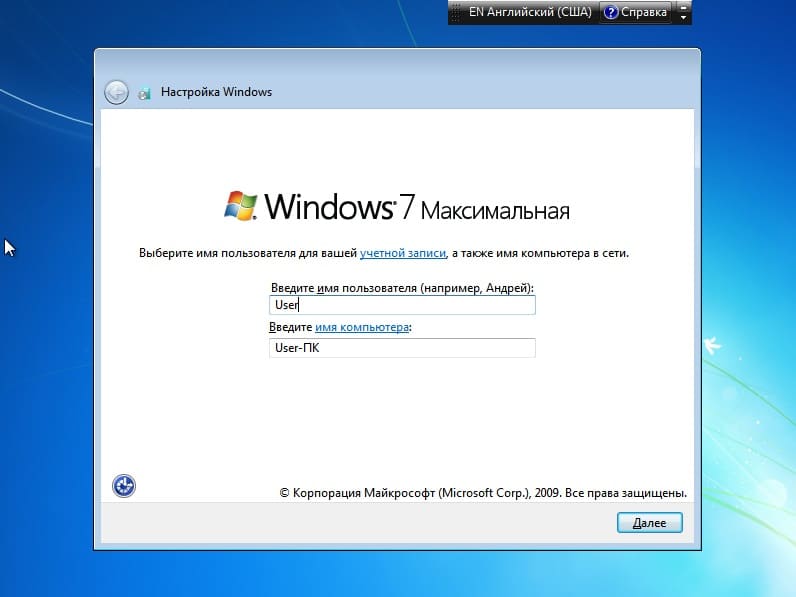
После основной установки, система предложит ввести имя.
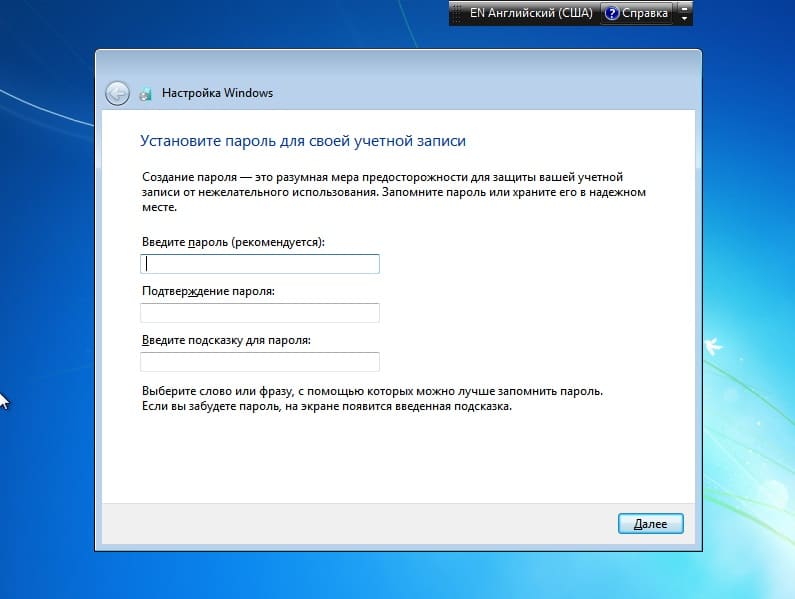
Ввод пароля для системы можете пропустить, нажав на кнопку «Далее», либо при желании сразу задать пароль, если он нужен.
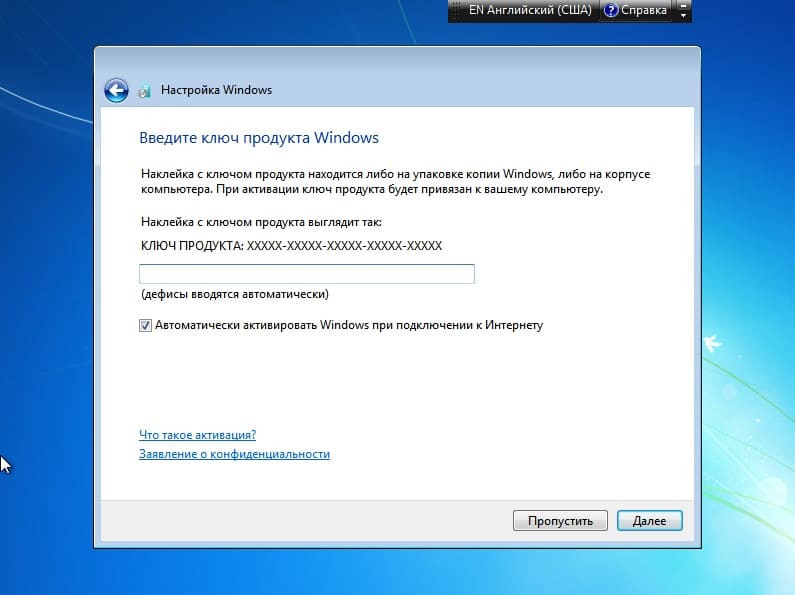
Теперь система предложит ввести ключ продукта. Можете ввести Ваш ключ активации для Windows 7 прямо сейчас, либо пропустить и ввести его уже в установленной системе. Триальный срок Windows 7 составляет как правило 30 дней с момента установки. Помимо всего, если у Вас нет ключа продукта, приобрести его можете в нашем каталоге по самым низким ценам. Моментальная доставка ключа в автоматическом режиме на Ваш Email.
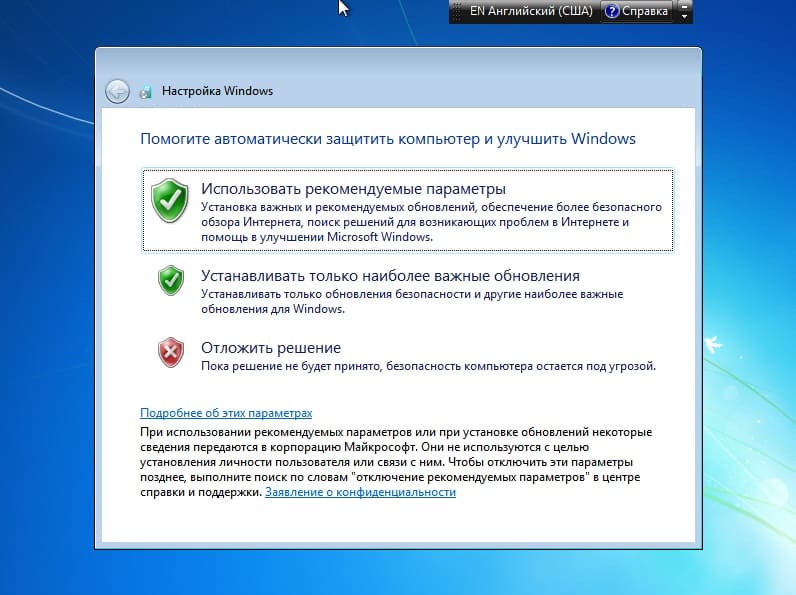
Здесь можно нажать «Рекомендуемые параметры».
Задаем время и часовой пояс.

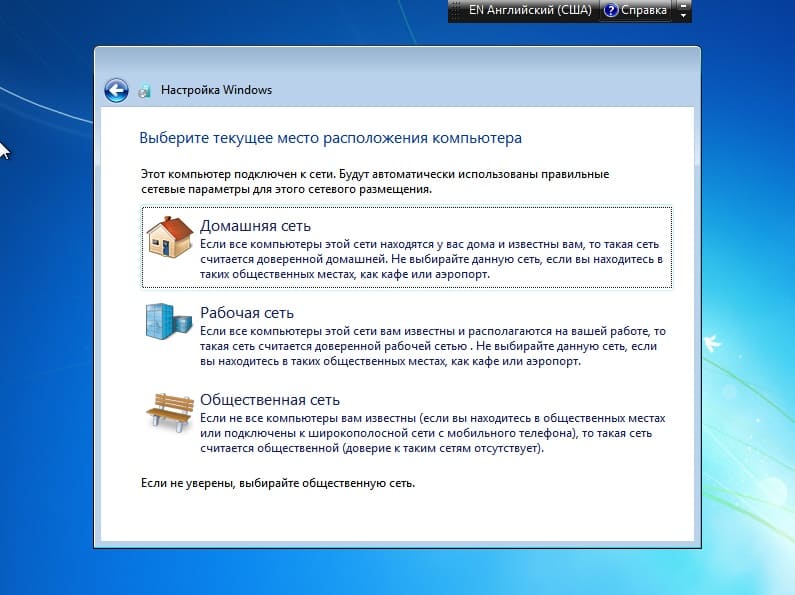
Последней настройкой будет определение сети, если это Ваш домашний ПК, можете выбрать «Домашняя сеть», либо если офисный ПК, то «Рабочая сеть».
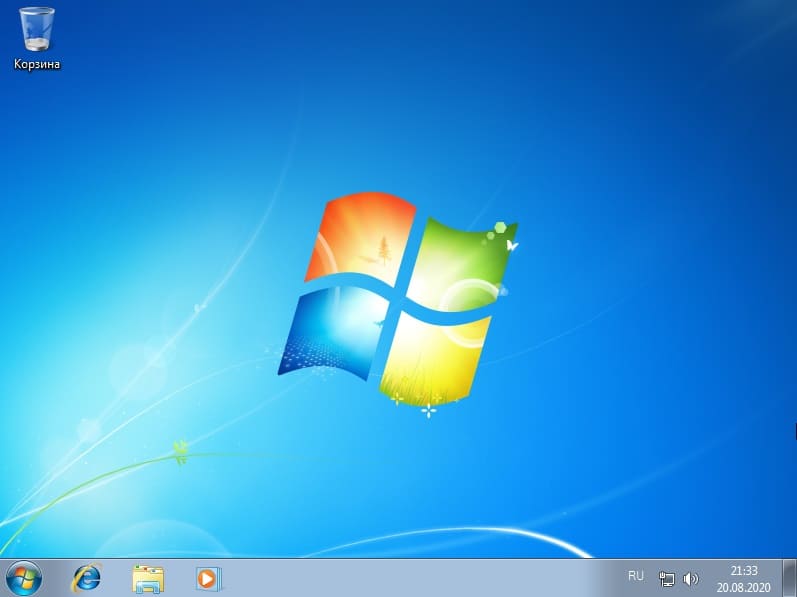
Система установлена, у Вас отобразится Ваш рабочий стол.
— Теперь можете ознакомиться как активировать уже установленную систему в нашей прошлой статье.
— А так же более расширенная инструкция по нашим рекомендациям первоначальной настройки Windows 7 после установки, все это на следующей странице.


Помогло спасибо создателю!