

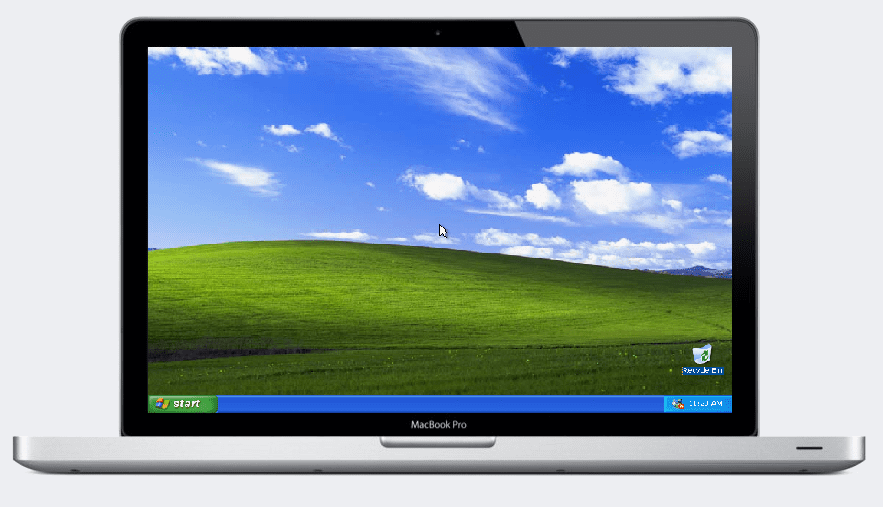
В данной статье мы пошагово со скриншотами рассмотрим процесс установки Windows XP на компьютеры и ноутбуки под управлением операционной системы MacOS. Устанавливать мы будем на виртуальную машину Parallels Desktop как изолированную операционную систему. Запускать ее нужно будет обычным запуском как и любое другое приложение MacOS из ярлыка.
Нам для этого нужно скачать виртуальную машину Parallels Desktop, и собственно сам дистрибутив Windows XP SP3 Professional.
Теперь когда у Вас уже установлено приложение Parallels Desktop на Вашем Mac и скачан дистрибутив. Запускаем приложение Parallels Desktop.
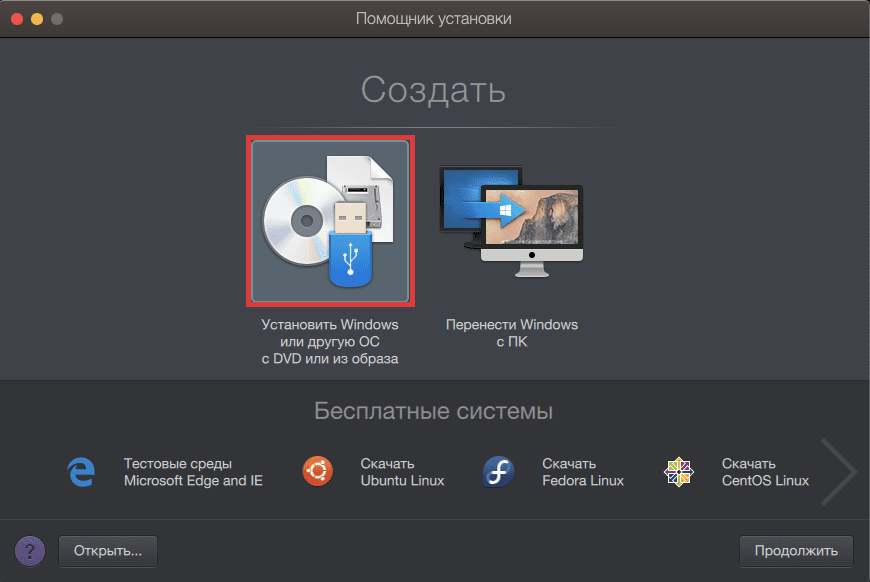
В приложении нажимаете «Установить Windows иди другую ОС с DVD или из образа» => Продолжить.
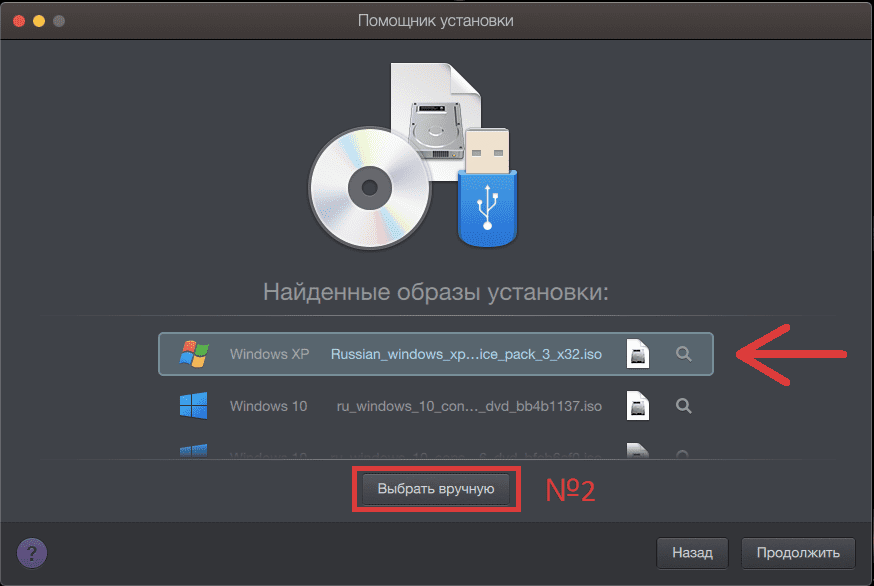
Далее у Вас приложение может уже автоматически определить, что образ Windows XP находится у Вас на жестком диске, либо если не определил, выбираете его в ручную через кнопку «Выбрать в ручную».
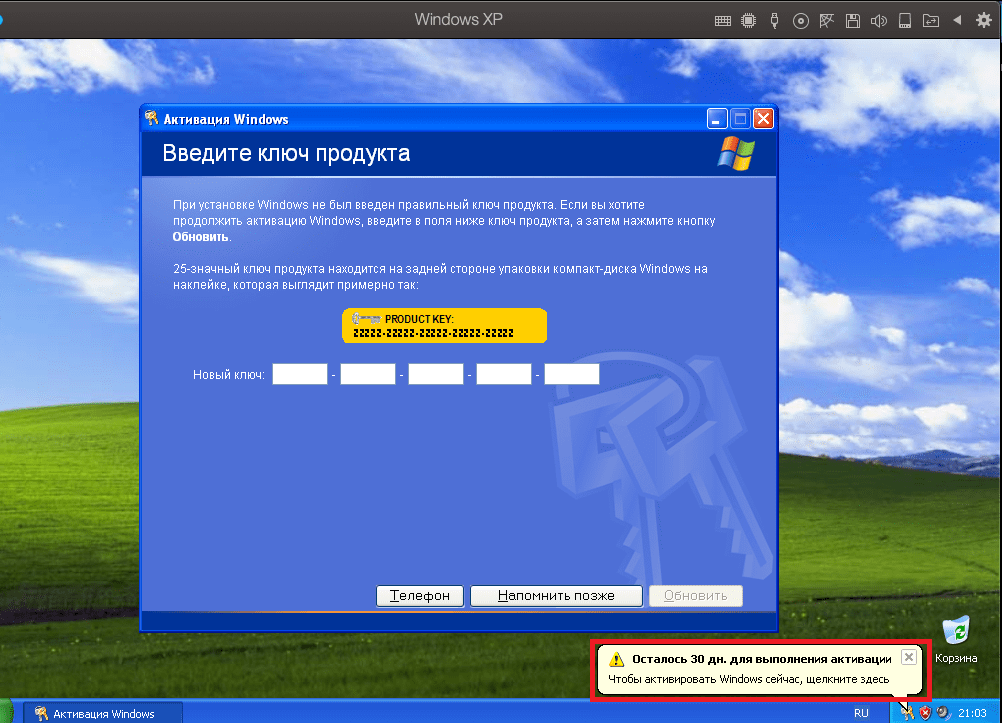
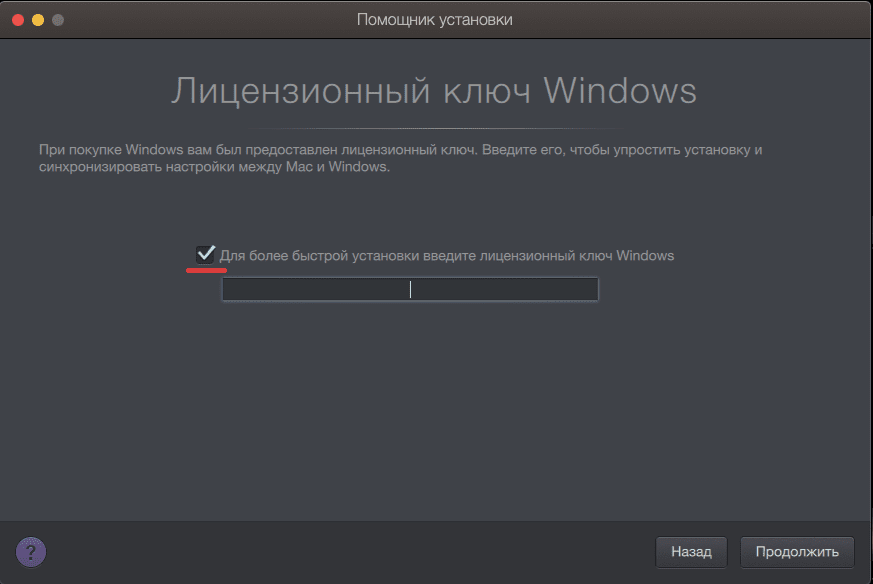
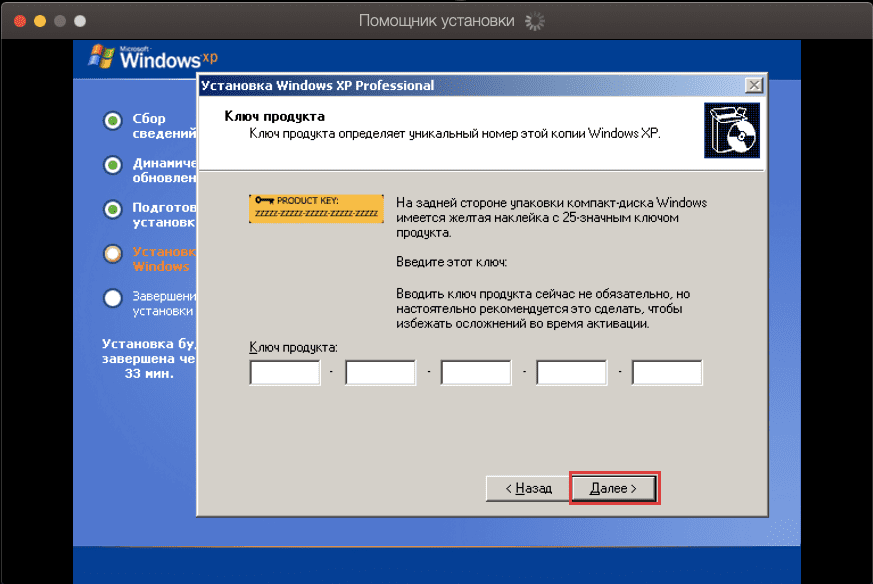
Далее, будет окно, с предложением ввести ключ активации Windows XP, можете пока пропустить этот пункт сняв галку на данном этапе. Мы активируем систему, когда установим ее до конца.
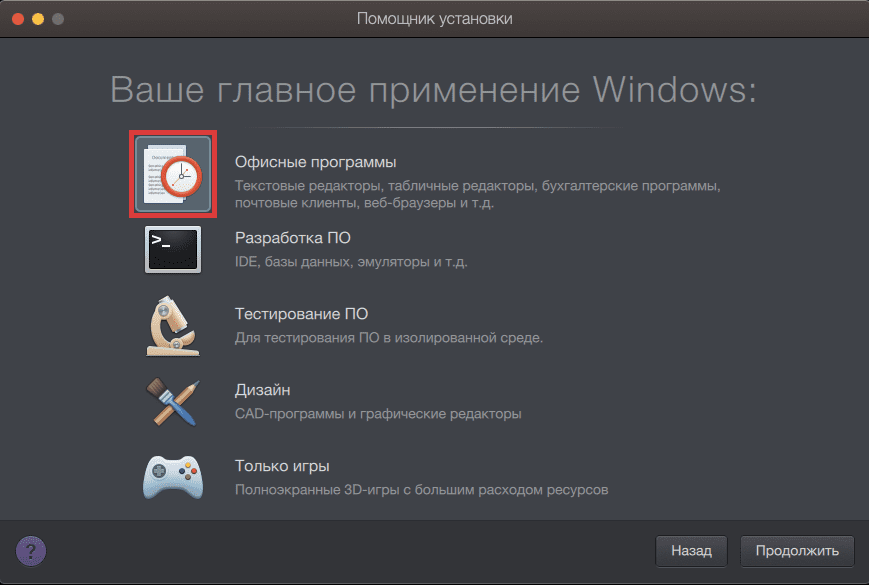
Следующим шагом как формальность у Вас приложение запросит цель использования дистрибутива Windows. Это нужно для автоматических настроек при установке. Можете выбрать любой, к примеру «Офисные программы».
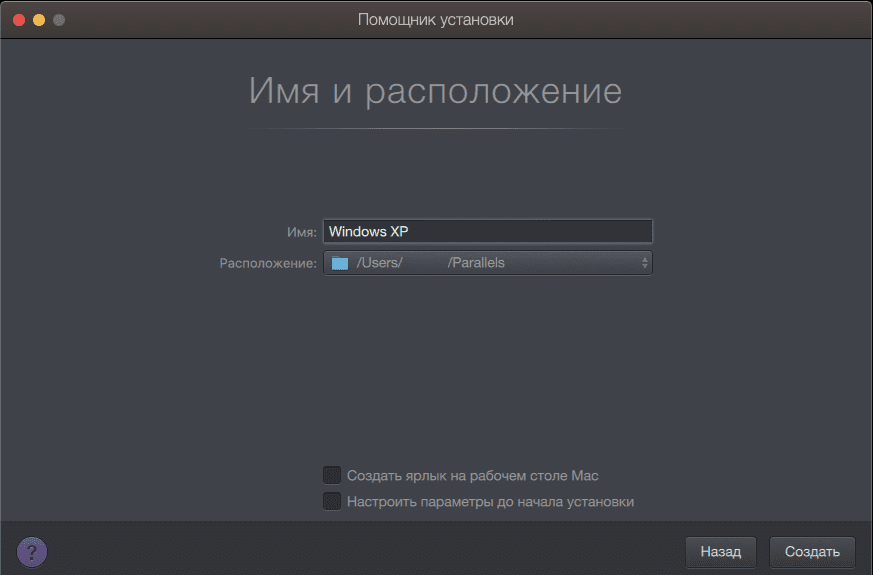
Далее, задайте имя Вашей виртуальной машине с Windows XP. Можете оставить как есть, либо задать свое.
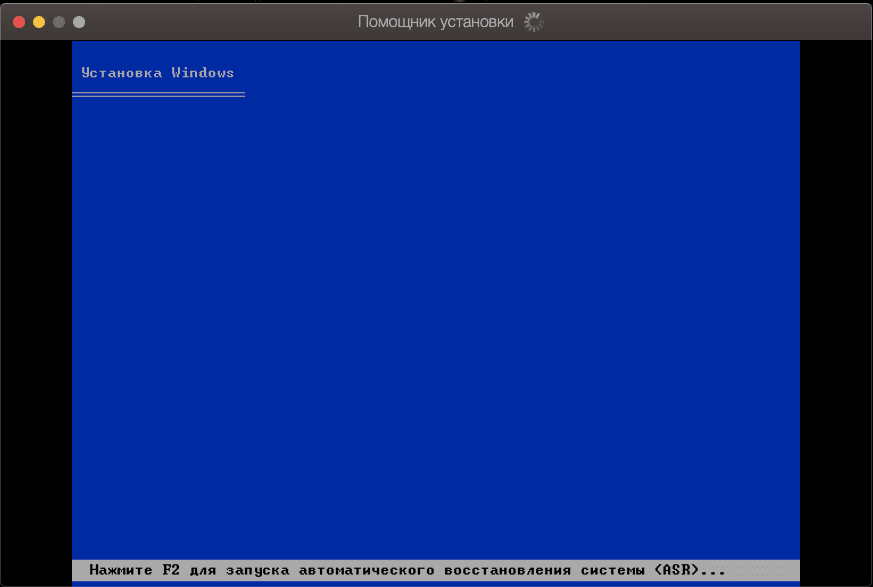
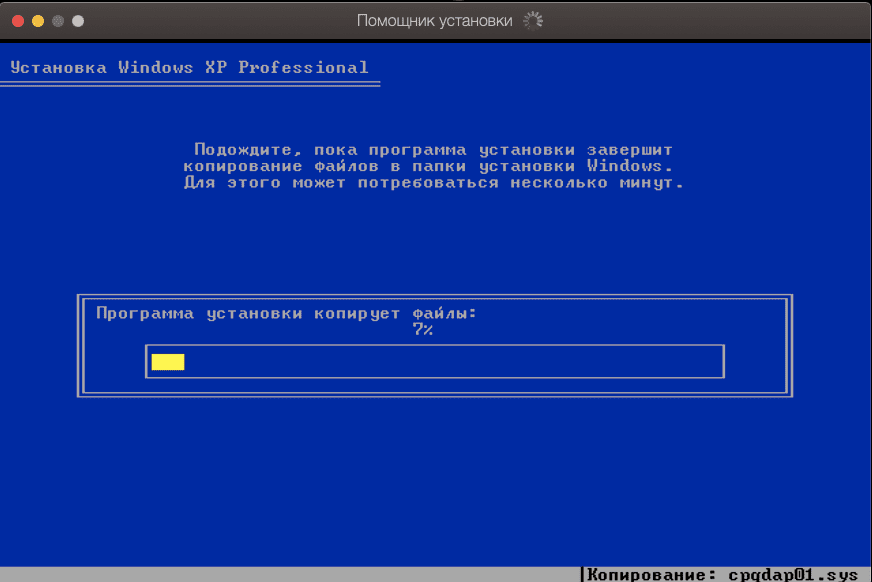
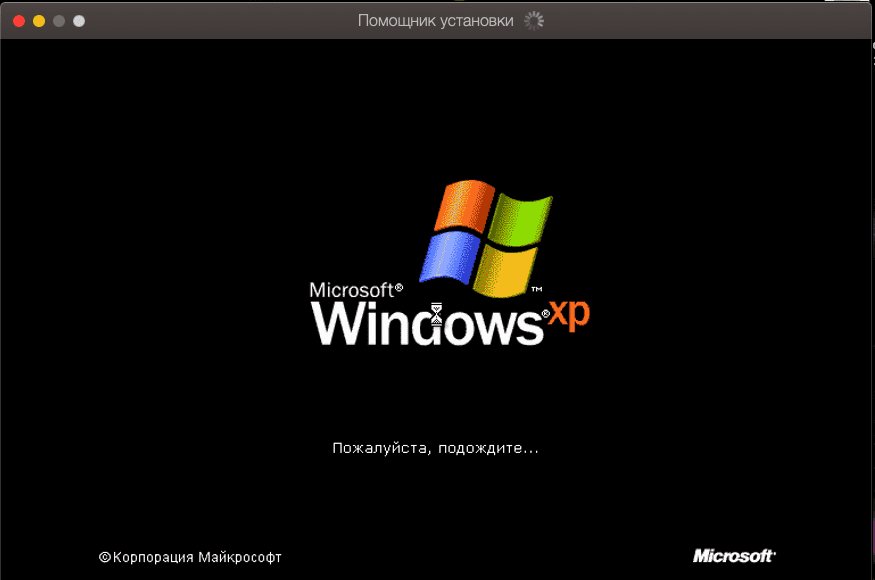
Теперь начинается непосредственно сама установка Windows XP, она не будет отличаться от обычной установки как на стандартное железо.
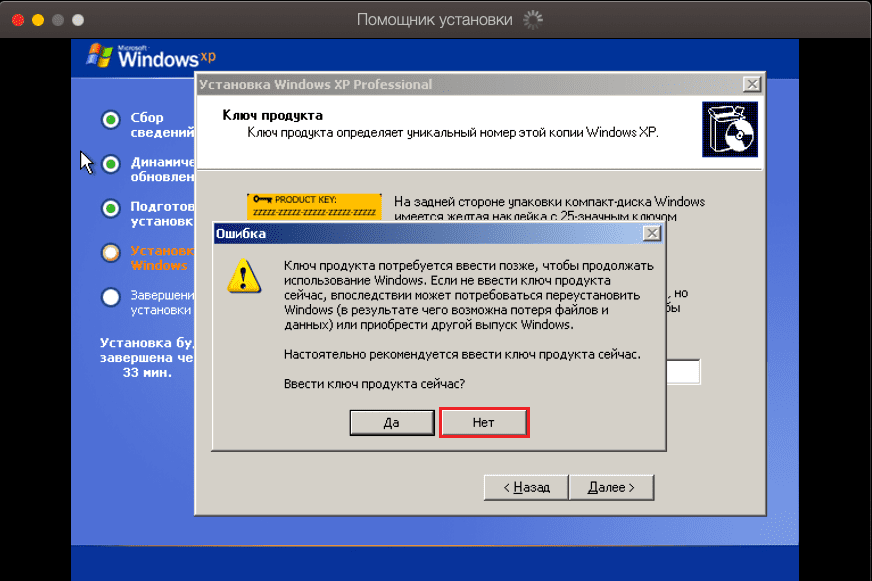
На данном этапе мы так же можем пропустить ввод ключа активации, нажав «Далее» => после в новом окне нажать «Нет».
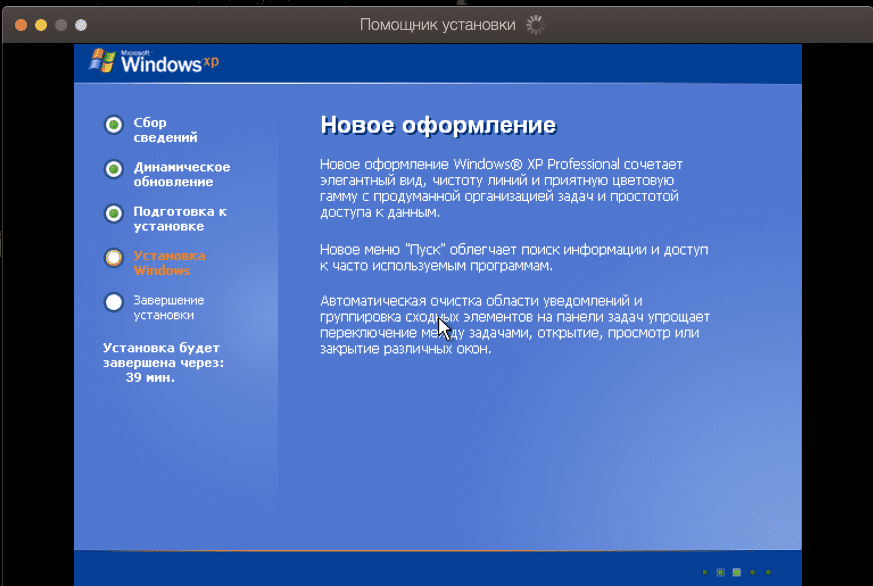
Теперь ожидаете пока система завершит свою установку.
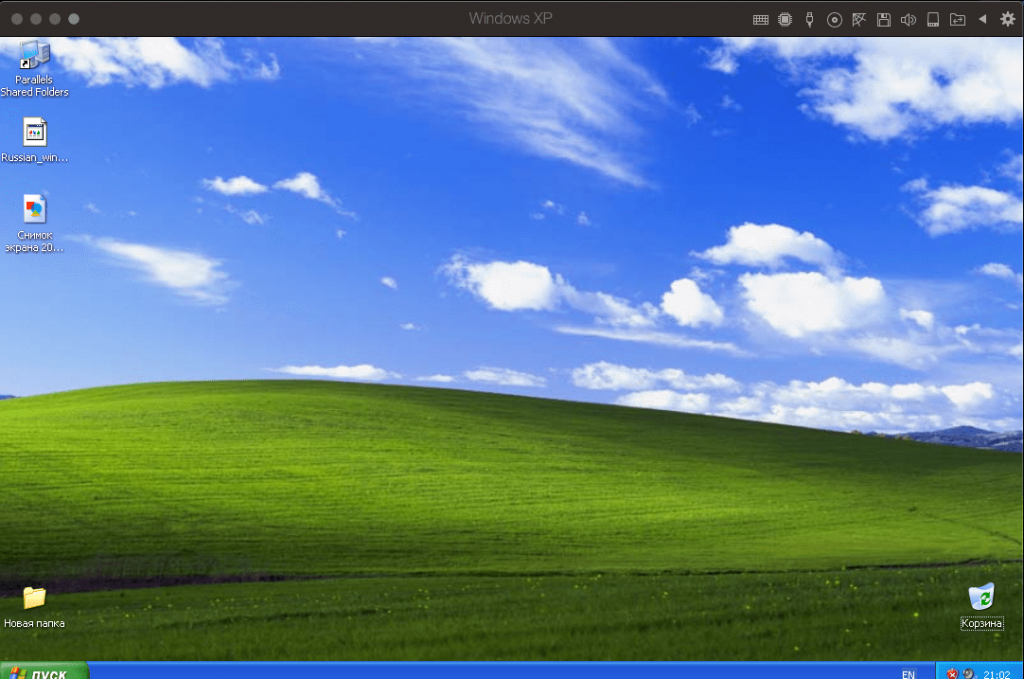
На этом все. Система установлена и у Вас отобразится рабочий стол Windows XP.
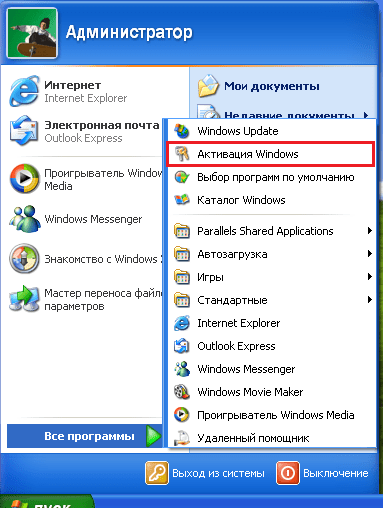
Теперь Вы можете активировать сситему из меню «Пуск» => Все программы => Активация Windows. Приобрести лицензионный ключ Windows XP SP3 Professional можете в нашем каталоге, быстрая доставка ключа активации на Вашу электронную почту. Гарантия.
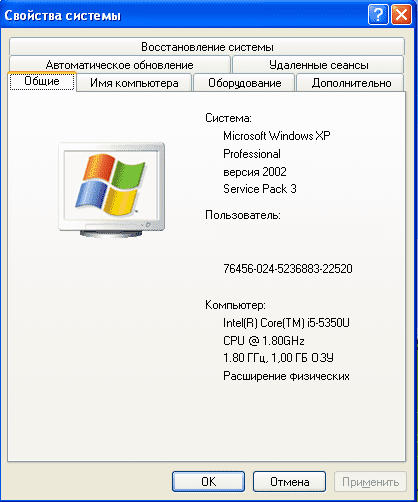
Система Windows XP без активации будет работать 30 дней.