


В этой статье мы рассмотрим пошаговое руководство по созданию загрузочной флешки любых версий Windows с помощью утилиты Rufus. Кроме того, мы коснемся вопроса поддержки старых версий Windows, таких как Windows 7, и особенностей работы с новыми функциями.
Скачать Rufus 4.5 можете с нашего сервера по прямой ссылке. Либо с официального сайта.
Так же можно выбрать и скачать любую версию Rufus в нашем каталоге.
Шаги по созданию загрузочной флешки
1. Выбор устройства и языка
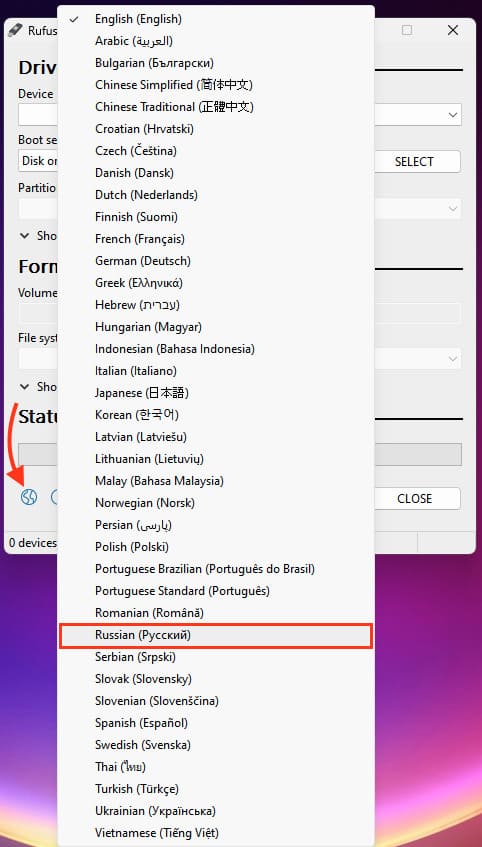
Впервую очередь после того как вы открыли Rufus, установите нужный вам язык.
— Нажмите на значок Планеты и выберите язык, в нашем случае это Русский.
Далее выберите USB-устройство для создания загрузочной флешки в разделе «Устройство».
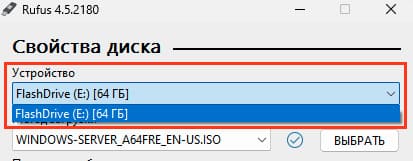
Если накопитель отображается как локальный диск, он может не появиться в списке. Чтобы это исправить:
— Откройте «Показать расширенные свойства диска».
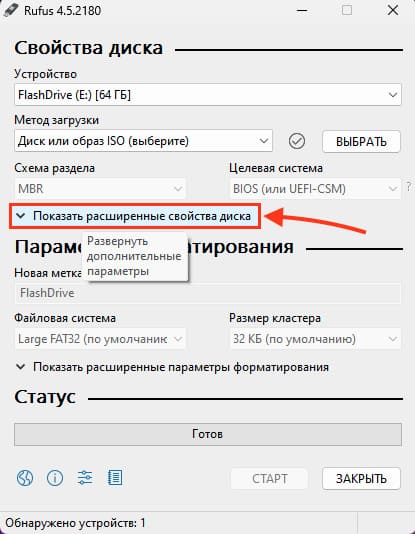
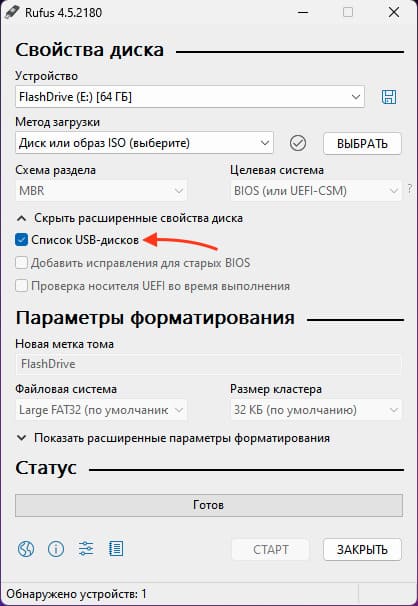
— Поставьте галочку на «Список USB-дисков». Теперь устройство будет доступно.
Учтите, что все данные на USB флешке будут удалены.
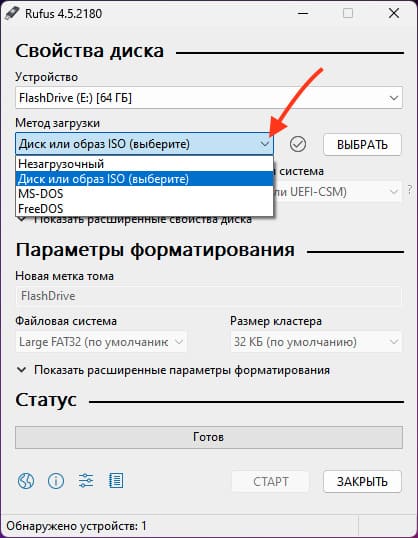
2. Выбор метода загрузки
Выберите метод загрузки. Обычно используется «Диск или ISO-образ».
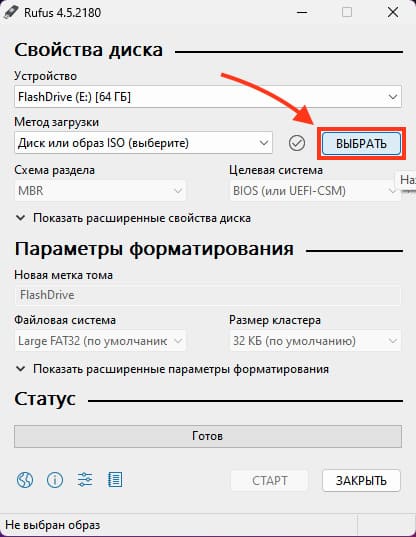
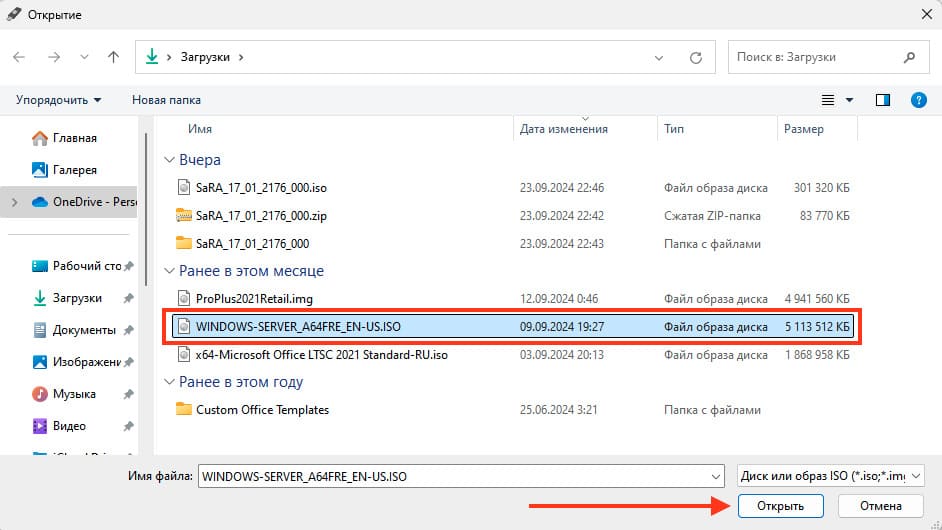
3. Выбор образа
Если у вас уже есть образ операционной системы, нажмите «ВЫБРАТЬ» и выберите нужный дистрибутив. Либо сперва скачайте его с нашего каталога.
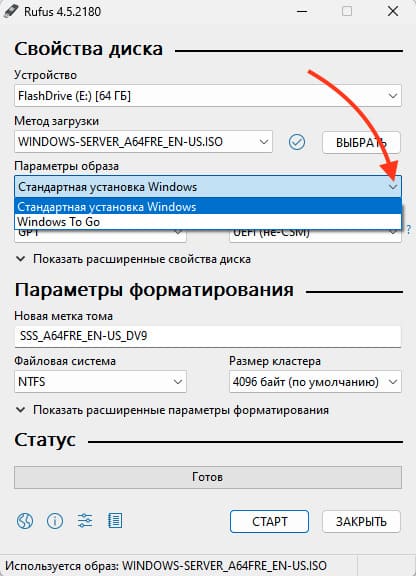
4. Выбор типа установки
После выбора образа Rufus предложит два варианта:
— Выберите — Стандартная установка Windows.
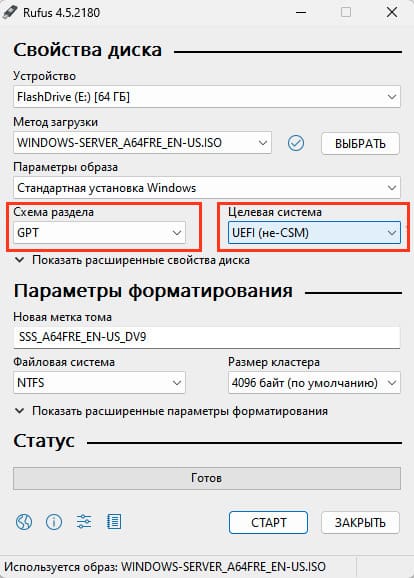
5. Настройка схемы разделов и целевой системы
Для современных компьютеров обычно выбирается схема разделов GPT и система UEFI. Эти параметры можно оставить по умолчанию. Если вы используете устаревшую ОС, например Windows 7, скачайте версию 3.22
6. Настройка метки диска и форматирования
Можно задать метку диска и выбрать быстрое форматирование. Оставьте настройки по умолчанию, если нет других требований.
— Файловая система NTFS

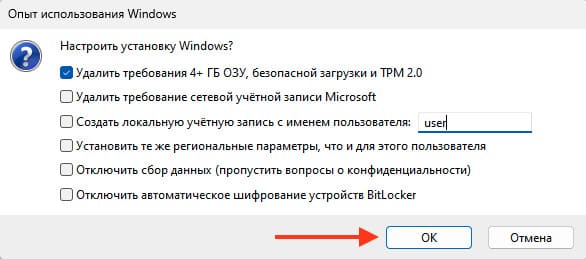
7. Параметры совместимости для Windows 11
Нажимаем «СТАРТ» и если используете образ Windows 11, Rufus предложит:
— Удалить требования 4+ ГБ ОЗУ, безопасной загрузки и ТРМ 2.0.
— Удалить требование сетевой учётной записи Microsoft.
— Создать локальную учётную запись с именем пользователя.
— Установить те же региональные параметры, что и для этого пользователя.
— Отключить сбор данных (пропустить вопросы о конфиденциальности).
— Отключить автоматическое шифрование устройств BitLocker
В случае если у вас старый ПК или ноутбук который не поддерживает TPM 2.0 и более 4ГБ ОЗУ, можете установить первый флажок.
Выберите нужные вам параметры и нажмите «ОК».
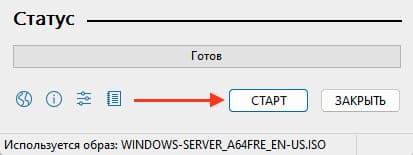
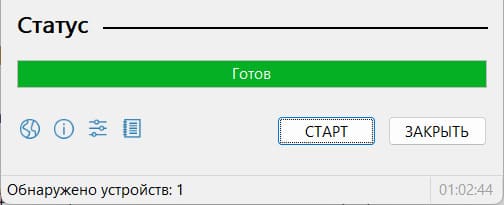
8. Запуск создания флешки
Нажмите «Старт» или «ОК» после предыдущего выбора параметров.
Появится последнее всплывающее окно перед началом записи дистрибутива на флешку, жмем «ОК».

После чего начнется запись и по ее окончанию Rufus создаст загрузочную флешку, которую можно будет использовать для установки или запуска Windows.
После записи флешки нужно будет запустить её через BIOS/UEFI чтобы начать установку, выбрав её как загрузочный диск. Как это сделать можно прочитать в нашей другой статье.
А так же наш интернет-магазин предлагает Вам приобрести лицензионные ключи активации Windows различных версий по самым низким ценам. Моментальная доставка ключа на Вашу электронную почту сразу после оплаты в автоматическом режиме.
Ключ активации Windows 10 Home (Домашняя)
Ключ активации Windows 10 Enterprise LTSC 2019


спасибо
Спасибо!