


В данной статье мы наглядно покажем как происходит установка SQL Server 2019, а так же начальные настройки приложения, которые можно задать при установке.
1) Скачиваем дистрибутив Microsoft SQL Server 2019.
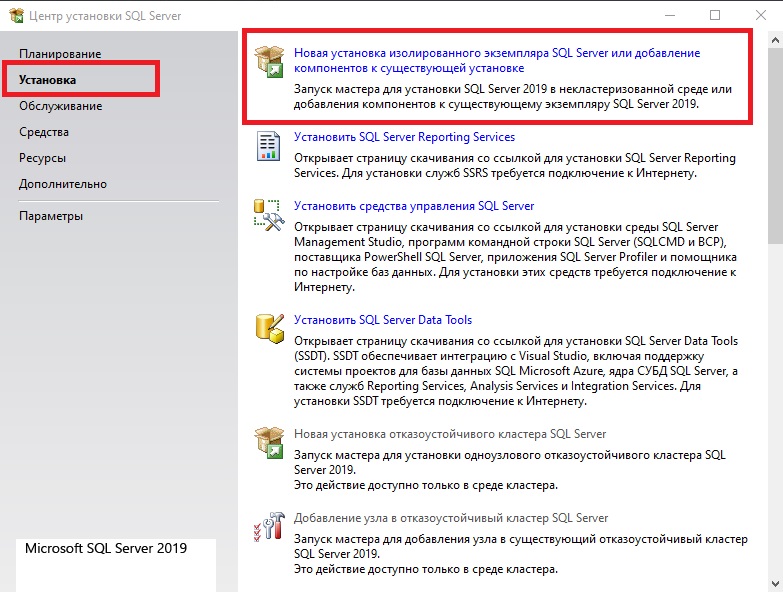
2) Далее открываем установщик и начинаем инсталляцию приложения.
3) Далее, у нас запросят выбрать версию установки из бесплатных, к примеру Evaluation (ознакомительня версия). Бесплатные ознакомительные версии работают только 180 дней пробного периода, далее приложение закрывает свой функционал.
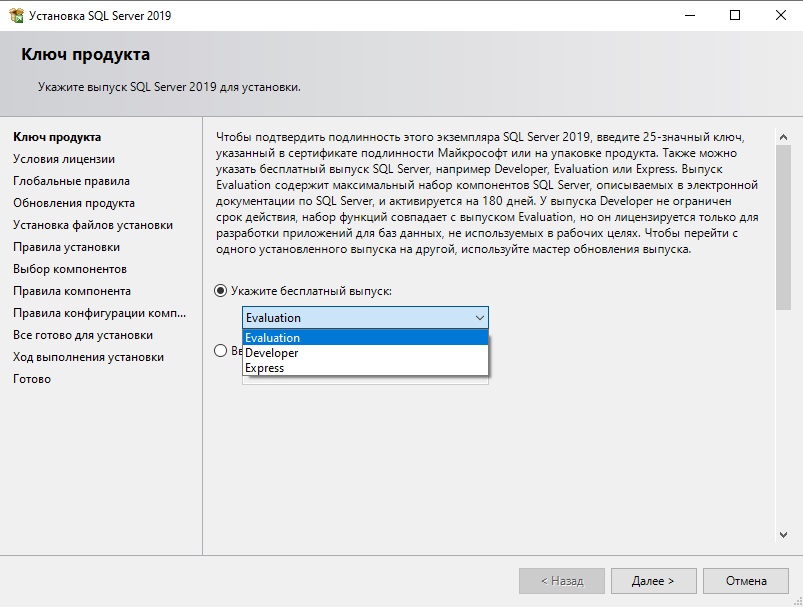
Либо если у Вас есть ключ активации от полнофункциональной версии, к примеру SQL Server 2019 Standard, то в нижнее поле можете ввести его. Приобрести ключ активации SQL Server 2019 Standard можете на следующей странице. Доставка в течении нескольких часов на Вашу электронную почту. Гарантия и круглосуточная техподдержка.
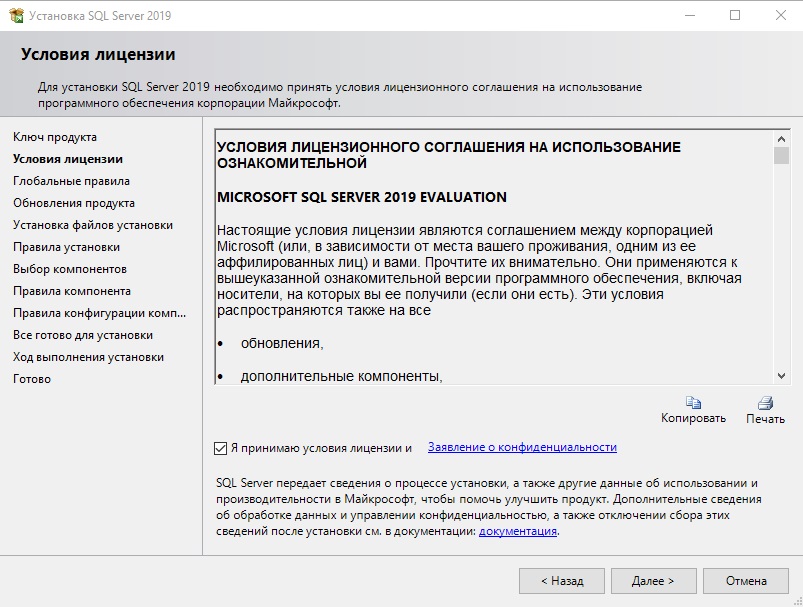
4) Принимаете лицензионное соглашение.
5) Далее, Вам предлагается выбрать компоненты для установки в SQL Server, выбираете нужные под Ваши задачи и жмем далее.

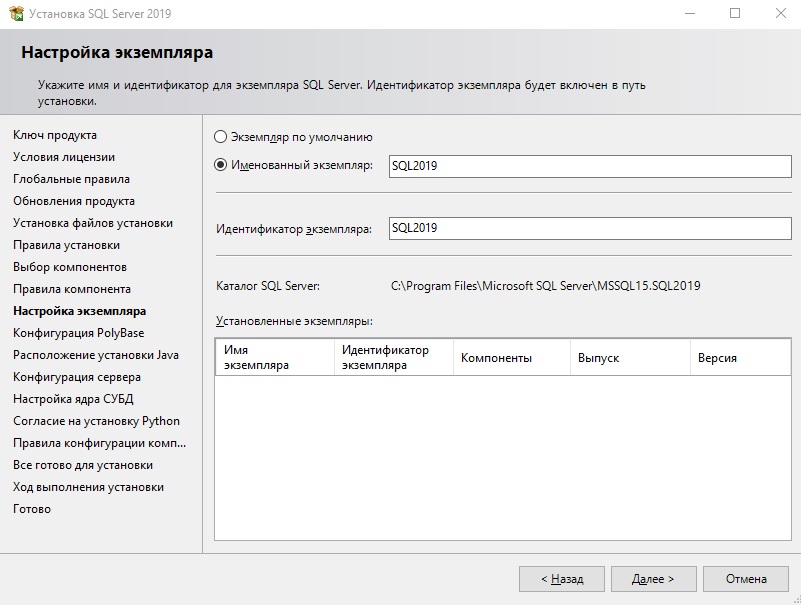
6) Далее задаем имя интерфейса. Если Вы планируете использовать только один экземпляр, то можете выбрать пункт «Экземпляр по умолчанию», в этом случае подключение будет осуществляться к этому экземпляру.
В нашем случае сделаем именованный и зададим ему имя.
7) Для поддержки Java установим среду JRE. Но если Вам требуется еще JDK или JRE другой версии, то Вы можете самостоятельно скачать их и выбрать установщики в меню «Расположение установки …»

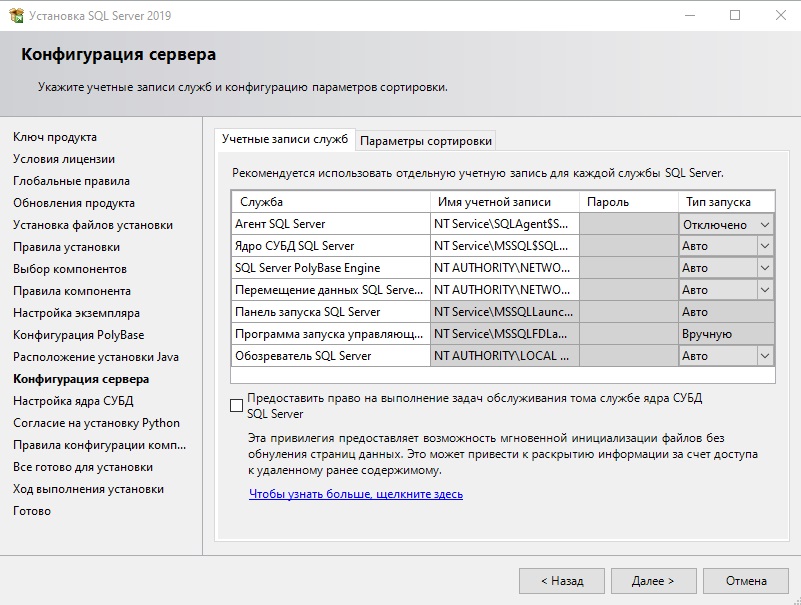
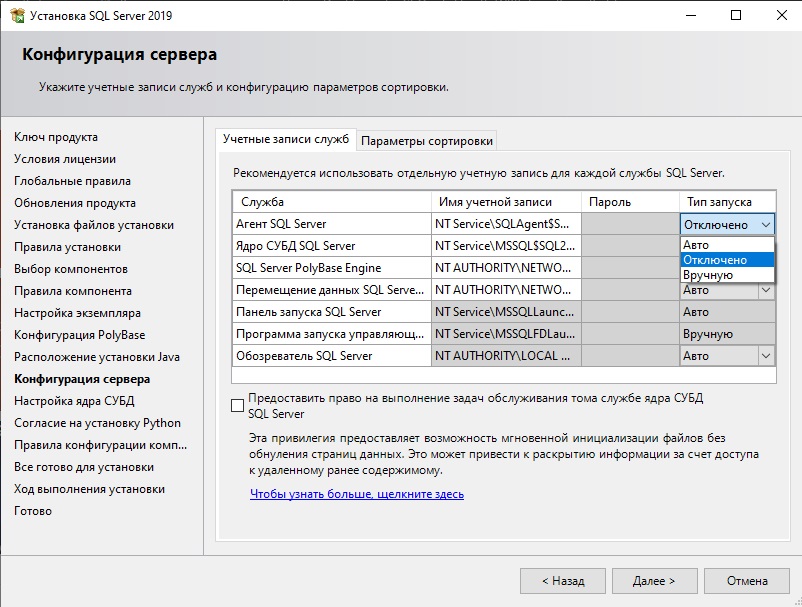
8) Далее, переходим к настройкам конфигурации сервера, обратим внимание на раздел «Имя учетной записи» — это те учетные записи из под которых будут стартовать службы SQL Server Agent, SQL Server Database, SQL Server Browser. По умолчанию используется Ваша локальная учетная запись.
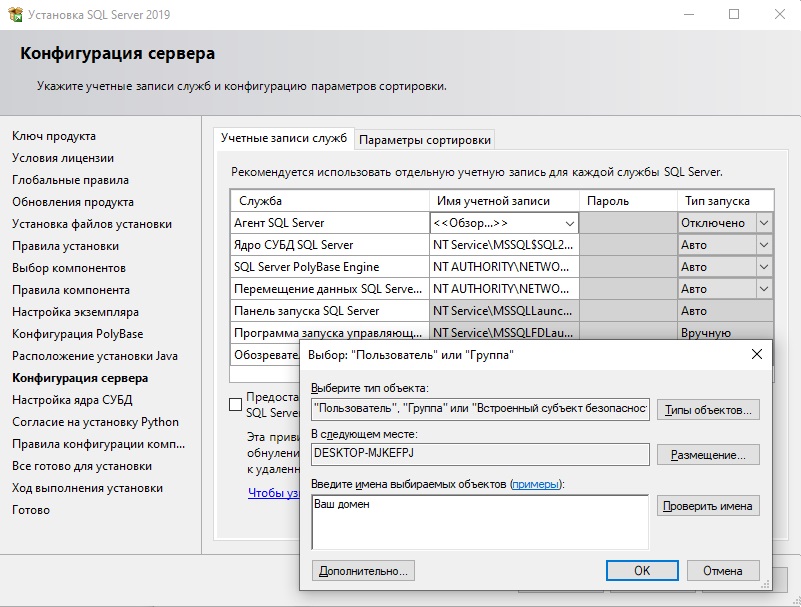
Но Вы в настройках можете выбрать учетную запись Вашего домена, если Ваш сервер входит в домен.
Так же, Вы можете задать тип запуска какой-либо службы. Поставить ее на автозапуск, в ручную, или вообще отключить, если Вам данная служба не нужна под Ваши задачи.
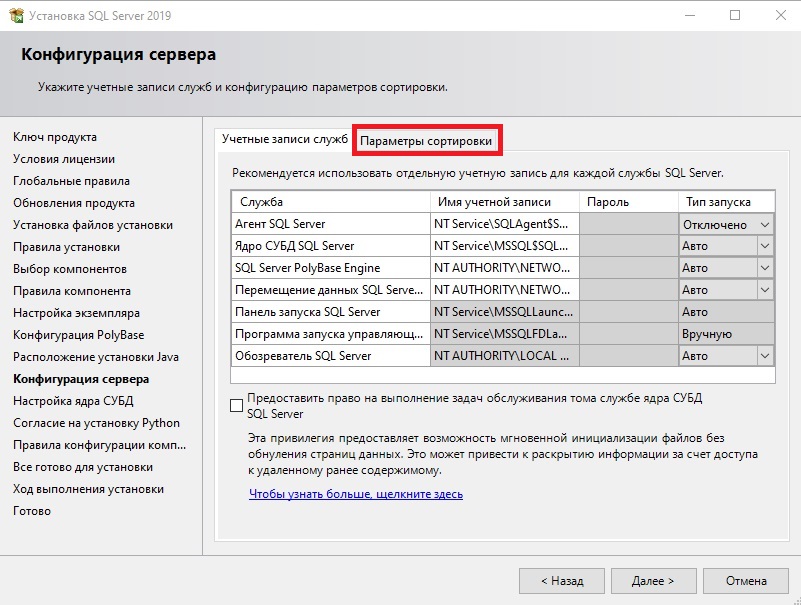
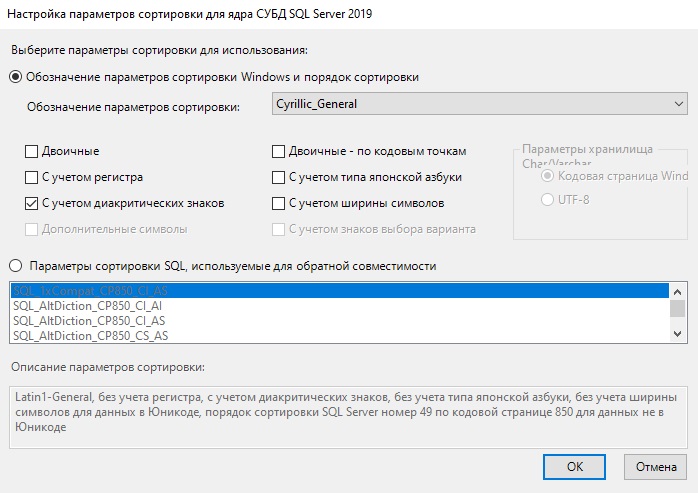
Так же можем зайти в меню «Параметры сортировки» — Это настройки таблицы кодировок. А так же, выполнять сортировку, как учитывать верхний и нижний регистр, как реагировать на символы, и т.п.
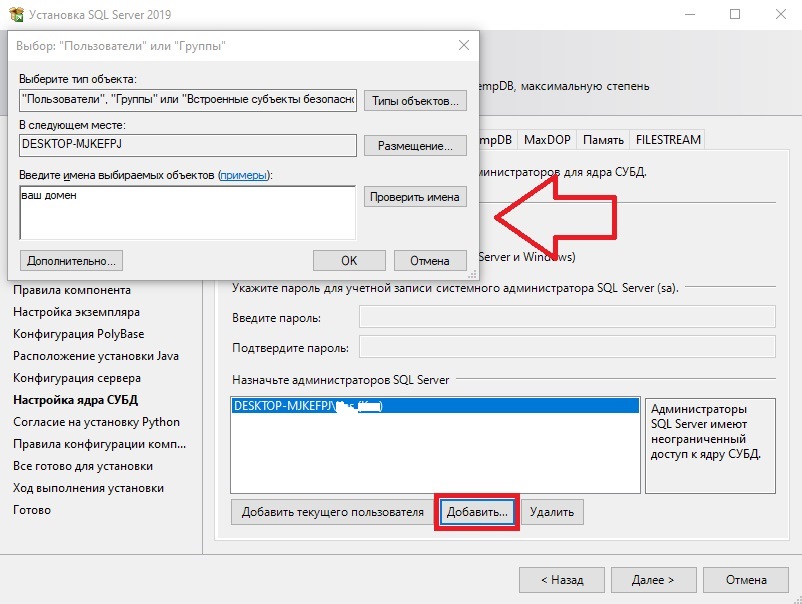
9) Далее переходим к настройкам учетных записей для подключения к SQL Server 2019. Нам предлагают выбор режим входа под учетными записями Windows, либо смешанный режим, т.е возможность входа под учетной записью Windows и под учетной записью SQL Server, если выбрать смешанную, то Вам предложится создать учетную запись SQL Server.
На примере мы выберем «Режим аутентификации Windows => нажимаем на кнопку «Добавить текущего пользователя» и добавляем его.
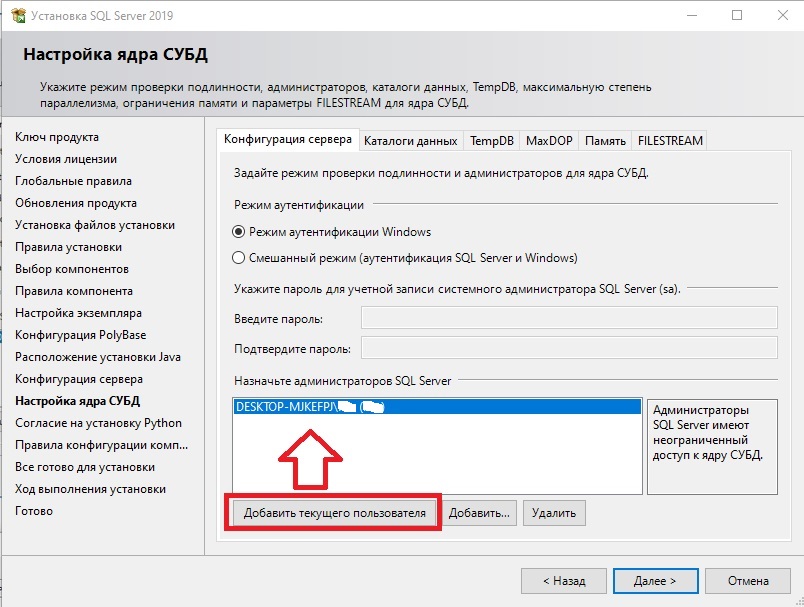
Так же, если Ваш сервер входит в домен, то можете добавить авторизацию с домена.
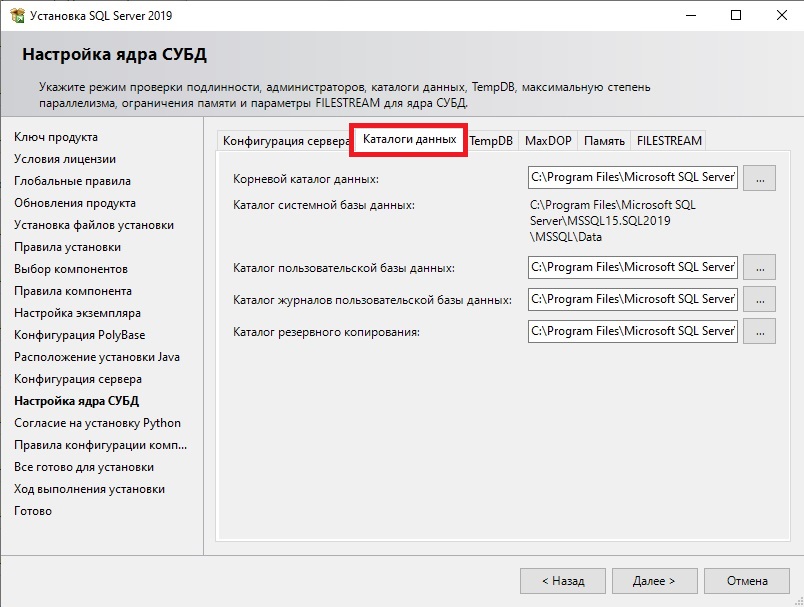
Далее можем перейти в вкладку «Каталоги данных». В этом пункте вы можете выбрать места расположения для корневого каталога, каталога системной базы данных, пользовательской БД, каталог журналов пользовательской БД и каталог для бекапа. Рекомендуется все месторасположения указывать на разных жестких дисках / разделах.
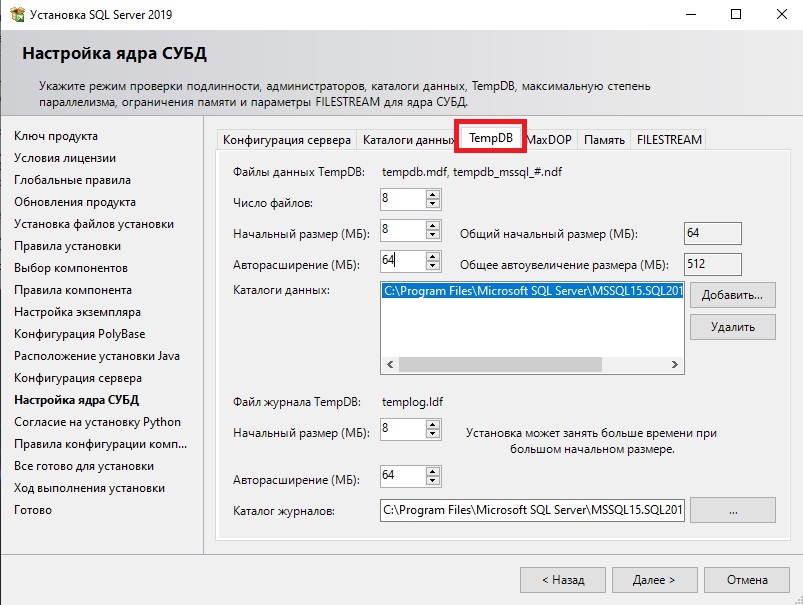
В следующей вкладке «TempDB».
Число файлов — прописано по умолчанию в зависимости от количества ядер.
Начальный размер — рекомендуется прибавить размер хотя бы до 16, или 32 МБ.
Авторасширение — Это количество МБ, которое будет приращиваться, если файл будет заполнен на 100%. Количество указывают обычно в зависимости от задач и использования SQL Server, по умолчанию 64 МБ, но рекомендуется добвлять от 1гб, чтобы не было нагрузки на производительность SQL Server
Каталог данных в идеале должен быть на отдельном жестком диске.
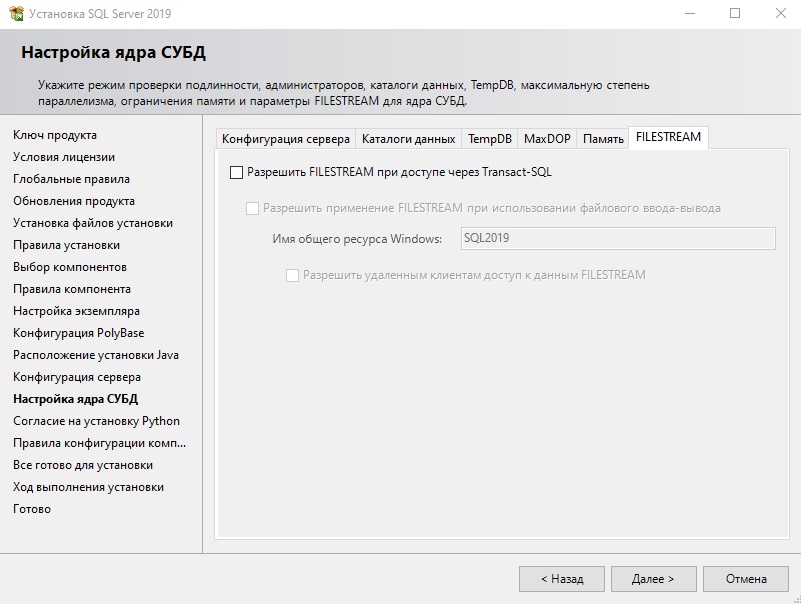
Следующая вкладка это настройки Filestream — это настройка, которая позволяет хранить файлы в файловой системе NTFS, она может быть как активирована, так и нет, опционально.
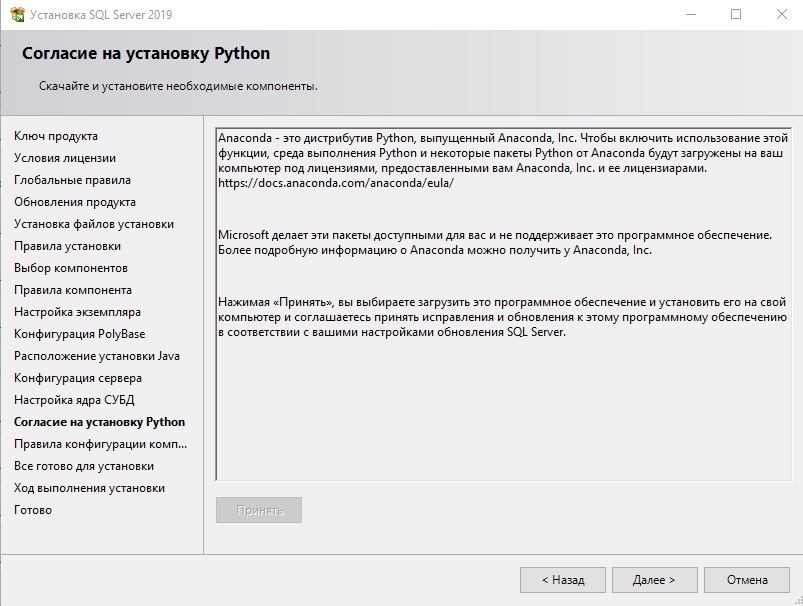
10) Если вы в начале установке в меню «Компоненты» выбирали установку Pyton, то принимаем загрузку ПО следующим шагом. Если Вы не выбирали данный компонент, то это окно у Вас будет пропущено.
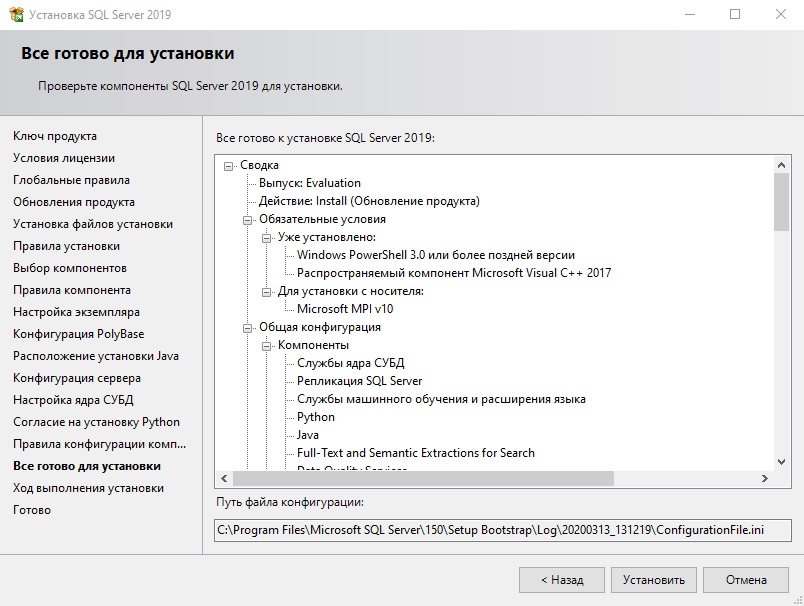
11) Теперь в следующем окне Вы можете наблюдать все установки и настройки, которые вы ранее задавали. Нажимаем «Установить».
12) Ожидаем завершения хода установки.

13) Если все прошло успешно, закрываем окно.

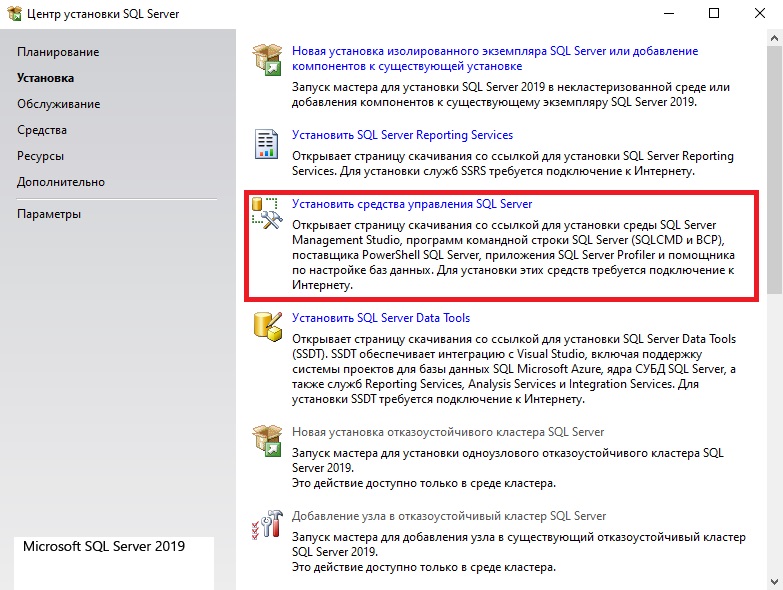
14) После того, как установка SQL Server 2019 завершена, нам нужно установить приложение, с помощью которого мы будем подключаться к серверу баз данных. Это приложение SQL Server Management Studio (SSMS).
Заходим снова в центр установки SQL Server и наживаем «Установить средства управления SQL Server».
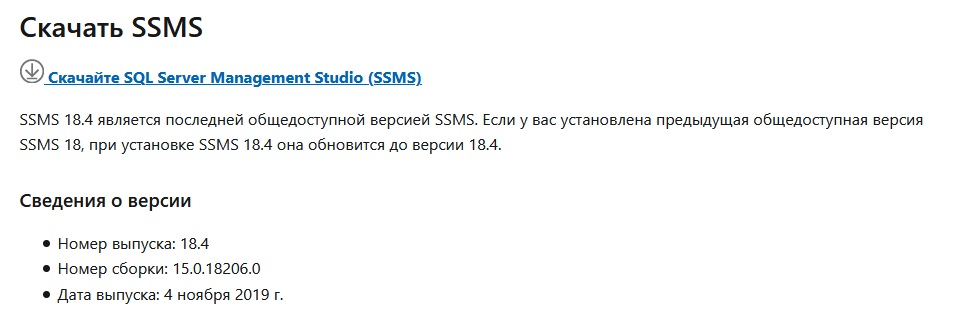
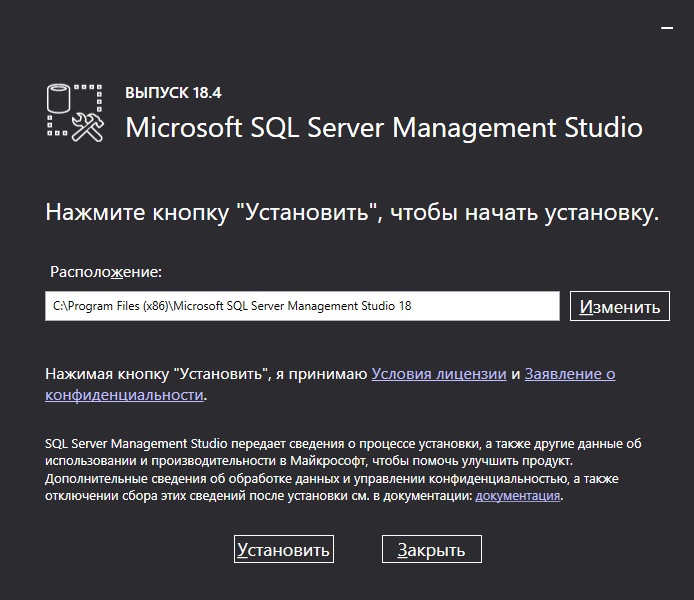
15) При нажатии у нас откроется сайт Microsoft и нам нужно будет скачать SSMS.
Нажимаем «Установить».
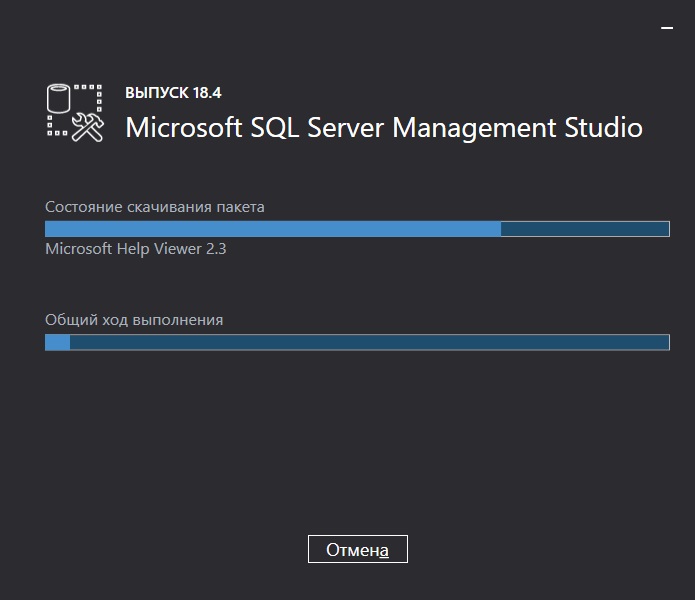
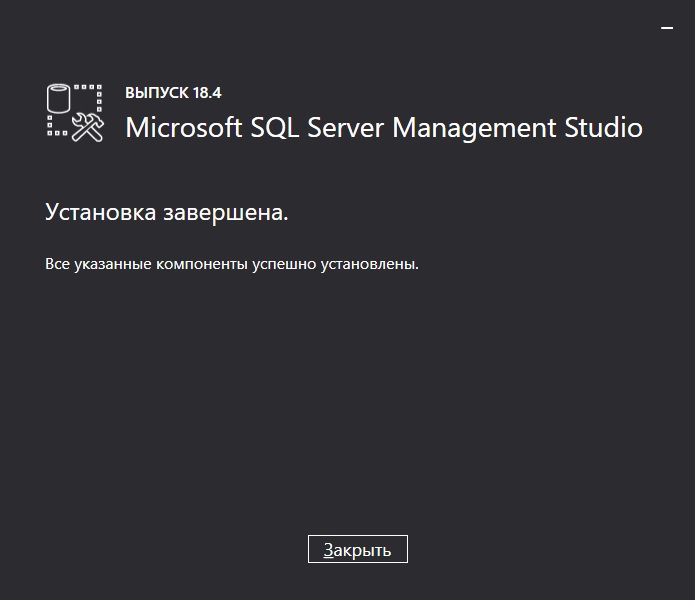
И дожидаемся окончания установки.
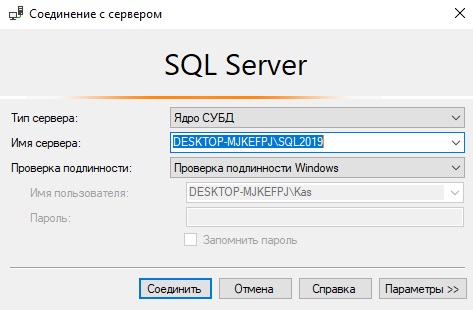
Теперь через поиск ищем приложение «Microsoft SQL Server Managament Studio».
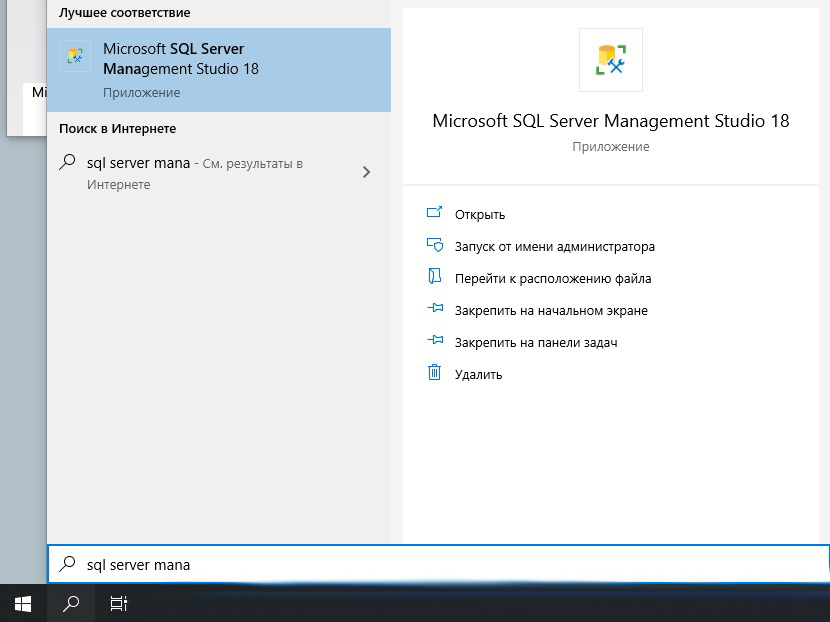
Теперь Вы можете авторизоваться под Вашей учетной записью в к SQL Server.