In this article, we will provide a clear step-by-step guide on how to install SQL Server 2008 and configure essential settings during the installation process. This tutorial is perfect for those looking to quickly and correctly set up SQL Server 2008 on Windows.
For a complete installation, you will need:
– Download the original SQL Server 2008 installer from our website.
– A licensed product key for SQL Server 2008, which you can purchase from our store for only 17.9 €, with instant delivery to your email!
1) Open the ISO file you downloaded earlier.
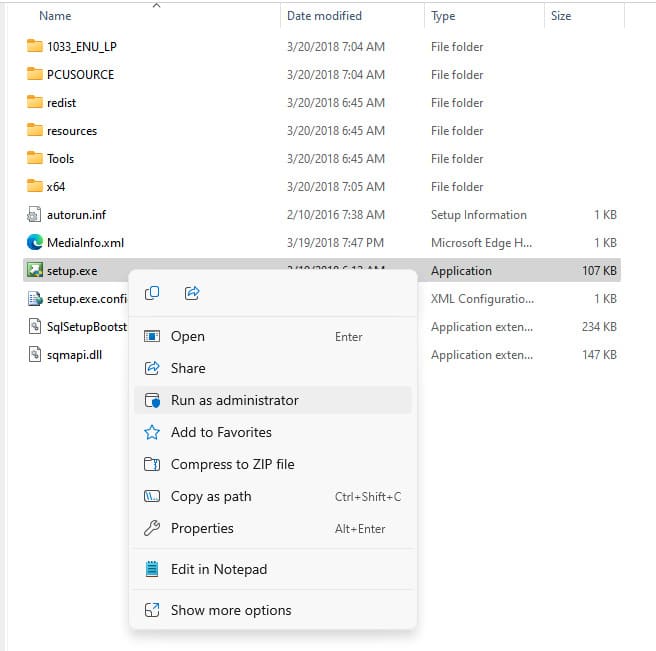
2) Run the “setup.exe” file as an administrator and wait for the installer to open.

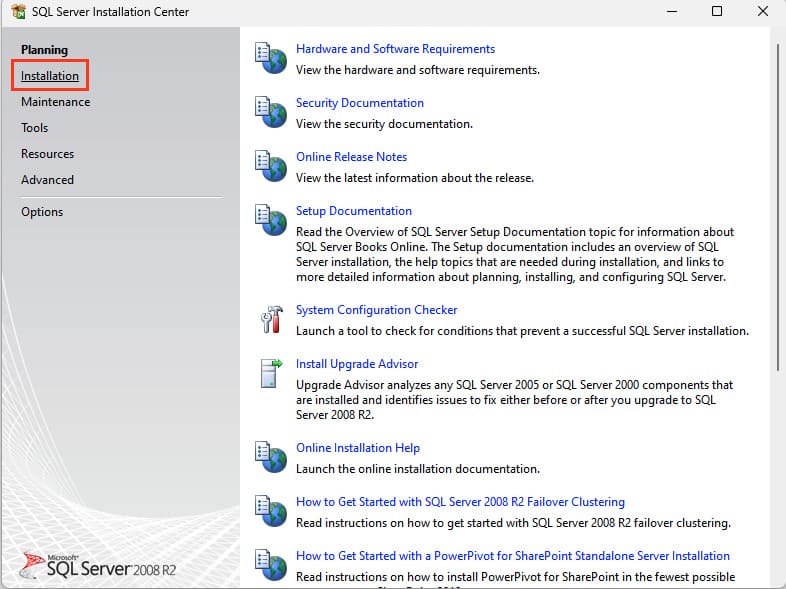
3) In the opened program, go to the “Installation” section.
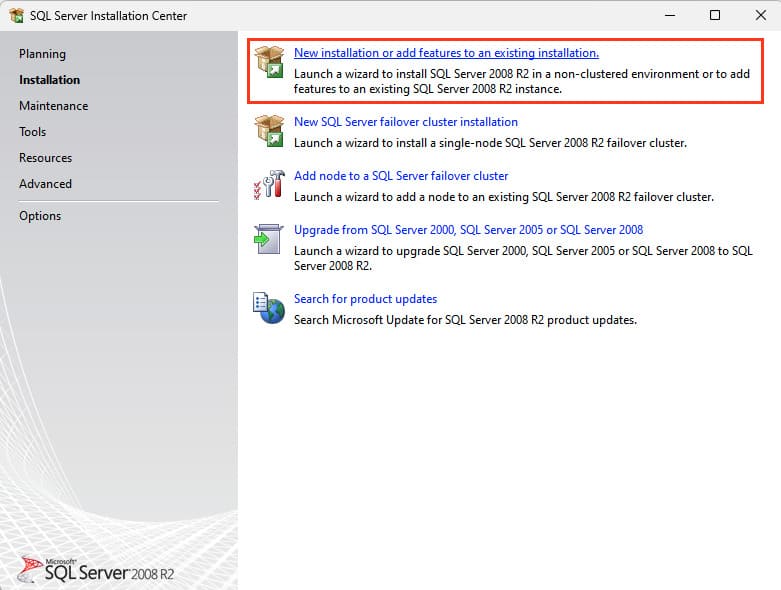
4) Then, select “New installation or add features to an existing installation.”
5) The check and installation of dependent files will begin.
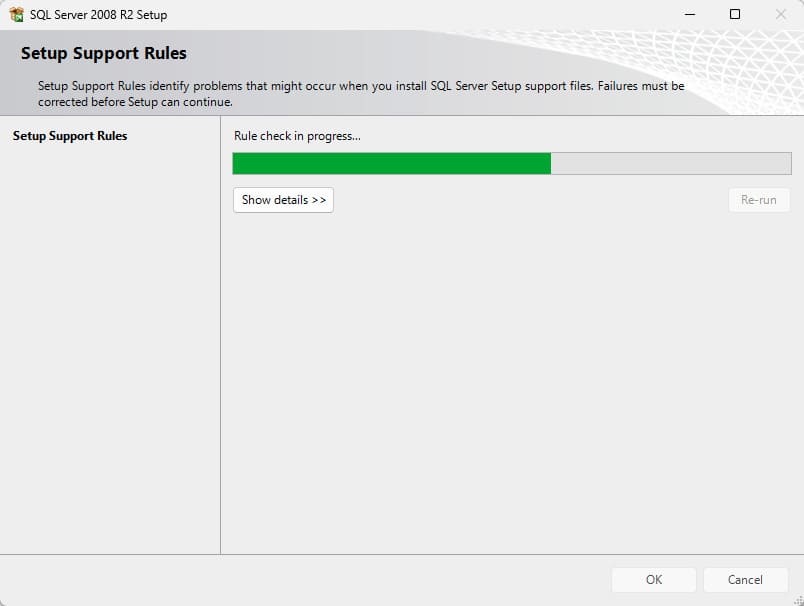
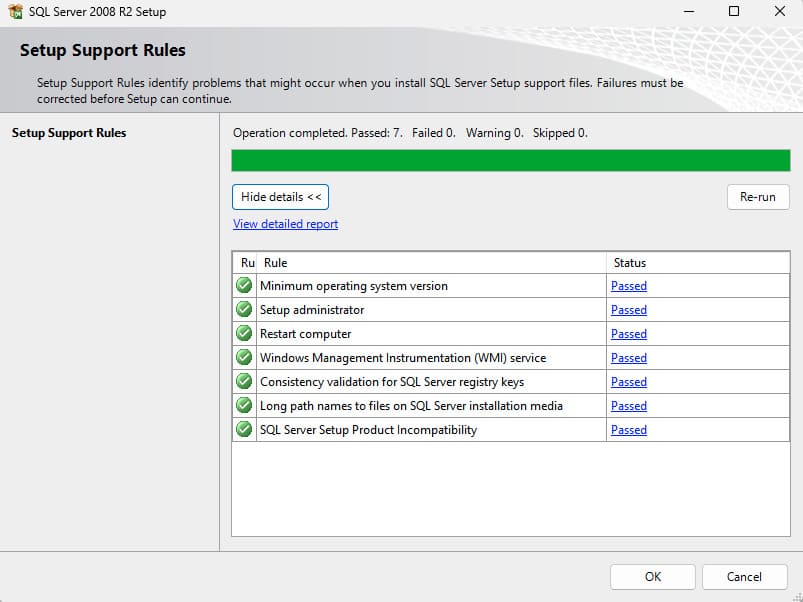
Once completed, click “OK.”
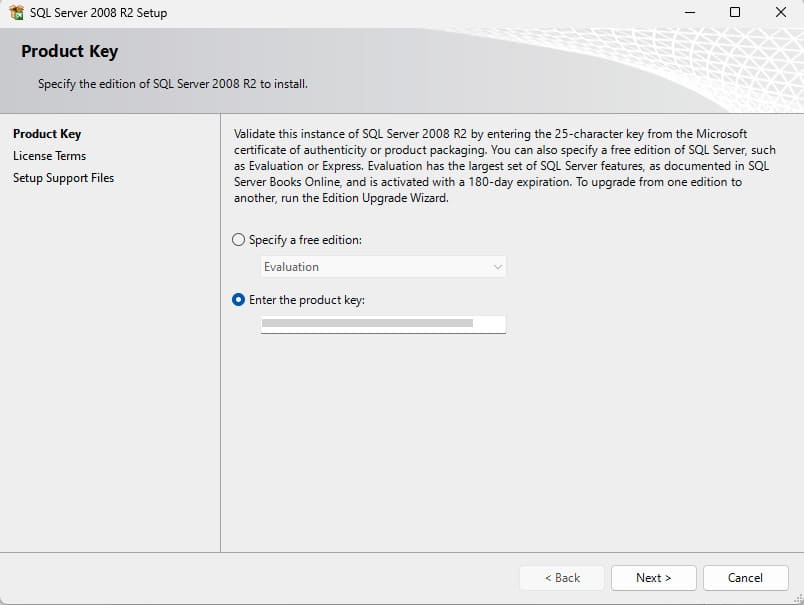
6) Select “Evaluation.” If you have already purchased a product key from our store, enter it in the “Enter the product key” field and click “Next.”
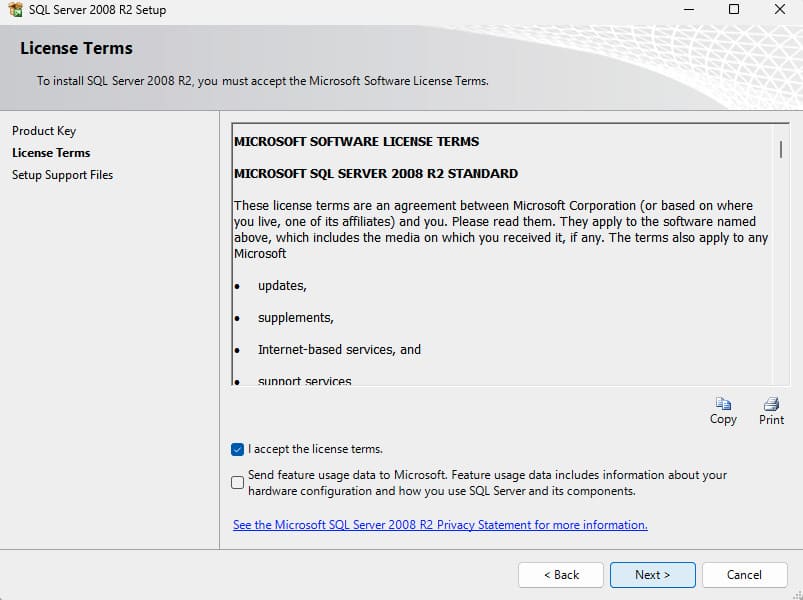
7) Accept the license terms by checking “I accept the license terms,” then click “Next.”
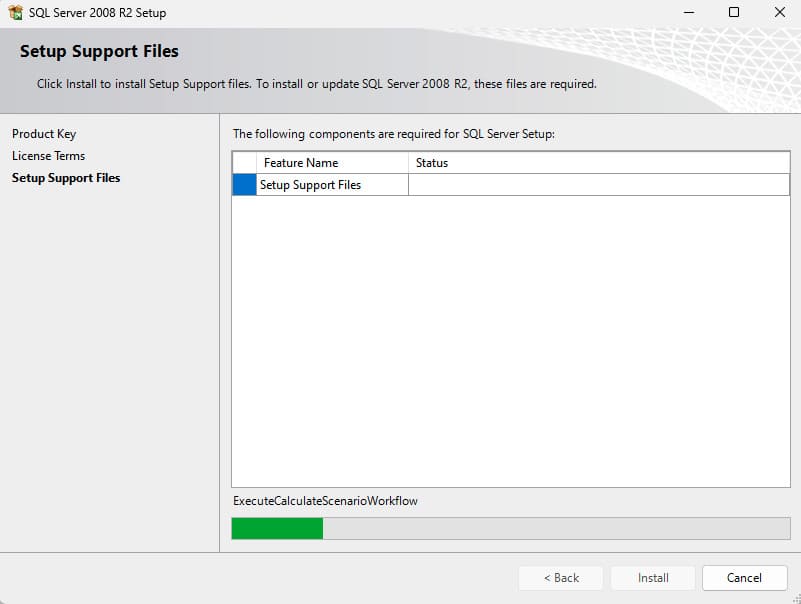
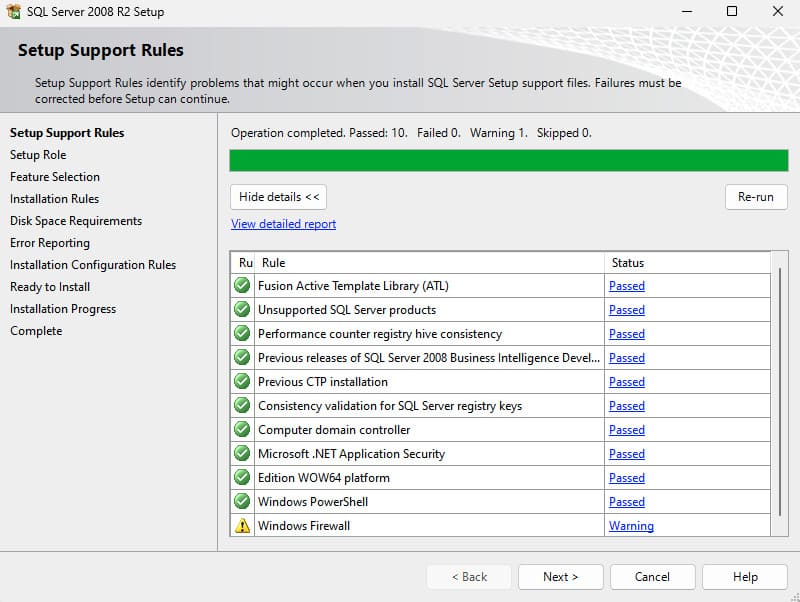
8) Wait for the dependent files to be installed or checked again, then click “Next.”
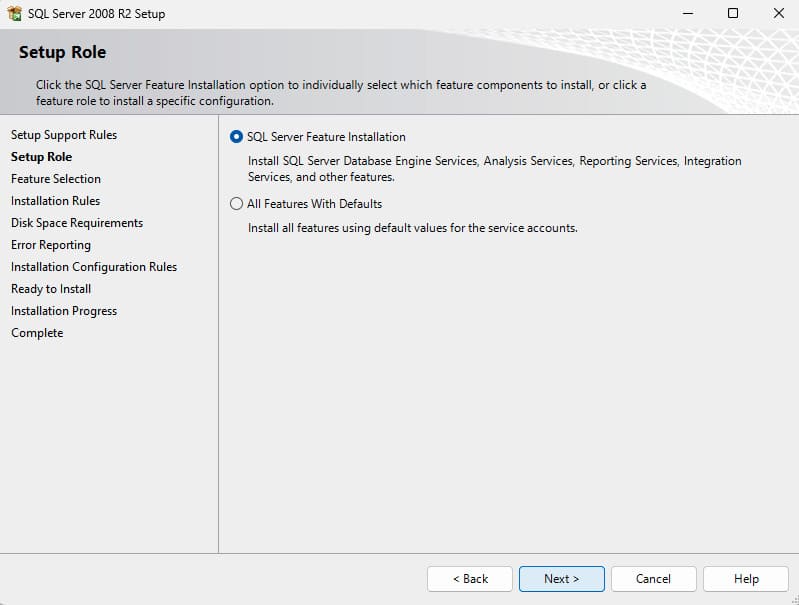
9) Select “SQL Server Feature Installation” and click “Next.”
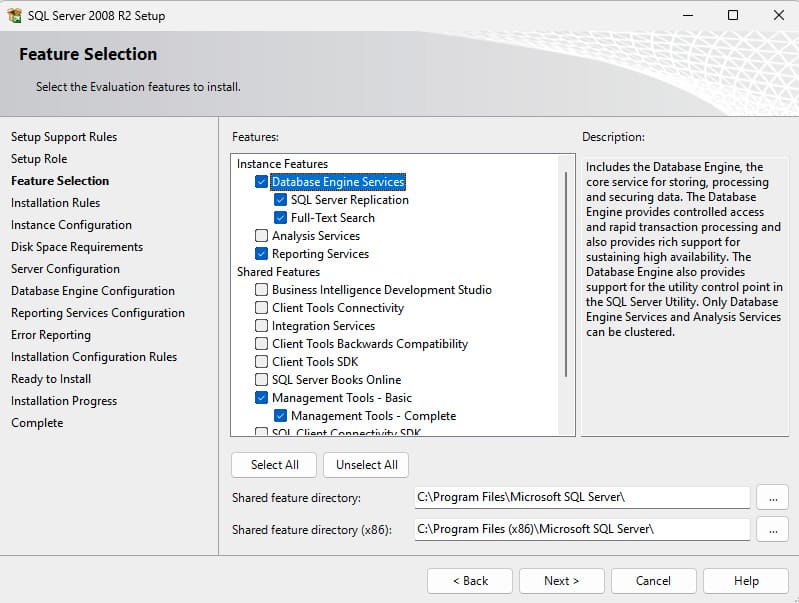
10) Check six options: “Database Engine Services,” “SQL Server Replication,” “Full-Text Search,” “Reporting Services – Native,” and “Management Tools – Basic,” as well as “Complete.” Then click “Next.”
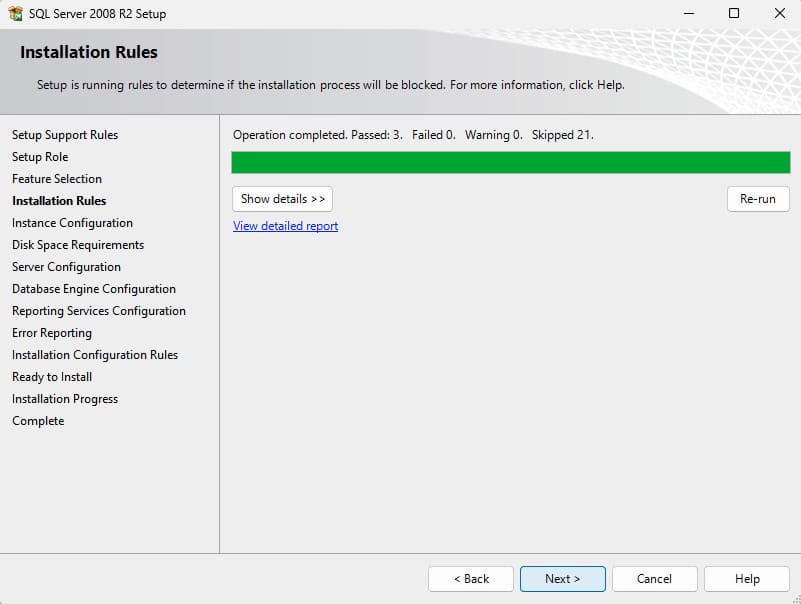
11) Just click “Next.”
12) Select “Default instance” and click “Next.”
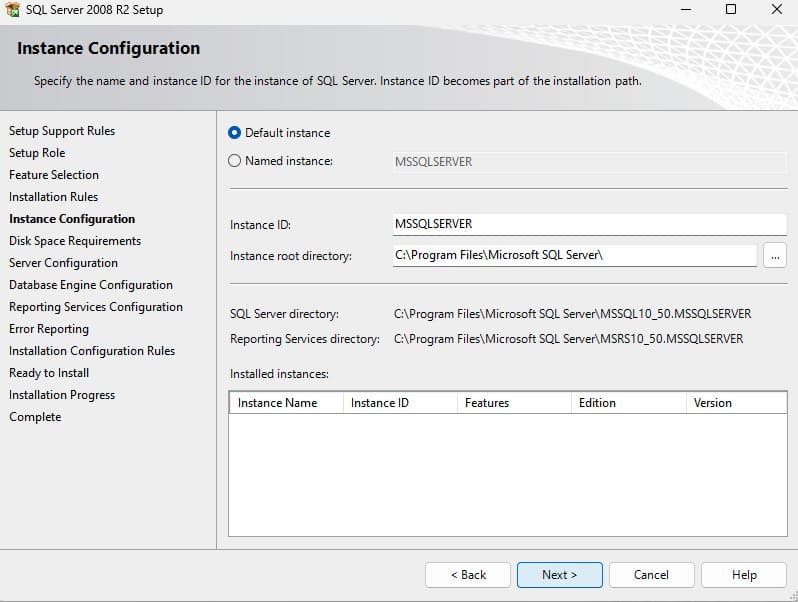
Then click “Next” again.
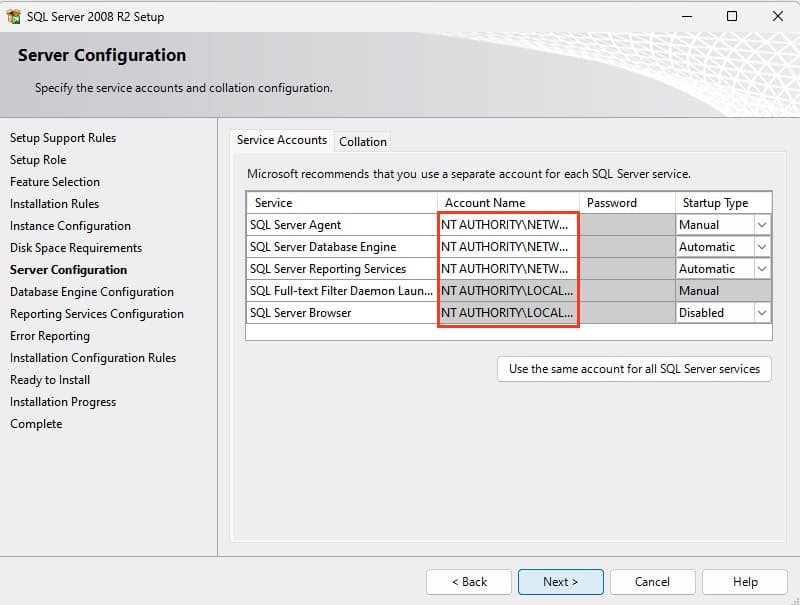
12) In this window, you can set the startup type for any service. You can choose to set it to automatic, manual, or disable it entirely if the service is not needed for your tasks.
In the “Account Name” section, set “NT AUTHORITY\NETWORK” everywhere, then click “Next.”
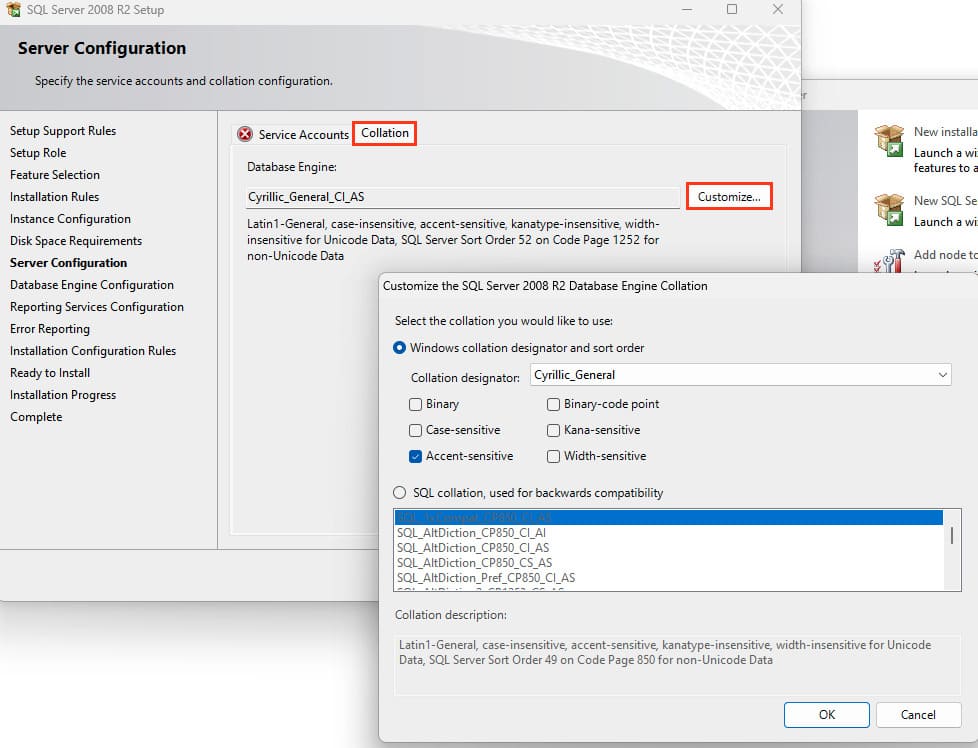
You can also go to the “Collation” menu — these are encoding settings, including sorting options and case sensitivity.
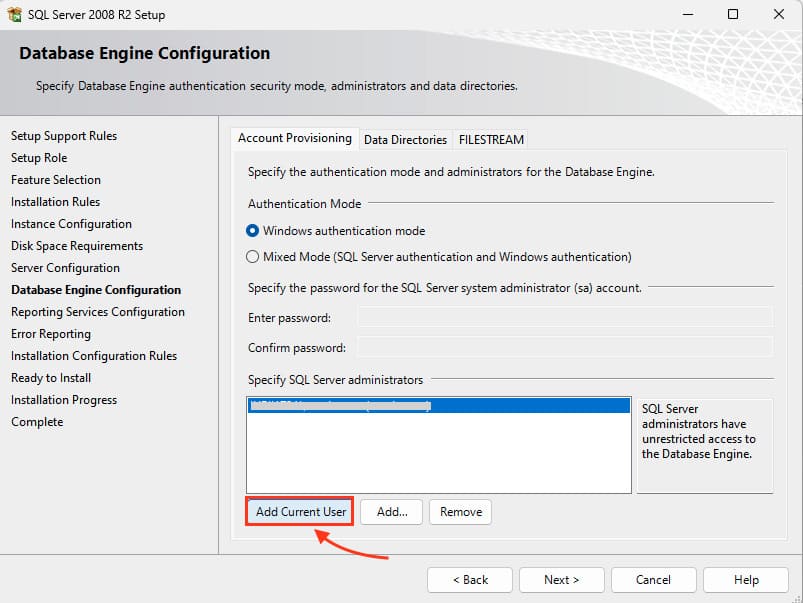
13) Proceed to the account settings for connecting to SQL Server 2008. You can choose either Windows authentication or mixed mode, which allows login via both Windows and SQL Server accounts. If you choose mixed mode, you will be prompted to create an SQL Server account.
In our example, we select “Windows authentication mode,” click “Add Current User,” and add it.
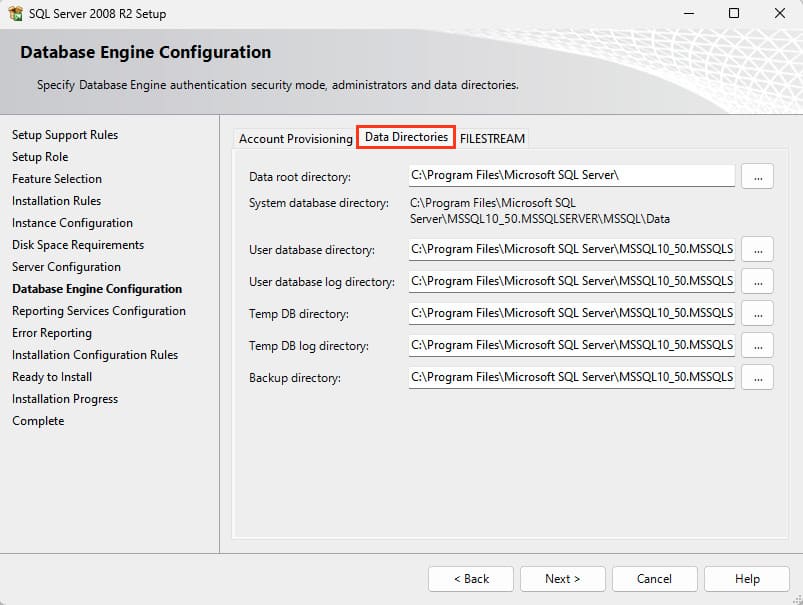
You can also go to the “Data Directories” tab. Here, you can specify locations for the root directory, system database directory, user database directory, user database log directory, and backup directory. It is recommended to set different locations on separate hard drives/partitions, with the data directory ideally on a separate hard drive.
The next tab is Filestream settings — this option allows files to be stored in the NTFS file system. It can be enabled or disabled based on your needs.
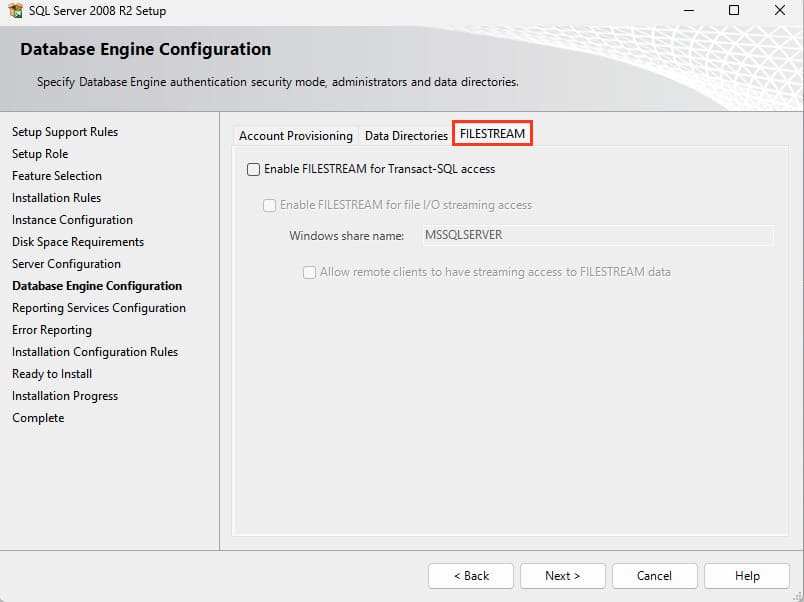
After configuring the settings, click “Next.”
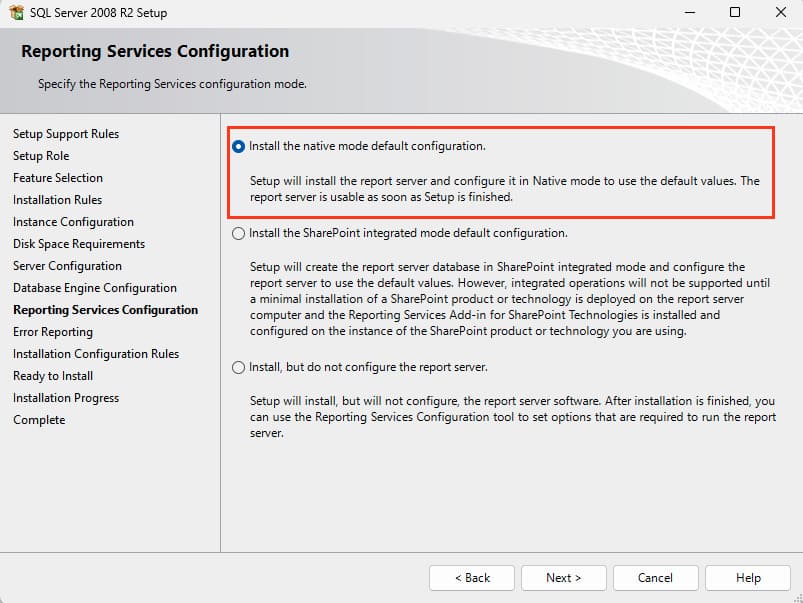
14) Select “Install the native mode default configuration” and click “Next.”
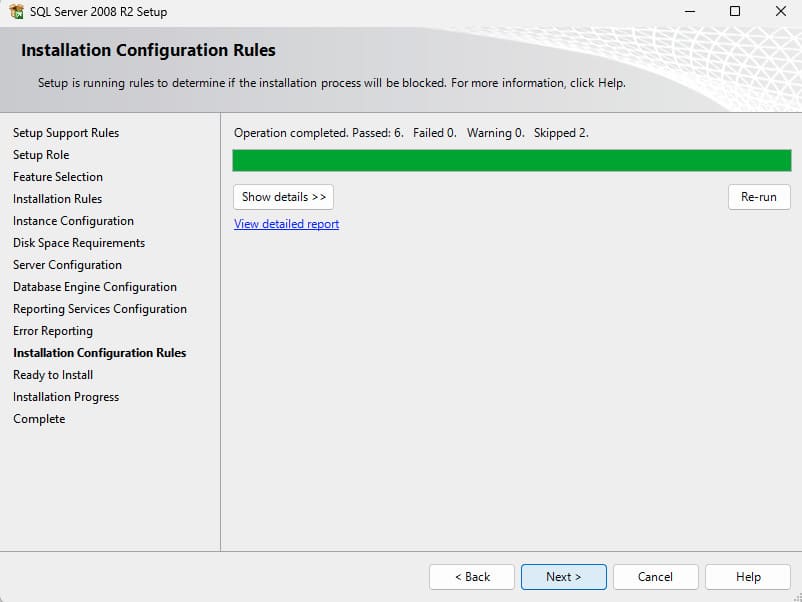
15) Just click “Next” without selecting the checkbox.
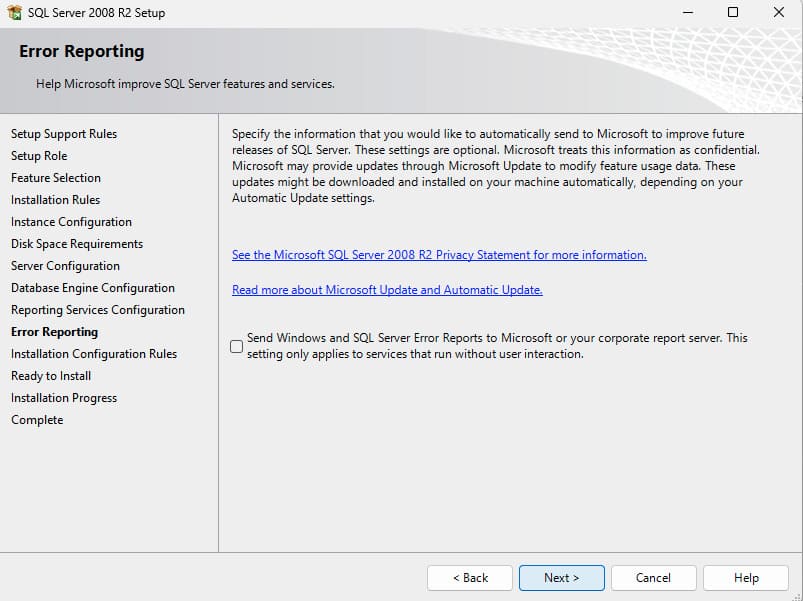
Click “Next” again.
16) Finally, click “Install,” and the SQL Server 2008 installation will begin.
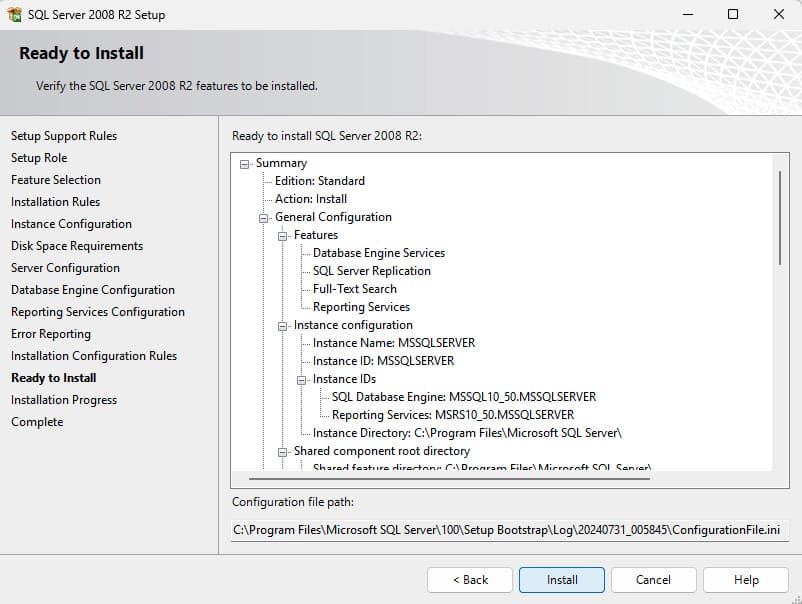
This process may take some time, depending on your PC.
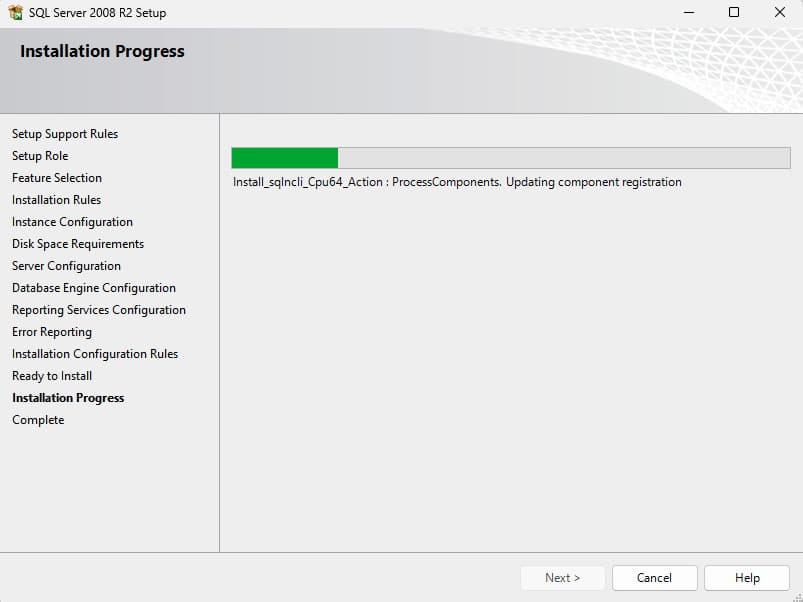
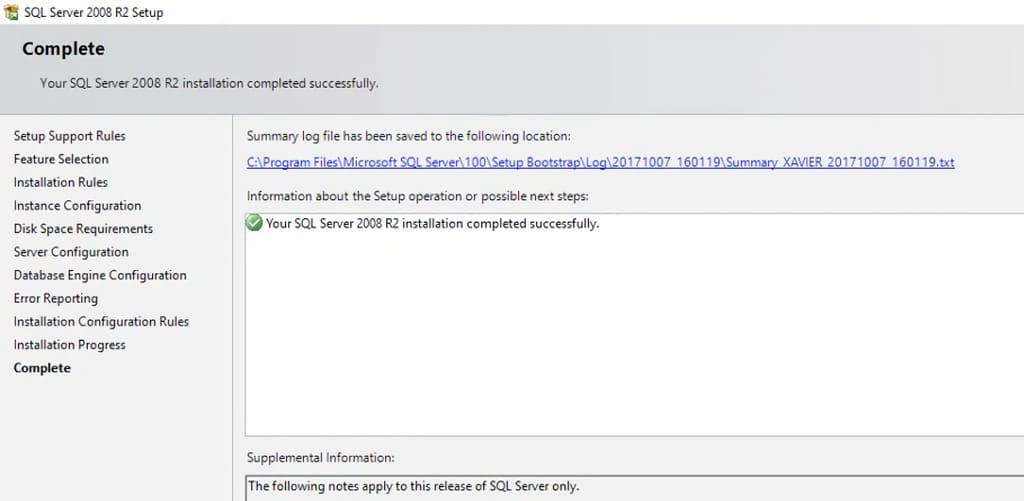
16) If everything completes successfully, close the window.
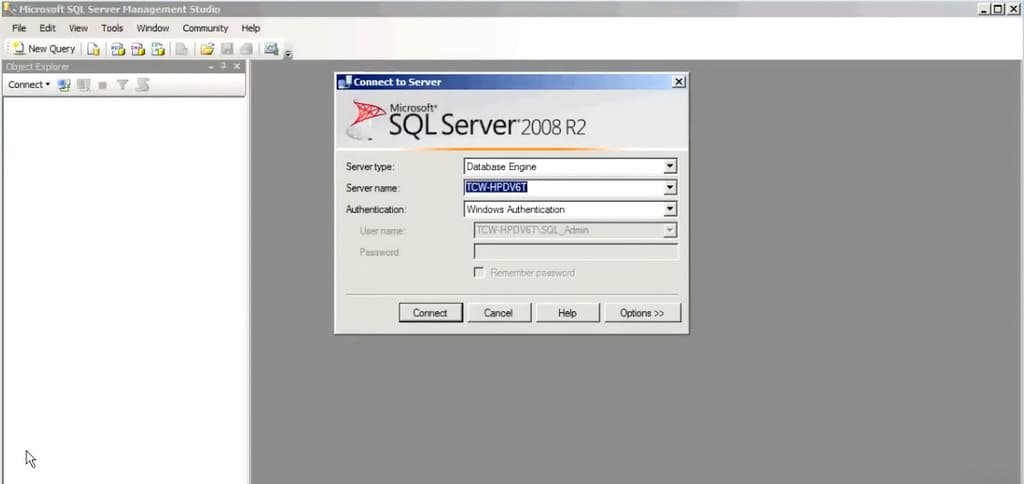
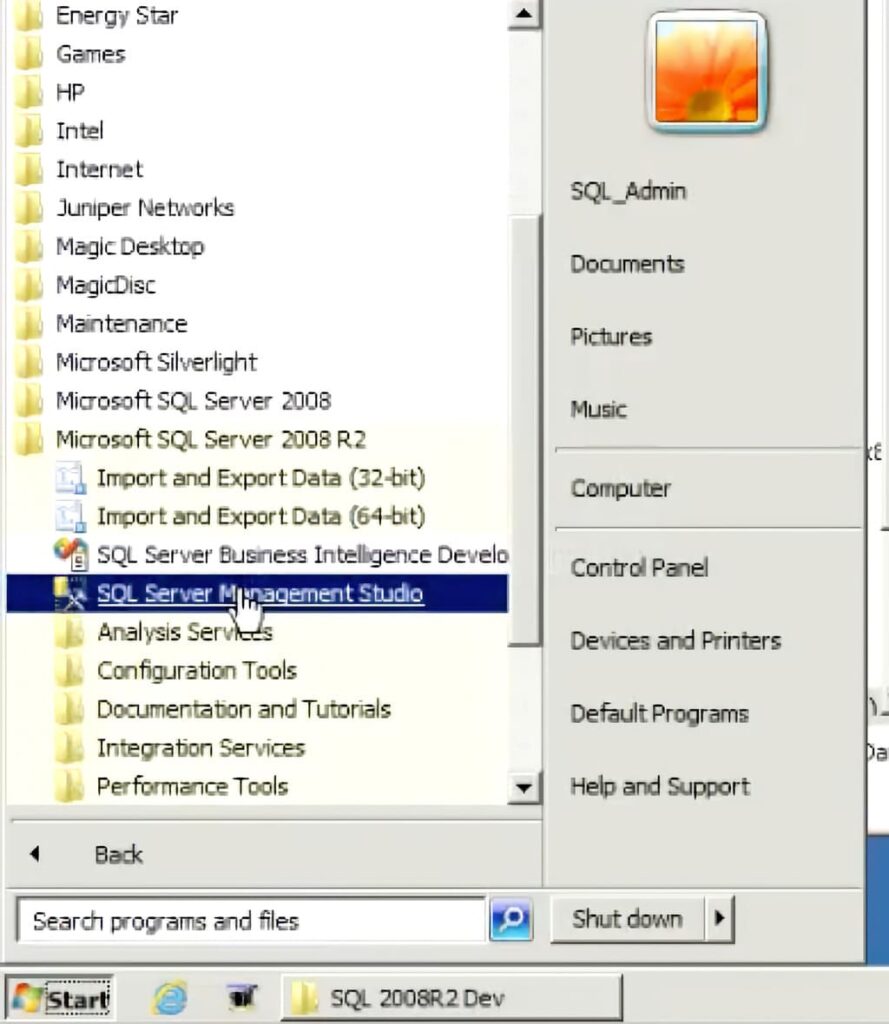
17) After the SQL Server 2008 installation is finished, you can connect to the database server using SQL Server Management Studio, which should have been installed along with SQL Server 2008.
Go to Windows search, type “sql,” select “SQL Server Management Studio,” and open it.
18) You can now log in with your account in SQL Server.