

В данной статье рассмотрим как установить Windows 11 на Mac с процессорами M1, M2 или M3. Для этого нам понадобится приложение Parallels Desktop.
Система установится на виртуальной машине Parallels Desktop и будет работать при запуске самого приложения. Вы можете полноценно использовать систему Windows 11, например как дополнительным рабочим столом.
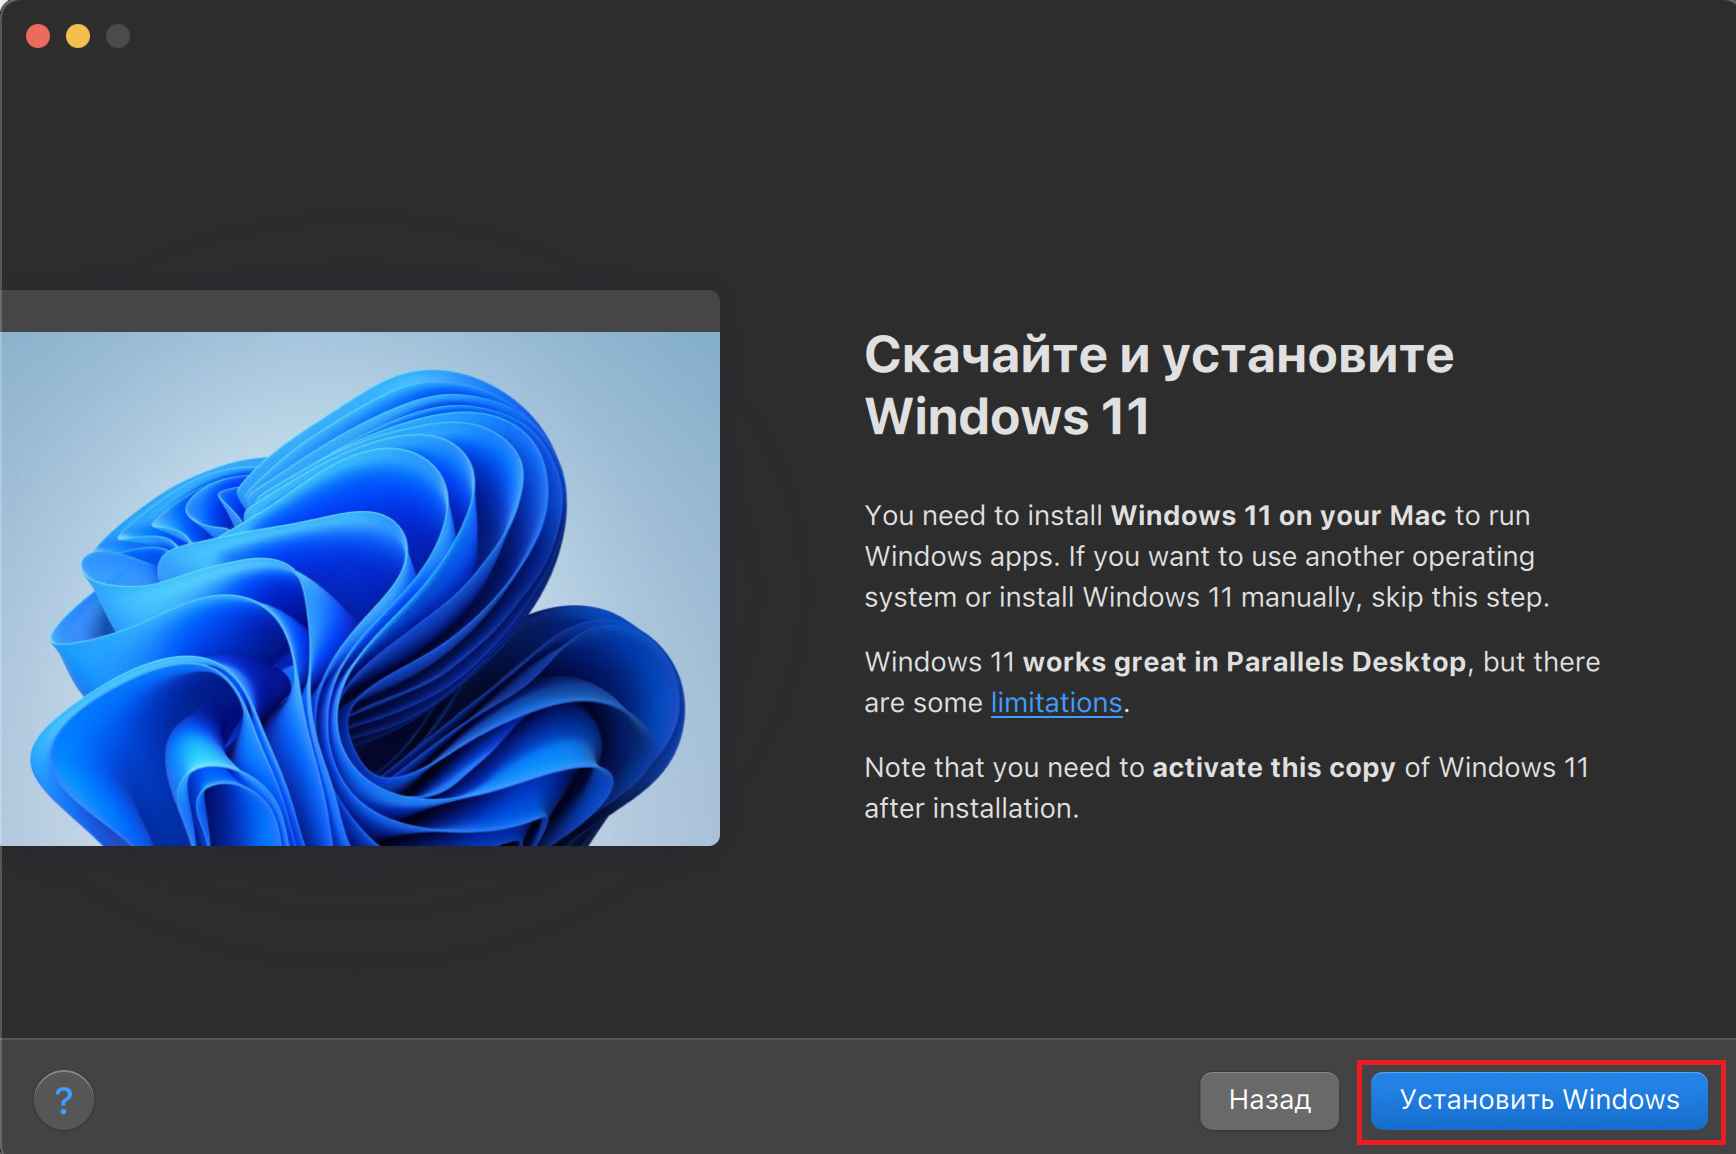
— После установки приложения, на главном экране нажимаем «Получить Winodws 11 от Microsoft«.
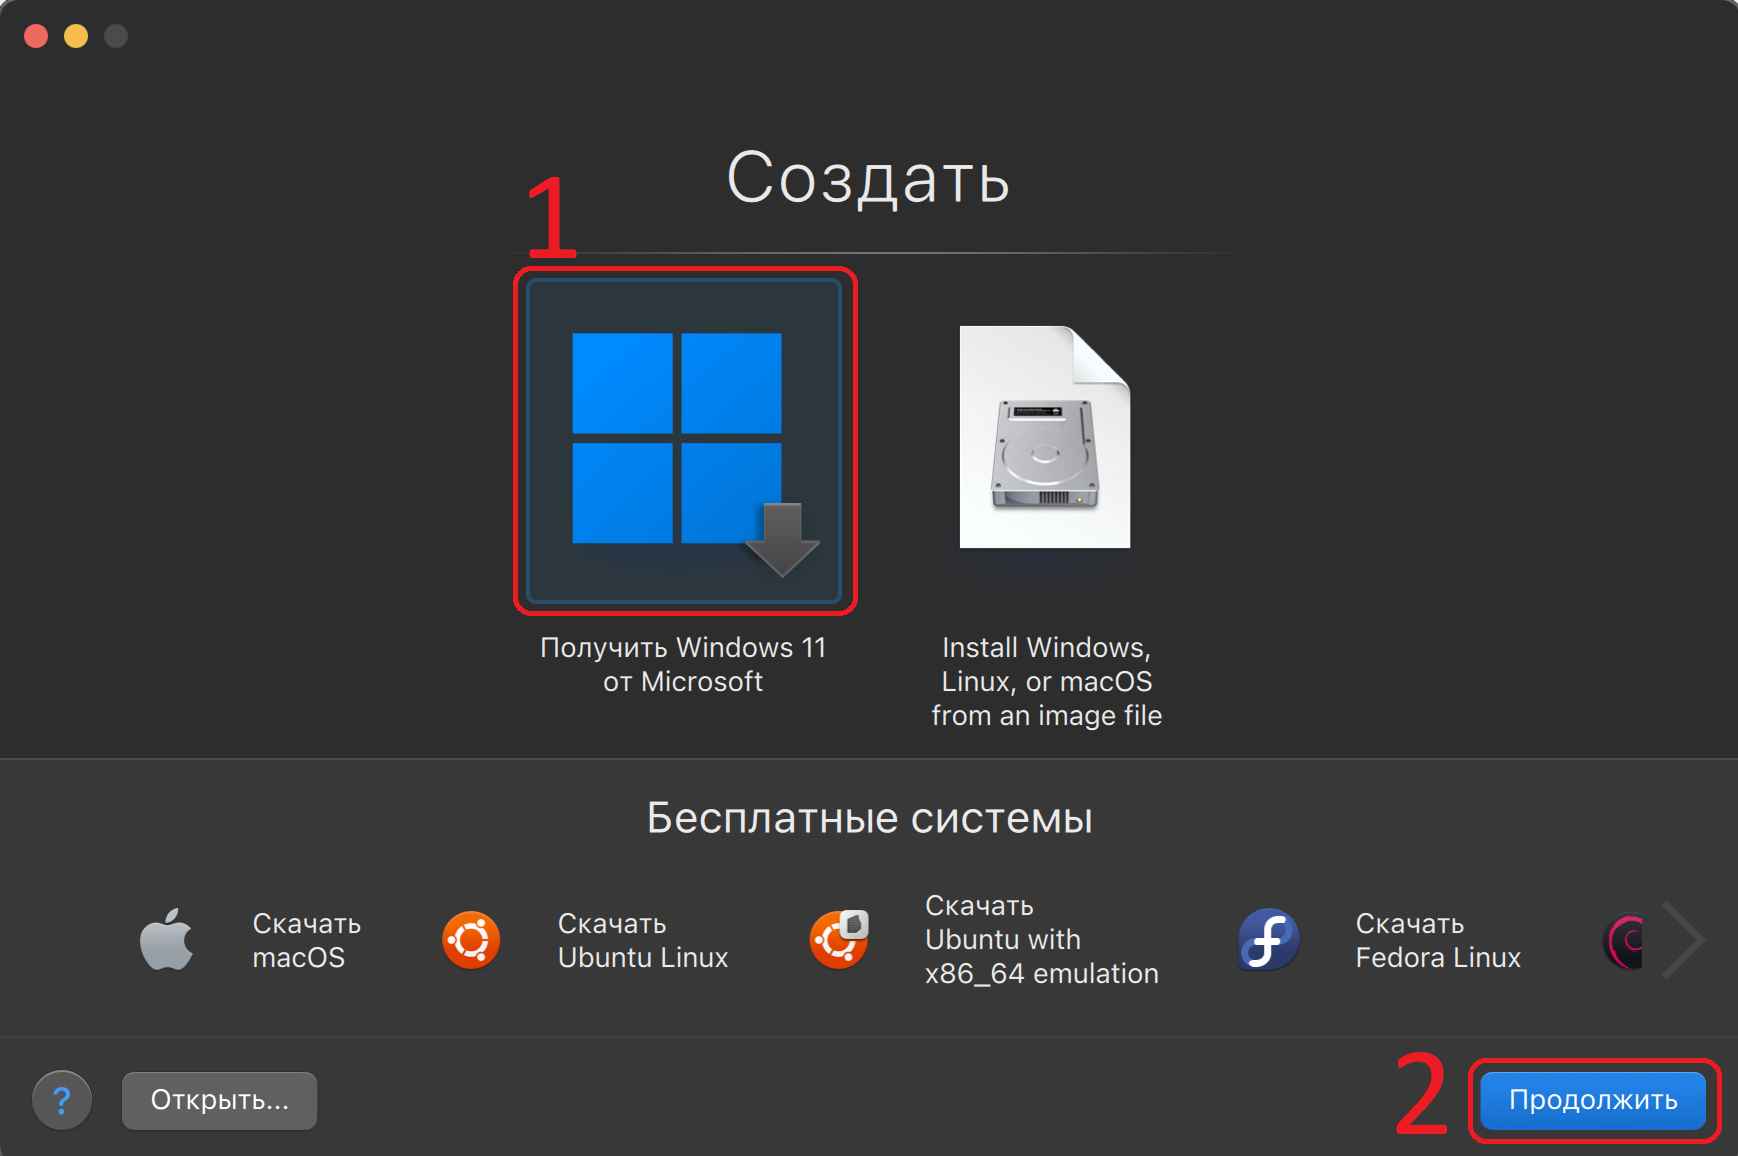
— Далее: «Установить Windows»
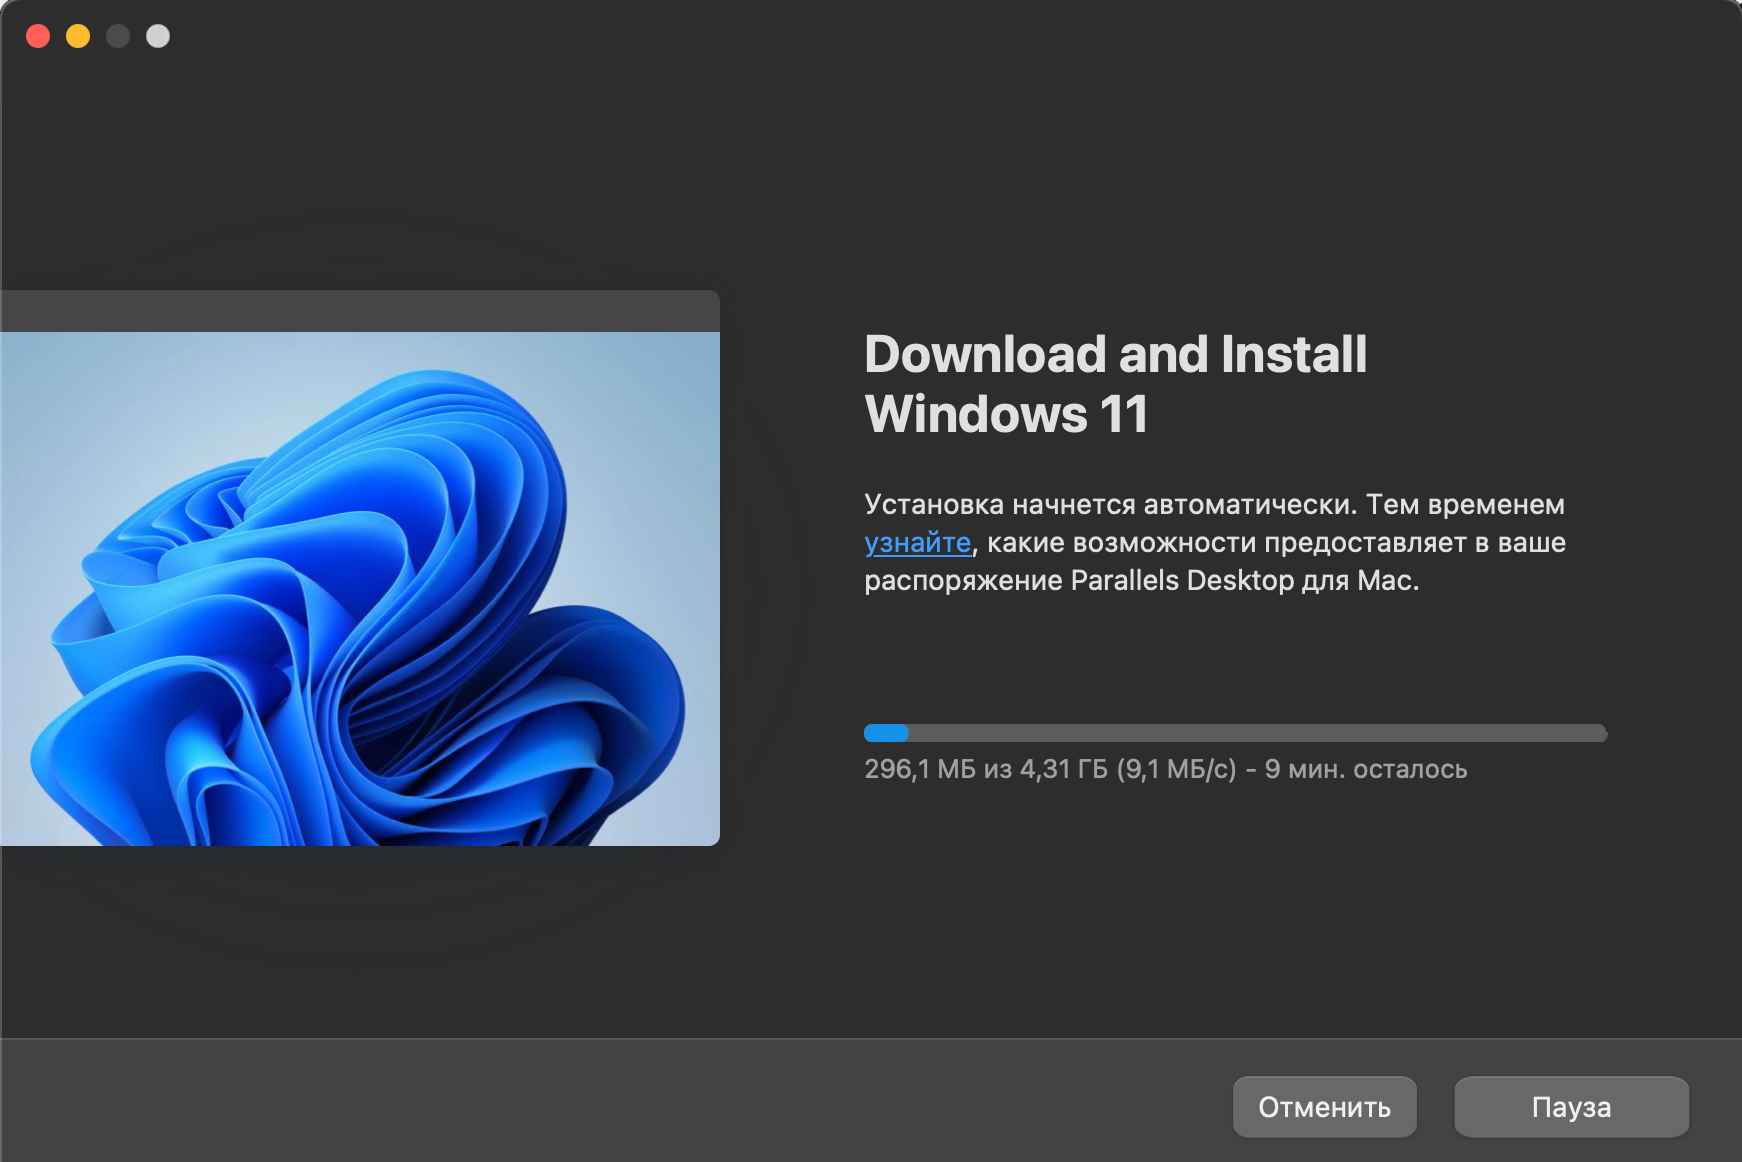
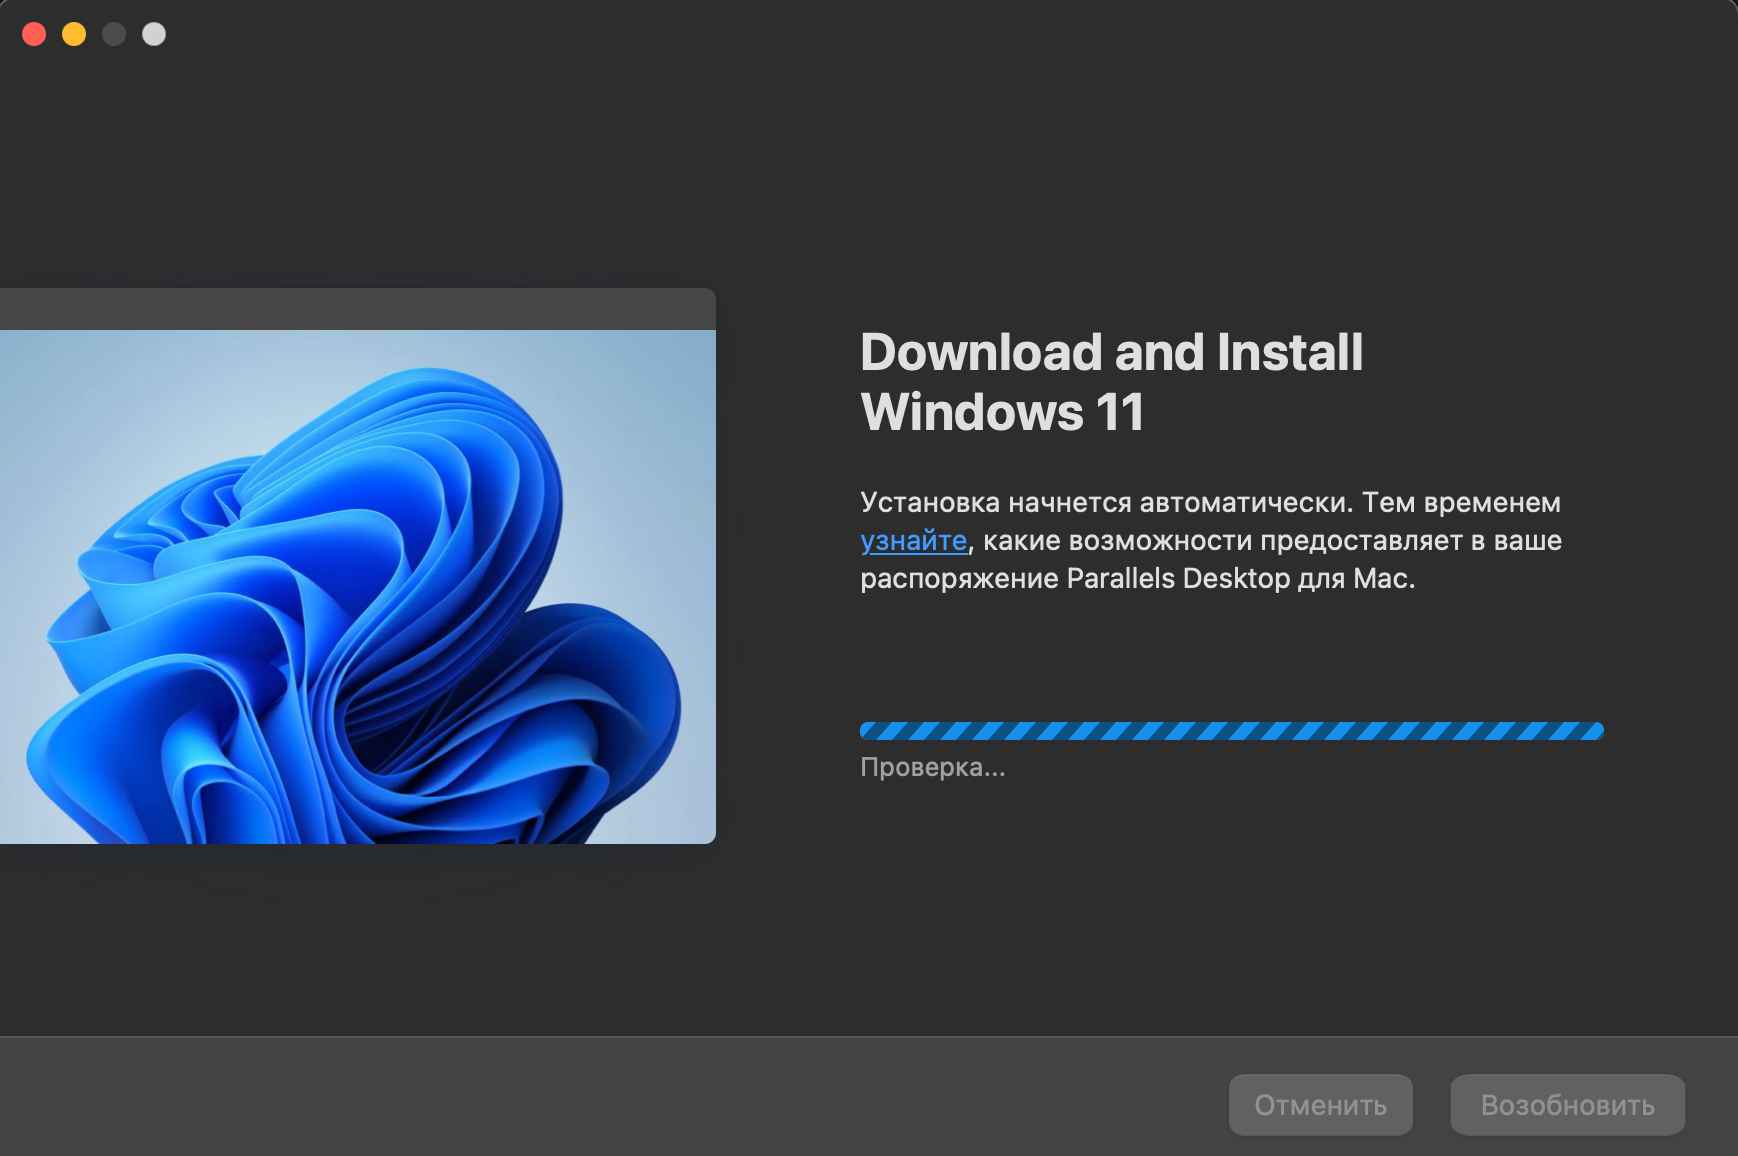
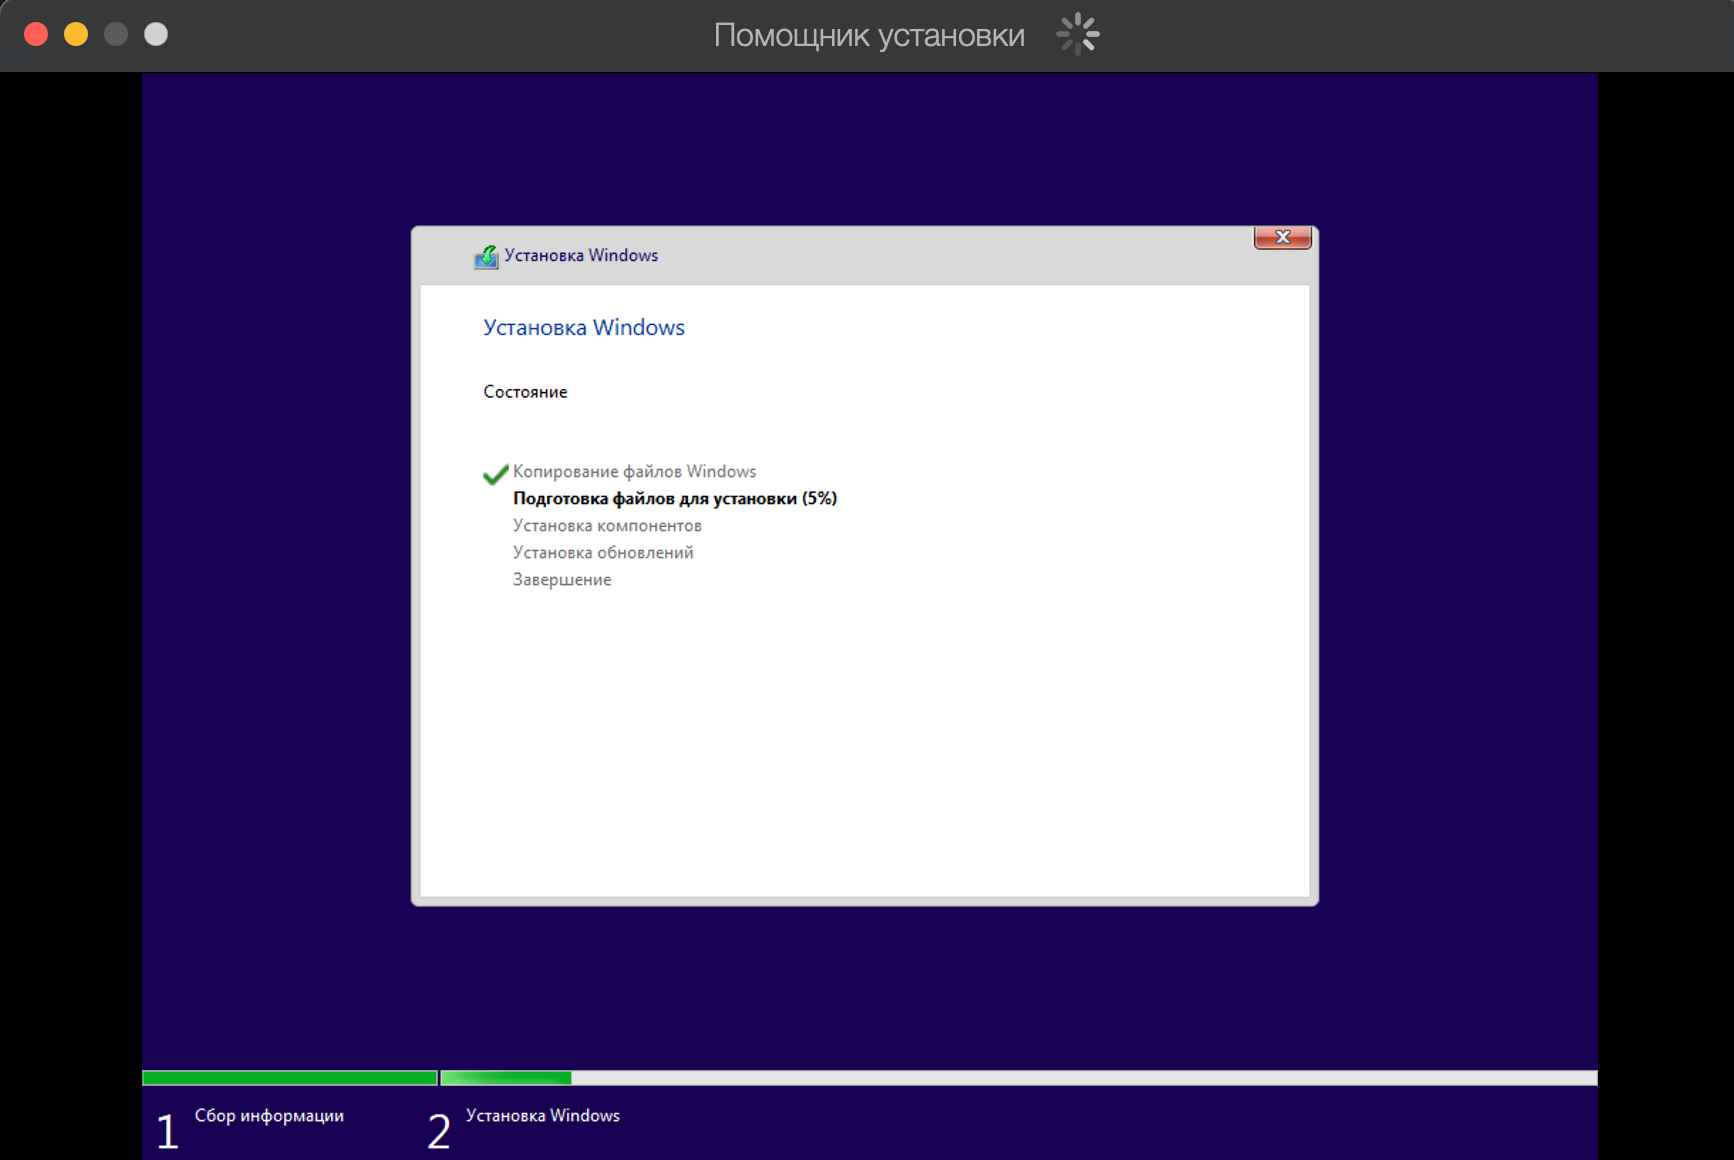
— Дожидаемся пока завершится установка. Все будет происходить автоматически. Ниже показаны скриншоты, какие будут выполняться шаги установки.

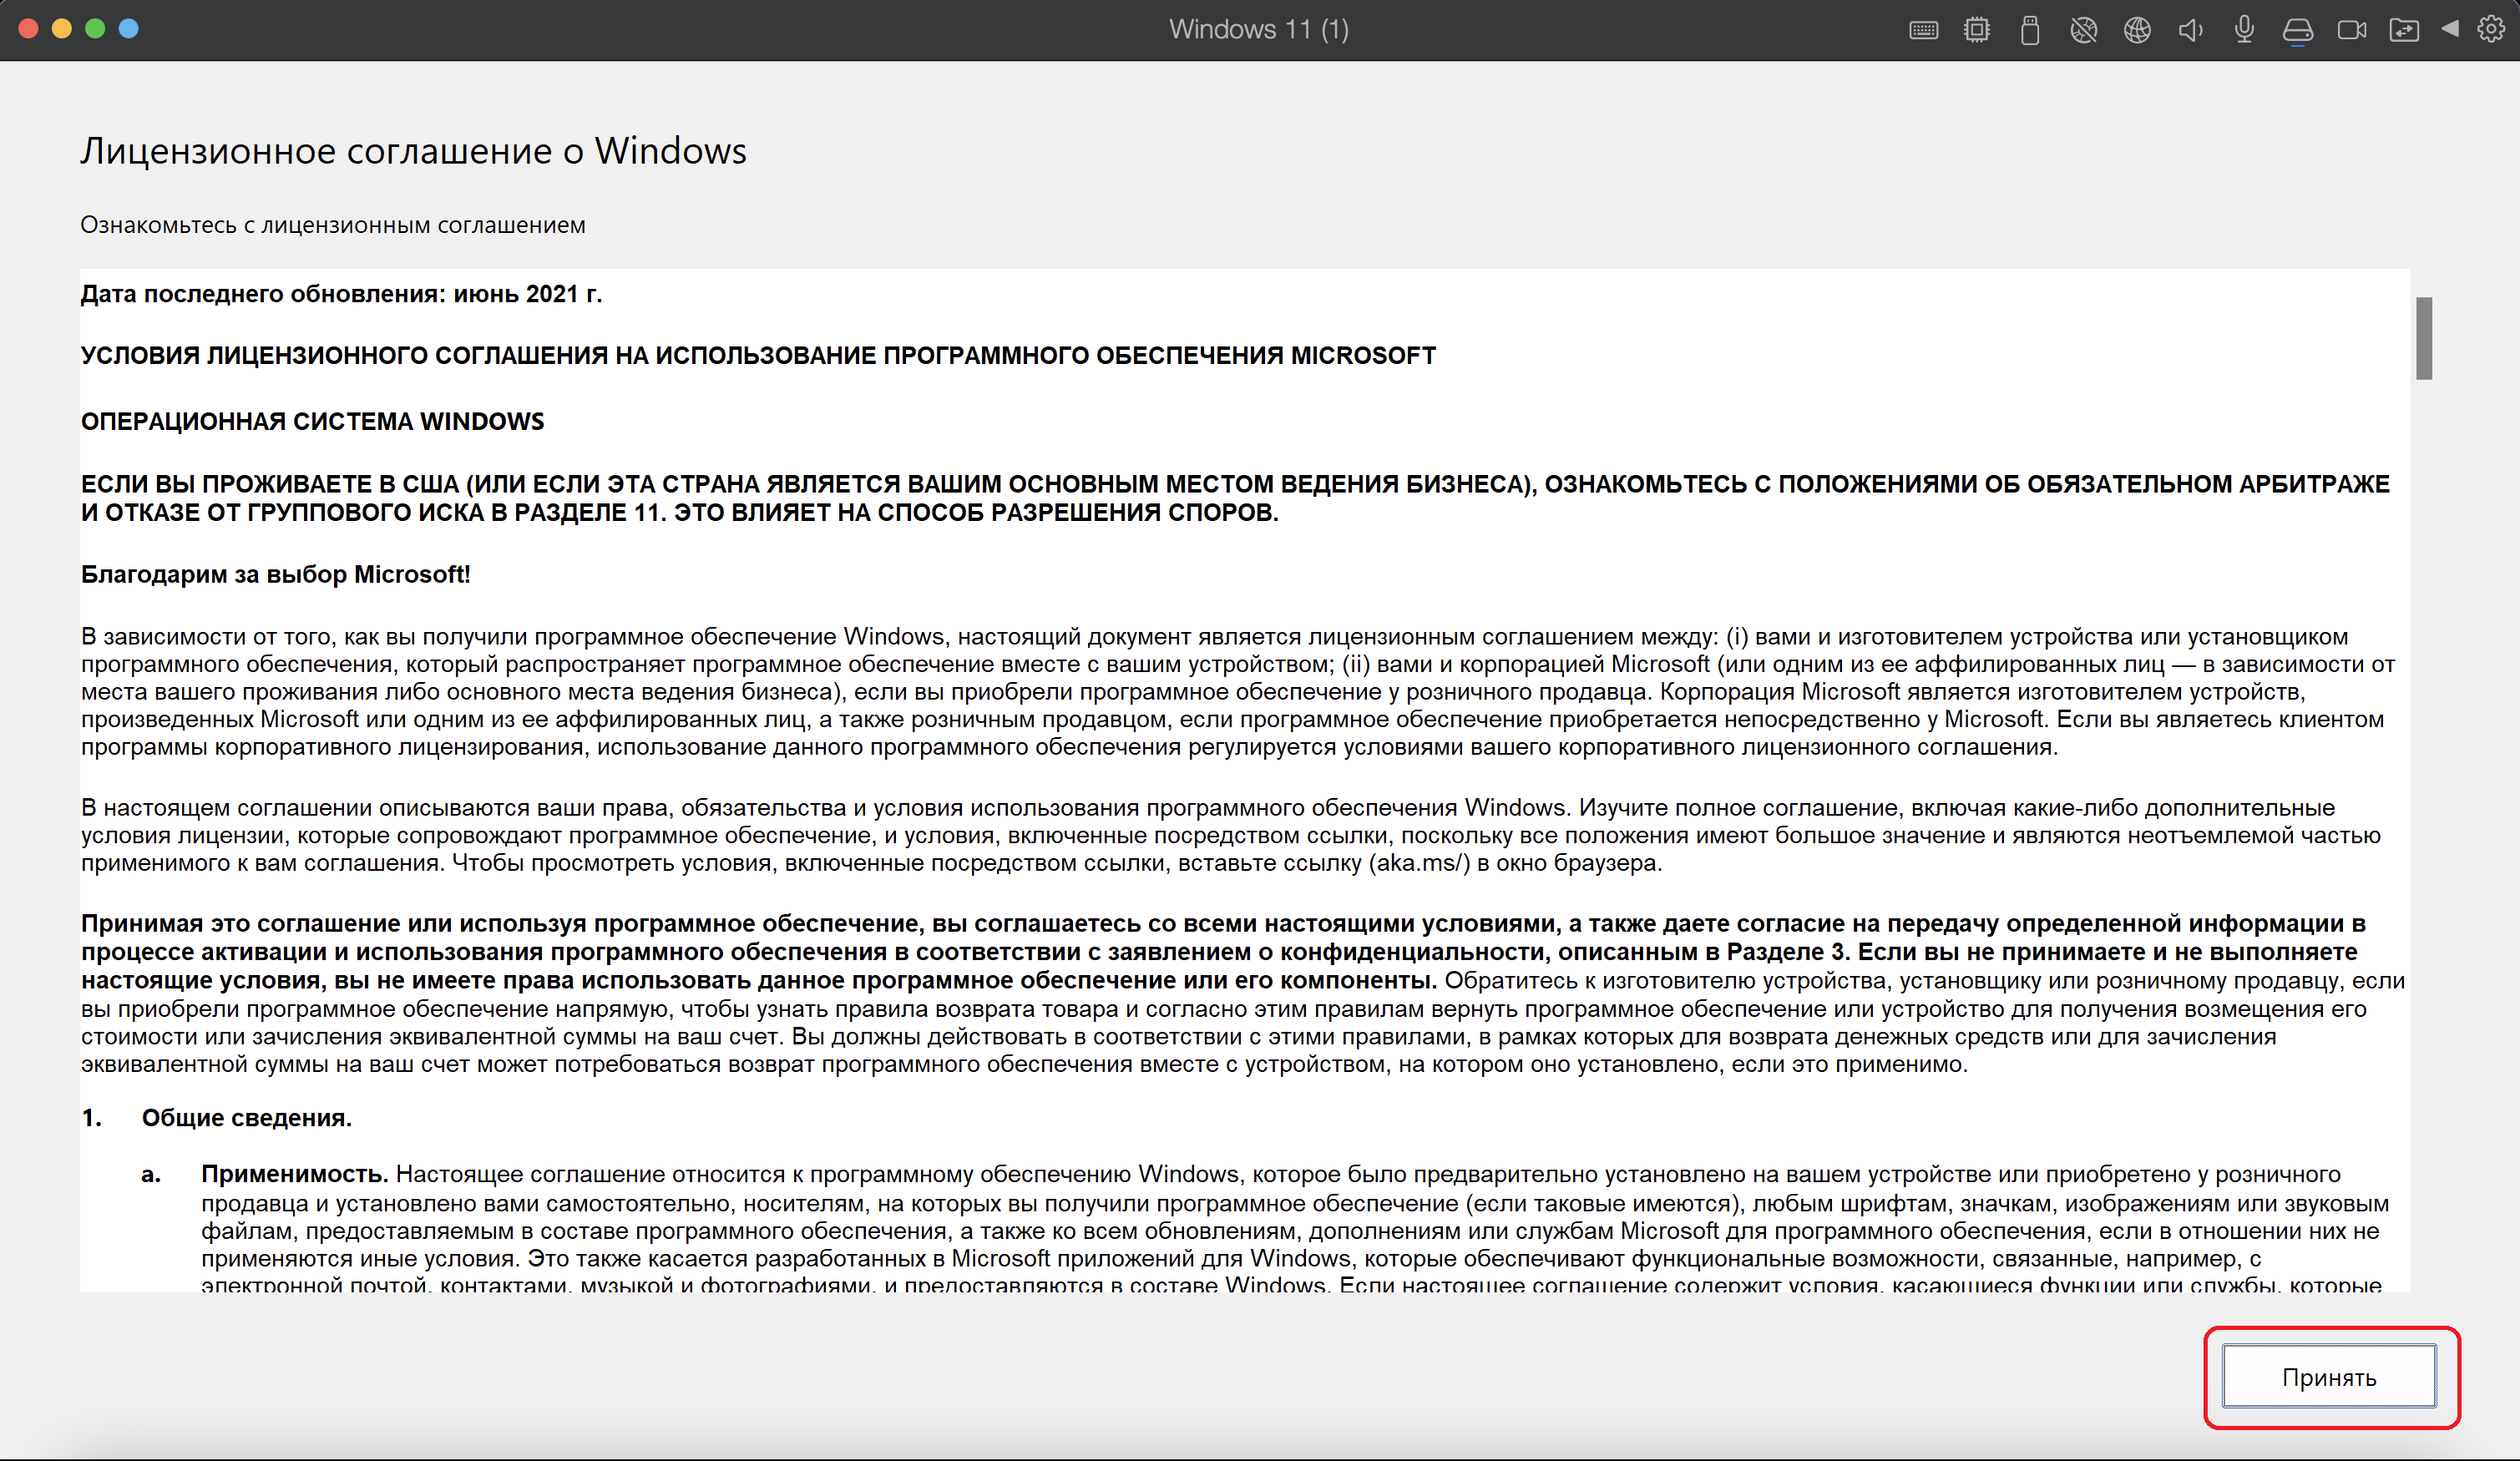
— Наконец, когда завершена установка, принимаем лицензионное соглашение Microsoft.
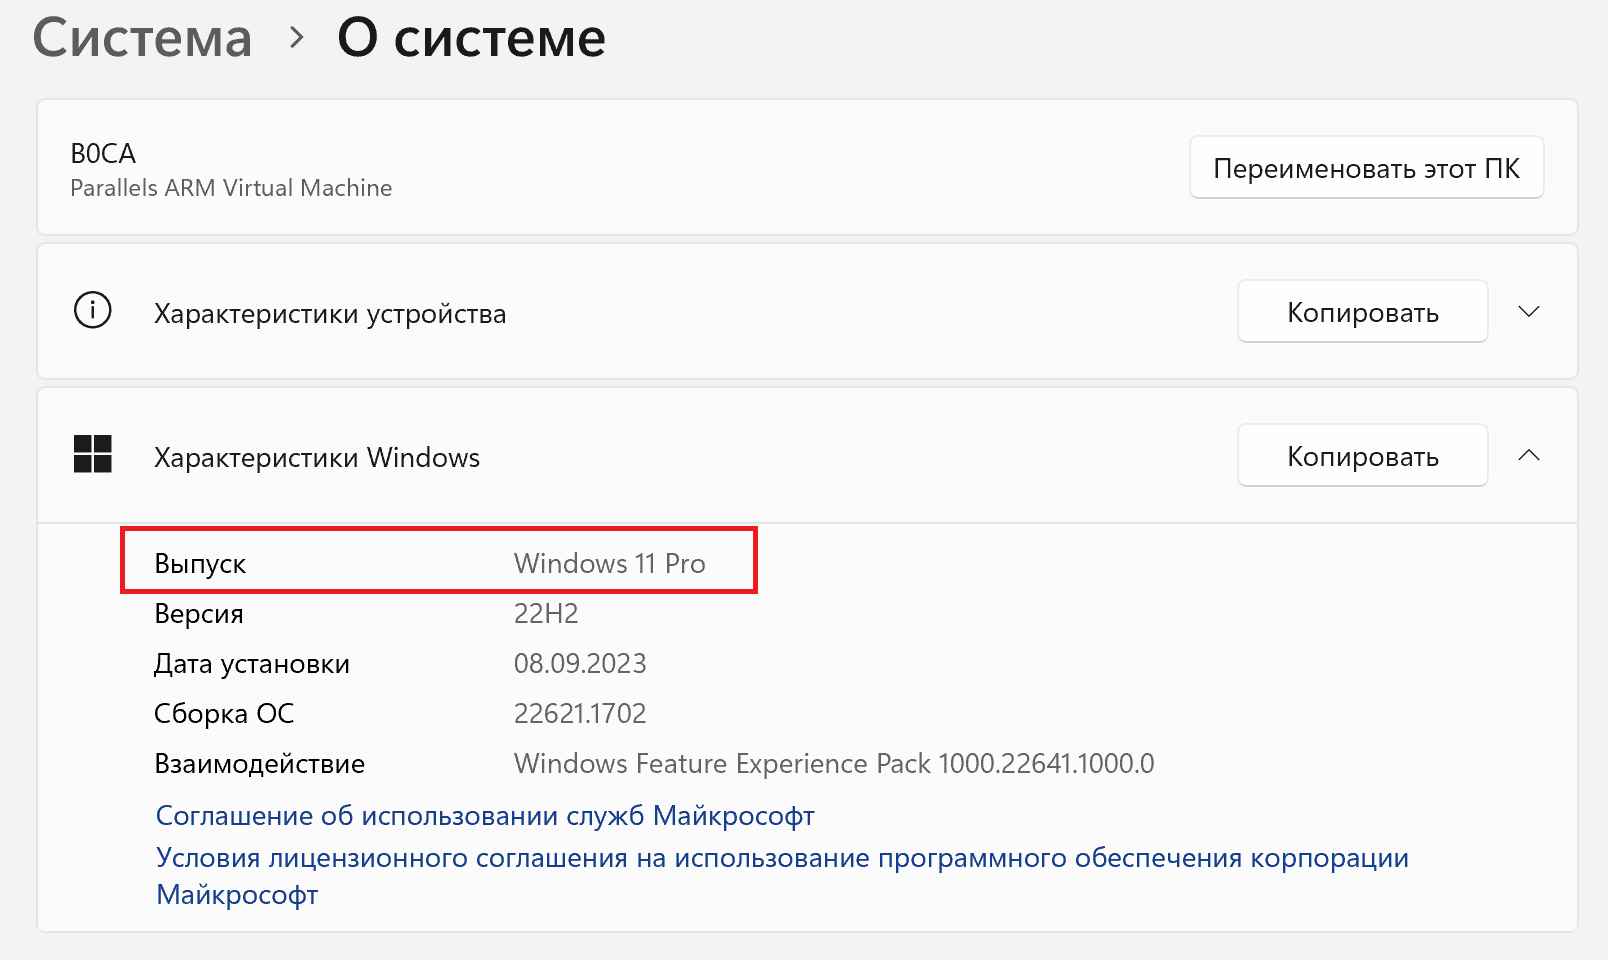
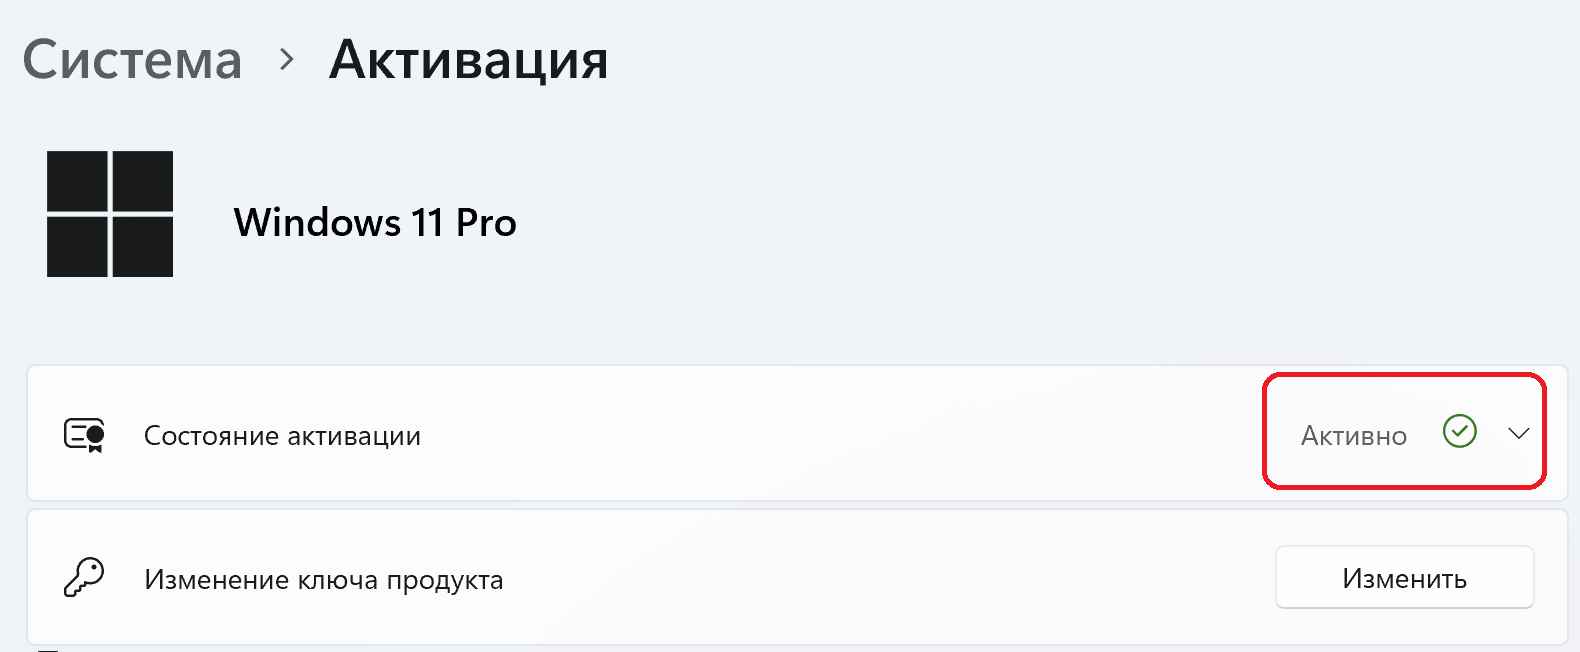
— Далее можем зайти в свойства Windows и посмотреть какая Windows 11 у нас установилась. Автоматически устанавливается Windows 11 Pro.
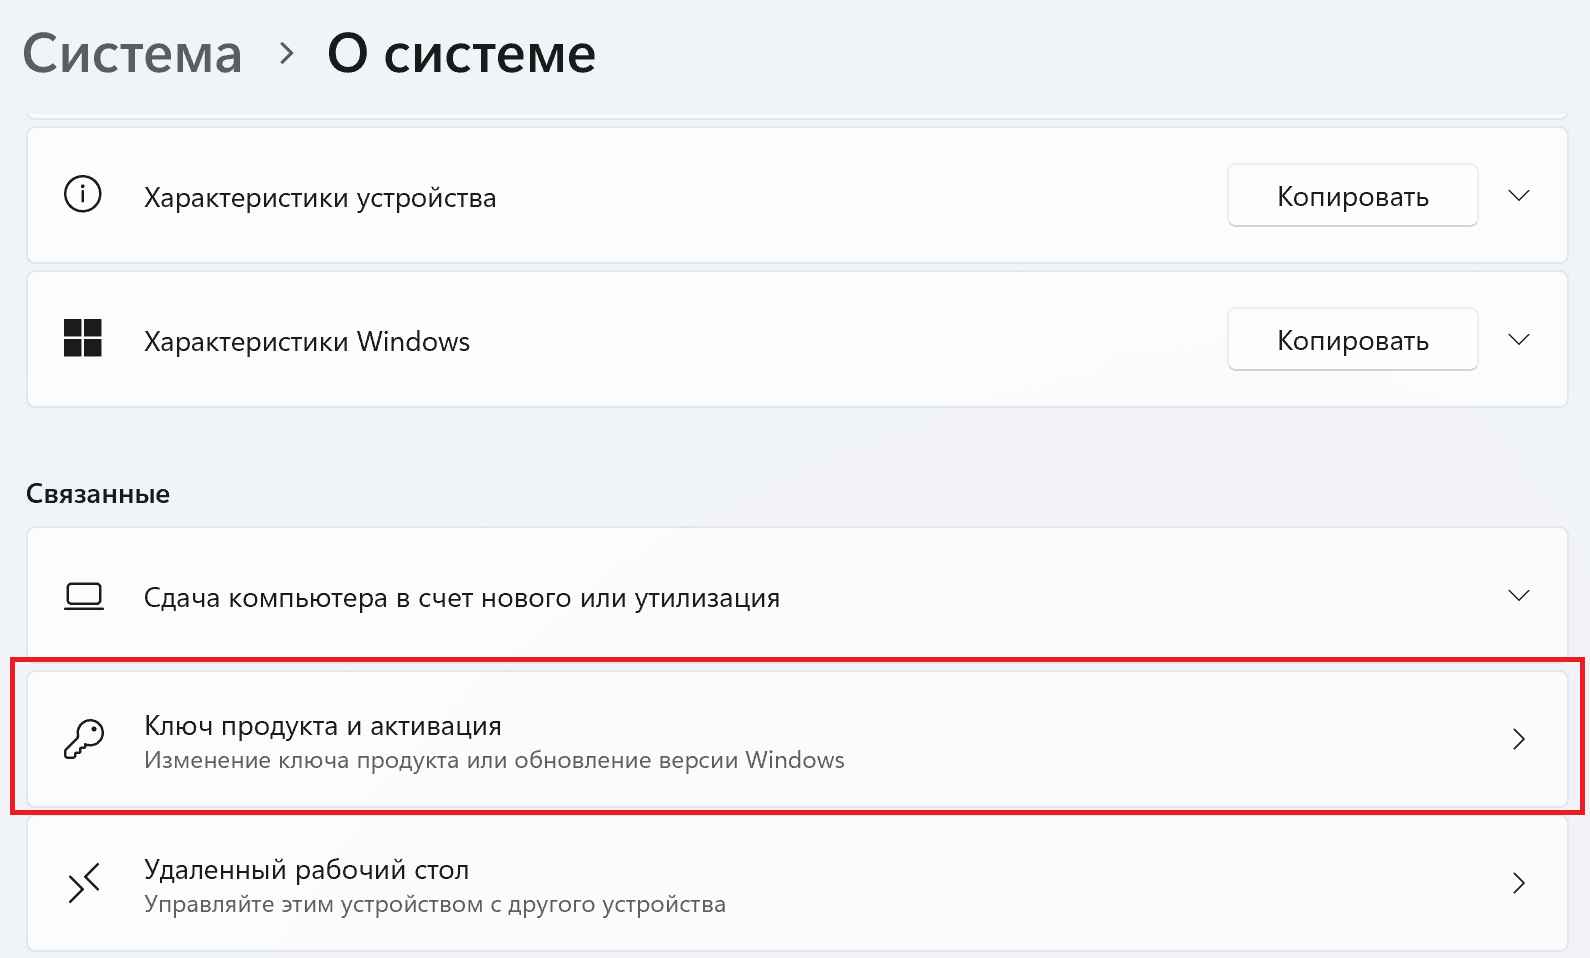
— Переходим в меню «Ключ продукта и активация«.
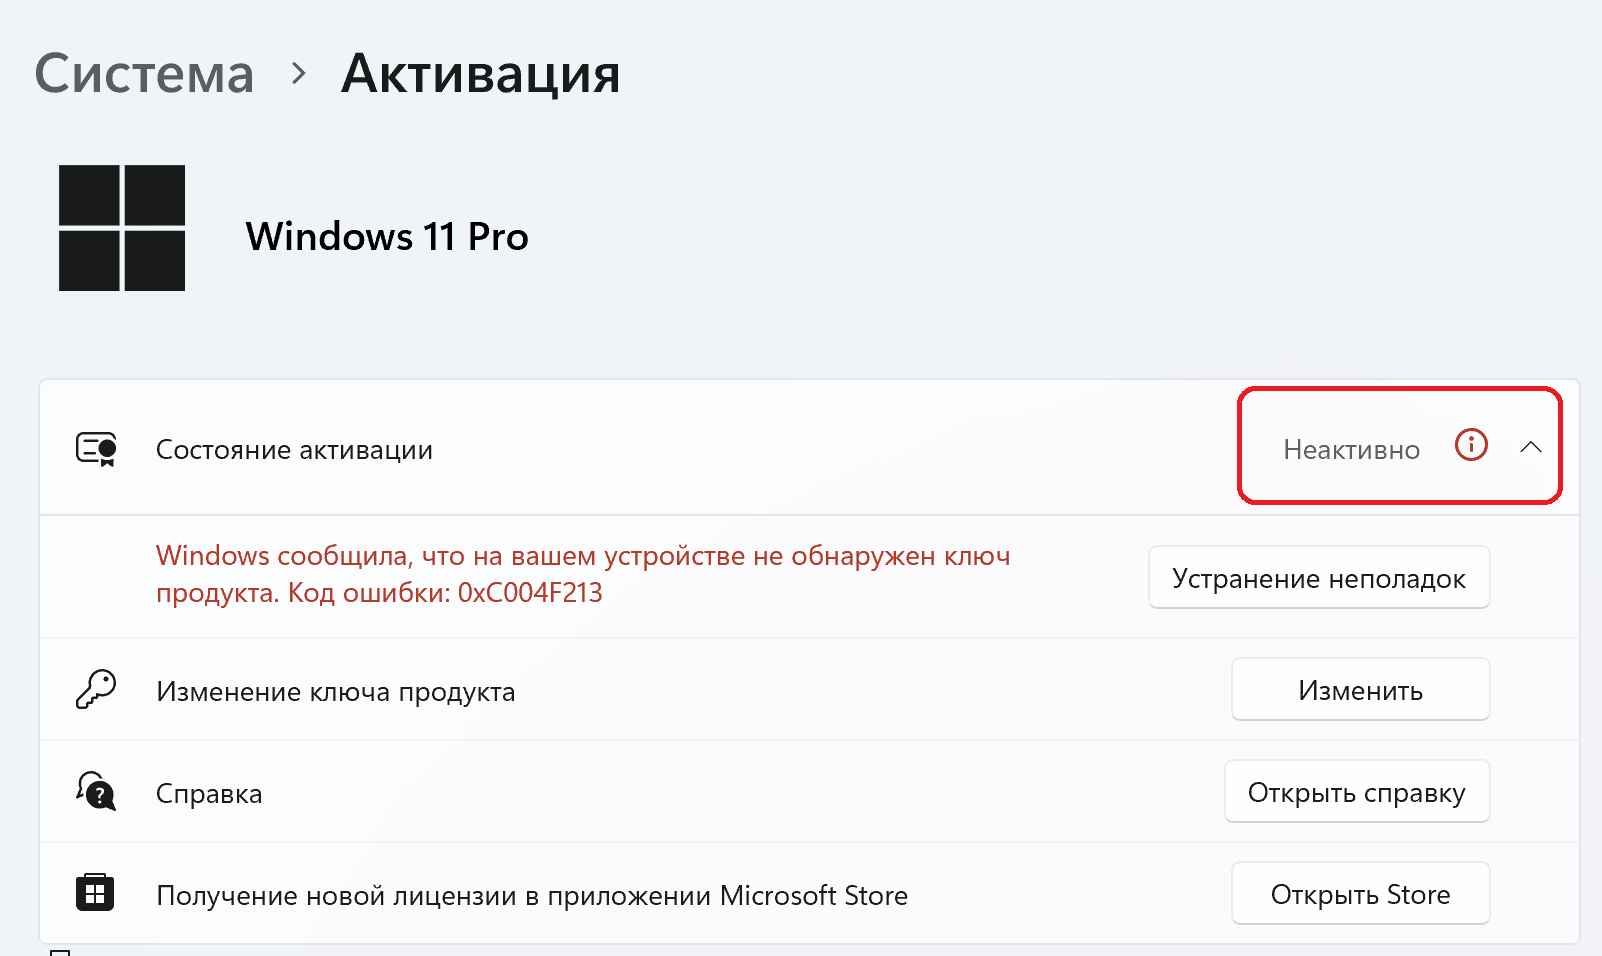
— Видим, что состояние активации «Неактивно». Для того, чтобы активировать систему Windows 11 Pro, Вам понадобится соответствующий ключ активации. Приобрести его можете в нашем каталоге с моментальной доставкой на Вашу электронную почту на следующей странице.
После того, как у Вас есть в наличие ключ активации Windows 11 Pro, то на той же странице в пункте «Изменение ключа продукта» => нажимаем пункт «Изменить«.
— Вставляется в соответствующее поле Ваш ключ и активируете систему.


— На этом установка и активация Windows 11 на Mac с процессорами M1, M2 или M3 закончена. Можете приступить к работе!


Не очень понятно, через Parallels ставится windows 11 стандартная или arm?