In this article, we will look at how to optimize your Windows 10 to ensure the system runs smoothly and efficiently.
1) The first thing we recommend is to use only original installers and avoid various pirate builds and repacks. This will provide an additional guarantee that your installer will work correctly. You can download the installer from Microsoft’s official website, or from our website on the next page.
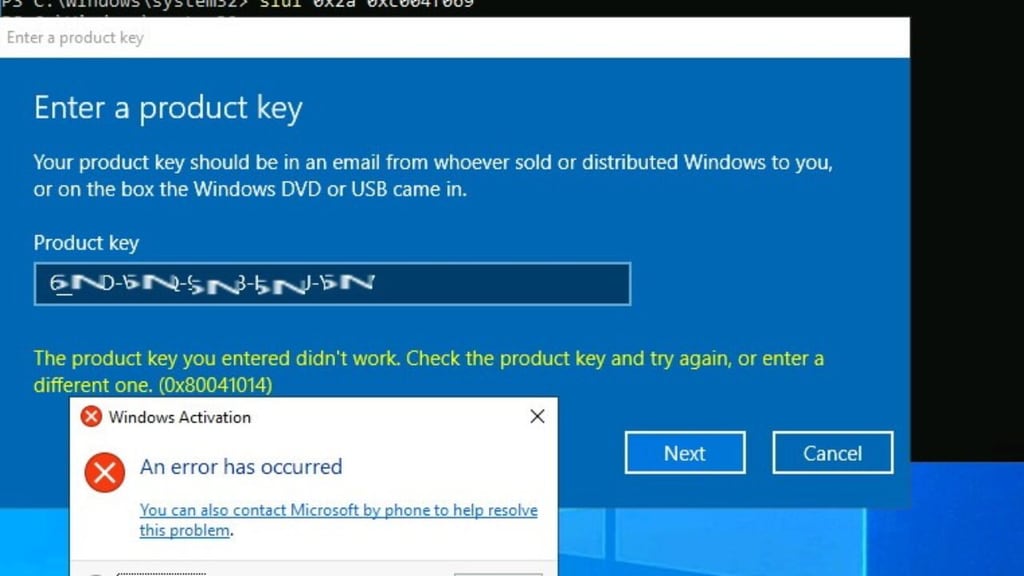
2) In addition, we strongly recommend not using pirated installer builds or various license activation bypass schemes. Use only original product keys on original installers. You can purchase product keys for various versions of Windows 10 in our catalog. The product key is delivered instantly, automatically right after payment. Additionally, we offer free 24/7 technical support from our store.
3) Use an SSD as the system drive. Using an SSD significantly increases the performance of your system due to faster read and write speeds. This is not just a mythical speed increase; in read operations, an SSD is more than 90 times faster than an HDD, and more than 170 times faster in write operations. A visual comparison in tests — the HDD test is on the left, and the SSD test is on the right. (of course, the data may vary depending on the manufacturer of the HDD and SSD), but the fact is evident.

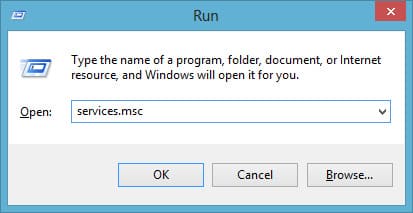
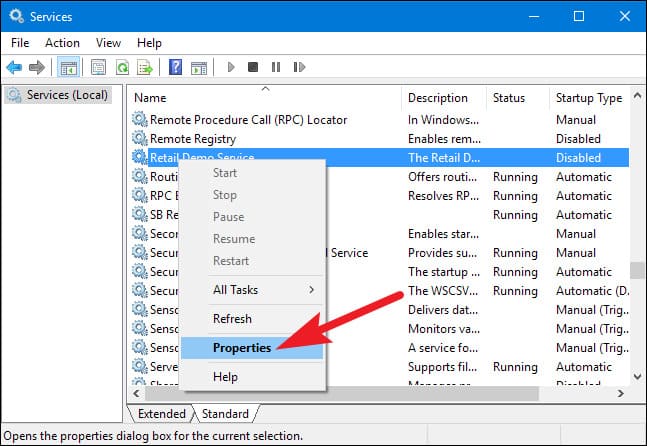
4) Disable unnecessary services. But which services are really unnecessary? To begin with, go to the “Services” menu by pressing Win + R and typing services.msc in the window.
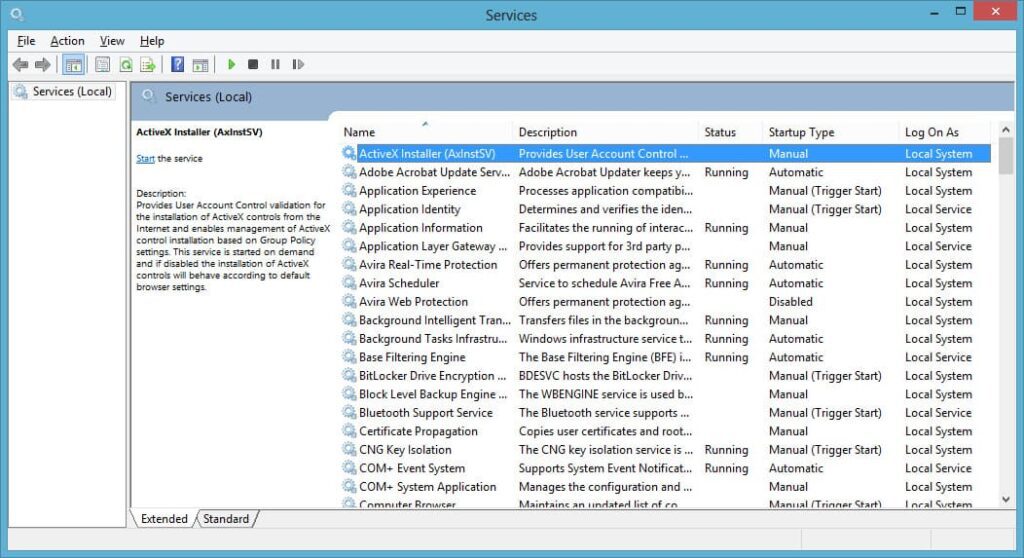
How to disable?
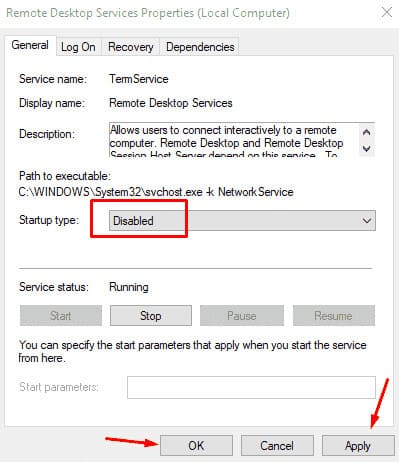
— Find the desired service => Right-click => Properties => In the drop-down menu, set it to “Disabled”. Then click “Apply” => “OK”.
Dmwappushservice – WAP push message routing. This is a telemetry function, disable it if desired.
Machine Debug Manager – Debug manager, used for programming. If you are not involved in programming, disable it.
Superfetch – Can be disabled if you are using only SSDs.
Windows Search – A service for searching files in the system. If you do not use system search, you can disable it.
Windows Biometric Service – This service is responsible for collecting, processing, and storing biometric data. It can be disabled.
Firewall – If you use third-party antivirus software, you can disable this service since it will not be used.
Computer Browser – If you only have one computer on the local network, you can disable this. This service is responsible for displaying the list of devices on the network.
Wireless Configuration – If you use a cable to connect to the internet, this service is not relevant. It is used for Wi-Fi maintenance.
Secondary Logon – If you use one account, this service is also not relevant. It is needed for using two or more accounts on one PC.
Print Spooler – If you do not use a printer on your PC, you can disable this service.
Internet Connection Sharing (ICS) – Disable if you do not use internet sharing through this PC, for example, do not share Wi-Fi to other devices.
Server – If you do not use file and printer sharing through a local network, you can disable it.
Xbox Live Networking Service – Disable if you do not use Xbox.
Geolocation Service – This service tracks the device’s location and sends this data to applications, such as automatic geolocation apps for weather forecasts.
CD/DVD Burning Service – If your PC does not have a disc drive, you can disable it.
Client License Service (ClipSVC) – If you do not use applications from the Windows market, you can disable it.
Image Acquisition Service – Disable if you do not use a scanner.
AllJoyn Router Service – A protocol for applications to interact with WiFi and Bluetooth. If you do not use either, you can disable it.
Hyper-V Data Exchange Service, Hyper-V Guest Shutdown Service, Hyper-V Heartbeat Service, Hyper-V Virtual Machine Session Service, Hyper-V Time Synchronization Service, Hyper-V Data Exchange Service, Hyper-V Remote Desktop Virtualization Service – These services are for the operation and interaction with the built-in virtual machine in Windows – Hyper-V. If you do not use Hyper-V, you can safely disable all related services.
Bluetooth Support Service – Disable if you do not use Bluetooth.
BitLocker Drive Encryption Service — You can disable it if you do not use the built-in BitLocker encryption system.
Remote Desktop Services — If you do not use the RDP function on your PC, you can disable it.
Remote Registry — Another function for remote work. If you do not use it, you can disable it. Also, its disablement increases system security.
Fax – Disable if you do not use a fax machine.
Connected User Experiences and Telemetry – A service for telemetry. Disable it if you do not use it.
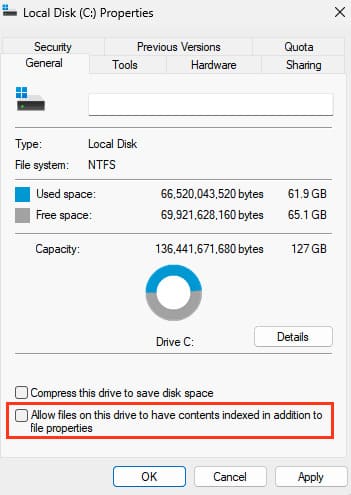
5) Disabling disk indexing. Disk indexing is needed to make search on your PC as fast as possible, but how often do you use search on your PC? Also, for SSD owners, it is highly recommended to disable this function as every additional access to your SSD shortens its lifespan.
Go to any folder => On the left, select “This PC” => Select your local disk => Right-click => Properties => In the window that opens, uncheck “Allow files on this drive to have contents indexed…” => Apply => OK.
6) Disabling hibernation. This feature is mostly useful for laptops, and even then, not always. Hibernation reserves a fairly large amount of hard disk space, slowing down the system as a result. The fastest way to disable hibernation is through the command line. Do the following:
Win+R => Type CMD => In the command line, type powercfg –h off => Press “Enter”. Done.
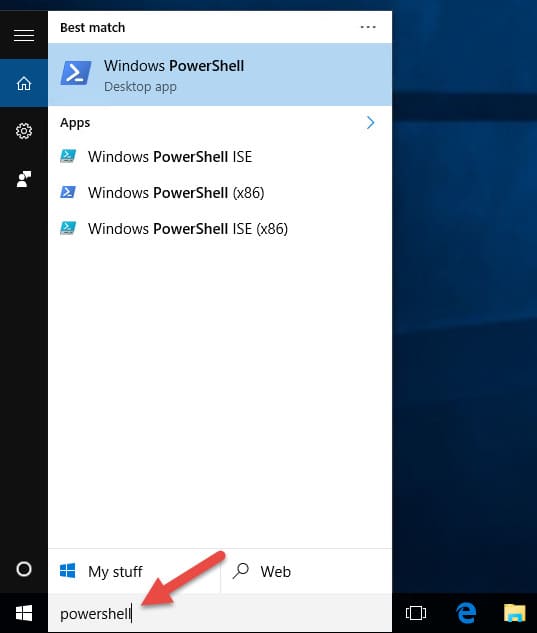
7) Disabling Game DVR – This service automatically records video during online games, without asking, and without notifying you, which can significantly reduce FPS in games. You can disable it using a command in Powershell.
Open Windows search and type powershell => Right-click and select “Run as administrator” => Open Windows Powershell
In the Powershell window, type the command: Get-AppxPackage xbox | Remove-AppxPackage and press Enter.

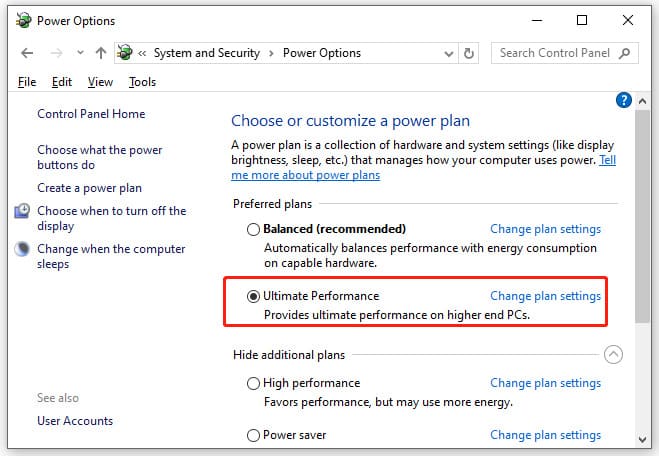
8) Now let’s configure power settings. Windows 10 power settings have three modes: 1. Balanced. 2. High performance. 3. Power saver.
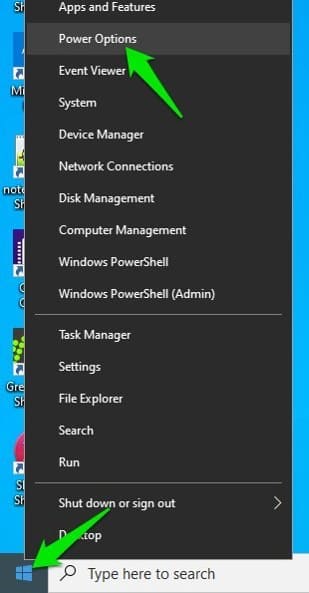
Balanced and power saver are suitable for laptops where you need to find a golden mean to prevent the device’s battery from discharging too quickly. For desktop PCs, it is better to set “High performance”. So, go to the “Power Options” menu by:
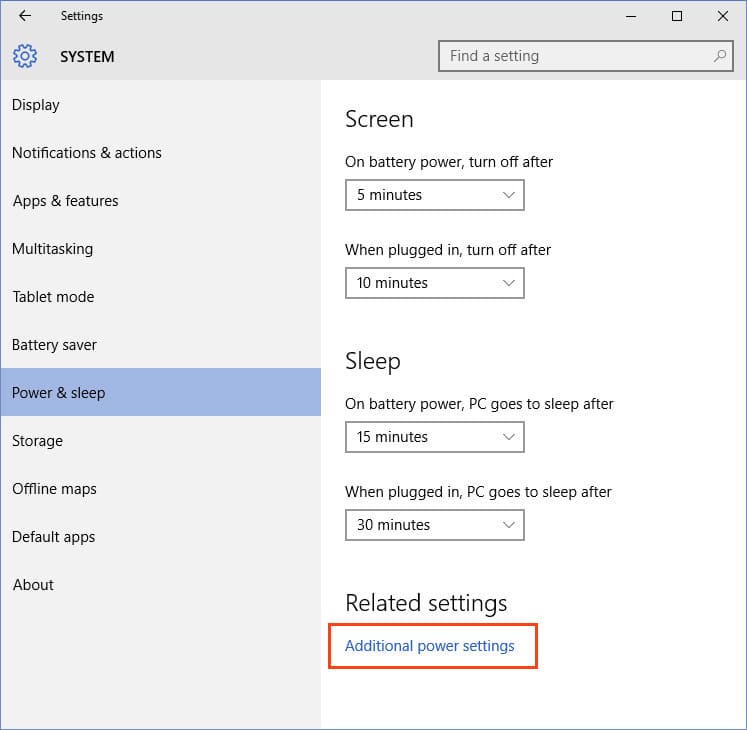
Right-clicking on the Start menu => Power Options => Additional power settings => Check “High performance” or “Ultimate performance”.
9) Enabling additional CPU cores. By default, the system boots with one core, but this can be changed by pressing Win + R => Typing msconfig in the window => Go to the “Boot” tab => Advanced options => Check the “Number of processors” box => You can then select 2, 4, or 8 depending on your PC’s configuration.
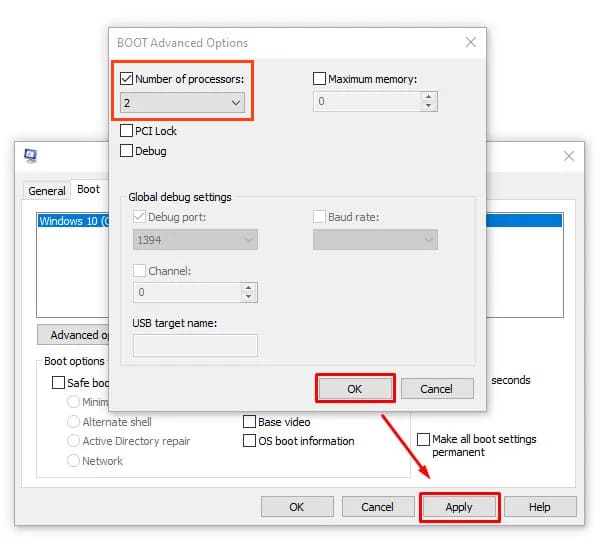
If your system fails to boot after performing this operation, you need to start the system in “Safe Mode” by pressing F8 during startup and disable this option.
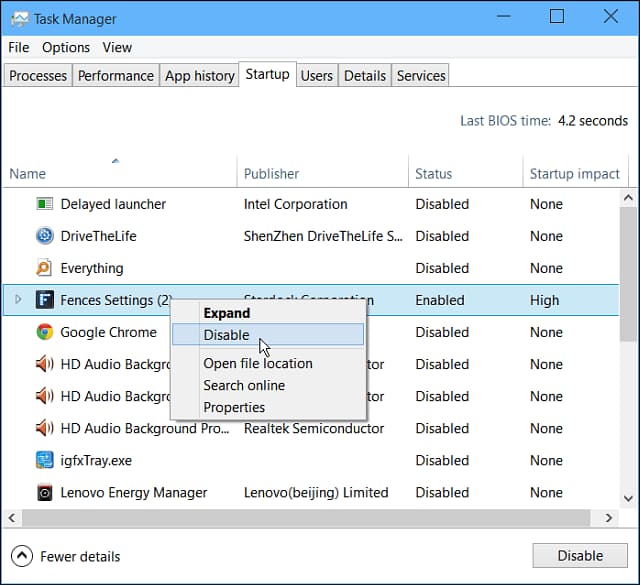
10) The last but not least important point is to disable unnecessary startup applications. The fewer applications the system launches at startup, the faster it boots, and consequently, the faster it operates.
Open “Task Manager” by pressing “Ctrl + Alt + Del” => Task Manager => Go to the “Startup” tab. In this menu, disable all unnecessary applications that launch at startup by right-clicking on them => Disable.