

В данной статье рассмотрим процесс установки и активации Visual Studio 2017. Именно на данном примере у нас будет версия «Enterprise», самая полная версия данного приложения.
— Первое, что нам нужно сделать, это скачать само приложение. Скачать его можете с нашего сервера по прямой ссылке, либо с официального сайта Microsoft на следующей странице, для скачивания с сайта Microsoft необходимо совершить авторизацию под Вашей учетной записью.
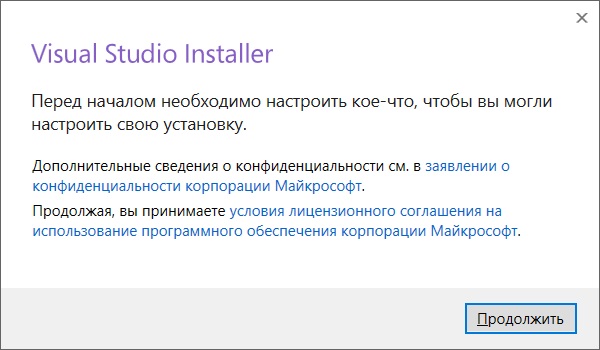
— Запускаете установщик, нажимаете «Продолжить».
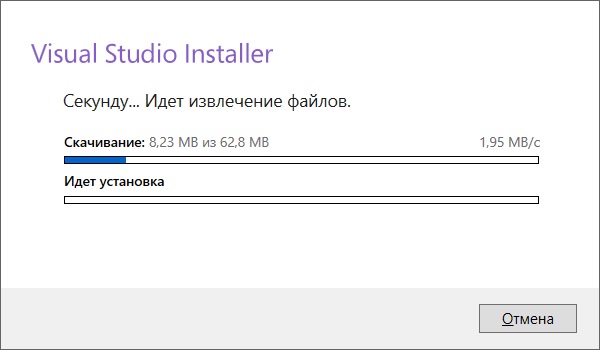
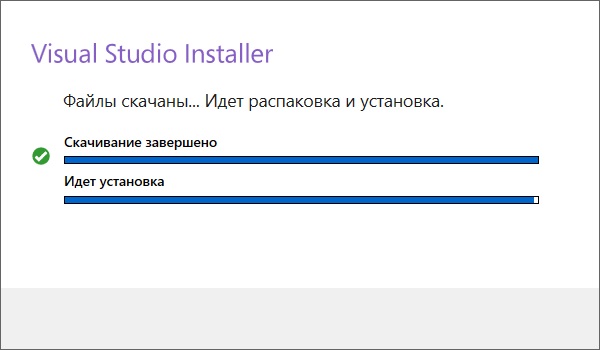
— Начнется процесс скачивания файлов приложения и их установки. Дождитесь завершения процесса.
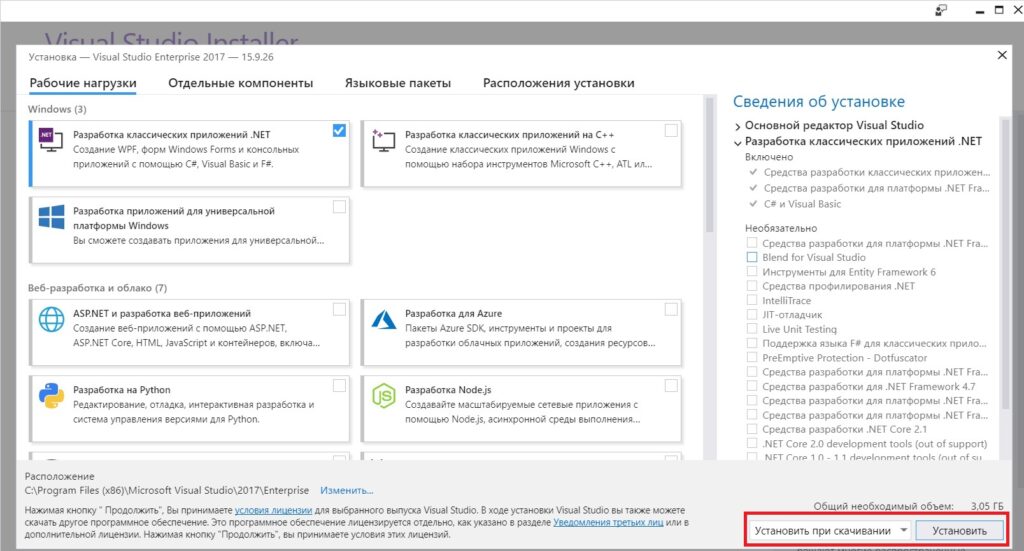
— После установки у Вас приложение запросит выбрать необходимые компоненты для работы, которые Вам нужны. Выбираете нужное именно Вам, после устанавливаете пункт «Установить при скачивании» и нажимаете «Установить».
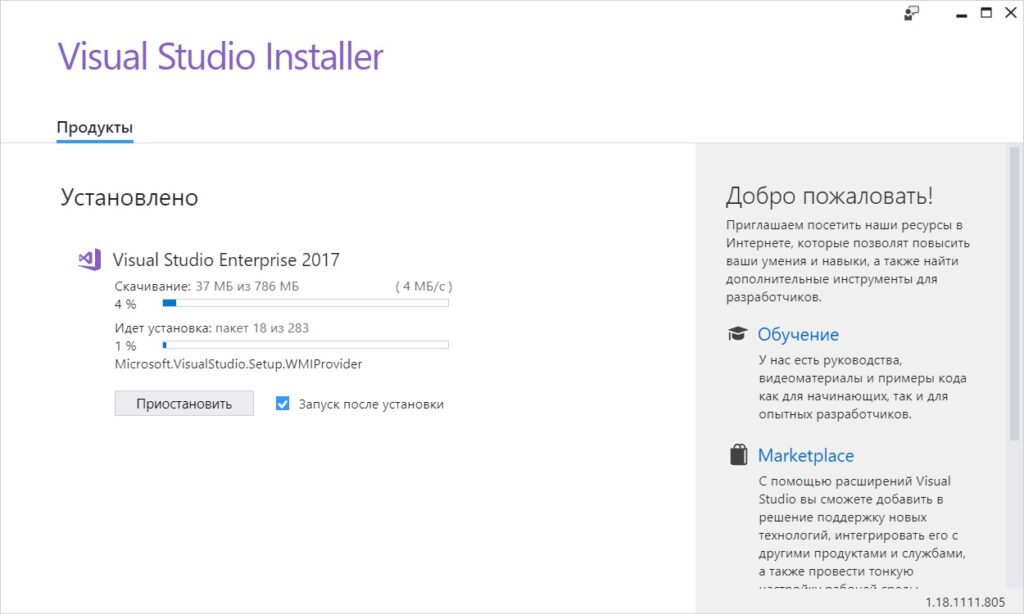
Дожидаетесь установки компонентов.
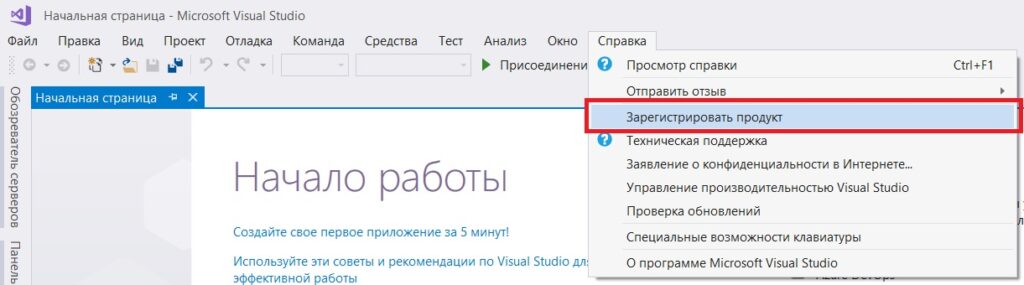
— После установки компонентов у Вас откроется окно самого приложения. Нажимаете «Справка» => «Зарегистрировать продукт».
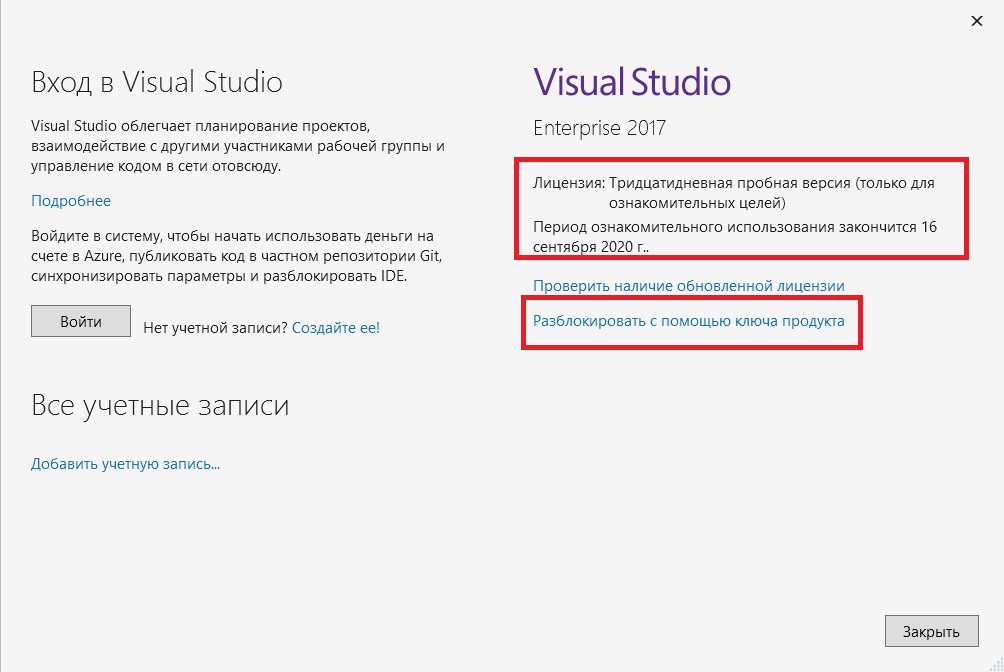
— Как Вы можете наблюдать в новом окне у Вас приложение будет работать в «Пробной версии» на срок 1 месяц с момента установки. Для активации приложения Вам понадобится ключ активации, если у Вас нет в наличии ключа активации, приобрести его можете в нашем каталоге на следующей странице.
После того, как у Вы убедились, что у Вас есть ключ активации, можете нажать на кнопку «Разблокировать с помощью ключа продукта».
В новом окне ввода, вводите Ваш ключ продукта для активации приложения.
 ,
,
На этом установка и активация приложения окончена. Если у Вас остались дополнительные вопросы можете задать их нашей техподдержке в чате в правом нижнем углу окна, либо по Email: admin@softcomputers.org