When installing Windows 11, many users encounter a problem where the system displays a message that it cannot be installed due to not meeting the minimum system requirements. In this article, we will take a detailed look at how to bypass this restriction and install Windows 11 on your PC or laptop.
You can download the official Windows 11 installer from our catalog!

Step 1: Creating a Windows 11 Bootable USB Drive
1. Connect a USB flash drive of at least 8 GB to your computer.
2. Go to our catalog and download any of the Windows 11 versions.
– Windows 11 Enterprise (LTSC)
– Windows 11 Pro for Workstations
3. Next, you need to write the downloaded Windows 11 installer to the USB flash drive. Check out how to do this in our other article.
Step 2: Preparing the File to Bypass Compatibility Checks
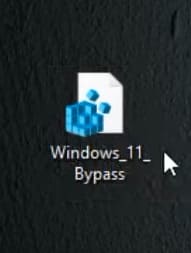
1. On your desktop, you should have a file named Windows 11 Bypass. This file will allow you to bypass the compatibility check during installation. You can download it at the following link: Windows 11 Bypass.reg
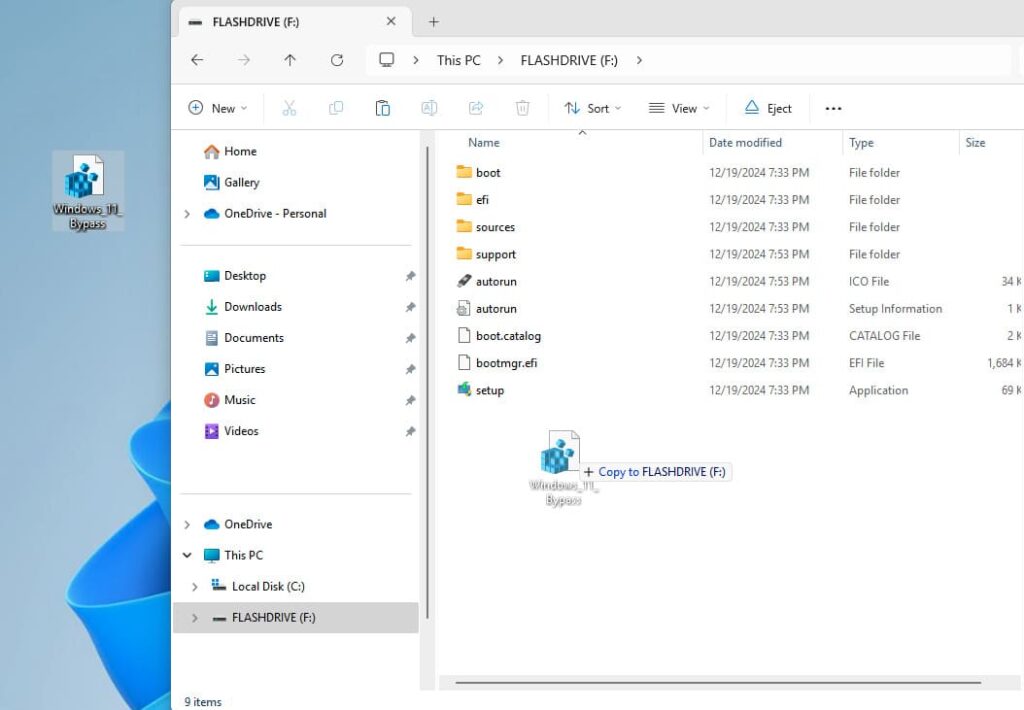
2. Open File Explorer and go to your created bootable USB drive.

3. Copy the Windows 11 Bypass file to the root directory of the USB drive.
Step 3: Restarting and Entering BIOS
1. Restart the computer without removing the USB flash drive.
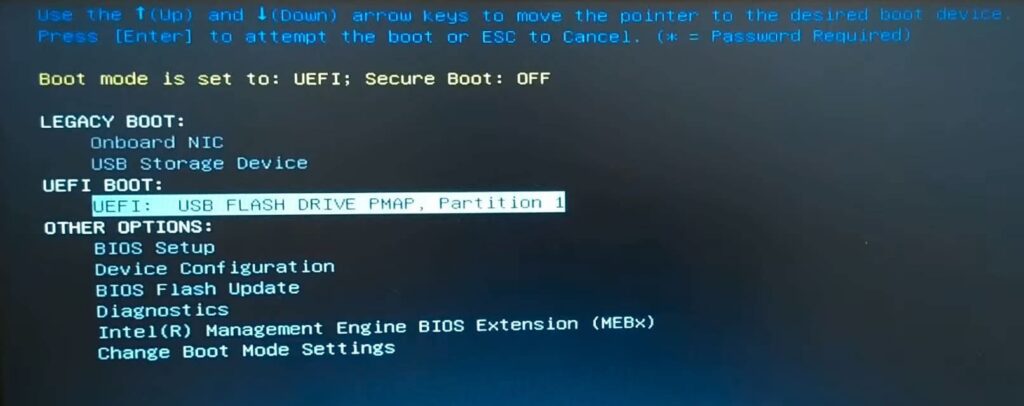
2. During the restart, enter the BIOS (on Dell laptops, you can do this by pressing the F12 key repeatedly).
3. In BIOS, select your bootable USB drive as the boot device and press Enter.
If you cannot enter the BIOS or select the USB flash drive as the boot device, try other options described in the following our article.
Step 4: Configuring Windows 11 Installation
1. After the flash drive boots, the Windows 11 installation process will begin. Select the language and click “Next.”
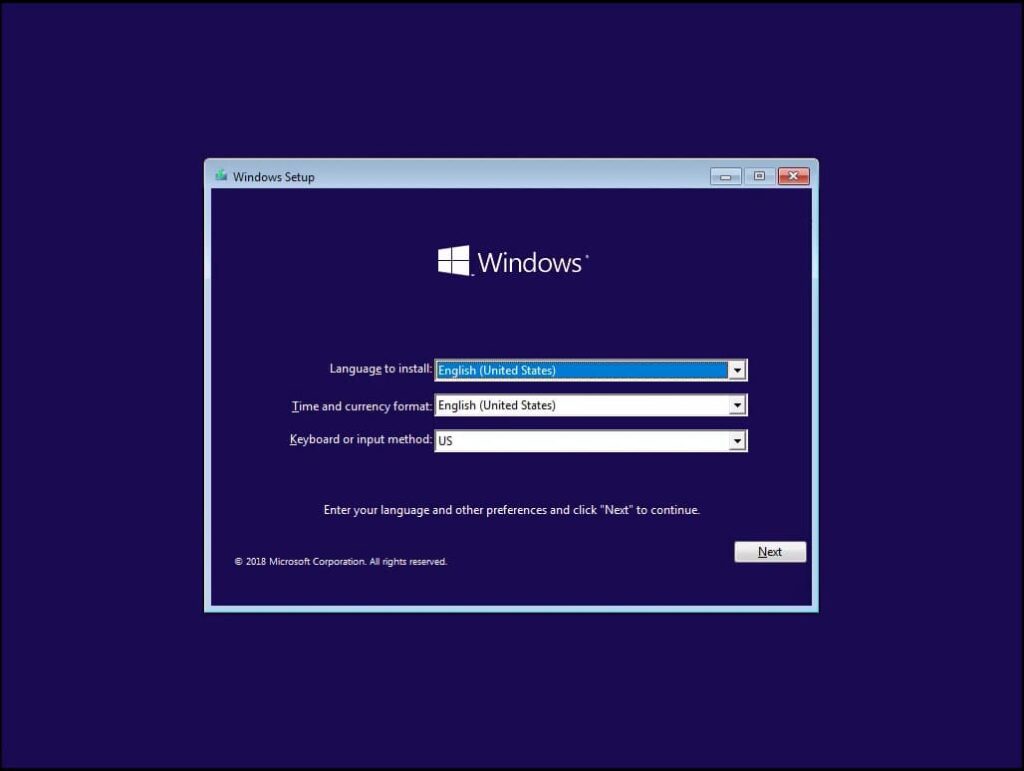
2. Click “Install.” If your computer does not meet the minimum requirements, you will see a warning.
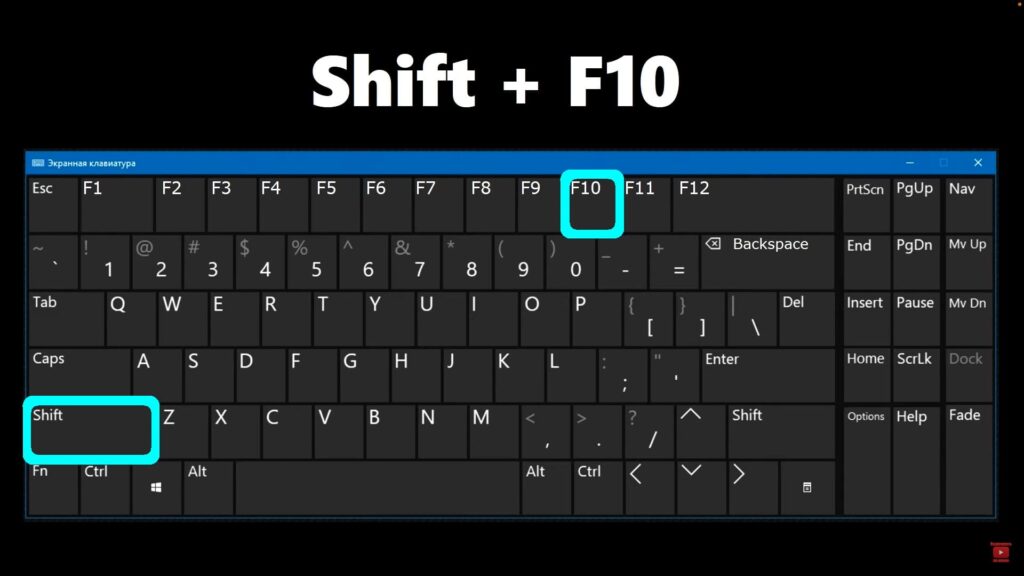
3. Before continuing the installation, simultaneously press `Shift + F10` to open the Command Prompt.
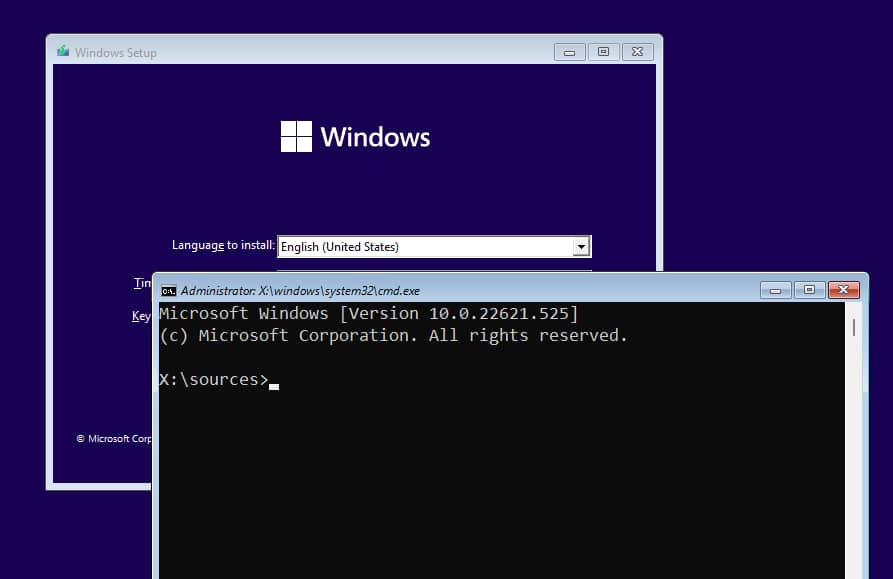
4. In the Command Prompt, type `notepad` and press Enter.
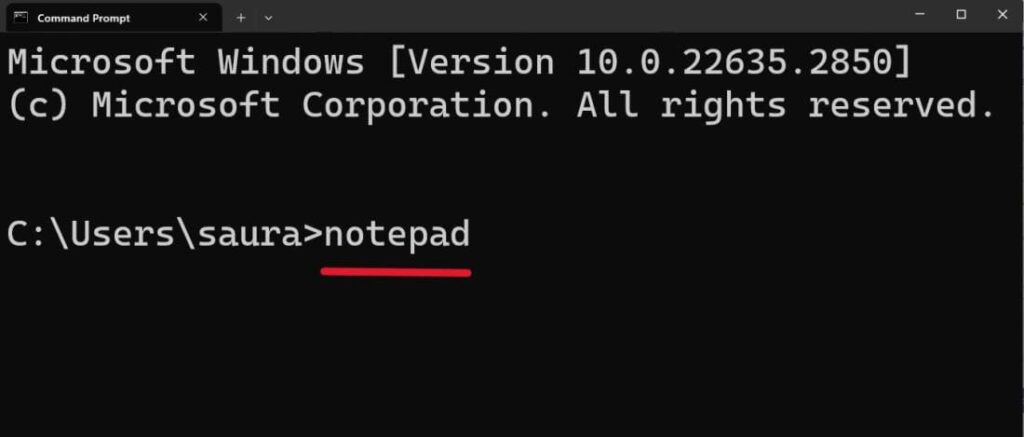
5. In Notepad, select “File” → “Open.”

6. In the file explorer, select your USB flash drive.

7. In the file type dropdown, select “All Files” and find the Windows 11 Bypass file.

8. Right-click on the file and select “Merge.”

9. Confirm the action by clicking “Yes” and “OK.”
10. Close all open windows and click “Install” again.

Step 5: Completing the Windows 11 Installation
After performing the steps above, the Windows 11 installation will begin without issues, even if your device does not meet the minimum requirements.
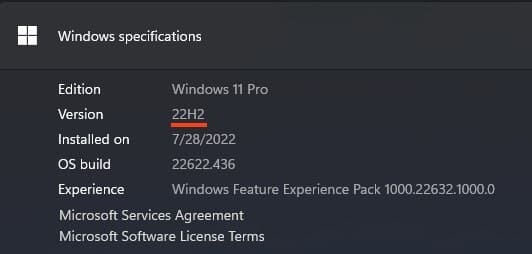
Once the installation is complete, go to “Settings” → “System” → “About” and check the Windows version. As you can see, version 22H2 has been successfully installed. You can also check activation in the “Product key and activation” section.
That’s all. Now you can use Windows 11 on your device.

