

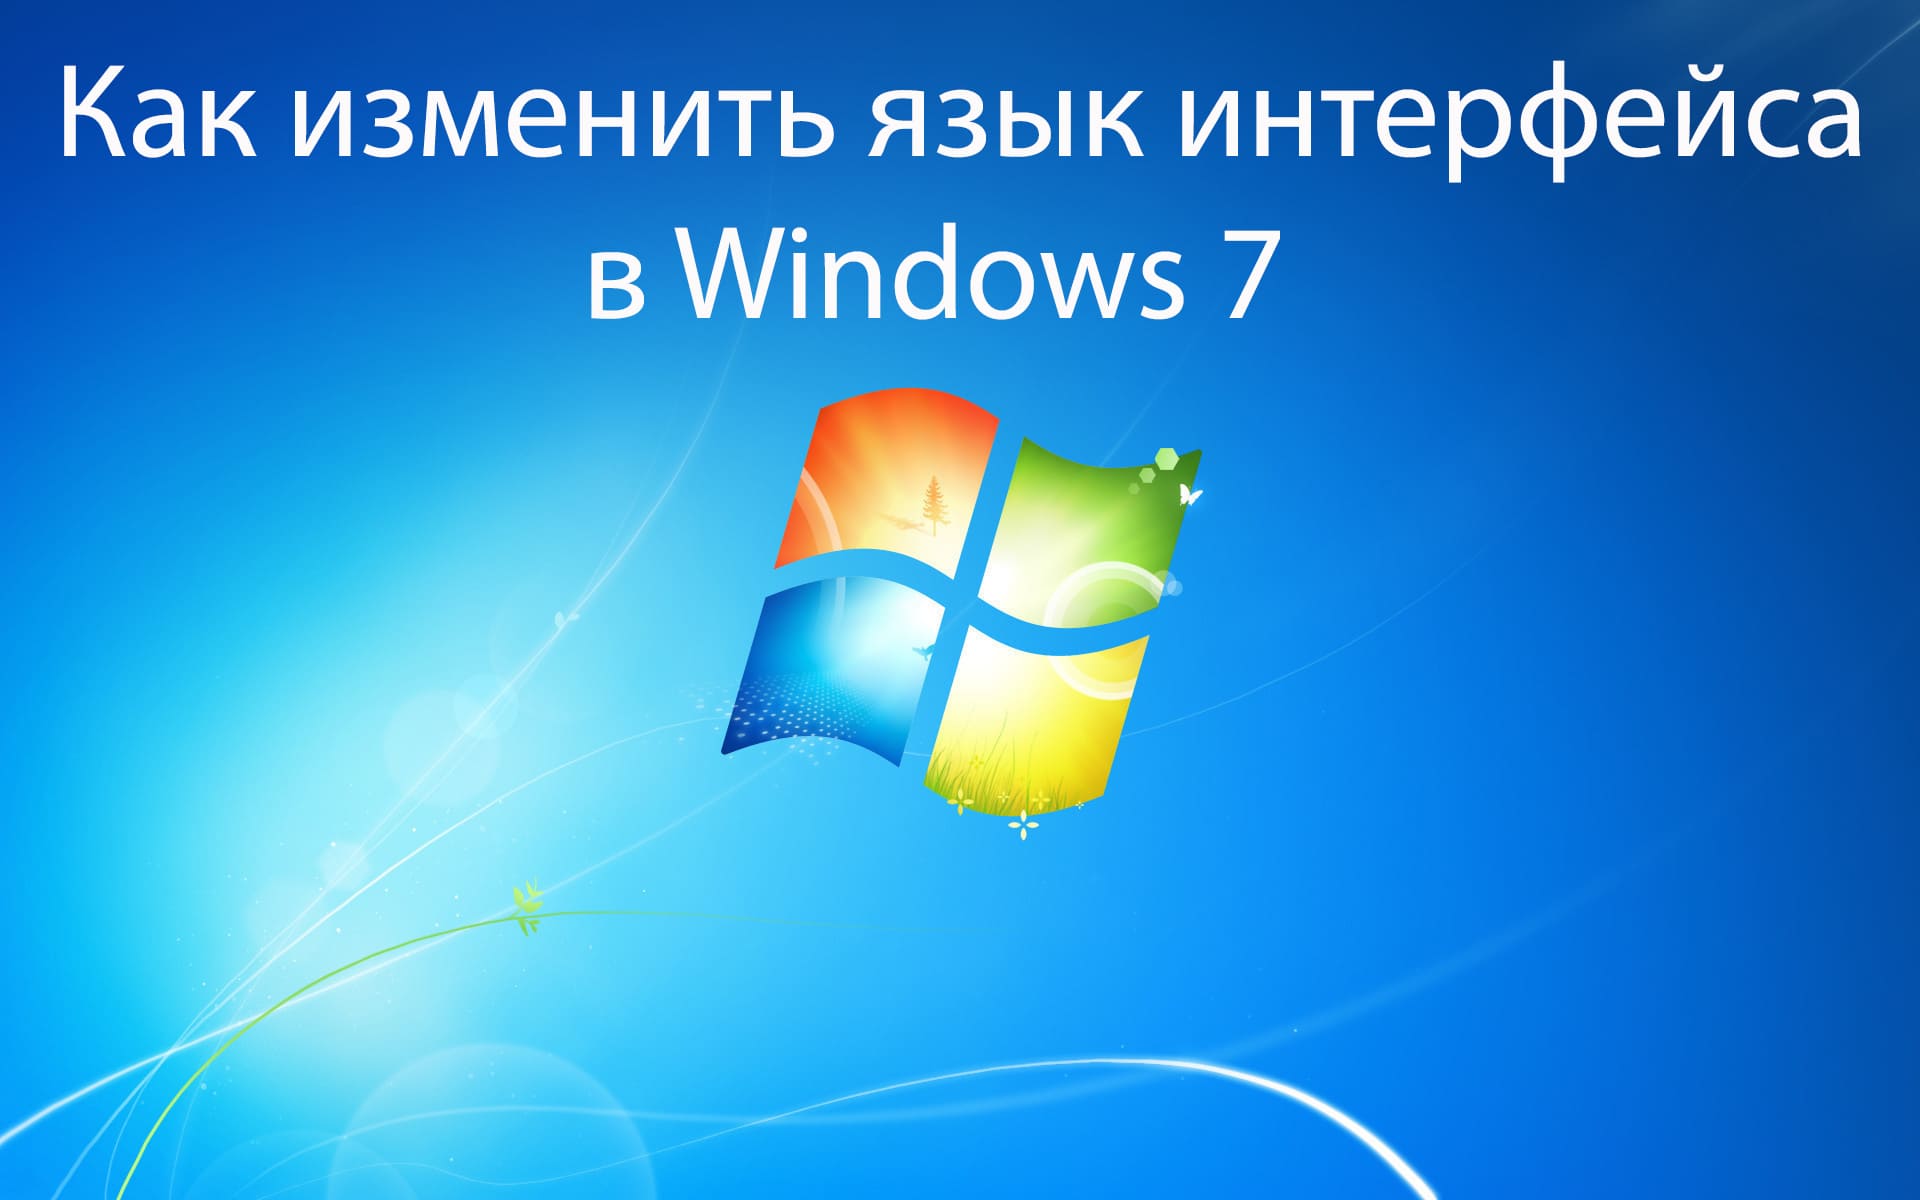
В данной статье рассмотрим как без особых усилий изменить язык интерфейса в Windows 7. Какие нужны требования:
— Установленное обновление SP 1. Установить обновление можете по инструкции.
— Смену языка поддерживают только версии Windows 7 Ultimate (Максимальная) и Windows 7 Enterprise (Корпоративная). Если у Вас какая-либо другая версия Windows 7, в этом случае смена языка системы невозможна.
Т.к официальная поддержка Windows 7 уже закончена, смена языка через «Центр обновления Windows» может быть затруднен, в этом случае самое простое — это скачать языковой пакет вручную и установить его. Скачать его можете с сервера Microsoft по ссылам в нашей прошлой статье.
— Скачайте нужный Вам язык под разрядность Вашей системы (x32/x64).
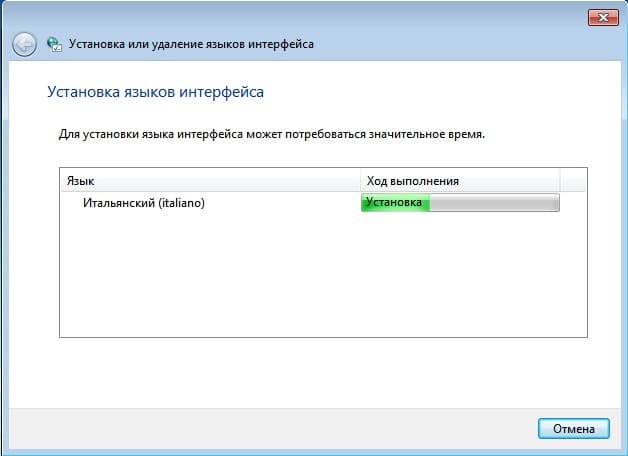
— Двойным кликом левой кнопкой мыши запускаем дистрибутив языкового дополнения и дожидаемся окончания его установки.
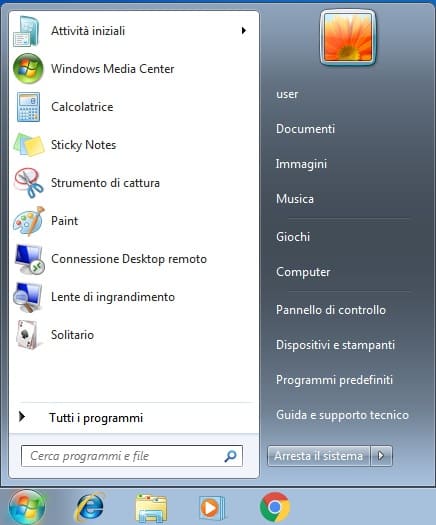
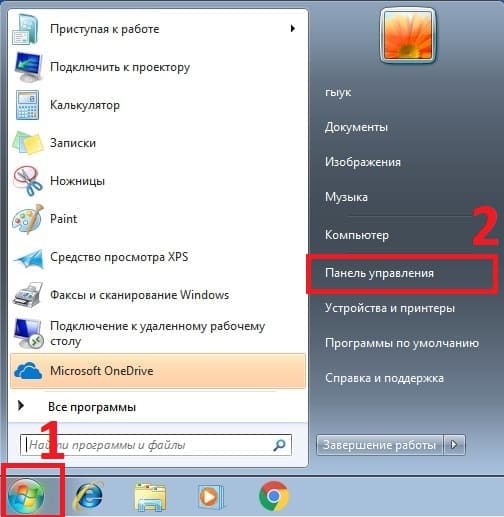
— После окончания установки языкового дополнения заходим в меню «Пуск» => Панель управления.
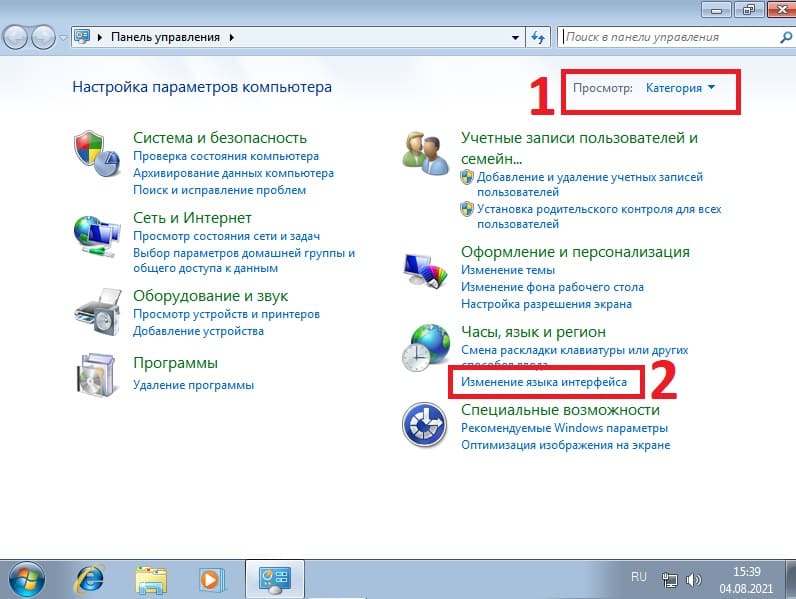
— В меню «Панель управления» делаем сортировку просмотра «Категория» => Нажимаем на «Изменения языка интерфейса».
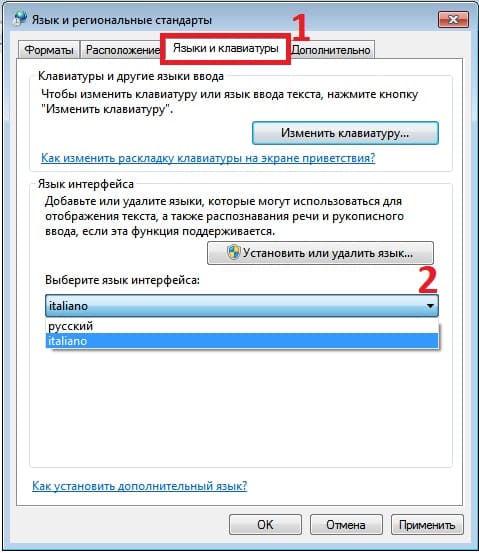
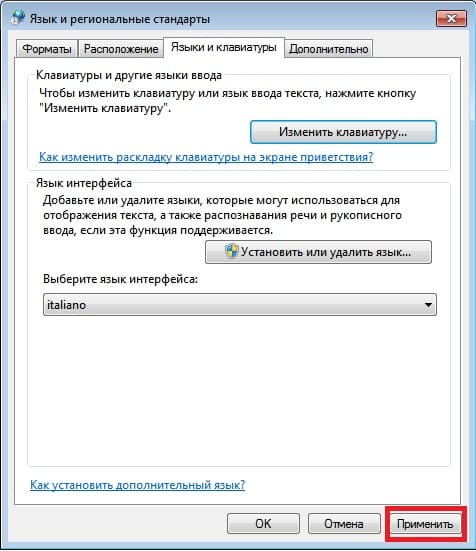
— В меню «Язык и региональные стандарты» заходим во вкладку «Языки и клавиатуры» => В выпадающем меню выбора языка выбираем тот, который Вы ранее установили => Применить.
— Система запросит перезапуска, нажимаем «Выйти из системы сейчас», после заходим в нее снова.

— Теперь язык интерфейса Windows 7 успешно изменен!