

В этой статье мы рассмотрим пошагово, как установить Windows 10, будь то версия Pro или Домашняя (Home). С подробными инструкциями и скриншотами, это руководство поможет вам легко справиться с задачей!
Проблемы со скачиванием из России
1. В связи с действующими ограничениями, пользователи из России могут столкнуться с трудностями при скачивании дистрибутива с официального сайта Microsoft. Вы можете попробовать скачать дистрибутив, но этот метод часто не работает для пользователей из РФ.
Мы рекомендуем:
Скачать нужную версию Windows 10 из нашего каталога на следующей странице. Наши дистрибутивы оригинальные MSDN, хеш-суммы можно проверить на странице скачивания.
Создание загрузочной флешки
2. Начнем с записи Windows 10 на флешку, так как правильная установка осуществляется с загрузочной флешки. Ознакомьтесь с инструкцией: Как записать Windows на флешку.
Загрузка с флешки
3. Загрузитесь с флешки через BIOS или UEFI. Каждый BIOS уникален, поэтому общей инструкции нет, но на нашем сайте есть примерная инструкция на следующей странице.
Установка Windows 10
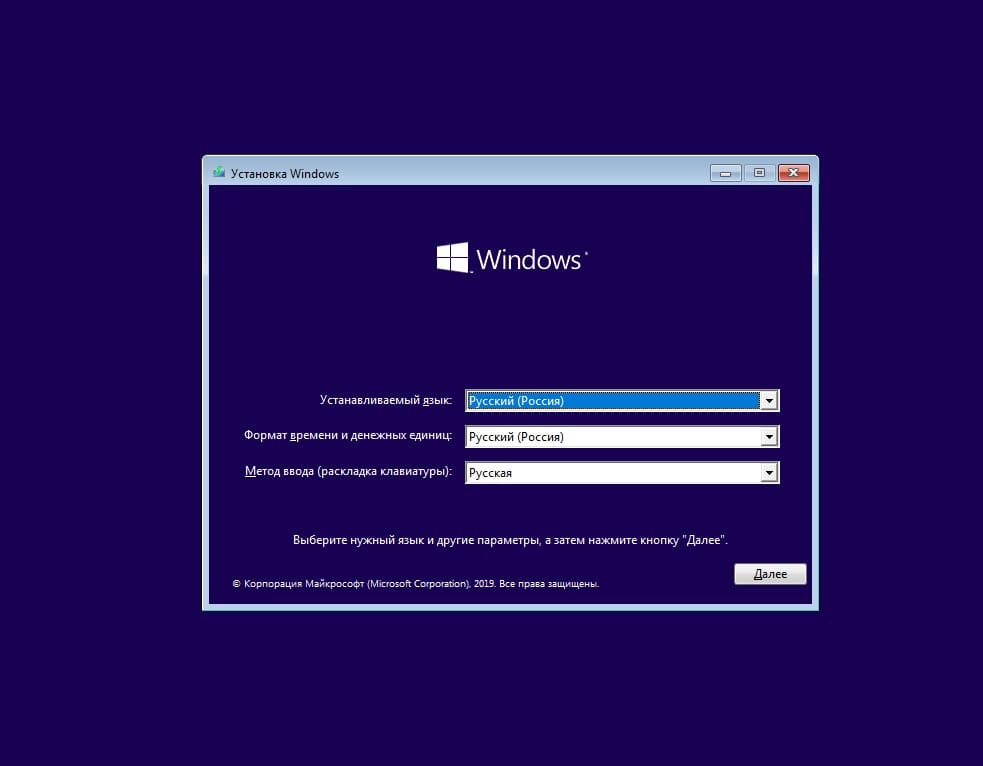
4. Начнем установку. Выберите язык и раскладку клавиатуры в первом окне, оставляем параметры по умолчанию.
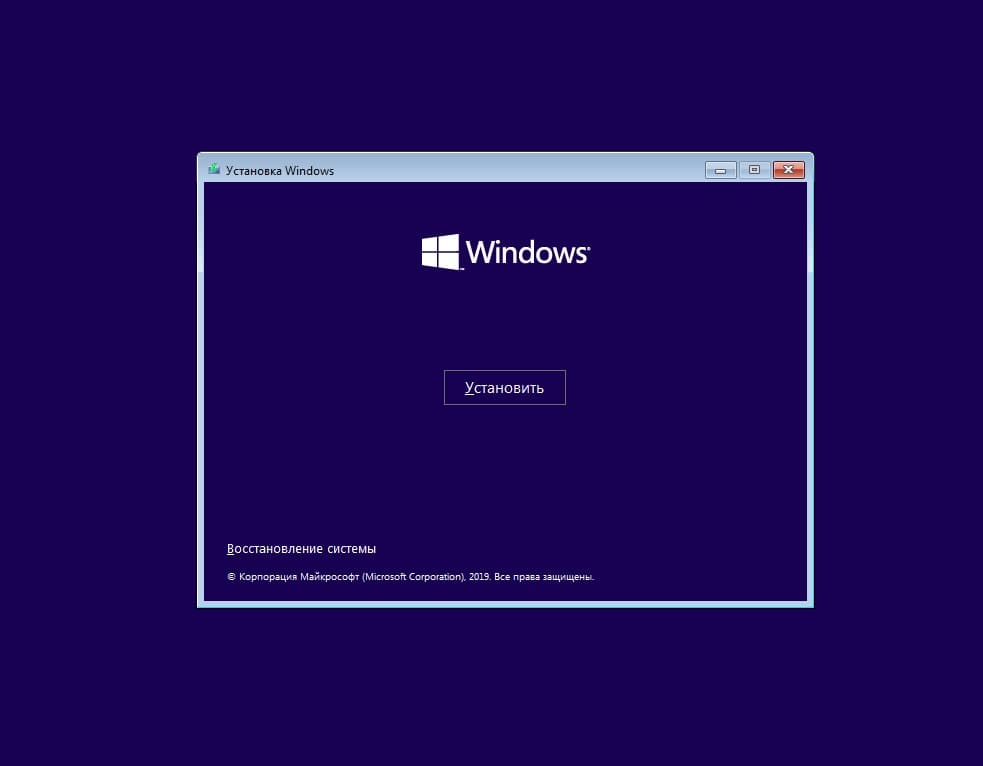
— Нажмите «Установить».
— Вы можете пропустить ввод ключа активации во время установки. Активируйте систему после завершения установки. Нажмите «У меня нет ключа продукта».

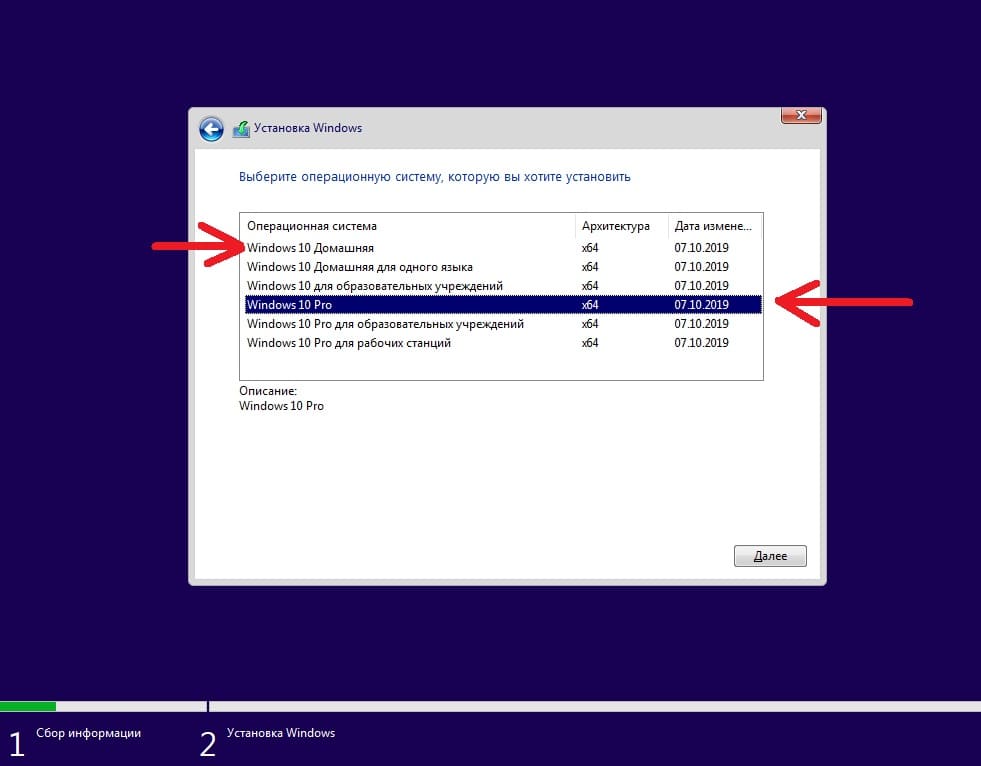
— Выберите нужную версию Windows 10, в нашем примере — Windows 10 Pro.
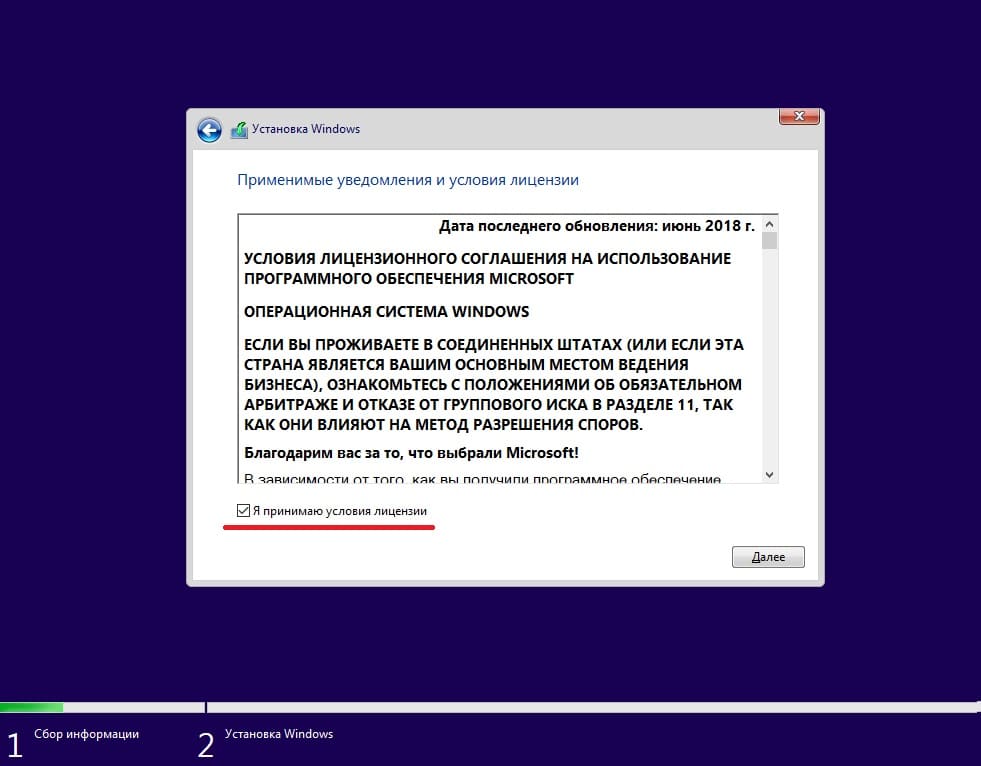
— Примите условия лицензионного соглашения.
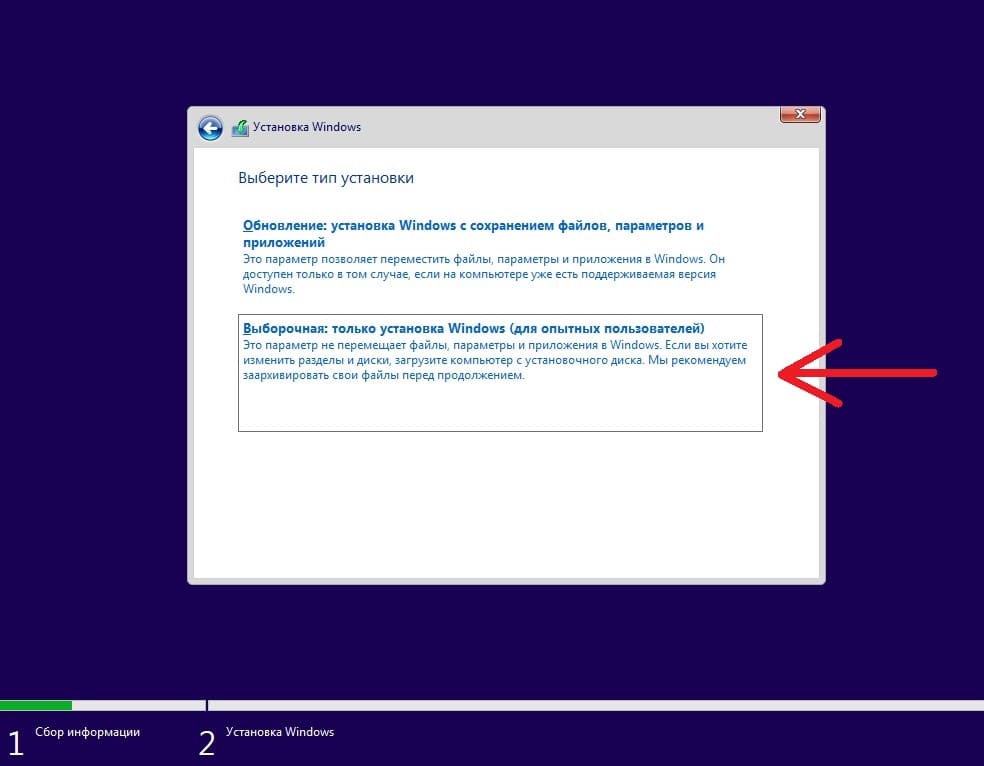
— Выберите «Выборочную установку» для чистой установки системы.
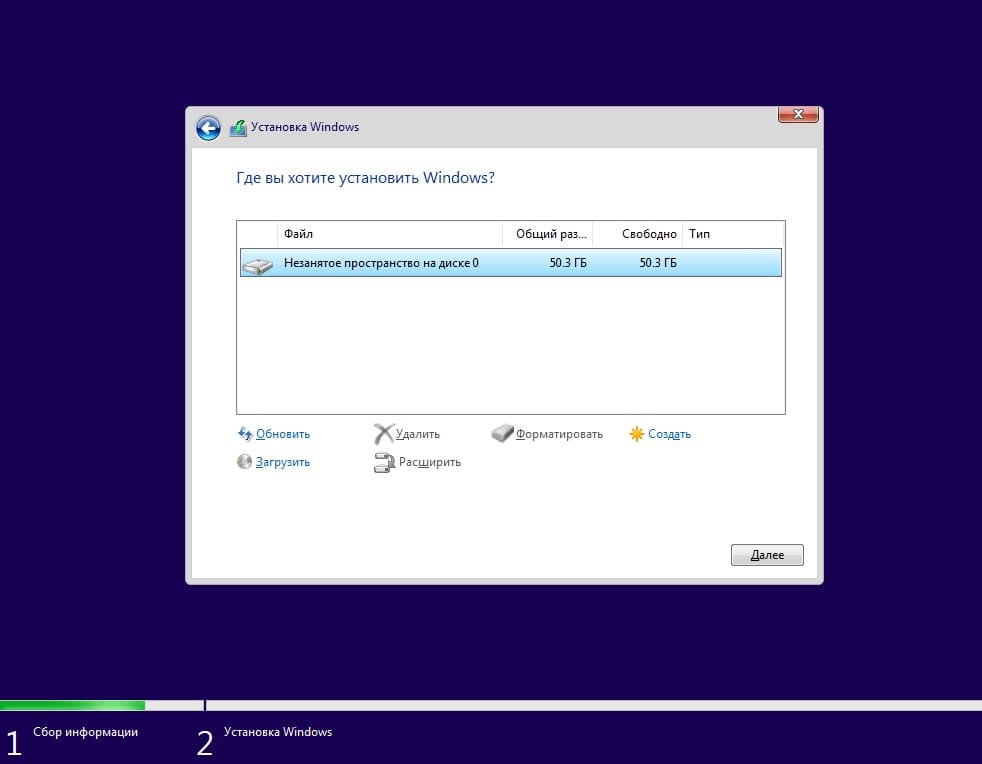
— Выберите жесткий диск или раздел для установки Windows 10.
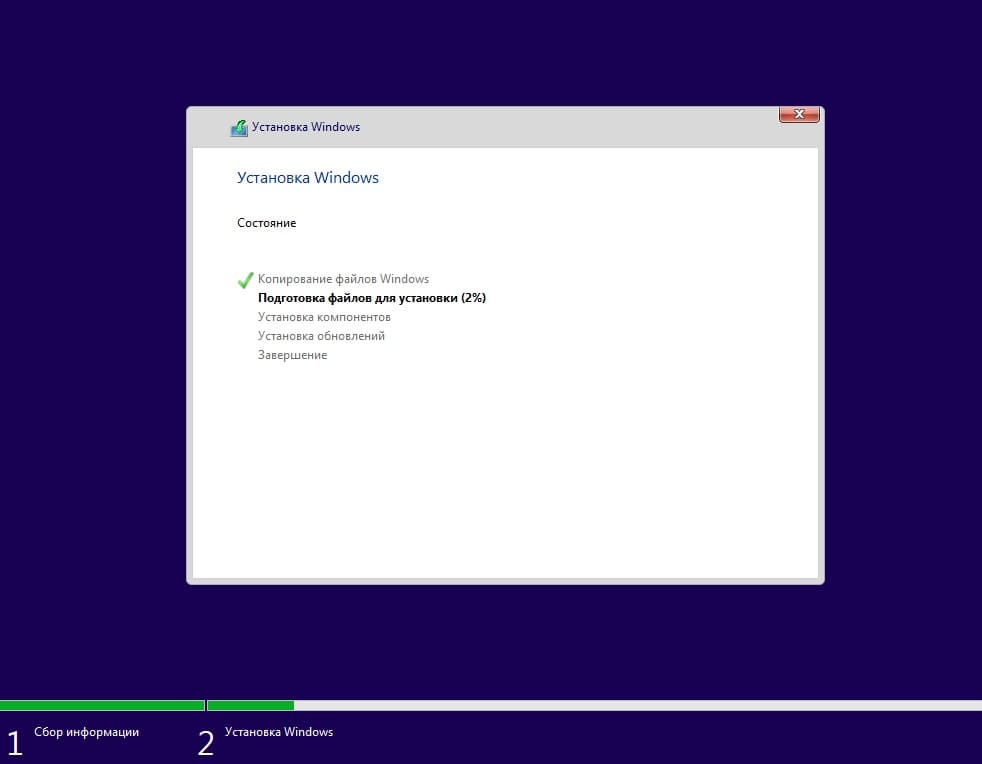
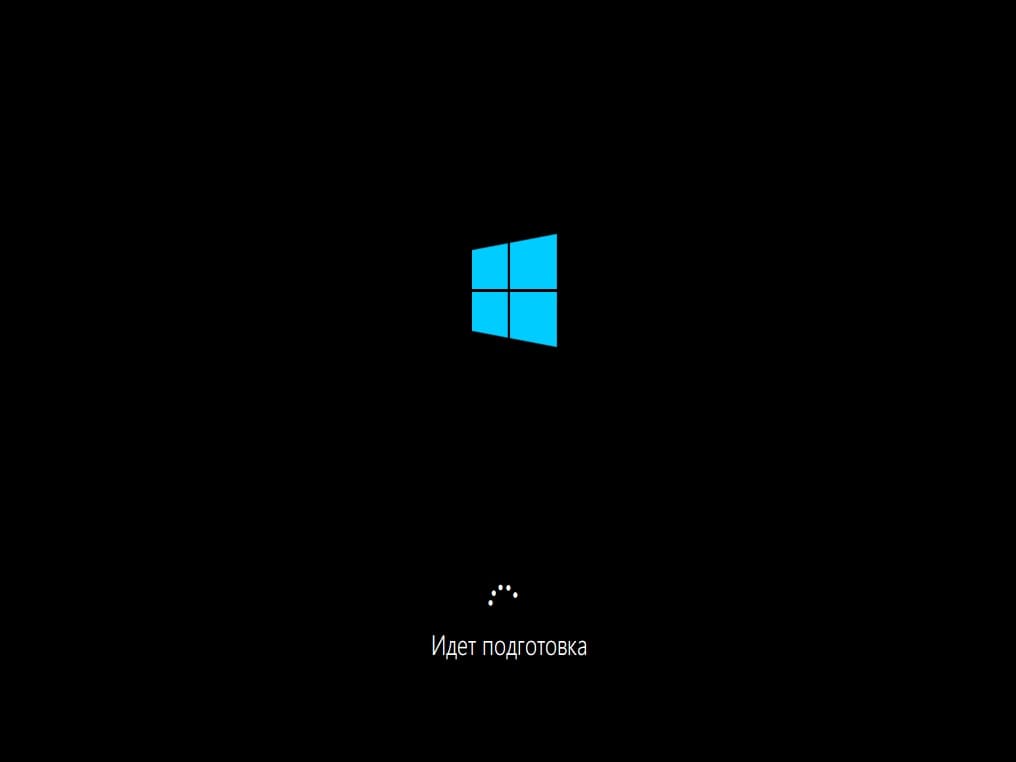
— Дождитесь окончания копирования и установки файлов.
Первоначальная настройка
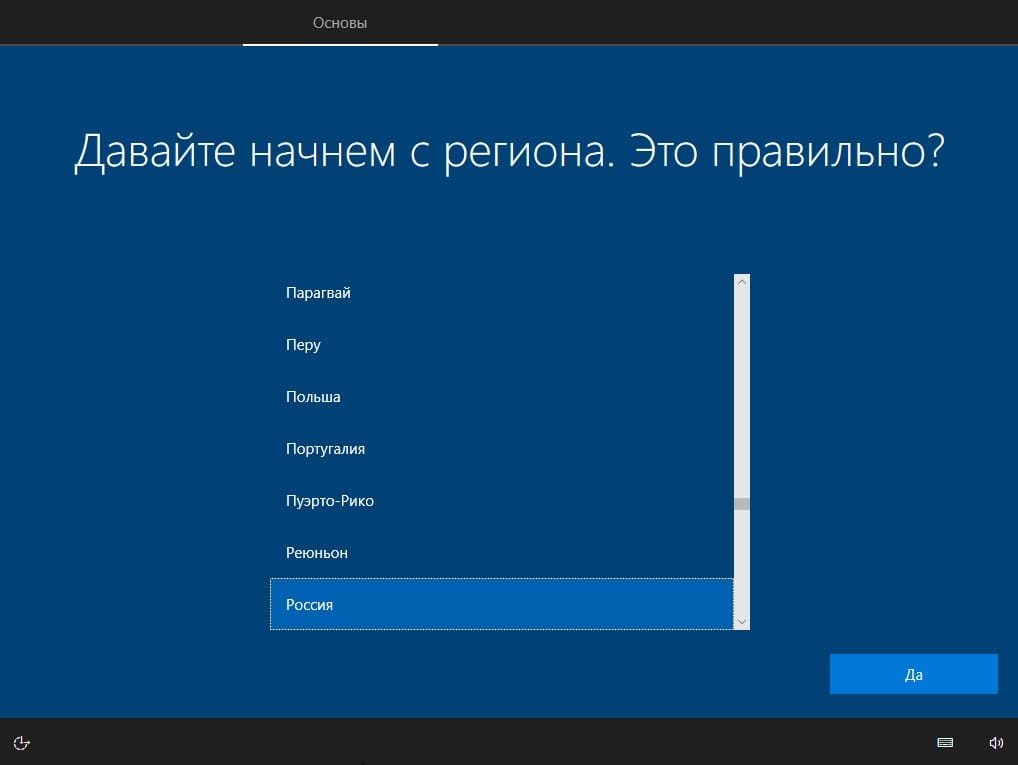
— После завершения установки выполните первоначальную настройку. Выберите регион.
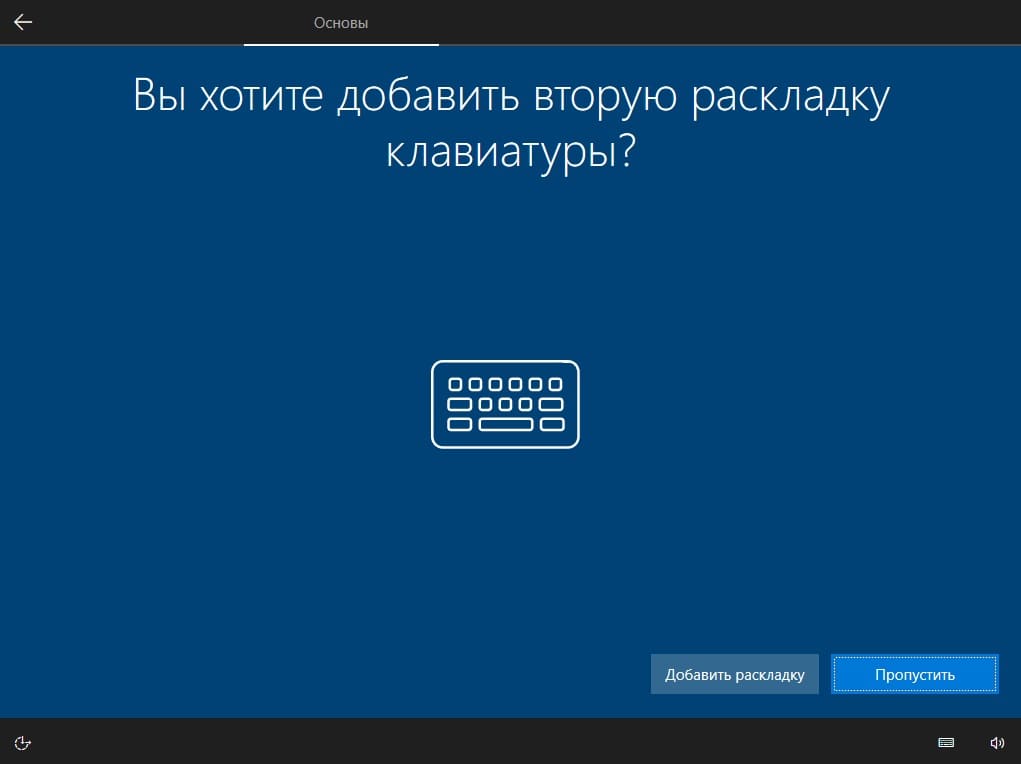
— Выберите основную раскладку клавиатуры.
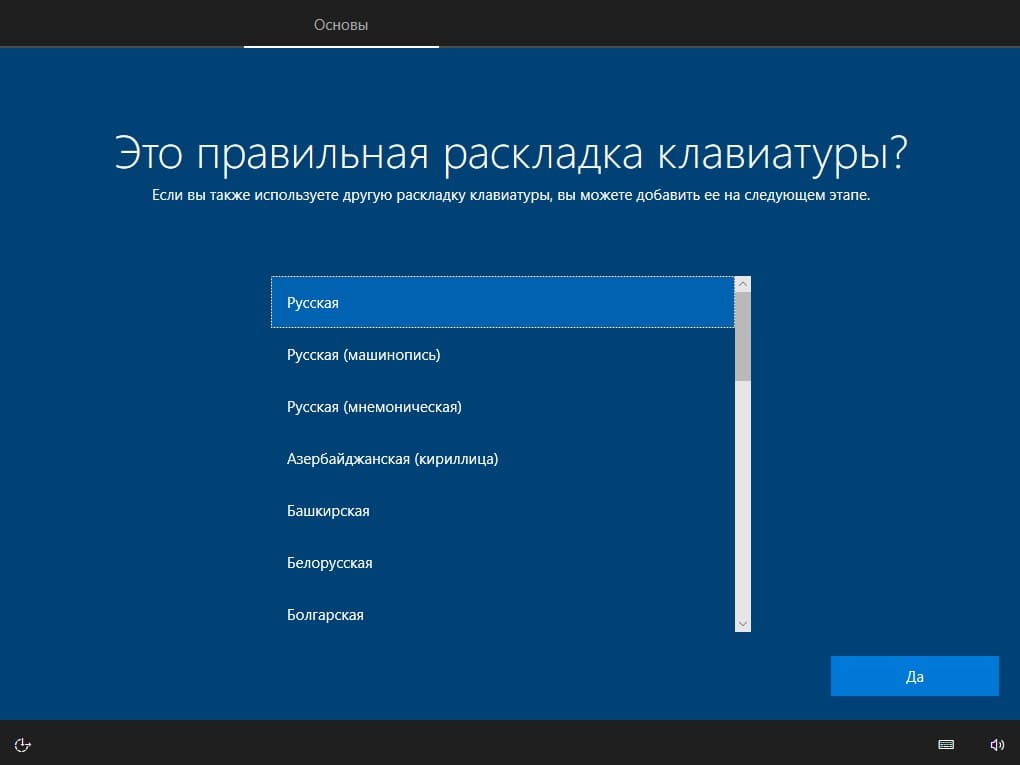
— Вторая раскладка по умолчанию — «Английская», но можете выбрать любую другую.
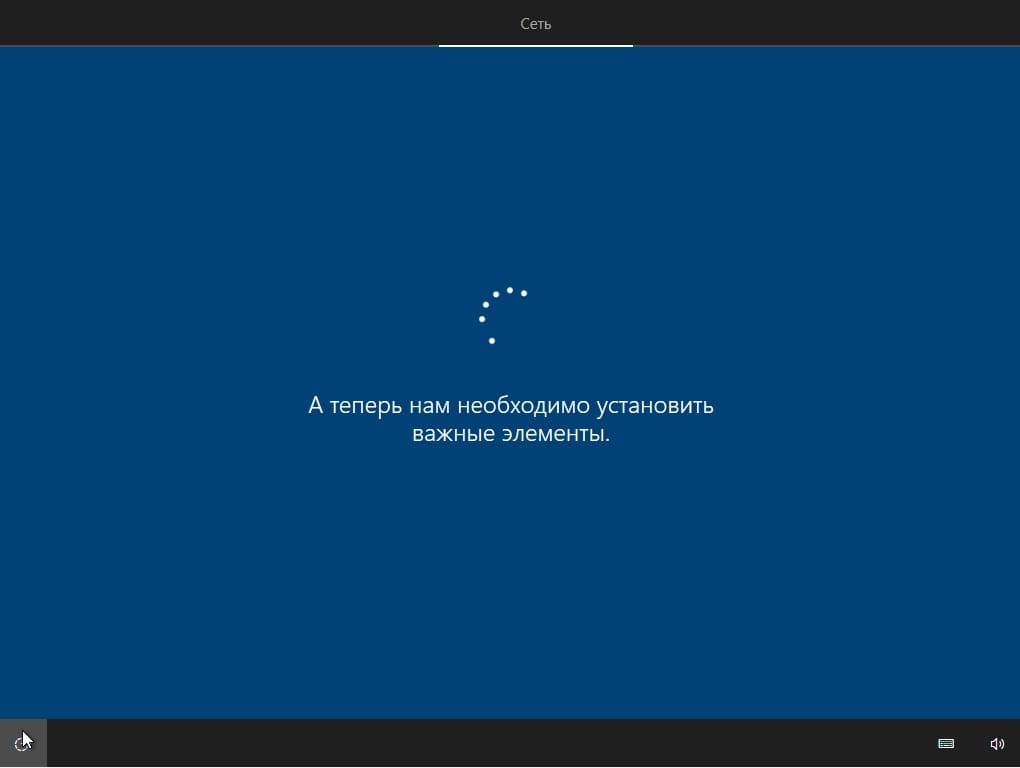
— Подождите, пока система подготовит рабочий стол.
— Выберите «Для личного использования».
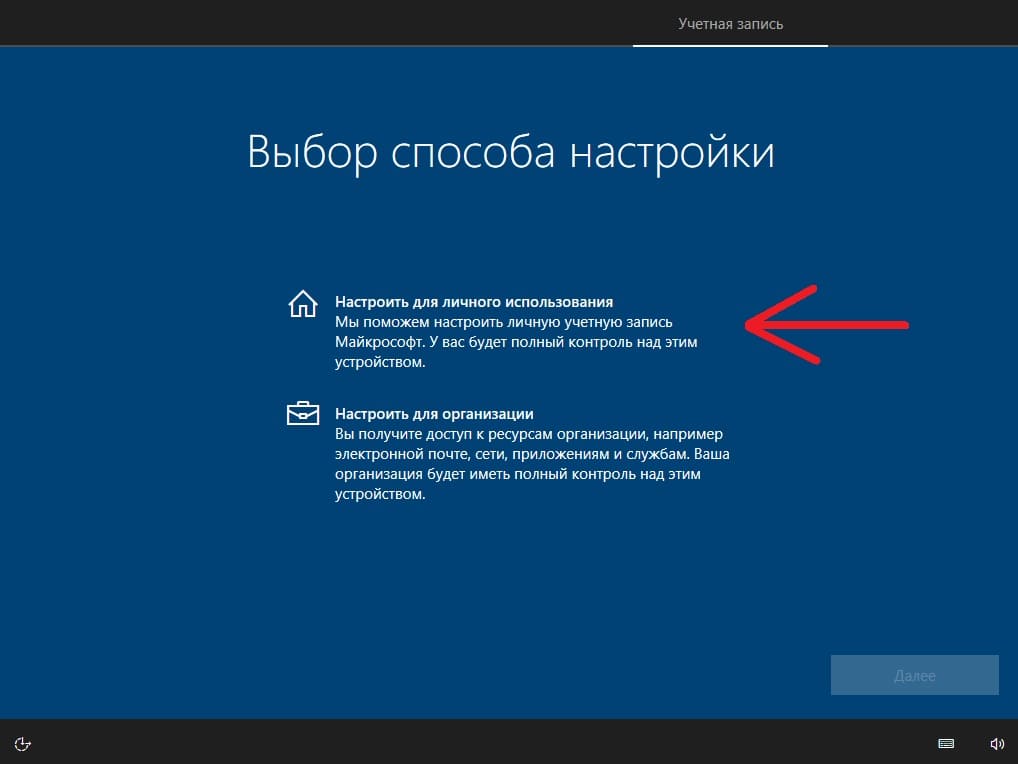
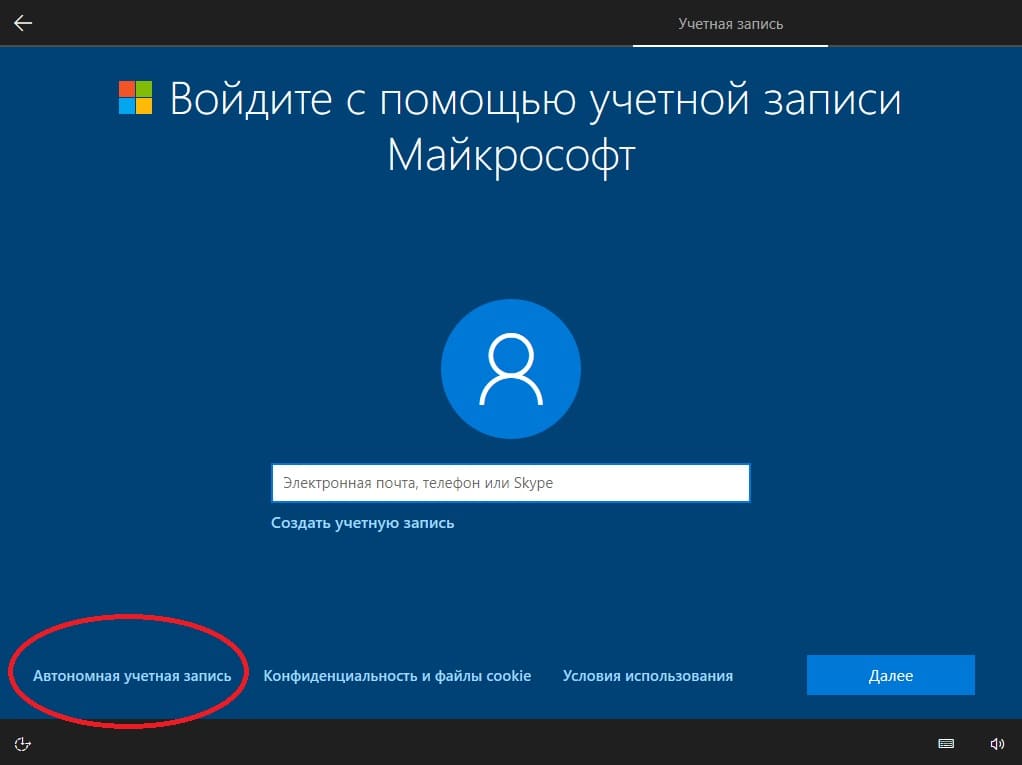
— Войдите в учетную запись Microsoft или создайте автономную учетную запись.
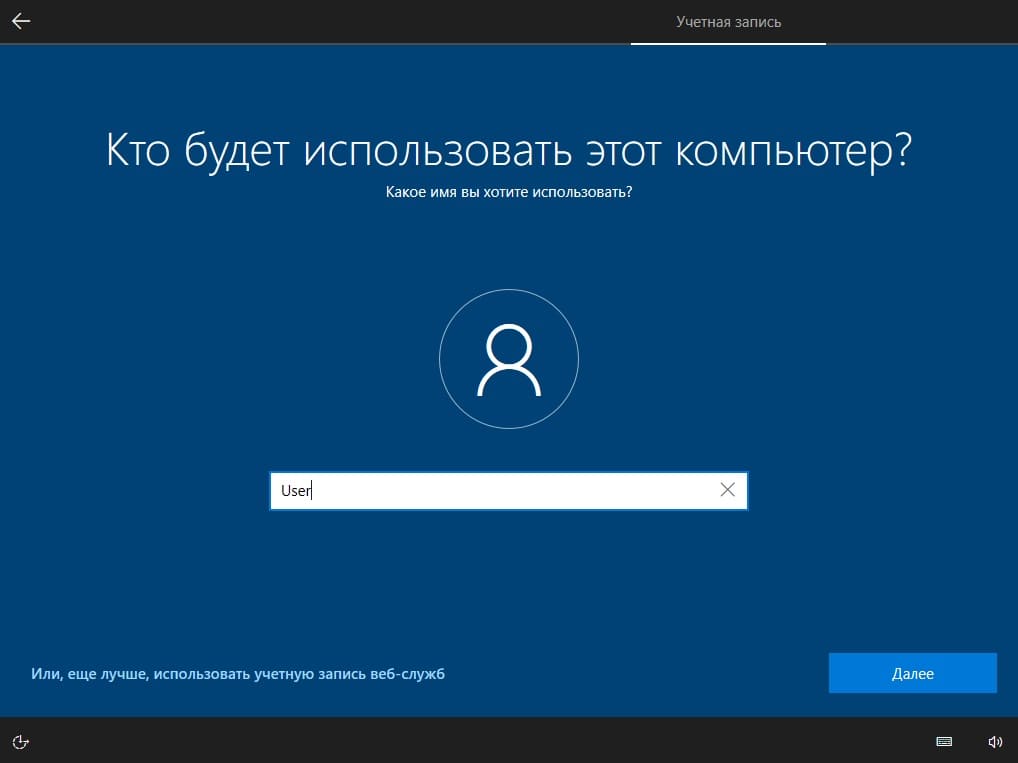
— Придумайте имя компьютера.
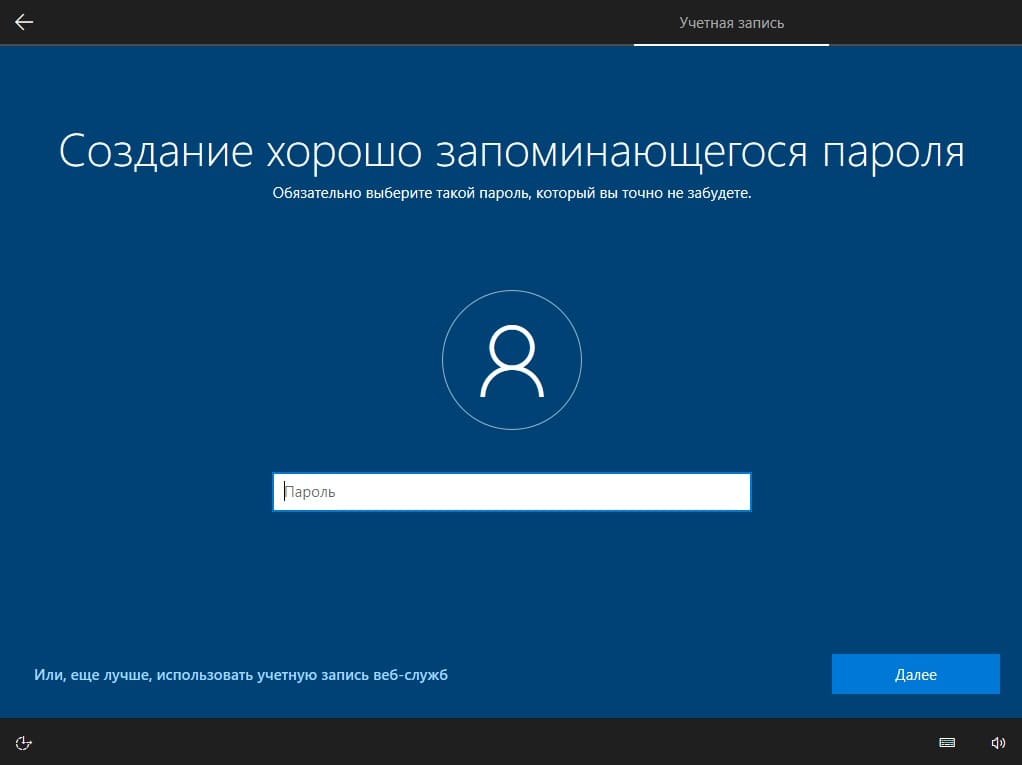
— Задайте пароль для учетной записи или пропустите этот шаг.
— Рекомендуем отключить все настройки в «Параметрах конфиденциальности».

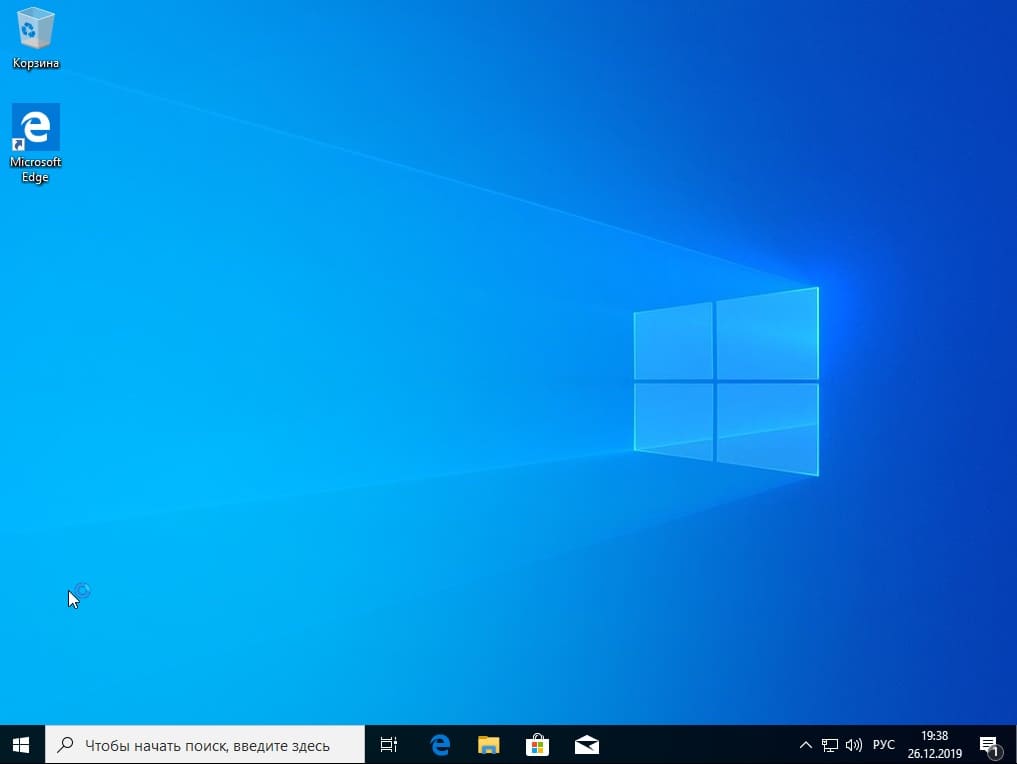
— Дождитесь подготовки рабочего стола.

— Установка завершена.
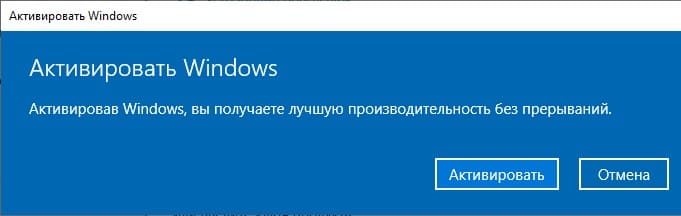
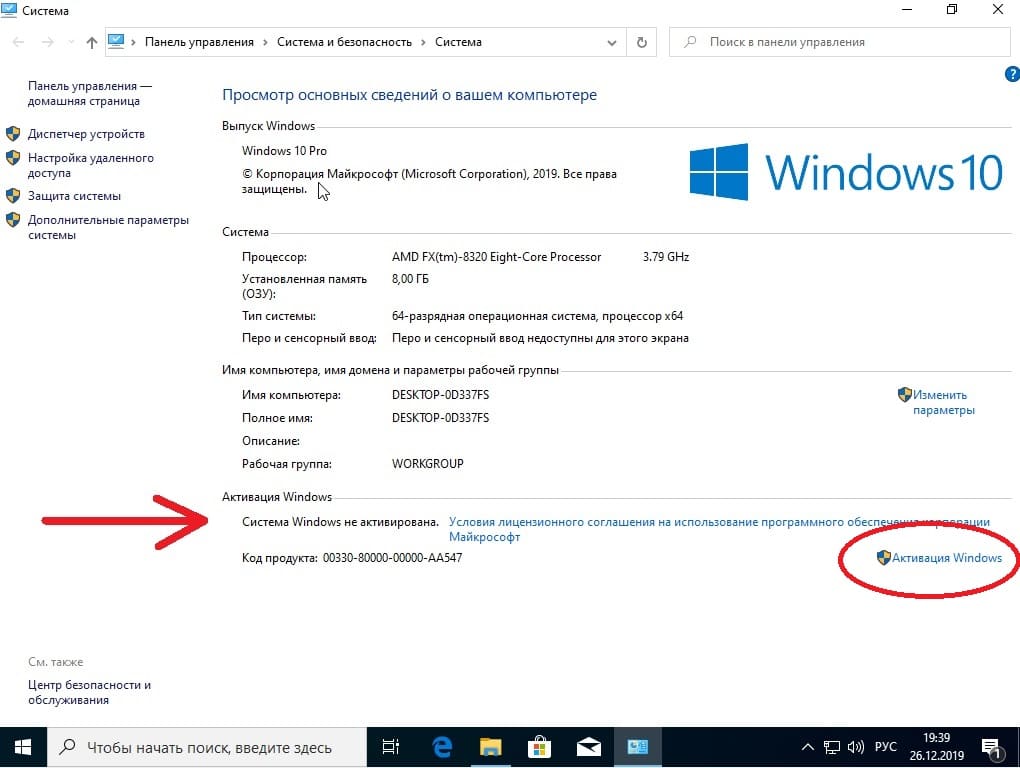
Активация Windows 10
— Для активации Windows 10 необходимо приобрести ключ активации. Введите его в меню «Свойства системы» или «Активация Windows».
Приобрести ключ активации для Windows 10 Pro
Приобрести ключ активации для Windows 10 Домашняя
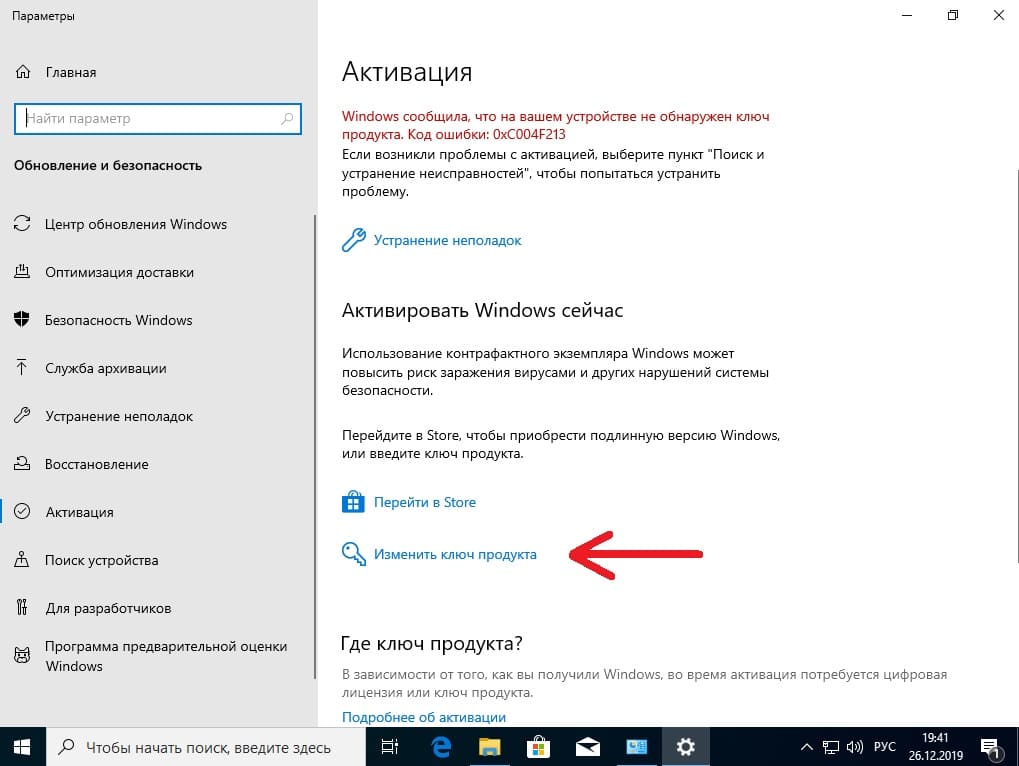
— В меню «Активация Windows» нажмите «Изменить ключ продукта».
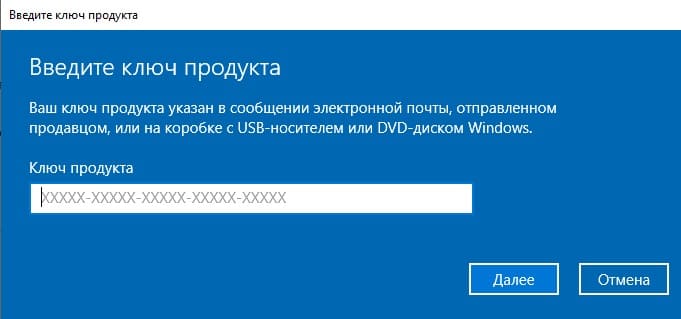
Введите ключ активации и нажмите «Далее».
— Нажмите «Активировать».
— Если активация прошла успешно, в меню «Свойства системы» будет указано, что «Активация выполнена».