

С обновлением 22H2 в Windows 11 при установке Windows 11 теперь необходимо подключение к интернету, это распространяется в т.ч на Pro версию, ранее такое ограничение было только на Windows 11 Home (Домашняя).
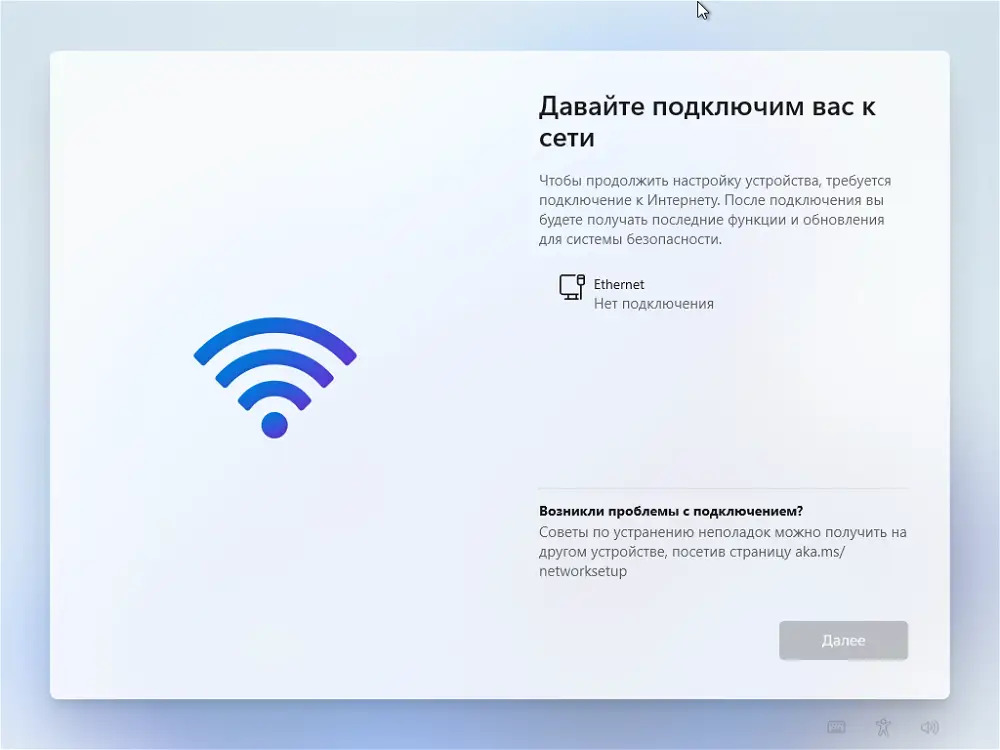
При попытке установки Windows 11 без интернета, пользователь получает ошибку: «К сожалению, подключение к интернету потеряно. Давайте вернемся и снова подключимся к сети».
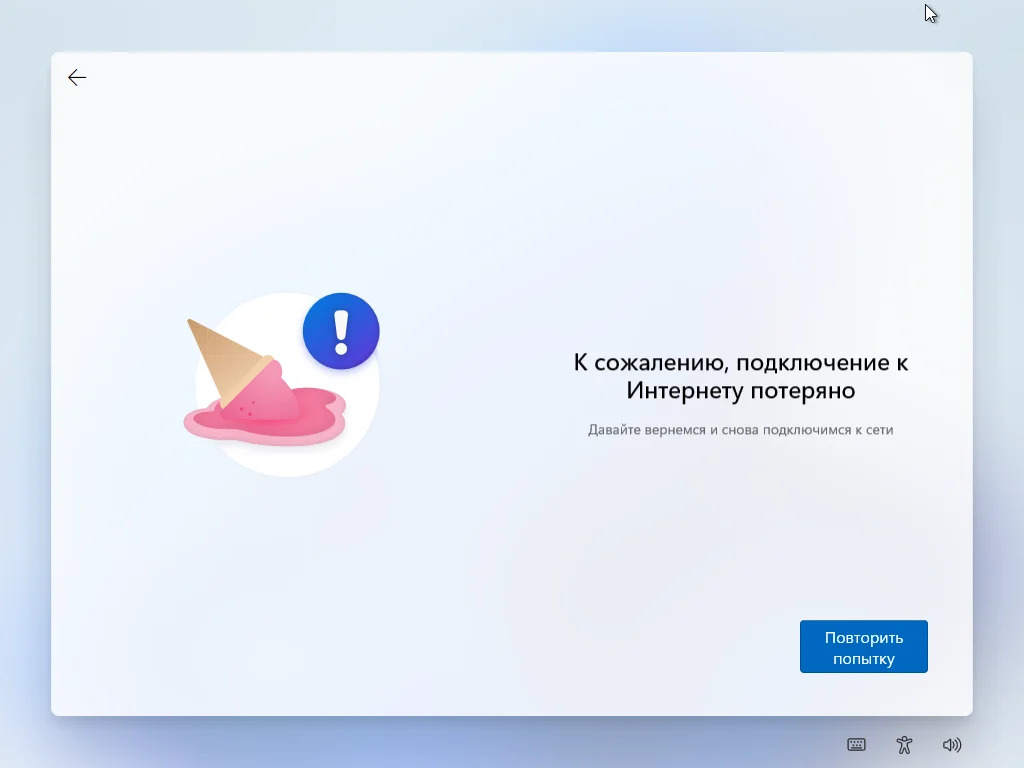
Как все же установить Windows 11 без подключения к интернету?
1) На экране настройки «Давайте подключим вас к сети» => Нажимаем горячие клавиши Shift + F10
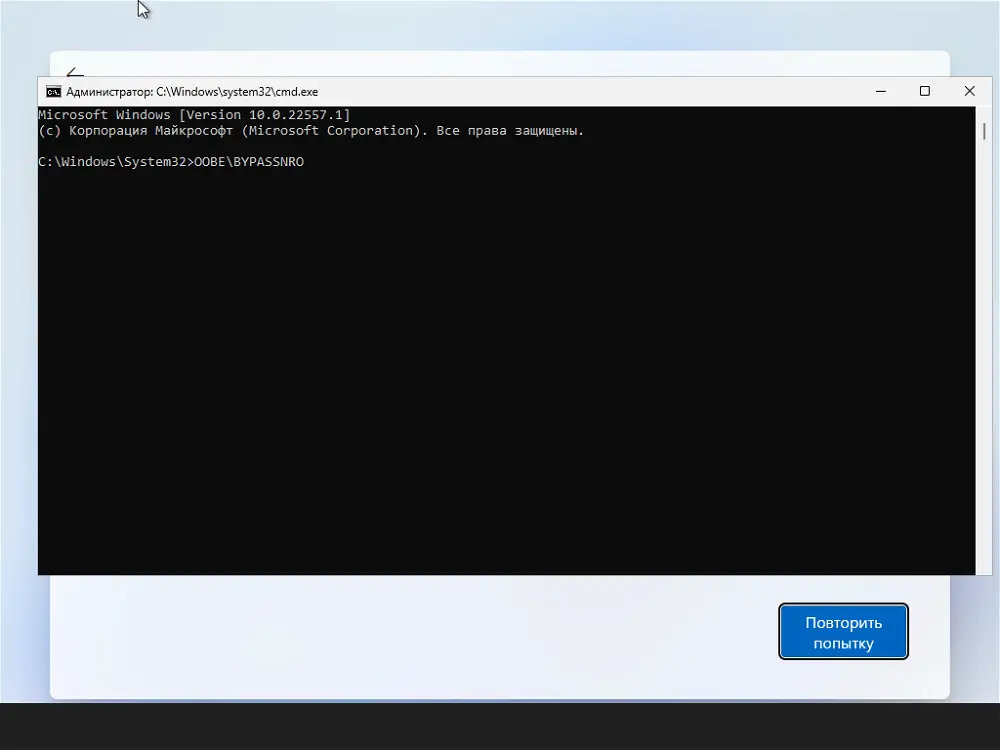
2) После у Вас откроется командная строка. Вводим в командную строку следующую команду: OOBE\BYPASSNRO и нажимаем Enter.
3) Далее, Ваш ПК будет перезагружен. После меню выбора языка и раскладки клавиатуры, следующим окном Вы можете увидеть опцию «У меня нет интернета«. Нажимаем на эту кнопку.

4) Следующим окном нажмите «Продолжить ограниченную установку«. Это позволит вам установить систему с локальной учетной записью, вместо учетной записи Майкрософт.
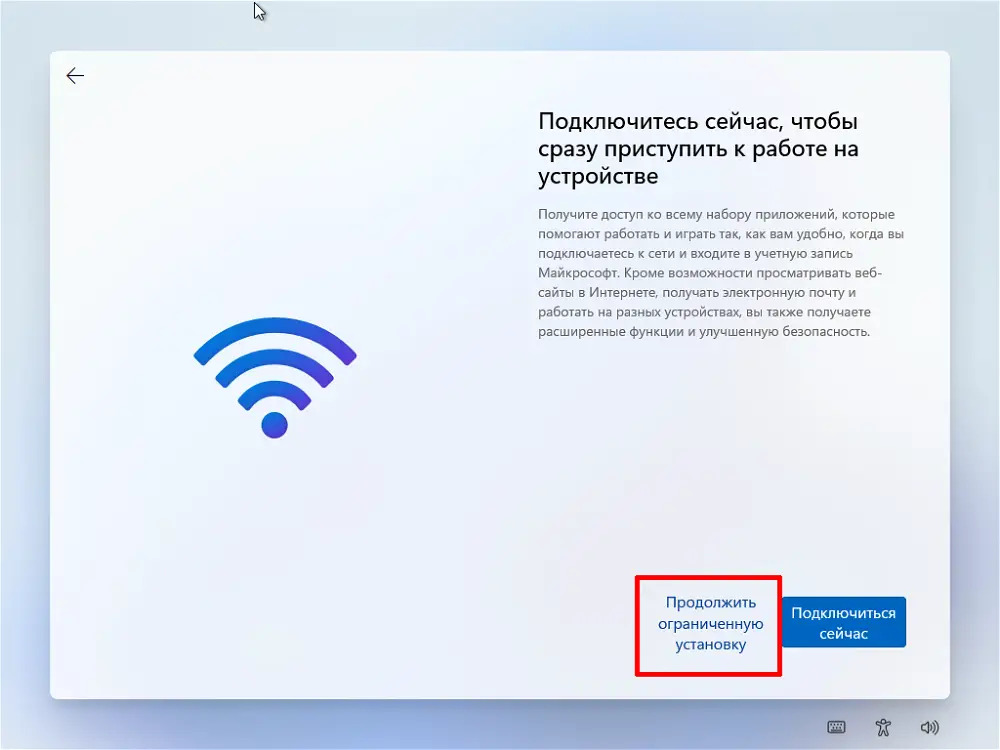
После установки системы Вы сможете использовать Вашу Windows 11 без учетной записи Майкрософт.
Помимо всего, систему все равно нужно будет активировать, приобрести ключ активации Windows 11 различных версий можете в нашем каталоге от 1690, подробнее на следующей странице.