In this article, I will discuss how to install Windows 11 or upgrade from Windows 10 to Windows 11 on an incompatible computer (unsupported PC, missing TPM, incompatible processor, etc.). Attention! This guide is only for users encountering an error during installation, stating that their computer does not meet the minimum requirements for this version of Windows. And if it is impossible to enable TPM or if the PC configuration itself does not meet the minimum requirements, more details about minimum requirements. Otherwise, try enabling TPM in your BIOS (UEFI), and you may not need the instructions in this article. There is no single instruction on how to enable TPM since BIOS (UEFI) varies, you can try using this video guide.
Errors that occur during Windows 11 installation on incompatible hardware:
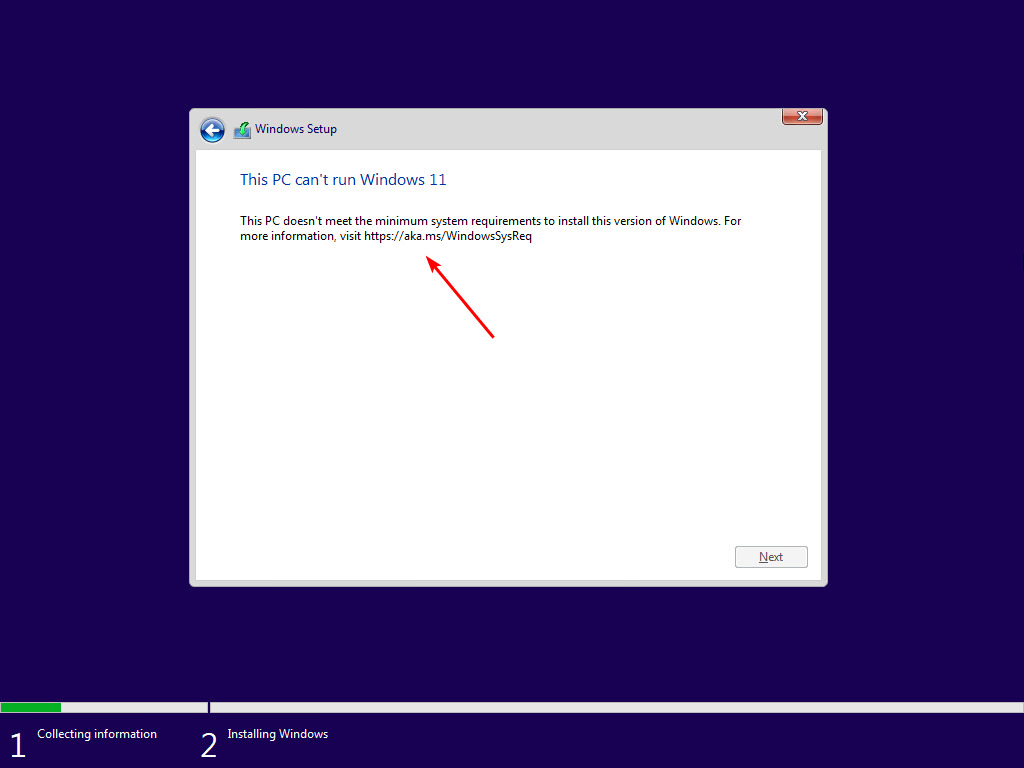
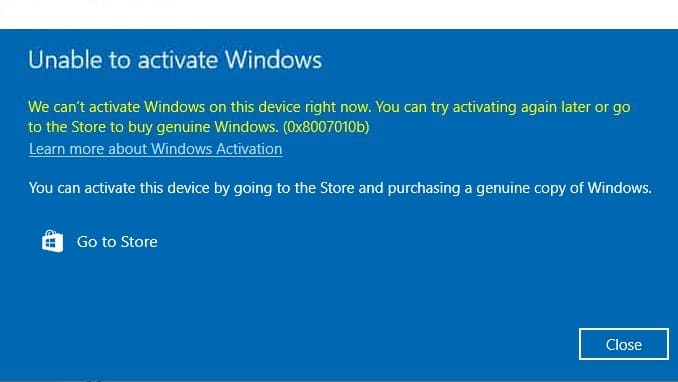
Or if upgrading from Windows 10 to Windows 11, you encounter an error window like the screenshot below, with a message that the computer does not meet the minimum requirements.

I will consider two options:
1) Clean installation of Windows 11 with the creation of a bootable flash drive.
2) Upgrading from Windows 10 to Windows 11.
– The first thing to do is prepare a flash drive, at least 8 GB. Insert it into your PC.
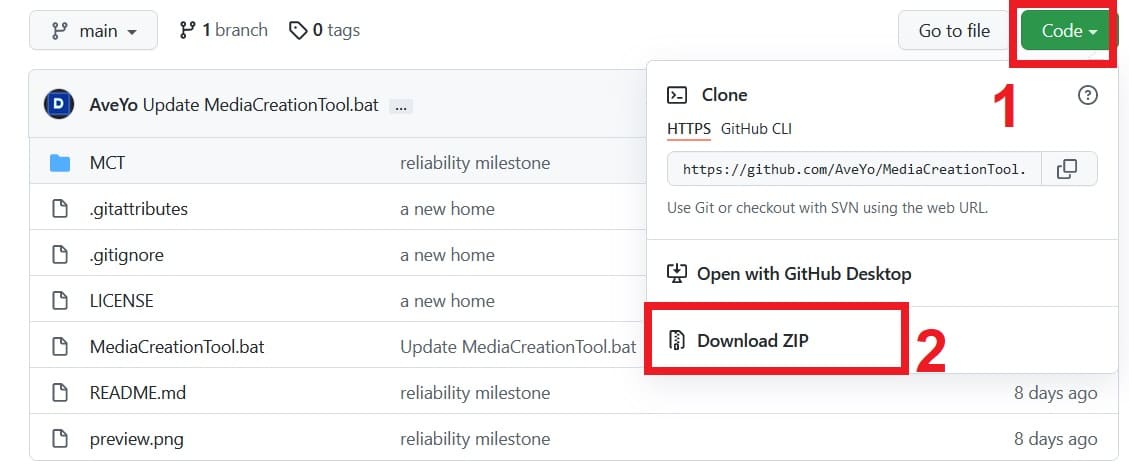
– Go to Github.com and download the open-source application MediaCreationTool.bat. This application will create a bootable flash drive with Windows 11, already with the minimum system requirements check disabled. The application downloads the installer from the Microsoft server.
You can download the utility installer by clicking on the Code => Download.zip button. You can also download this application from our server direct link.
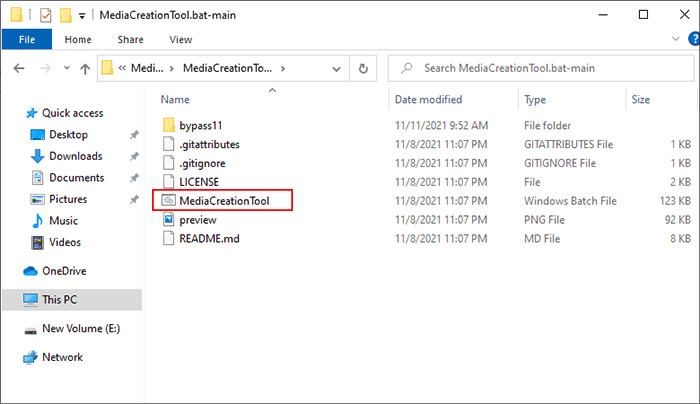
– Extract the archive and run the MediaCreationTool.bat file.
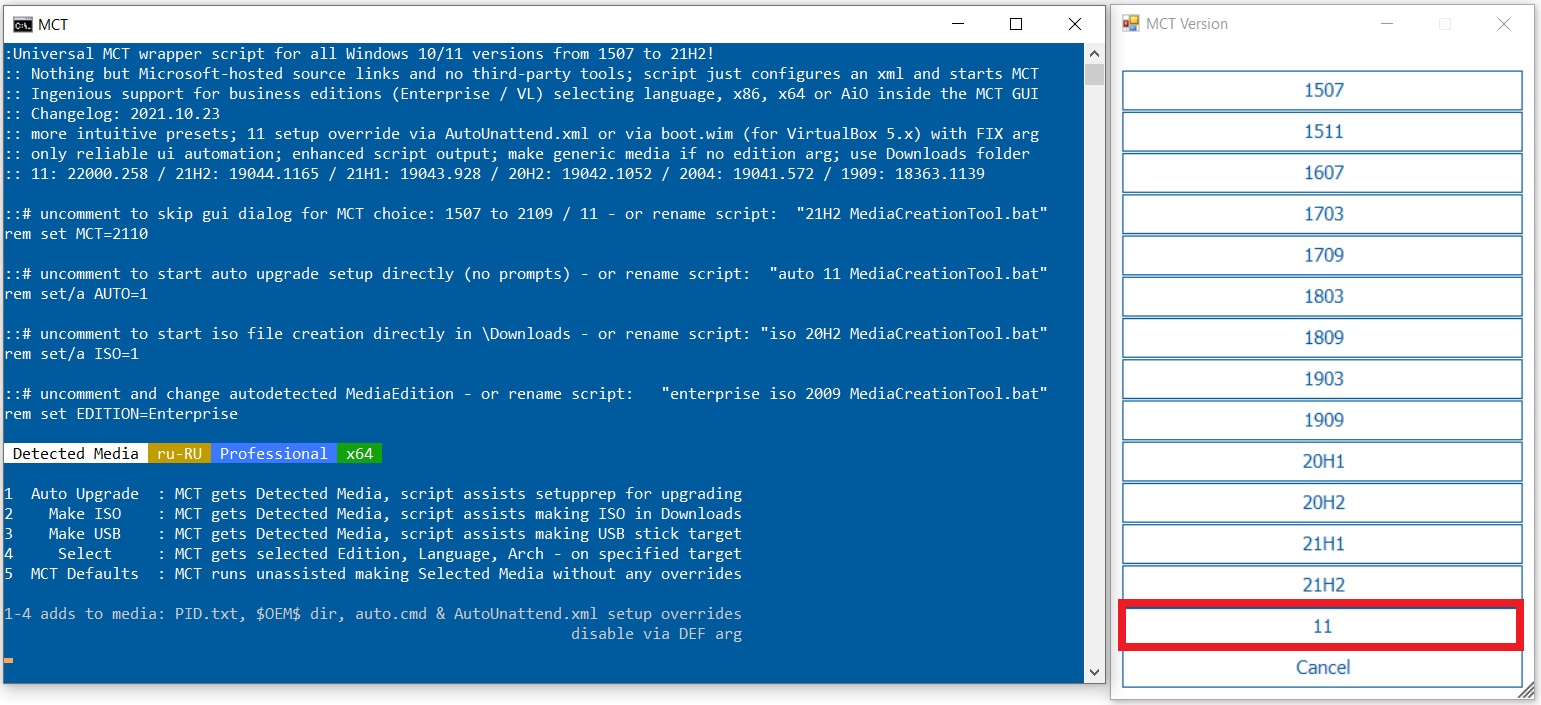
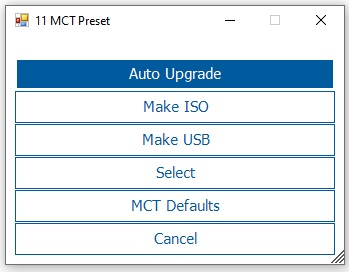
– Next, two windows will appear: the first is the terminal, and the second is the system version selection. Click on 11.
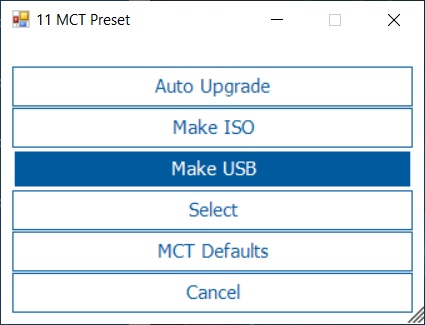
– In the next window, select Make USB because I am creating a bootable flash drive with Windows 11. Attention! Your USB flash drive should already be inserted into your computer.
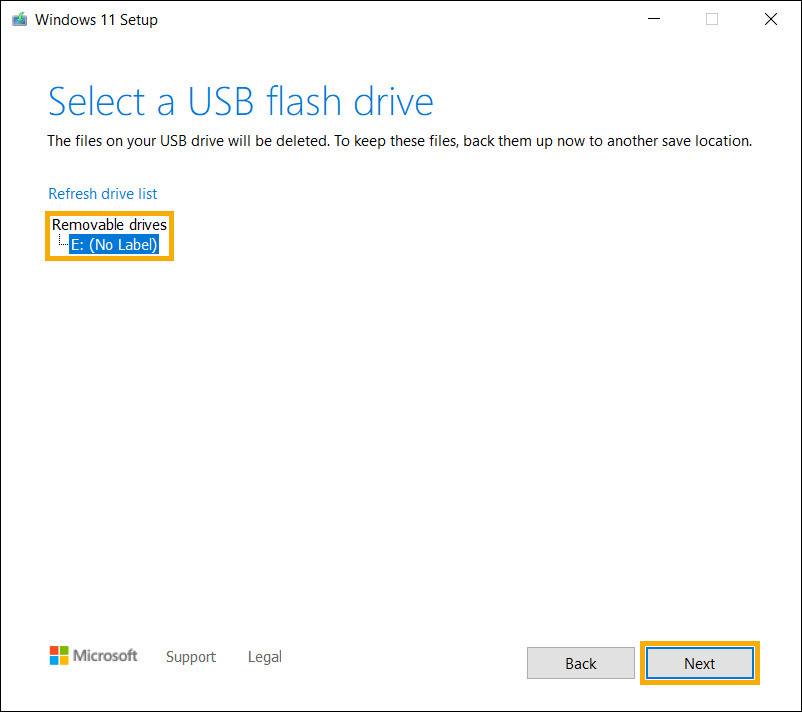
– In the next window, make sure the application correctly identified your flash drive (the letter of your drive may differ). Click “Next.”
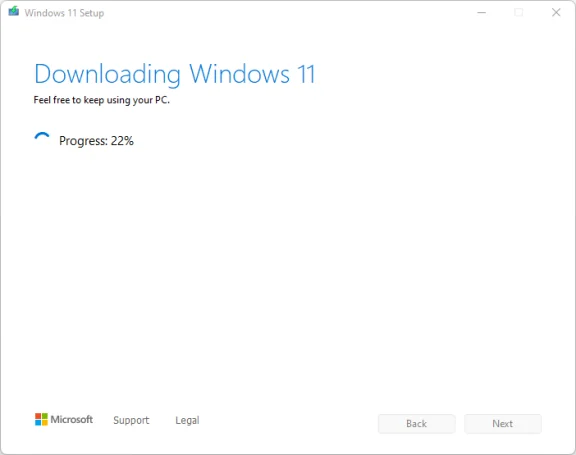
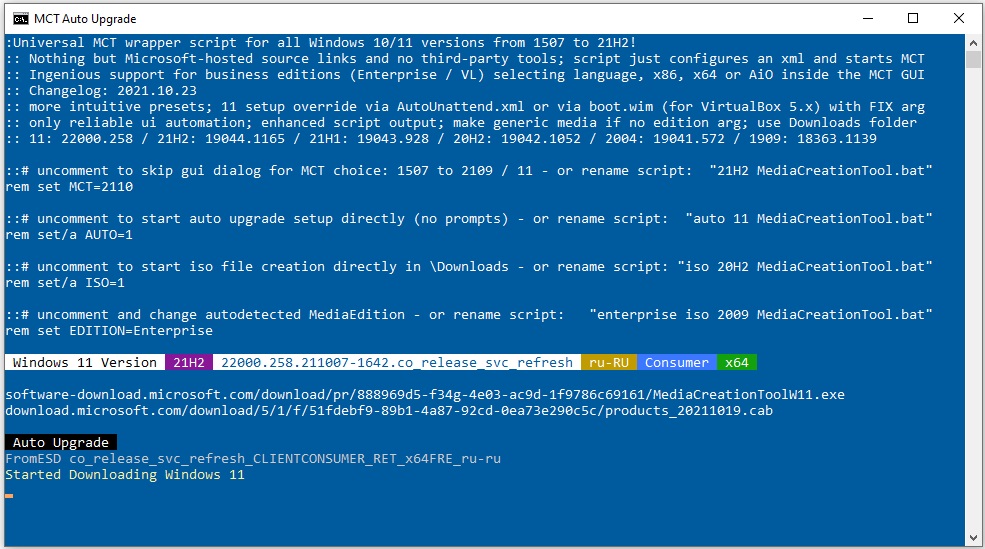
– The application will start downloading the Windows 11 installer. Wait for the procedure to complete.
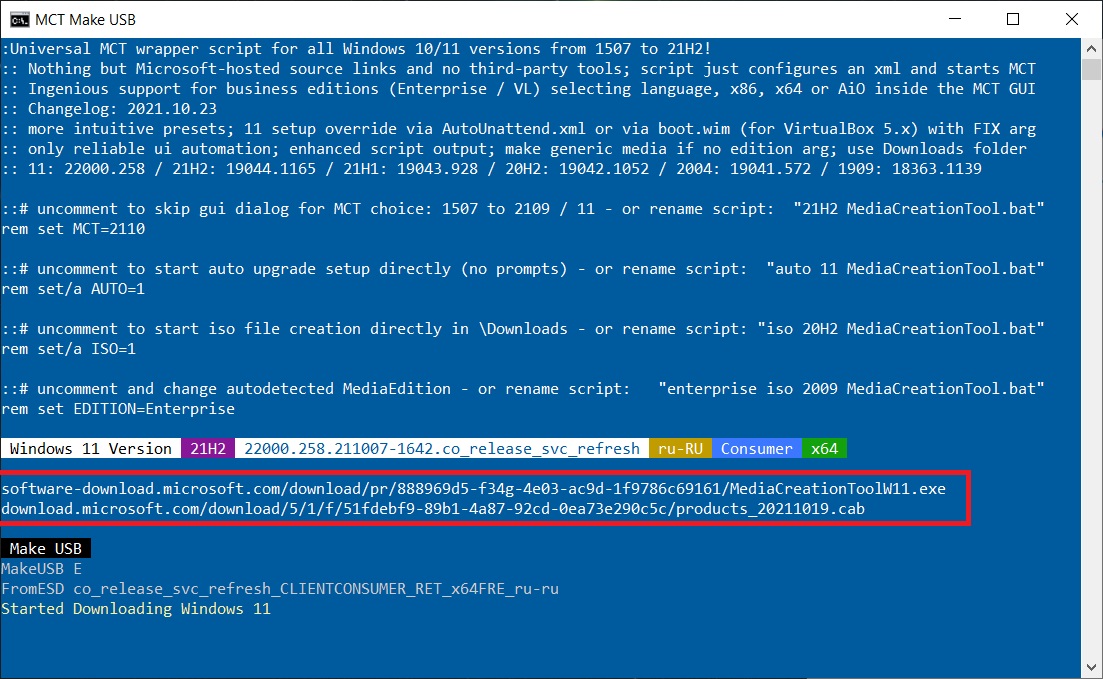
– In the terminal, you can make sure that the installer is being downloaded from the Microsoft server.
– After downloading, wait for the installer to be written to your flash drive.
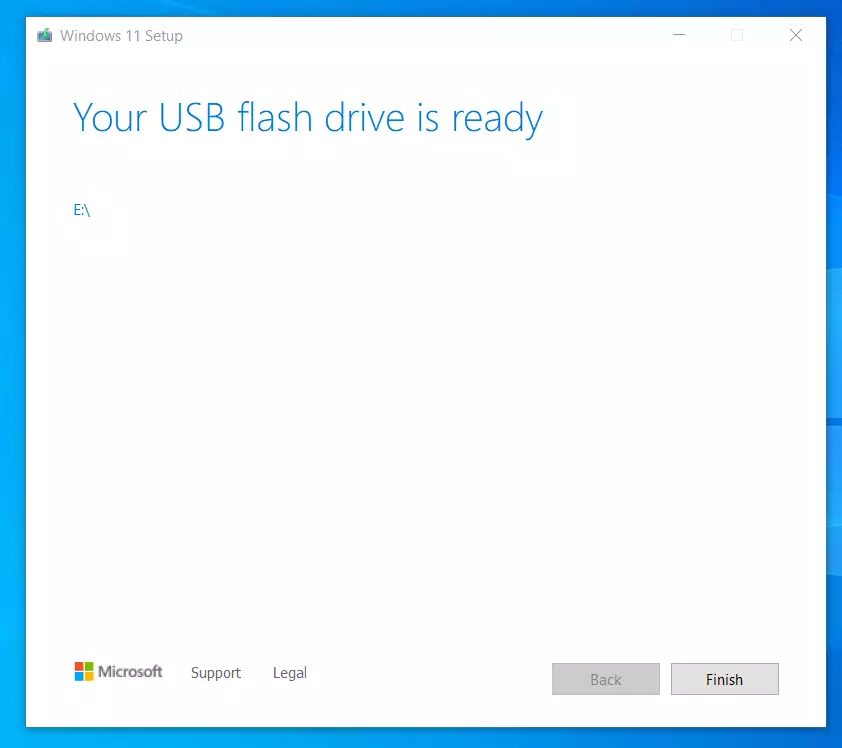
– After successful writing, you will see the following window, click “Done.”
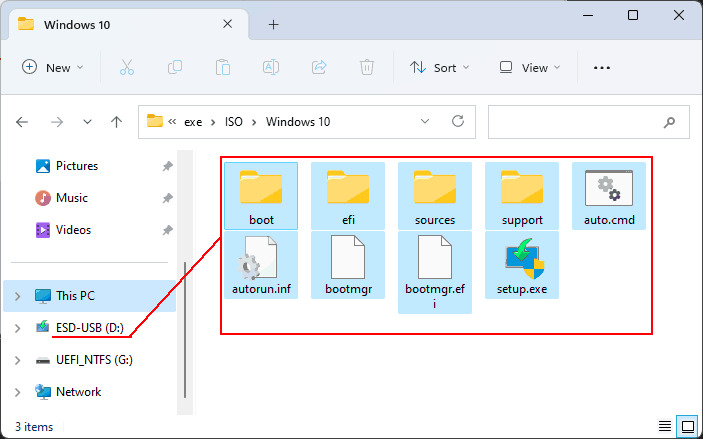
– In File Explorer, you can check that the installer has been successfully written to the flash drive.
– Now you can boot from the bootable flash drive in the BIOS (UEFI) and start installing Windows 11. You can then follow the instructions for installing Windows 11 in our previous article, starting from step 2.
Upgrading Windows 10 to Windows 11 using this utility is almost the same as creating a bootable flash drive.
– Go to Github.com and download the open-source application MediaCreationTool.bat. This application will upgrade Windows 10 to Windows 11, bypassing the minimum system requirements for Windows 11. The installer is downloaded from the Microsoft server.
You can download the utility installer by clicking on the Code => Download.zip button. You can also download this application from our server direct link.
– Extract the archive and run the MediaCreationTool.bat file.
– Next, two windows will appear: the first is the terminal, and the second is the system version selection. Click on 11.
– To upgrade Windows 10 to Windows 11, select “Auto Upgrade.”
– The application will start downloading the Windows 11 installer for subsequent upgrading. In the adjacent terminal window, you can verify that the installer is being downloaded from the Microsoft server.
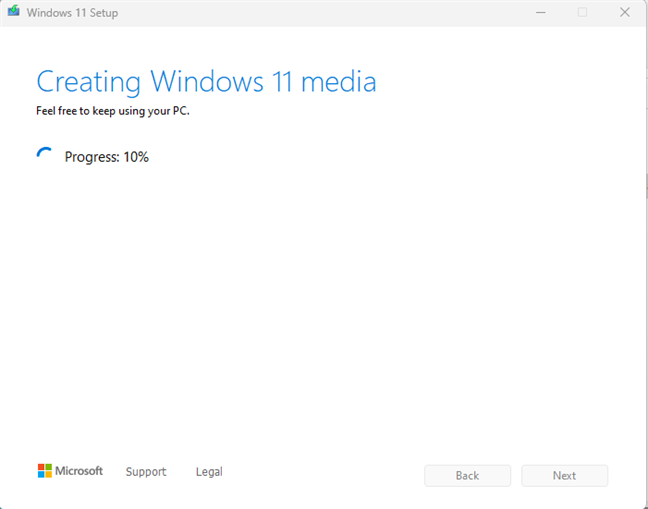
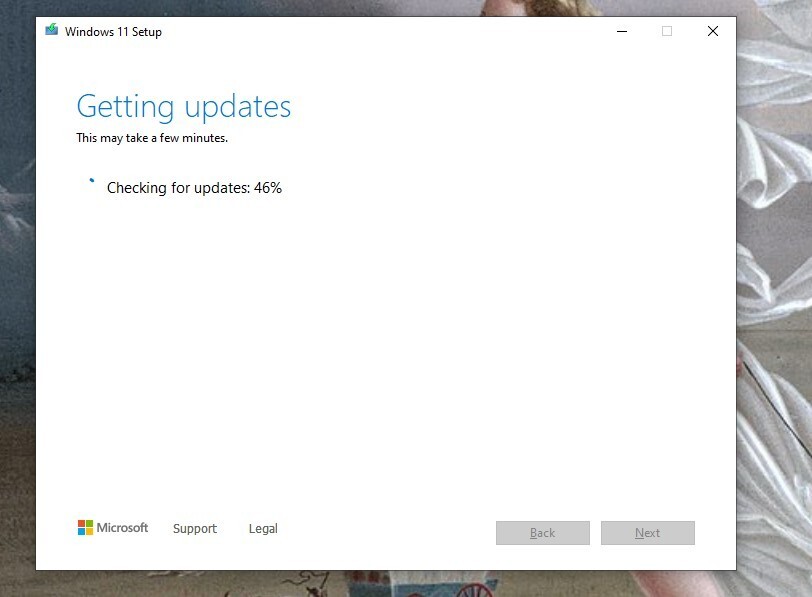
– Next, the process of creating the disc and getting the latest Windows 11 updates will take place. Actually, no media is created. This is to prepare the installer.
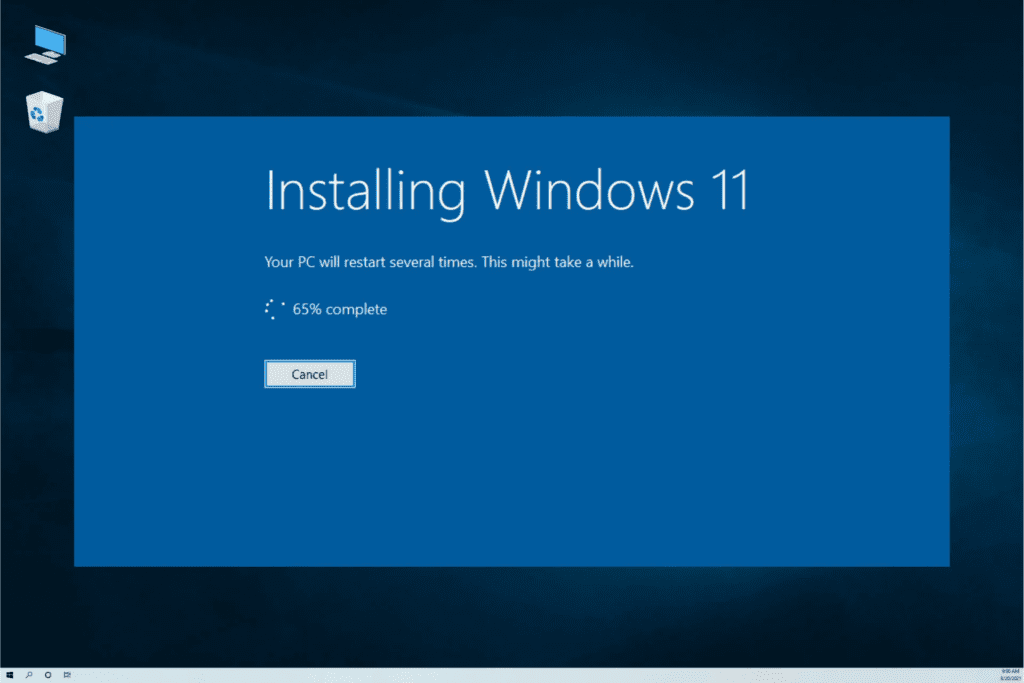
– The system will then start its actual installation, which may take some time. Afterward, the computer will restart to install the latest updates.

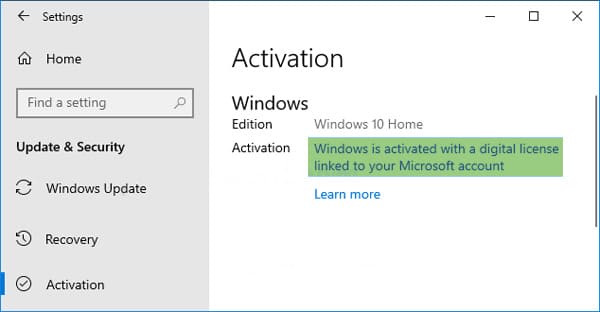
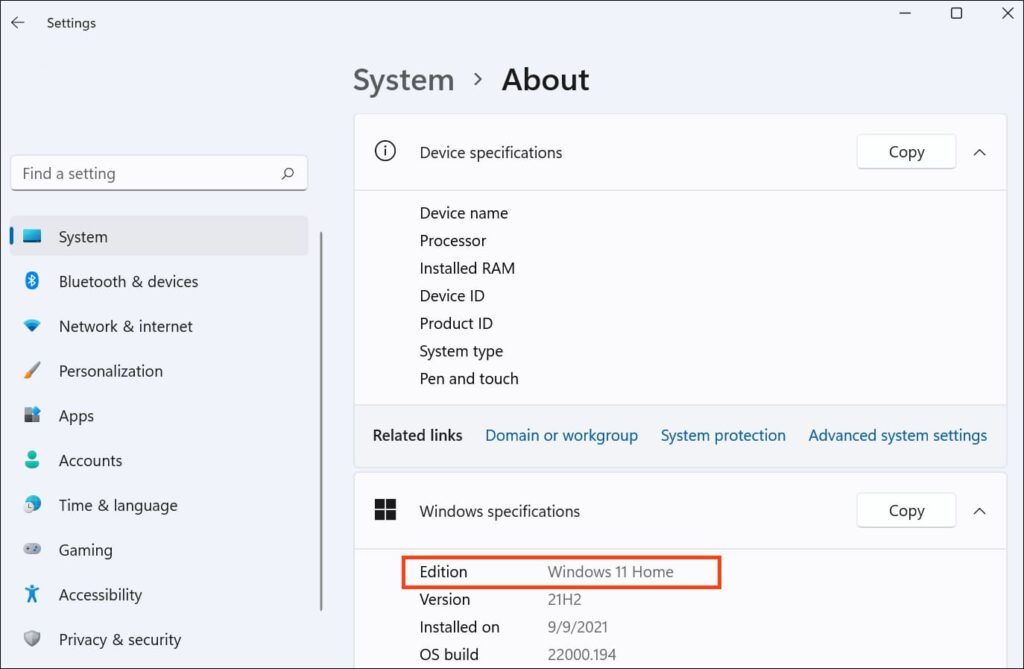
– Done! You have upgraded to Windows 11. Now you can check that Windows 11 has been installed.
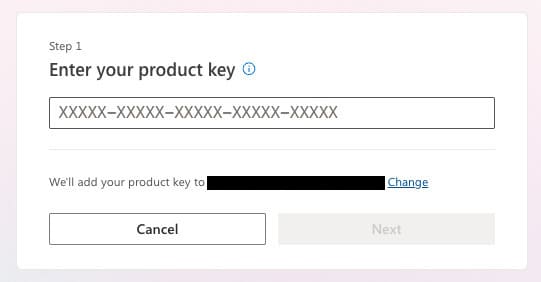
For Windows 11 activation, you can follow the instructions in our previous article.