В данной статье пошагово рассмотрим процесс установки Windows 11 Enterprise (Корпоративная). Внимание! В статье расскажем как установить данную версию системы не имея рабочей (не личной) учетной записи Microsoft.
Систему мы будем устанавливать с нуля, убедитесь, что у Вас компьютер соответствует минимальным требованиям системы.
1) Первое, что необходимо сделать — это скачать дистрибутив Windows 11 Enterprise. Скачать его можете в нашем каталоге.
2) Далее нам нужно сделать загрузочную флешку с данной системой. Флешка должна быть не менее 8 Гб, записать дистрибутив на флешку можете по этой инструкции, либо с помощью Rufus по другой инструкции.
3) Теперь загружаемся на флешку выставив ее приоритетной для загрузки в UEFI (Биосе) и начинаем непосредственно саму установку.
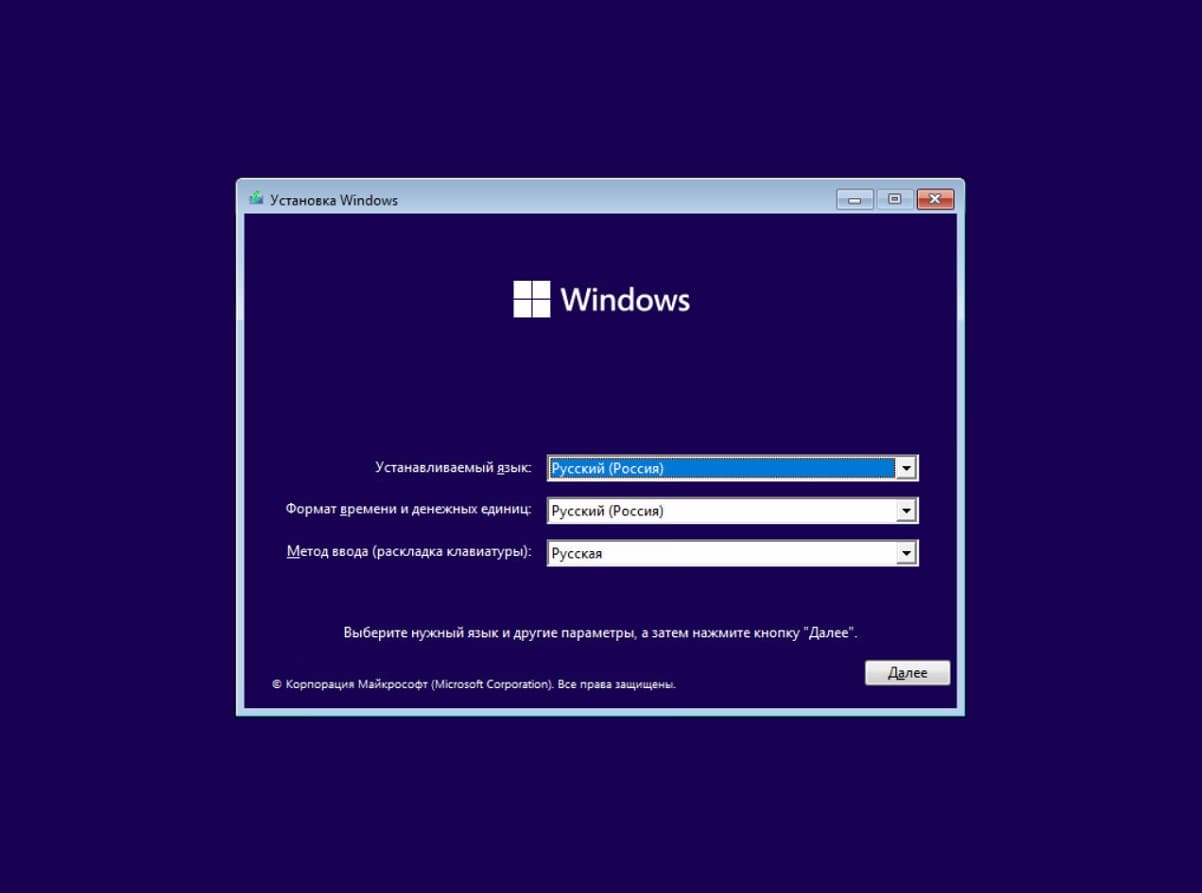
Первым окном будет выбор языка и раскладки клавиатуры по умолчанию, оставляем все как есть и нажимаем «Далее».
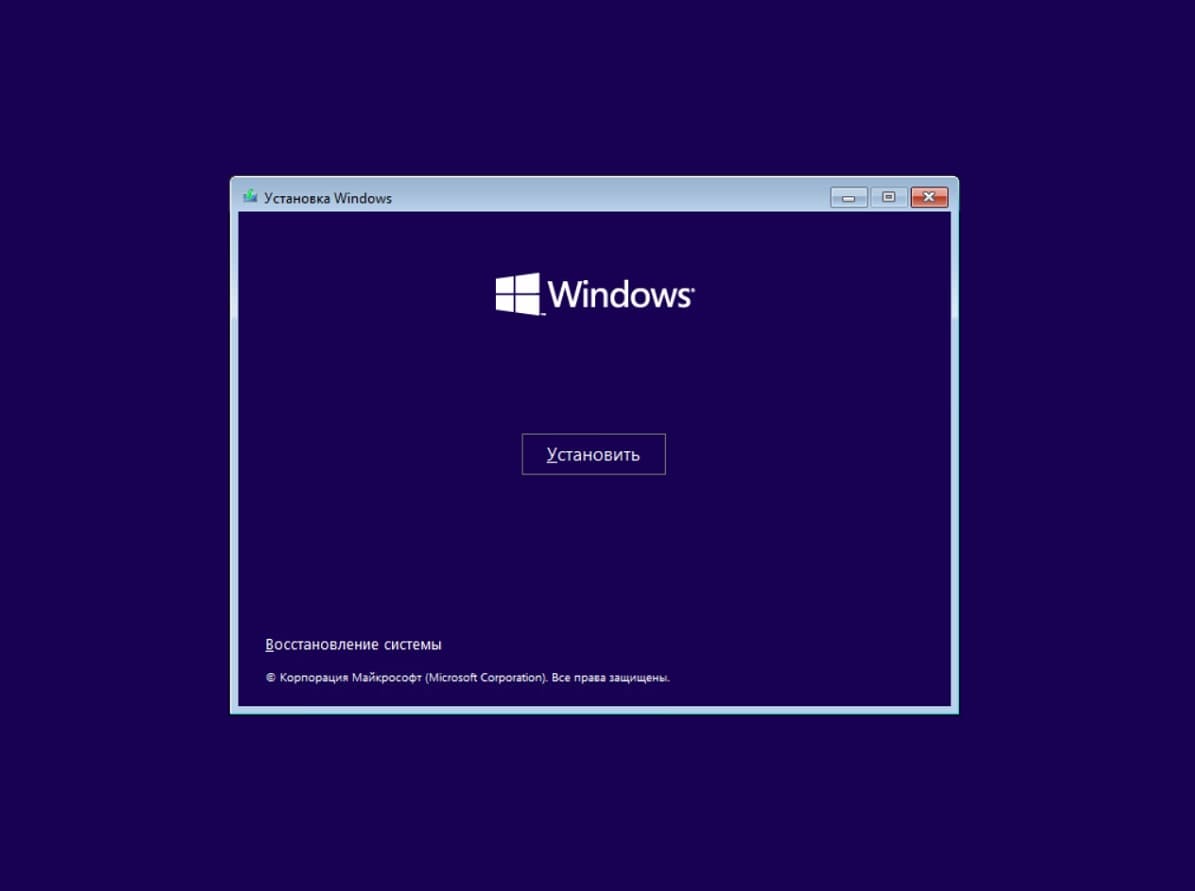
Нажимаем «Установить».
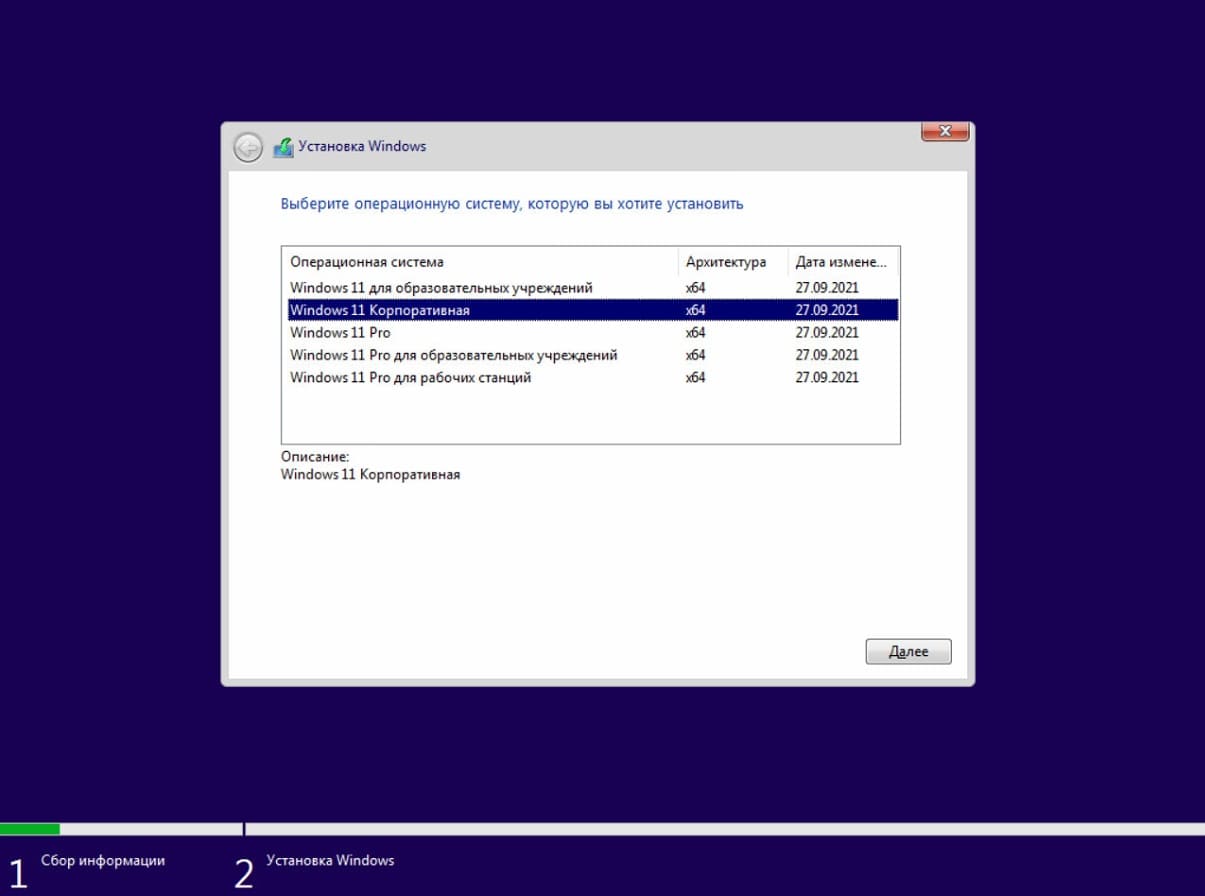
В меню выбора редакции Windows 11 выбираем Windows 11 Корпоративная.
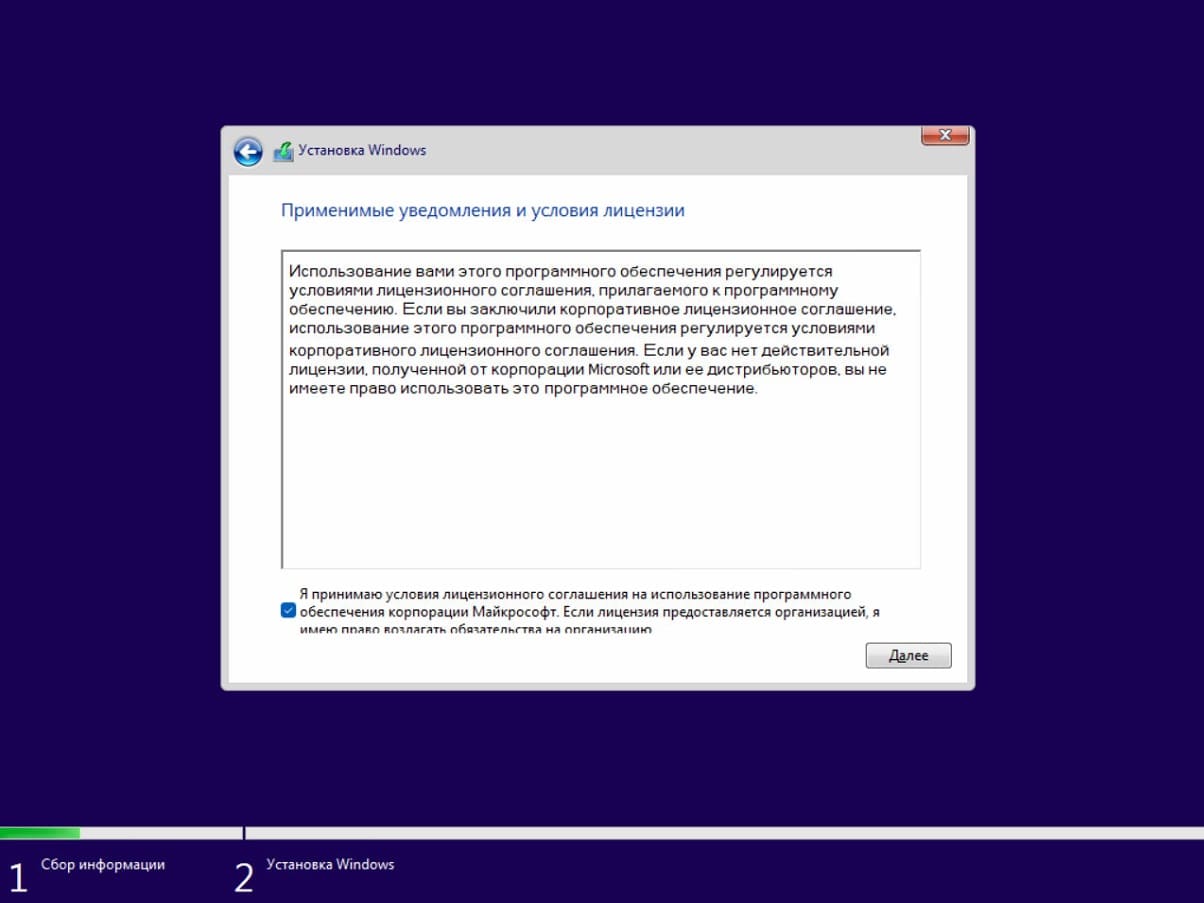
Ставим галку о принятии условий лицензионного соглашения.
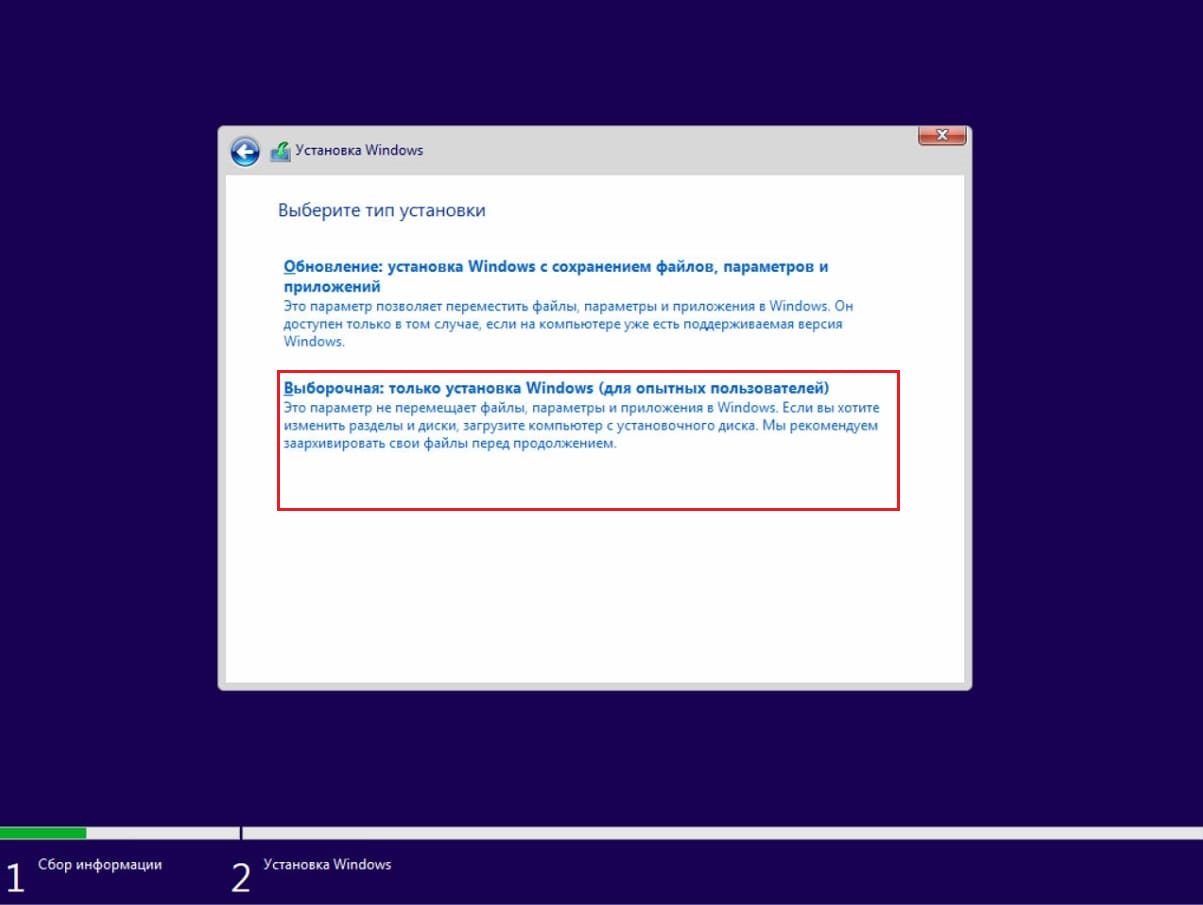
Т.к мы устанавливаем систему с нуля, то выбираем «Выборочную установку».
Далее Вам необходимо выбрать нужный диск или раздел для установки системы, у нас на примере один диск, но у Вас из может быть несколько. Выберите нужный.

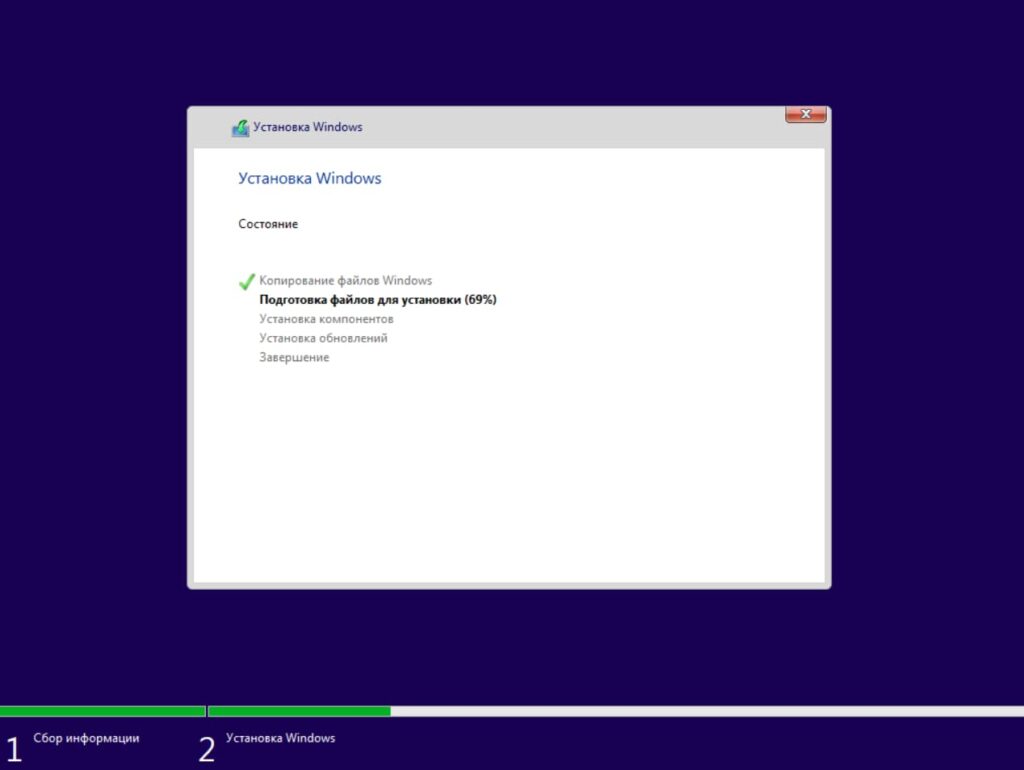
Далее система начнет распаковку и установку файлов, после установки Ваш ПК перезагрузится.
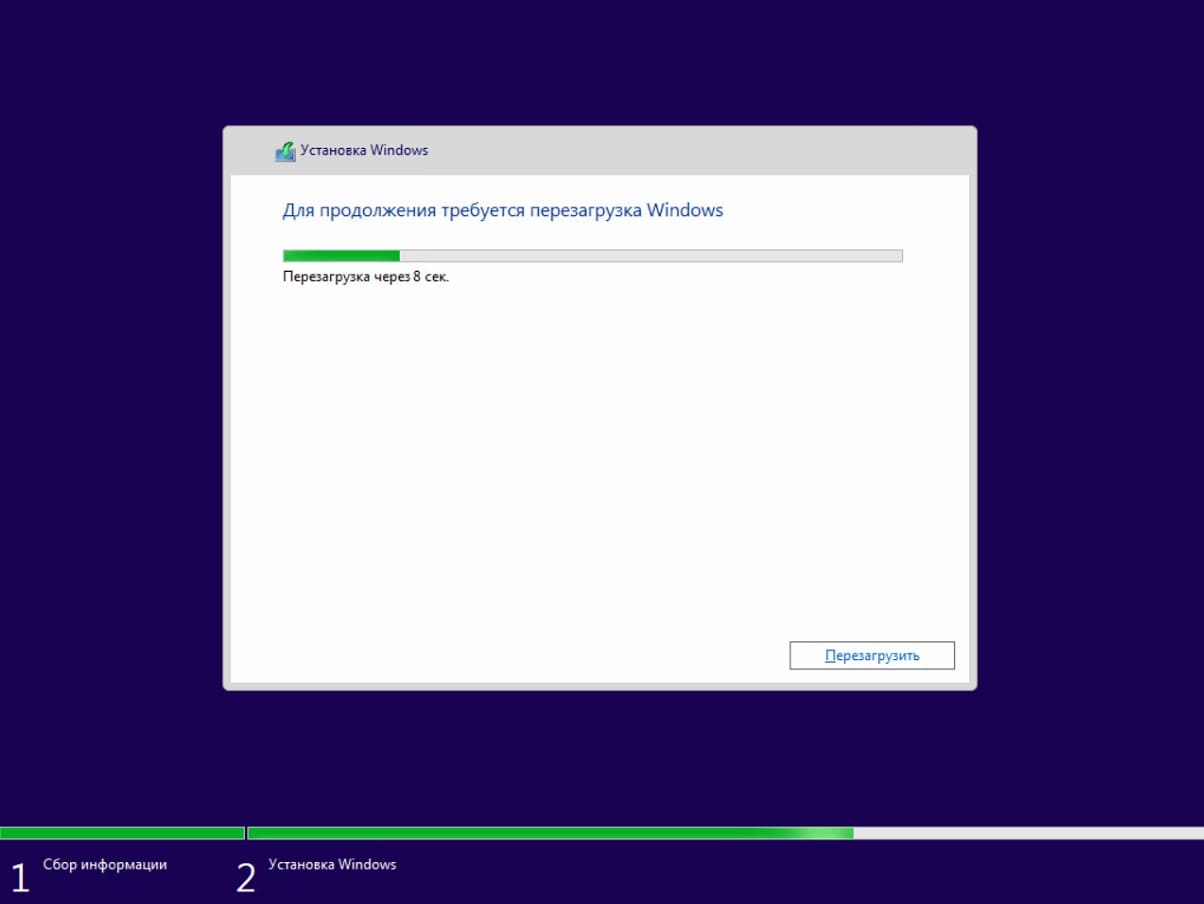
После перезагрузки ожидайте подготовки начальной настройки Windows 11 Enterprise (Корпоративная).

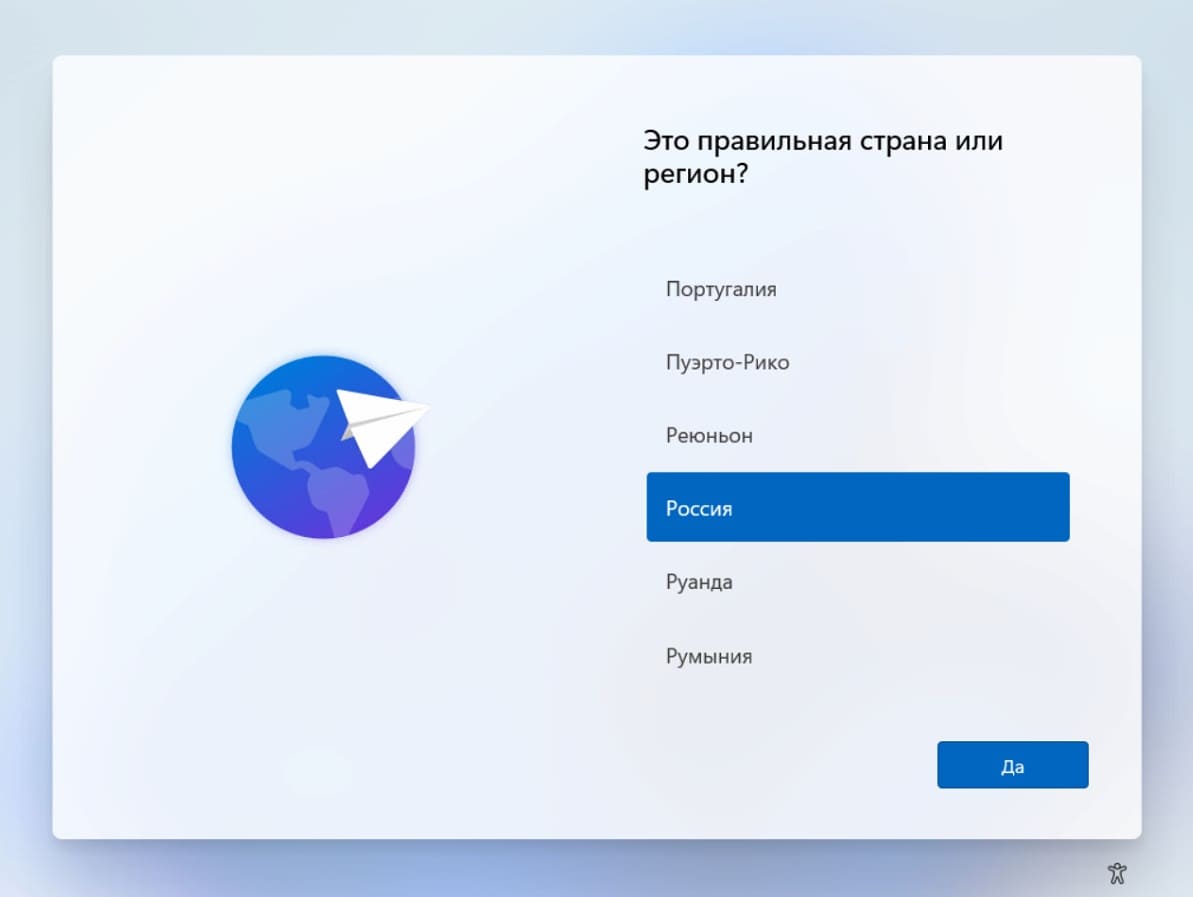
4) Теперь приступаем к первоначальной настройке Windows 11 Корпоративная. Выберите Ваш регион, на примере это будет Россия.
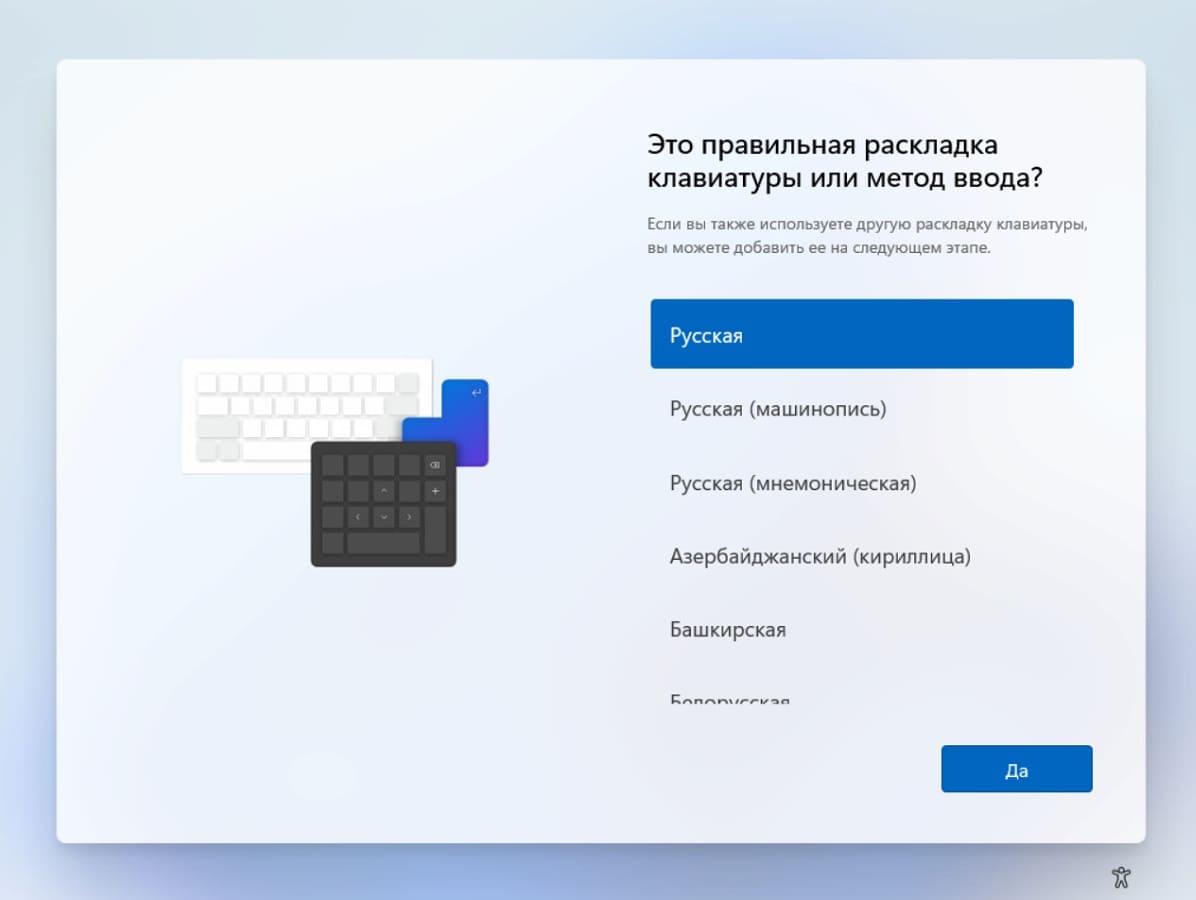
Подтверждаем основную раскладку клавиатуры.
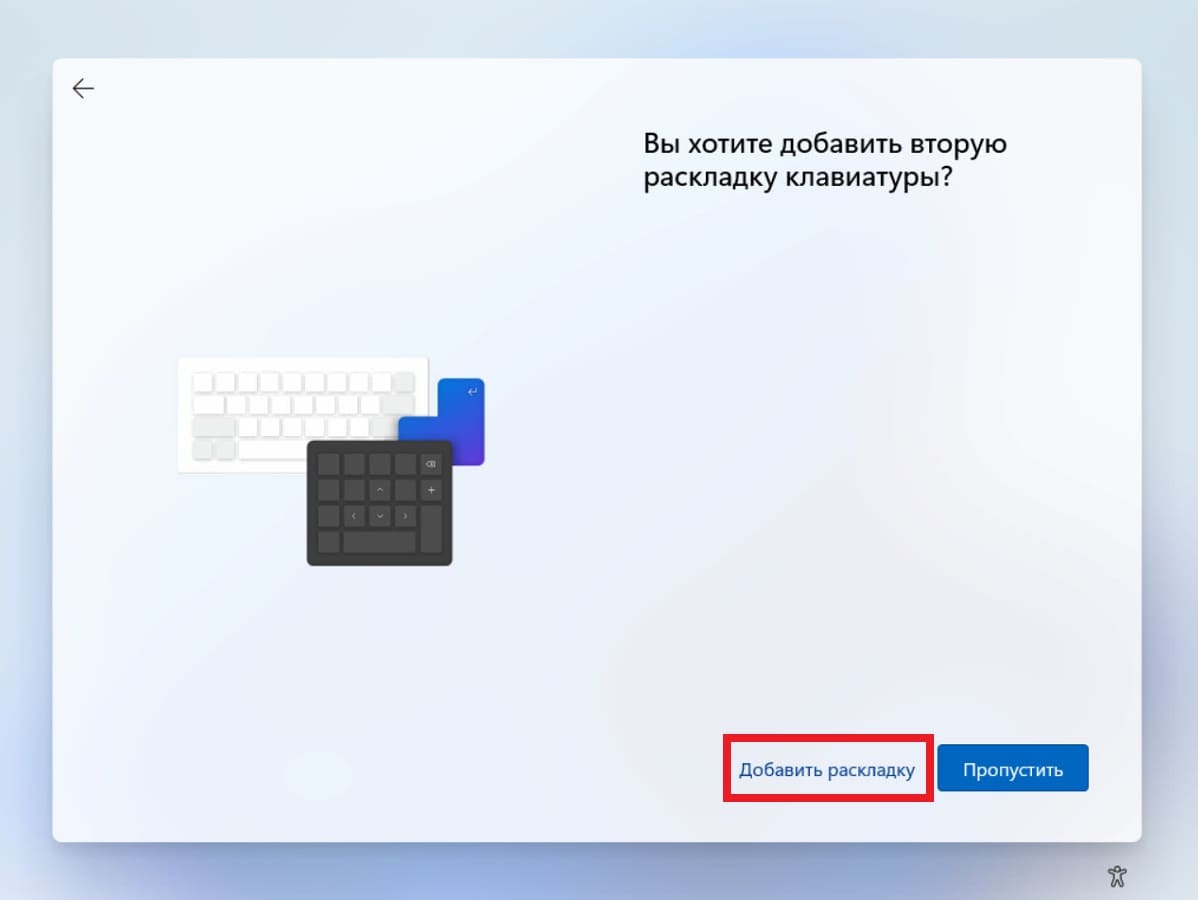
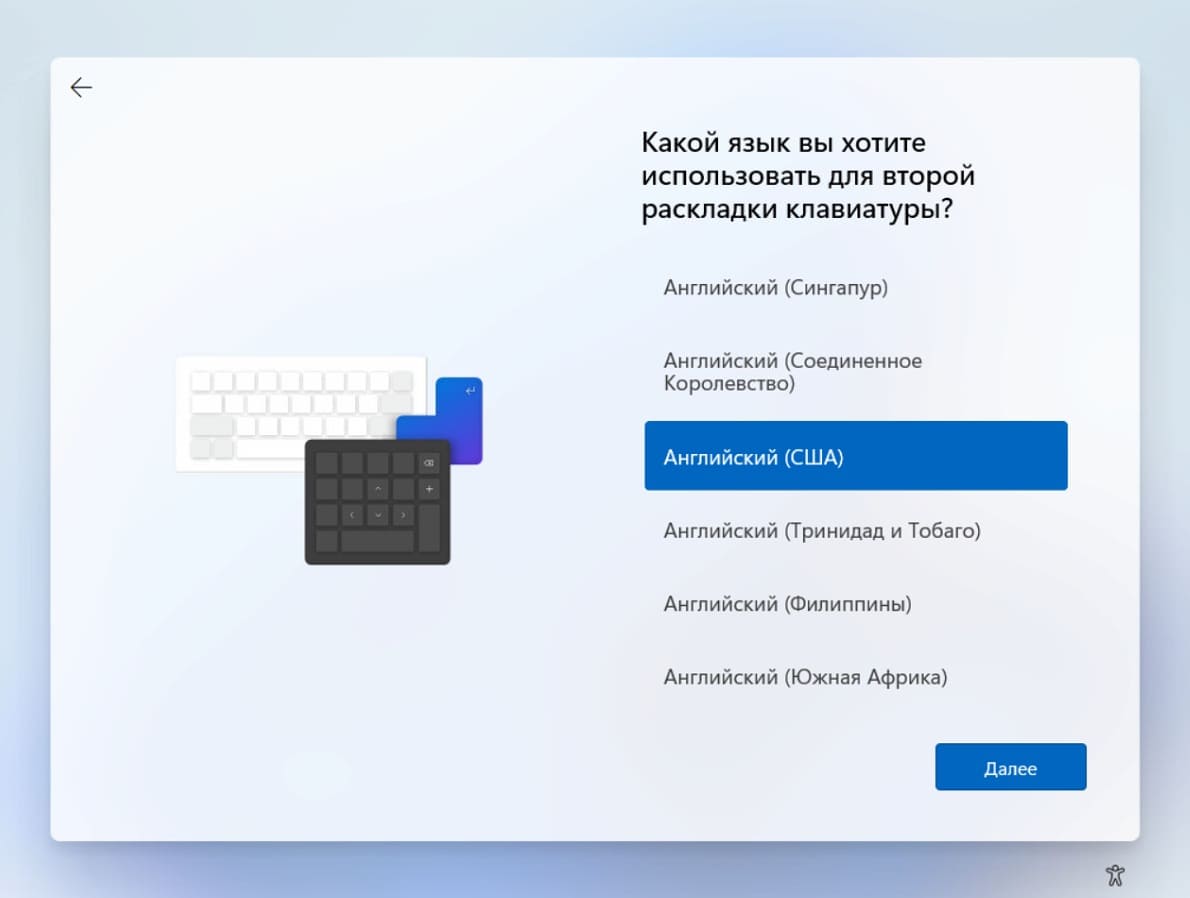
Теперь у нас спросят, нужна ли второй язык для раскладки на клавиатуре. Предполагаем, что всем пригодится английская расклада, поэтому следующим окном выбираем «Добавить раскладку».
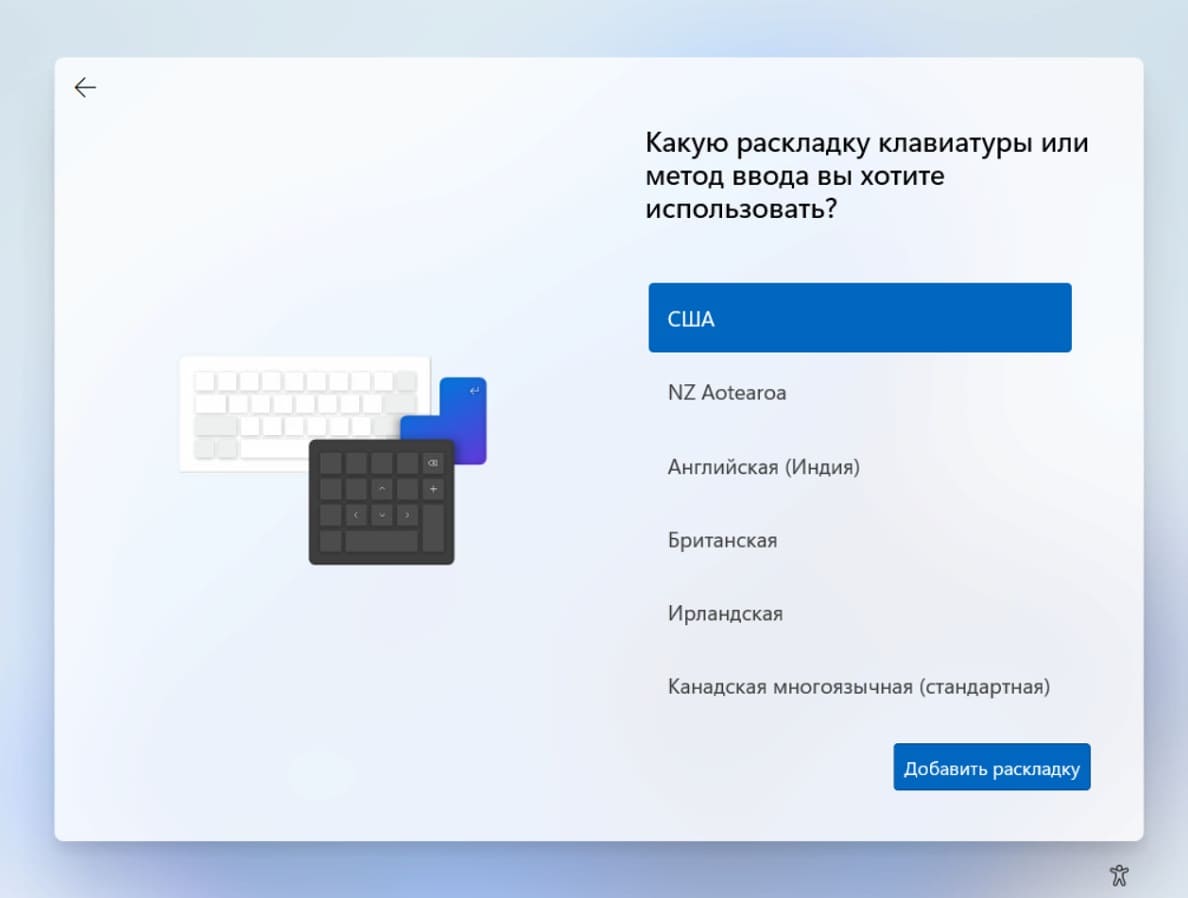
Выбираем язык раскладки «Английский (США)» => «США».
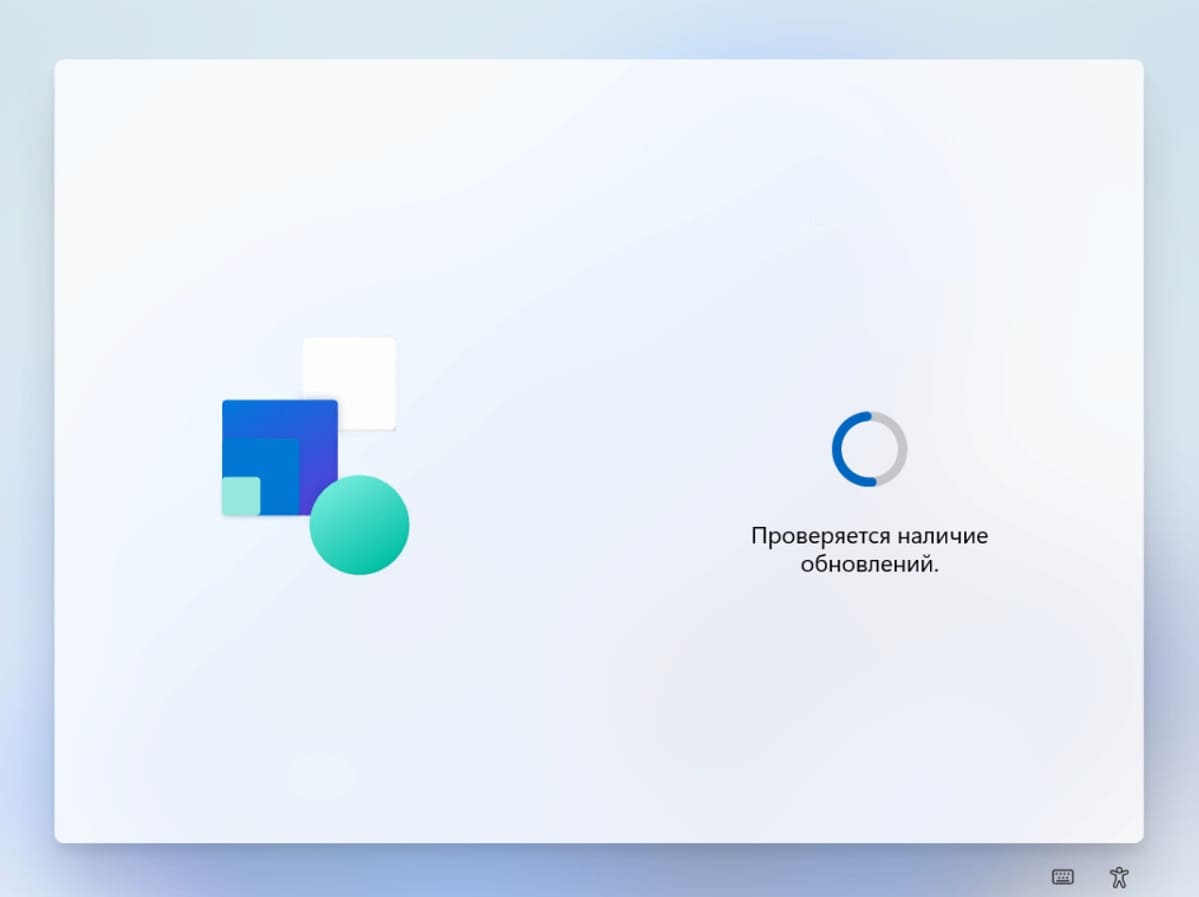
Далее система проверит наличие актуальных обновлений и загрузит их.
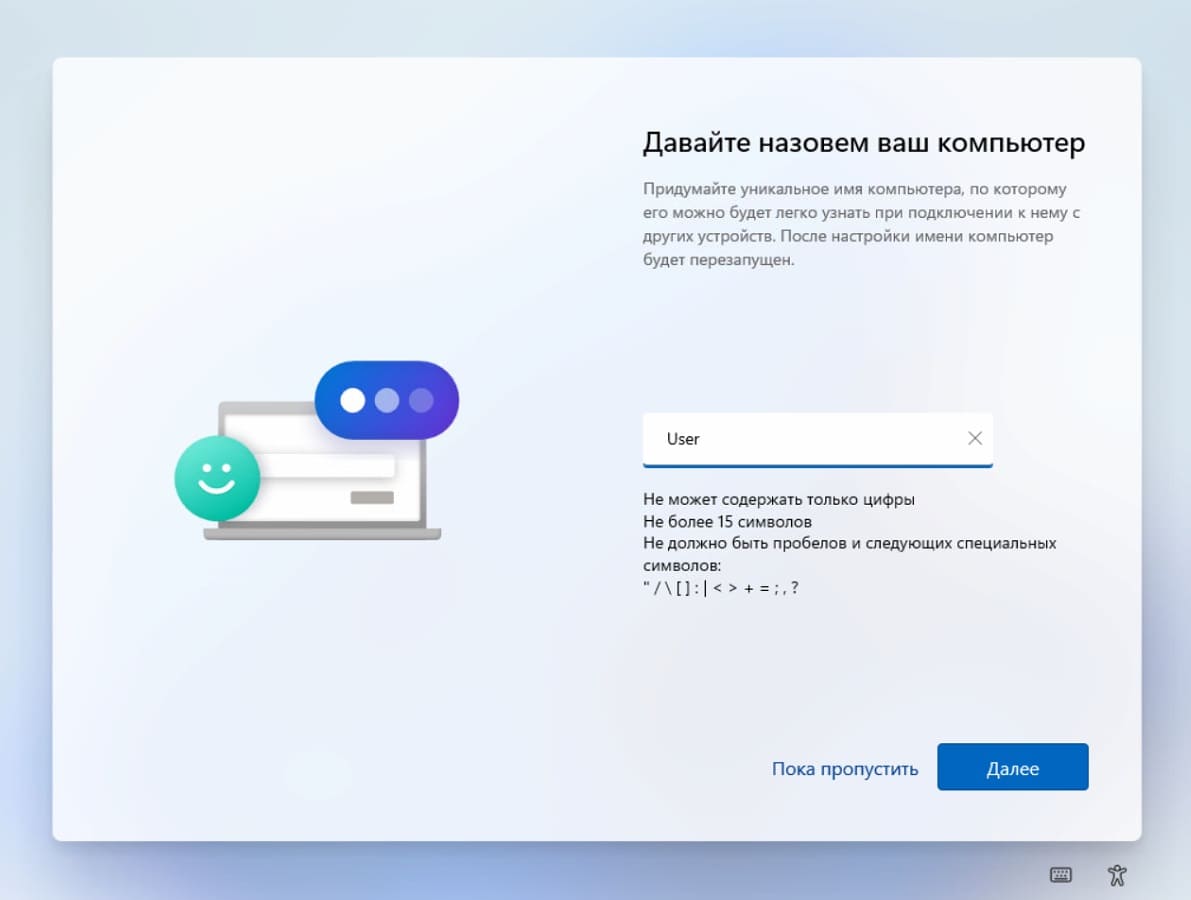
Следующим шагом задайте имя компьютера.
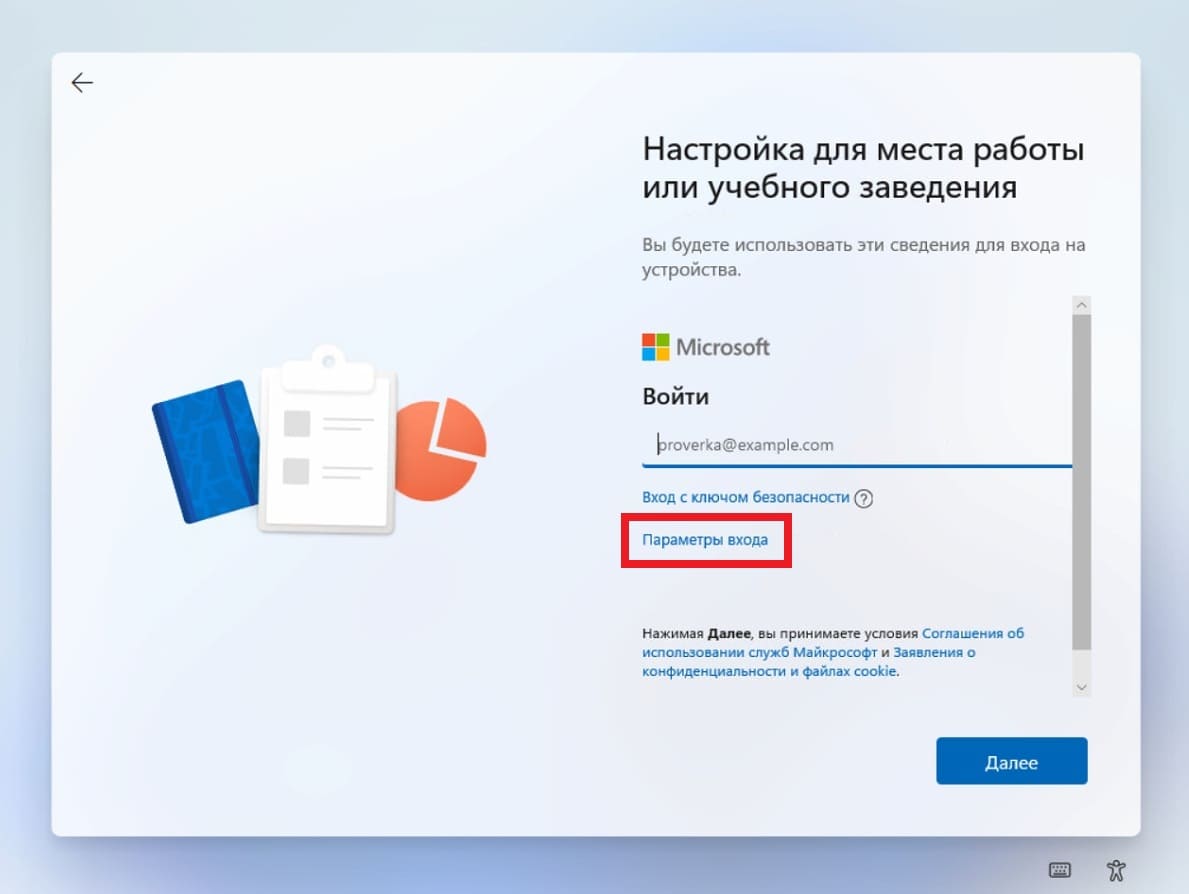
5) Теперь Вам нужно будет войти под учетной записью Вашей организации, или учебного заведения. Личная учетная запись не подойдет, авторизация не пройдет. Если у Вас нет учетной записи организации, то есть возможность войти под локальной учетной записью. В этом случае в окне авторизации нажимаем на «Параметры входа».
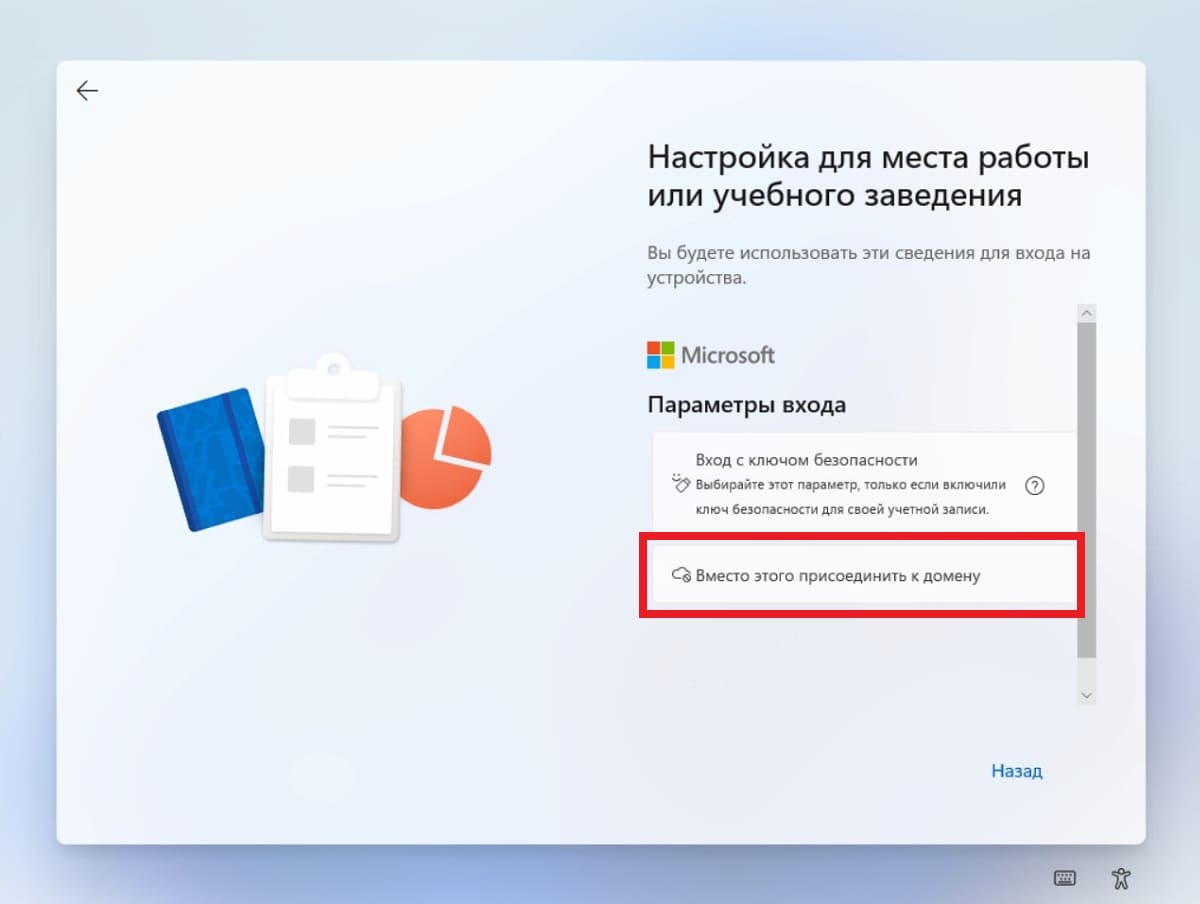
Далее — «Вместо этого присоединить к домену».
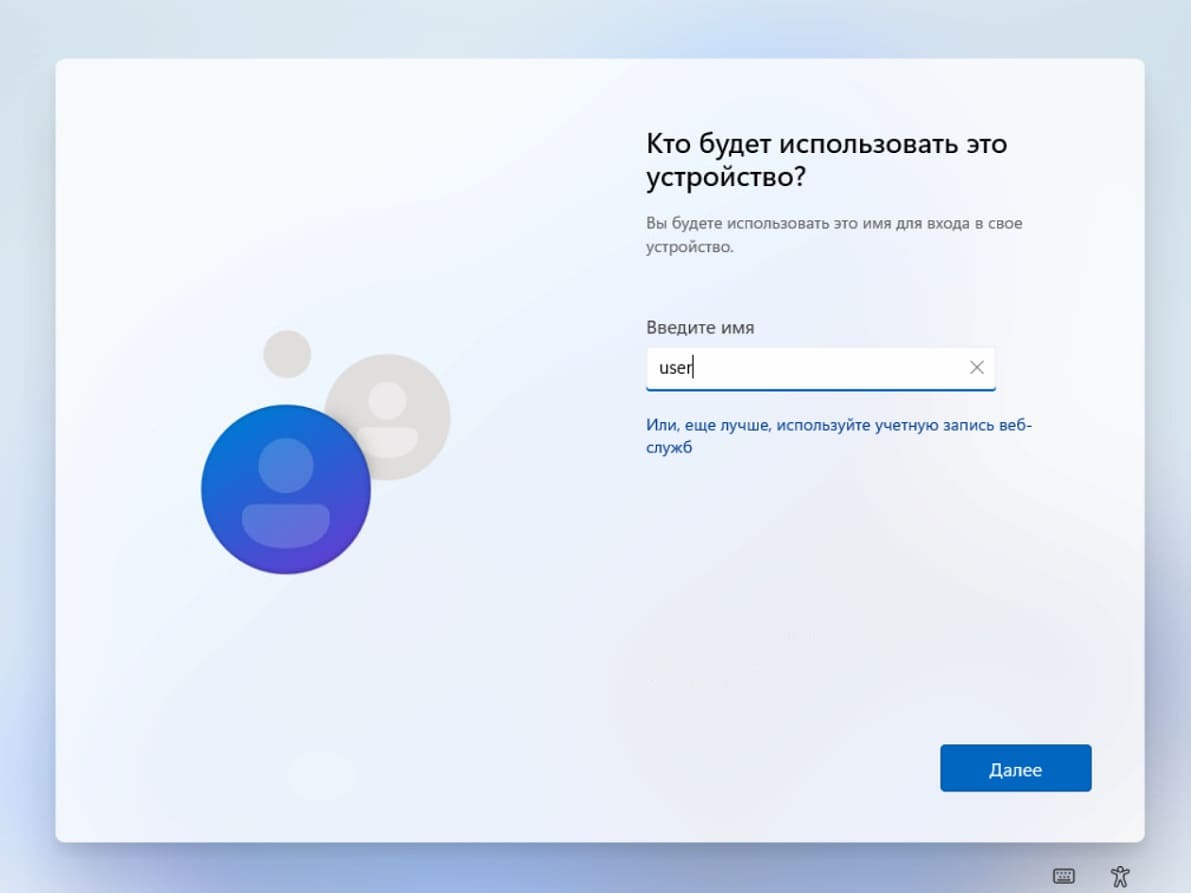
Введите имя локальной учетной записи.
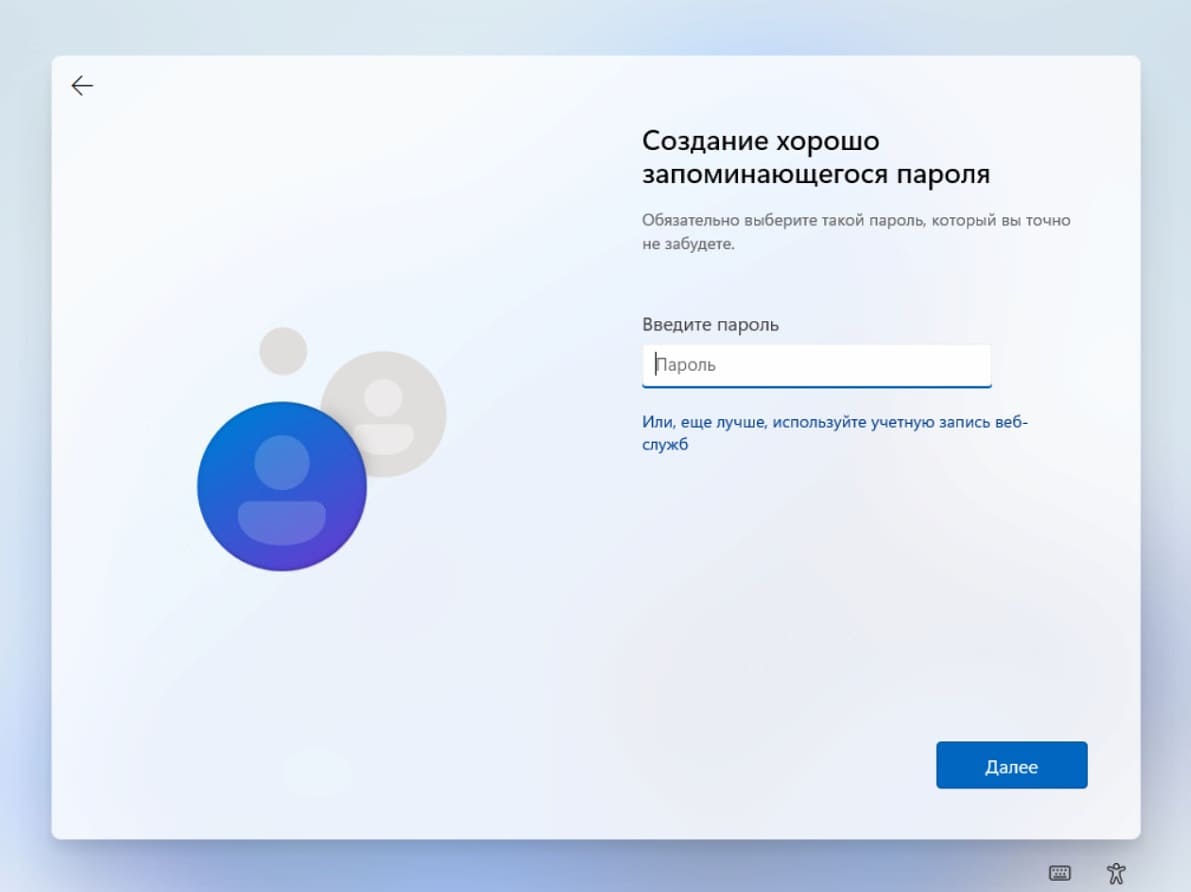
И придумайте пароль для нее.
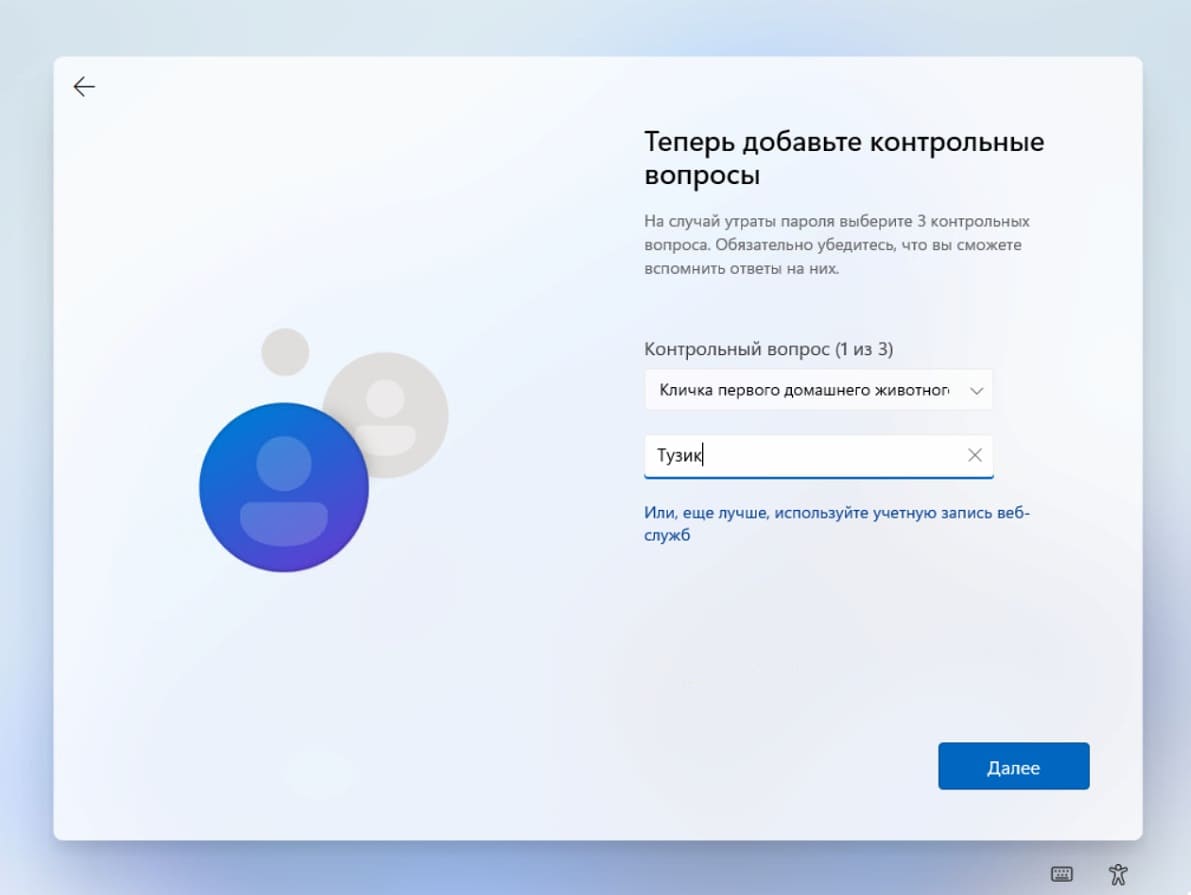
Теперь необходимо будет задать три контрольного ответа на выбранные вопросы из выпадающего меню. Задайте их так, чтобы Вы точно не забыли какой у Вас был ответ на определенные вопросы.
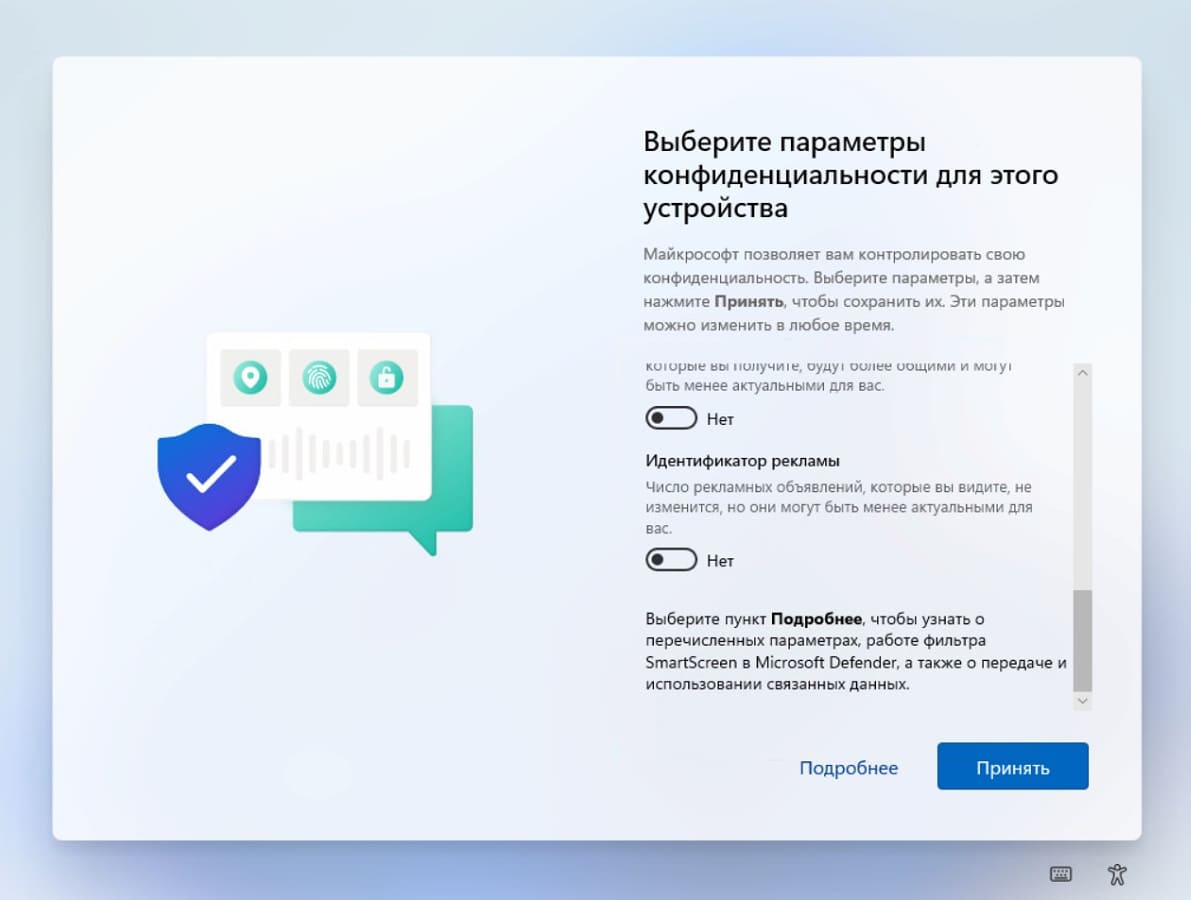
Следующим шагом будет выбор параметров конфиденциальности. Мы уберем на примере все пункты, Вы можете их выбрать на свое усмотрение.
На этом первоначальная настройка закончена. Ожидайте загрузки рабочего стола.

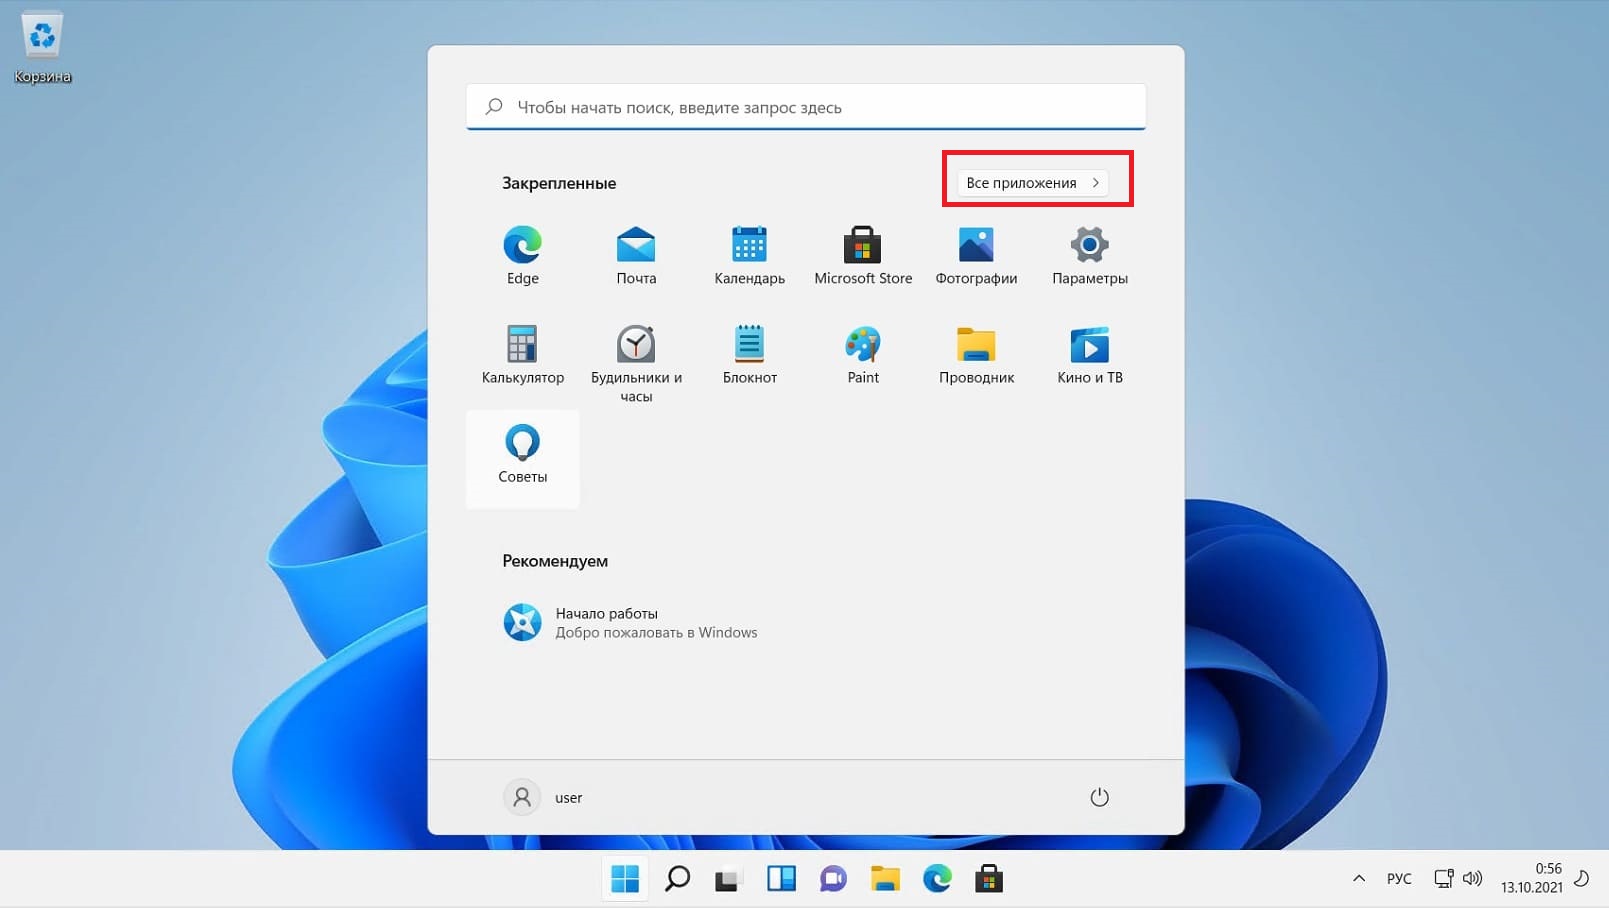
6) Система установлена, но это еще не все. Проверим установленную версию Windows 11, для этого нужно зайти в меню Пуск => Все приложения => Пролистываем следующее меню вниз => О системе.
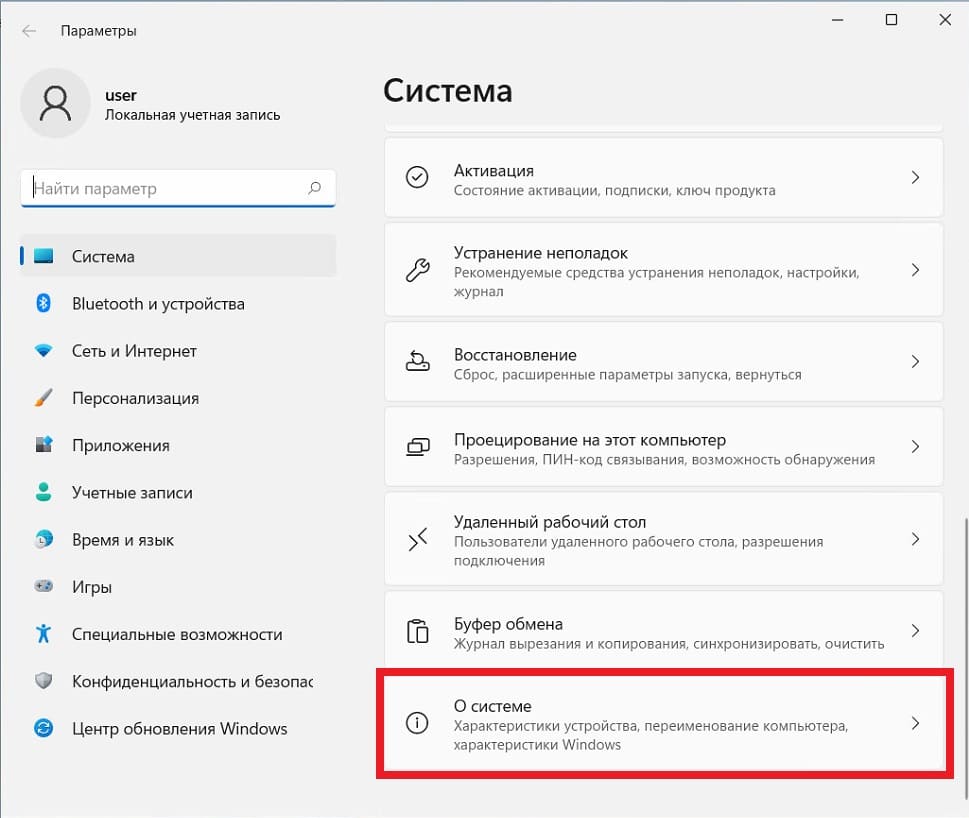
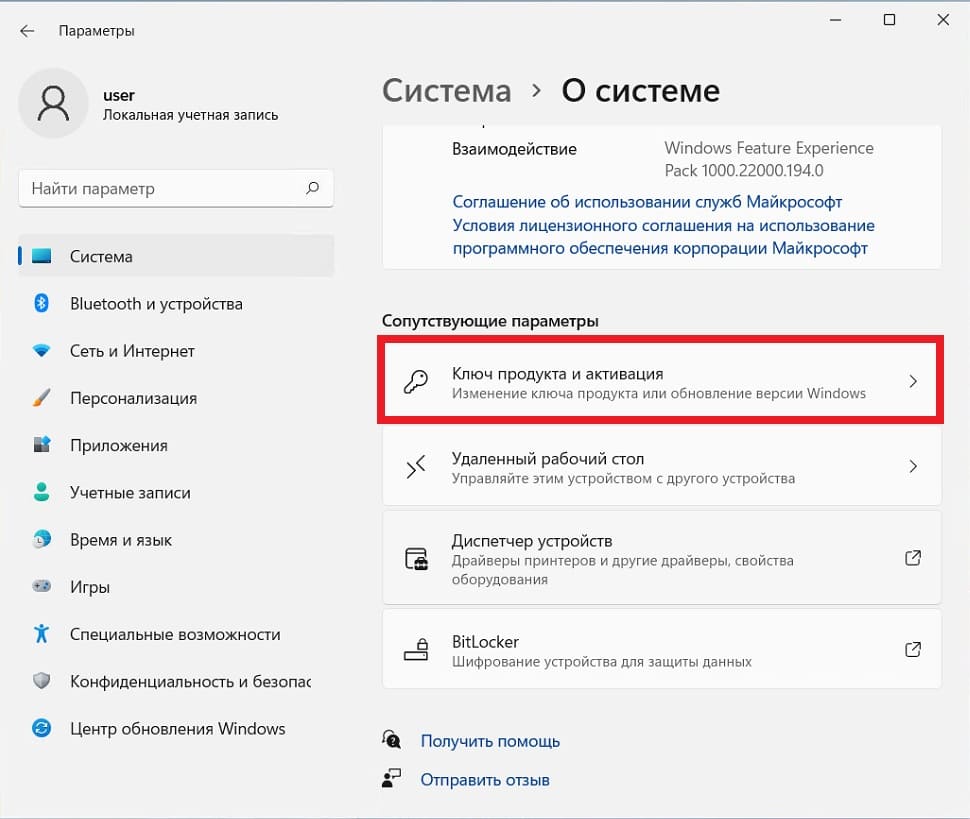
Видим, что все установилось корректно, у нас Windows 11 Корпоративная! Но это еще не все, систему необходимо активировать, если Вы еще этого не сделали. Пролистаем это же меню немного вниз и нажимаем на «Ключ продукта и активация».

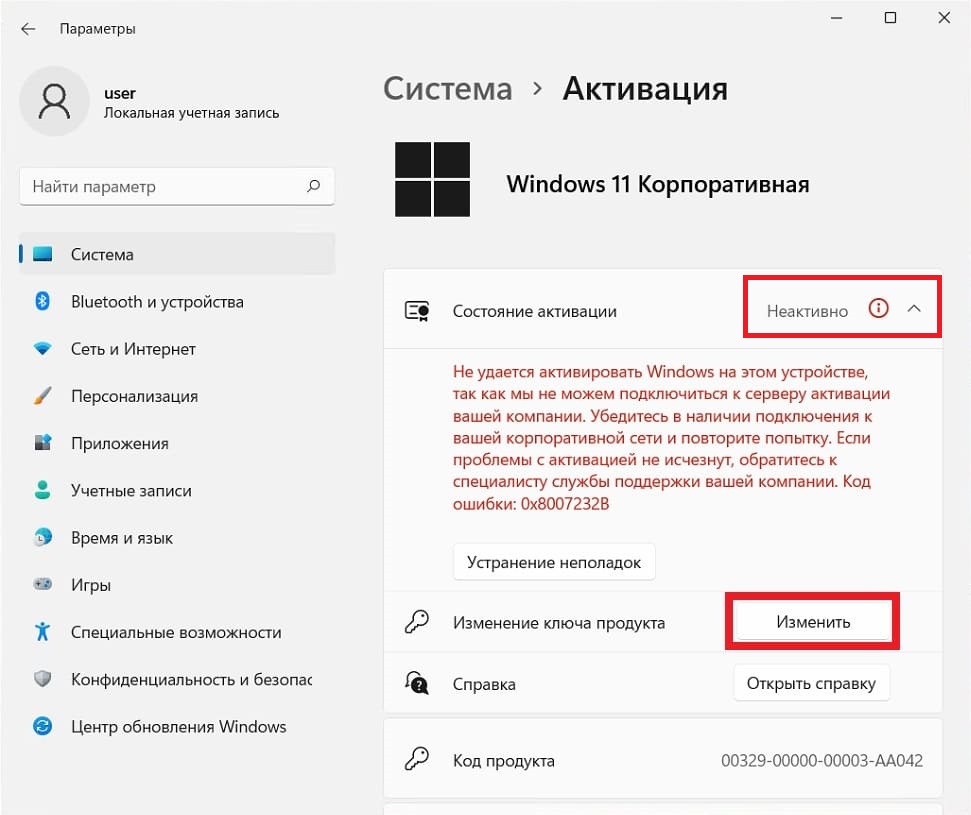
В меню активации видим, что ее состояние «Неактивно». Чтобы активировать систему Вас должен быть лицензионный ключ активации Windows 11 Корпоративная. Если у Вас нет ключа, то приобрести его можете в нашем каталоге по низкой цене. Доставка ключа осуществляется в автоматическом режиме сразу после оплаты на Вашу электронную почту. В случае каких-либо вопросов у нас действует бесплатная круглосуточная техподдержка.
Итак, если у Вас есть в наличие ключ активации Windows 11 Корпоративная (Enterprise), то в меню «Активация» нажимаем на кнопку «Изменить».
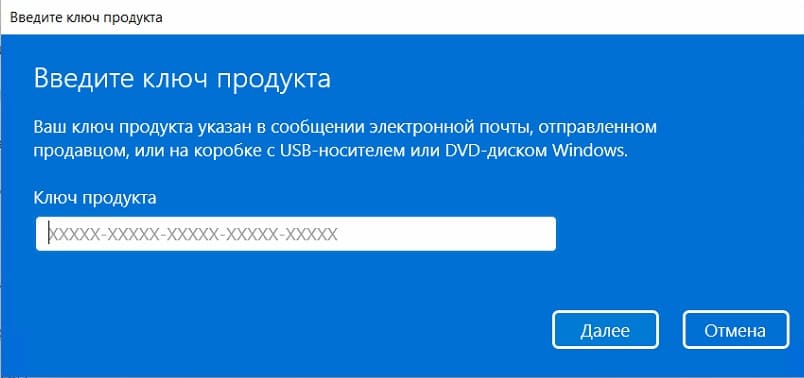
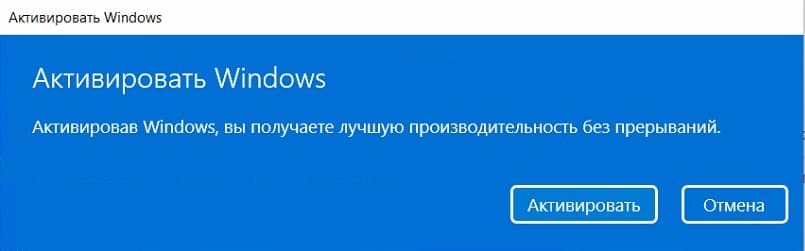
Вводите Ваш ключ в окно активации нажимаем «Далее» => Активировать.
Если все прошло успешно, то у Вас выйдет окно с сообщением об успешной активации.
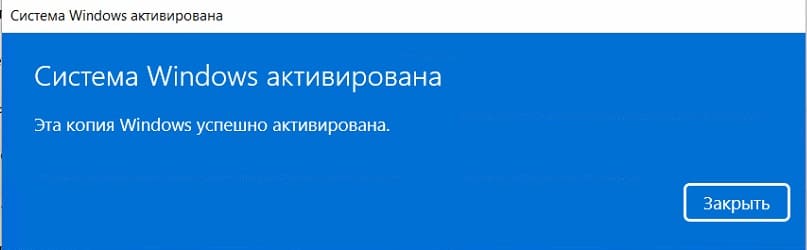
В меню «Активация» так же будет указано, что состояние активации — Активно.

На этом установка, первоначальная настройка и активация системы Windows 11 Корпоративная закончена.