
В данной статье рассмотрим процесс установки операционной системы Windows 11 Education (Для образовательных учреждений).
На данный момент для пользователей из России из-за действующих ограничений имеются проблемы со скачиванием дистрибутива с официального сайта Microsoft, а так же официальное приложение Microsoft — Media Creation Tool для записи дистриубтива на флешку тоже у многих пользователей не работает. Вы можете попробовать использовать приложение Media Creation Tool для записи дистрибутива на флешку- по инструкции. Но данный метод часто не работает, по причине ограничений скачивания дистрибутива через это приложение с территории РФ.
Мы рекомендуем:
— Скачать Windows 11 с нашего каталога на следующей странице. В нашем каталоге дистрибутивы оригинальные MSDN, проверить хеш-сумму можете на странице скачивания.
— После использовать приложение Rufus для записи загрузочной флешки по инструкции.
1) Итак, после записи загрузочной флешки начинаем процесс установки системы. Загружаемся на загрузочную флешку, выставив ее приоритетной для загрузки в Вашем UEFI / Биосе.
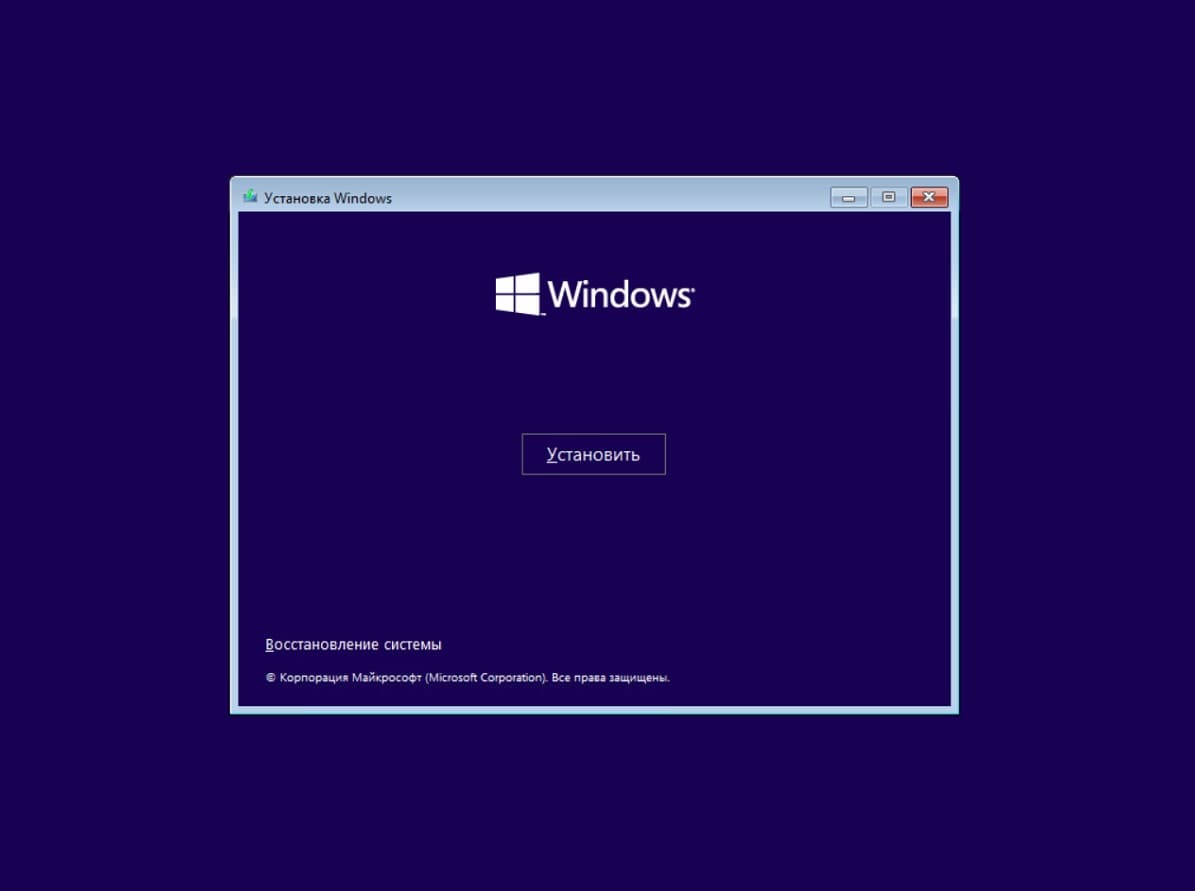
— Встречаем первое меню, оставляем параметры по умолчанию.
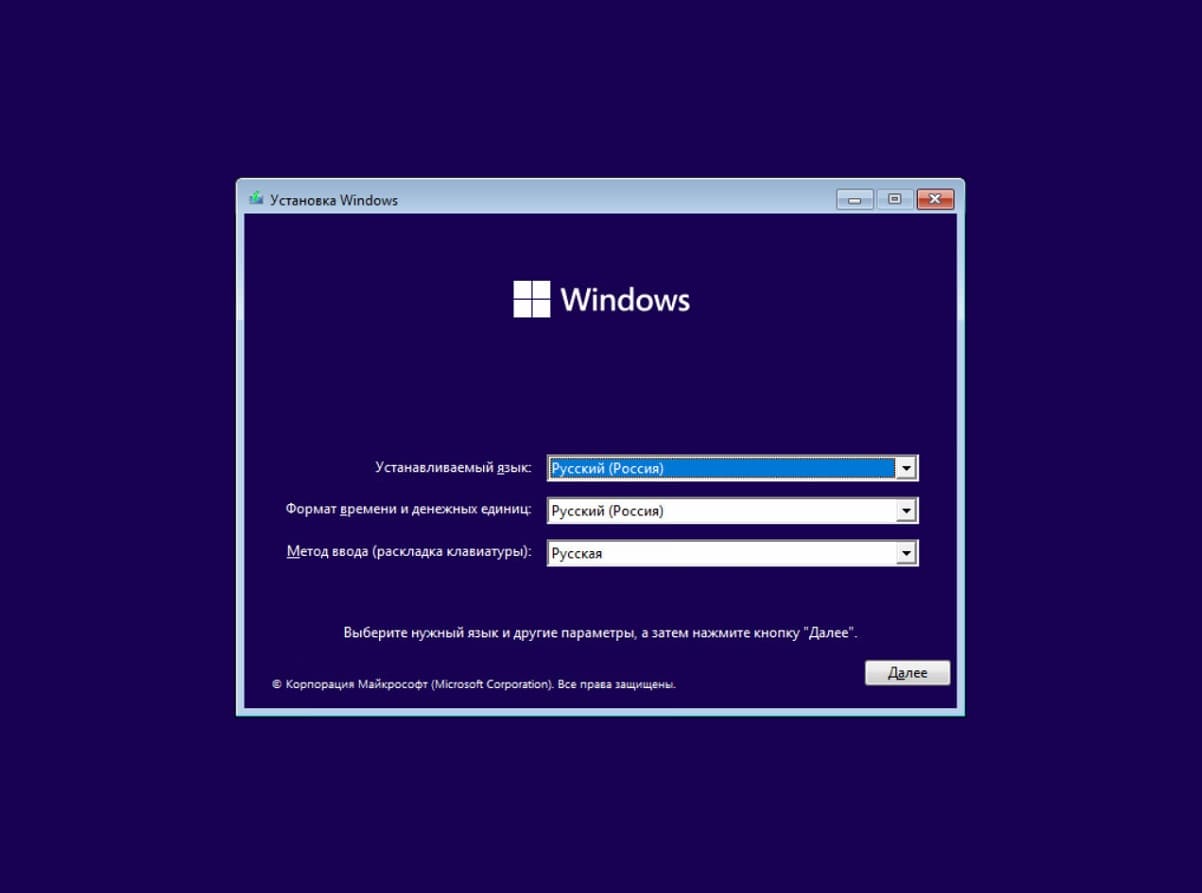
— Нажимаем кнопку «Установить».
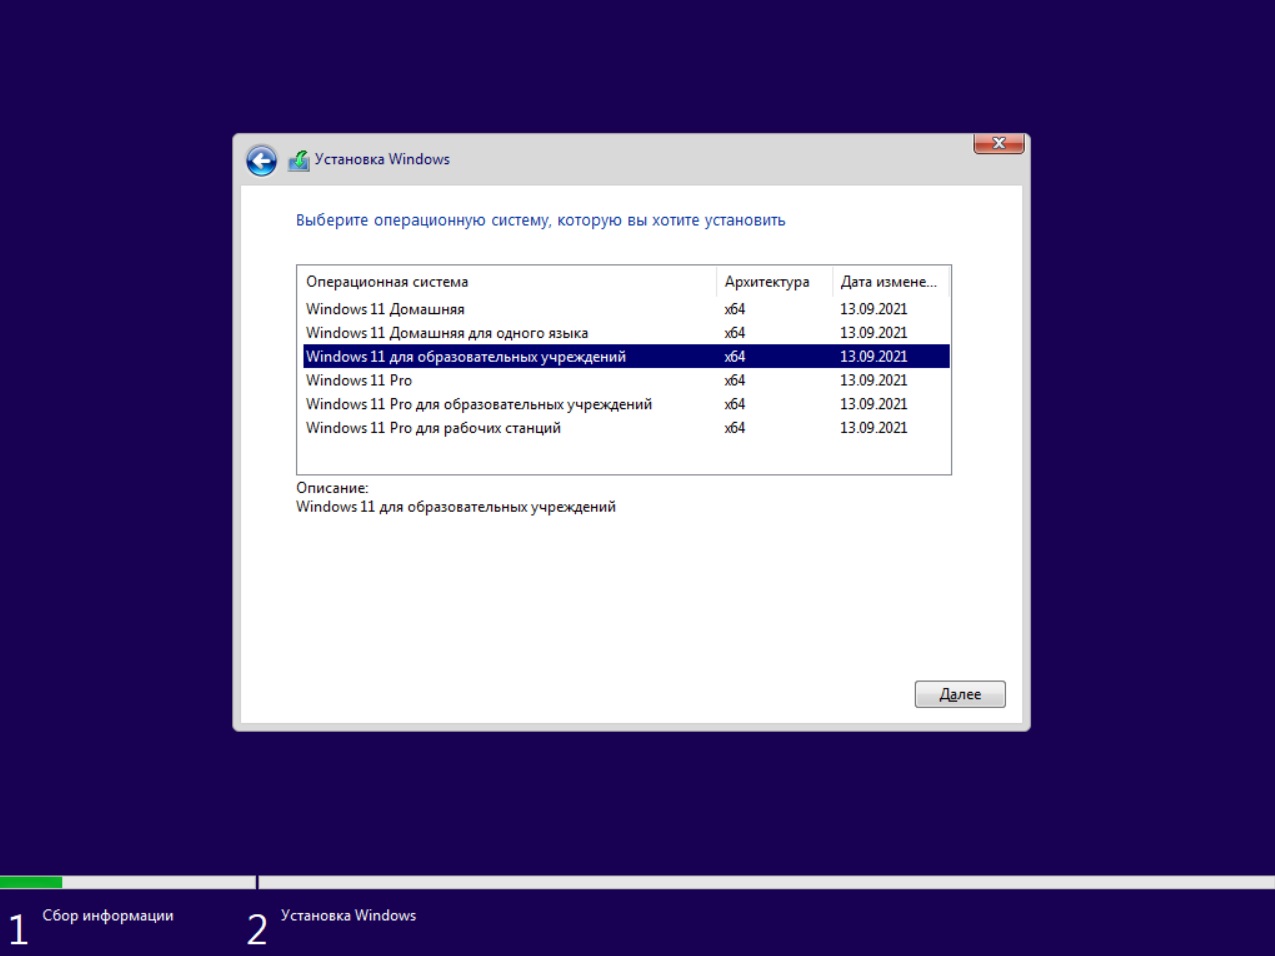
— Выбираем пункт выбора версии Windows 11 — «Windows 11 для образовательных учреждений».
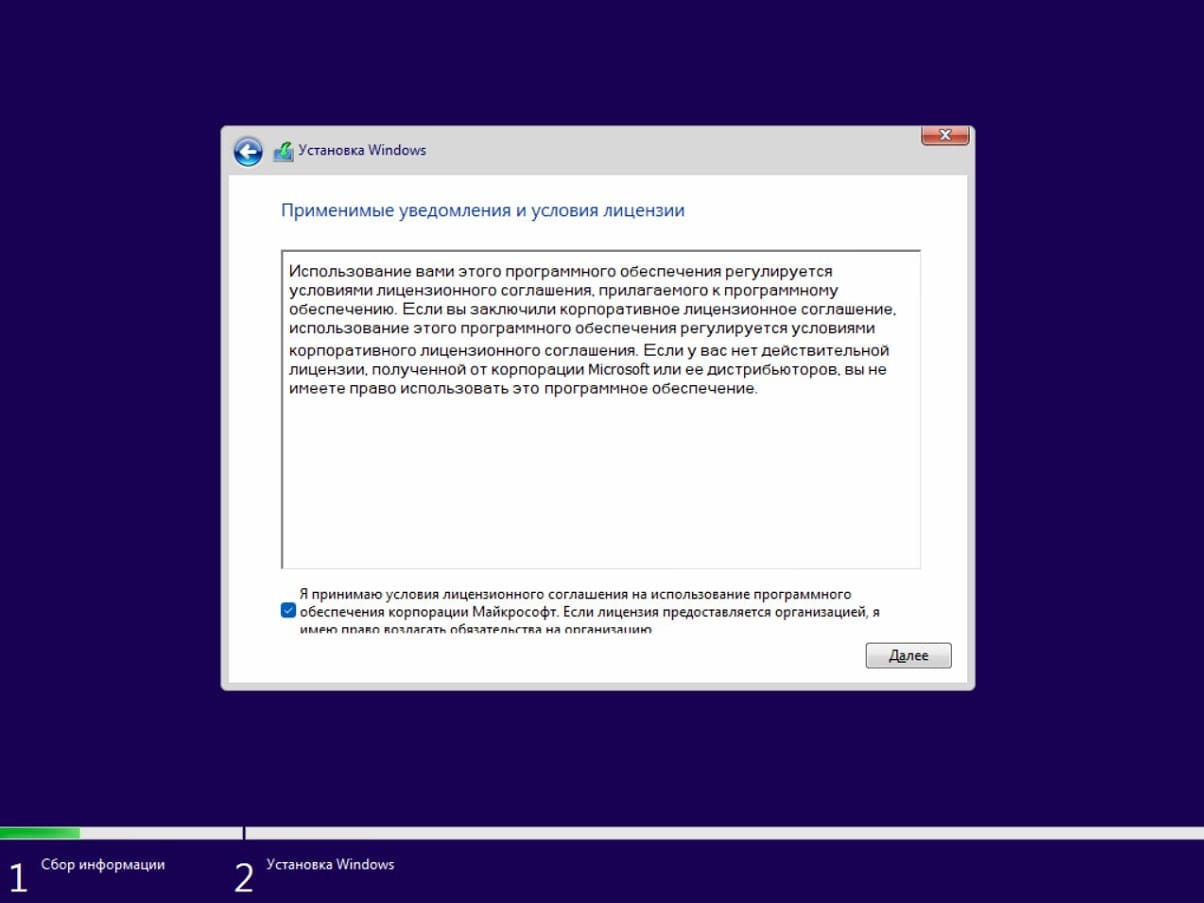
— Ставим галку, принимая условия лицензионного соглашения.
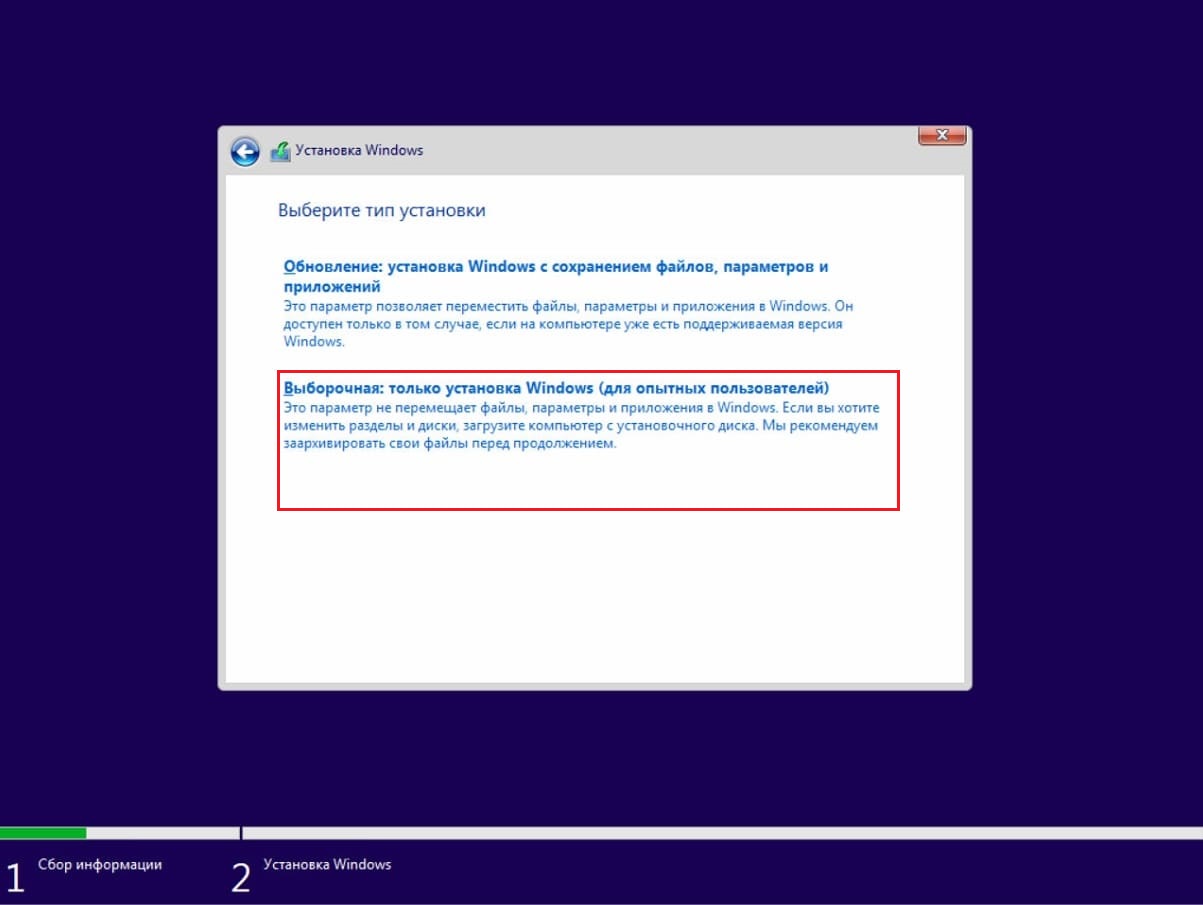
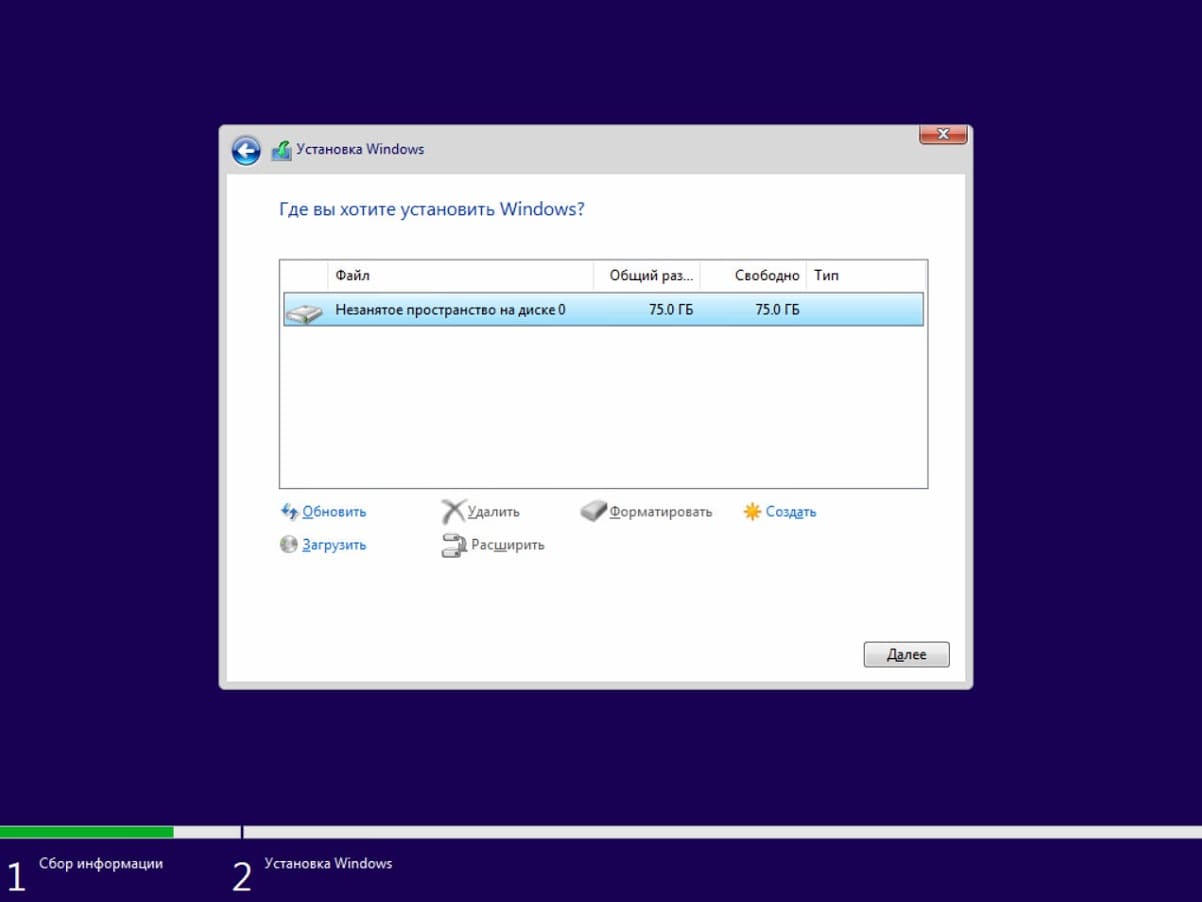
— Т.к систему мы устанавливаем с нуля, поэтому выбираем «Выборочная» установка.
— Теперь выбираем диск, куда будет установлена система Windows 11. На нашем примере — один диск, но у Вас их может быть несколько. Выберите нужный.
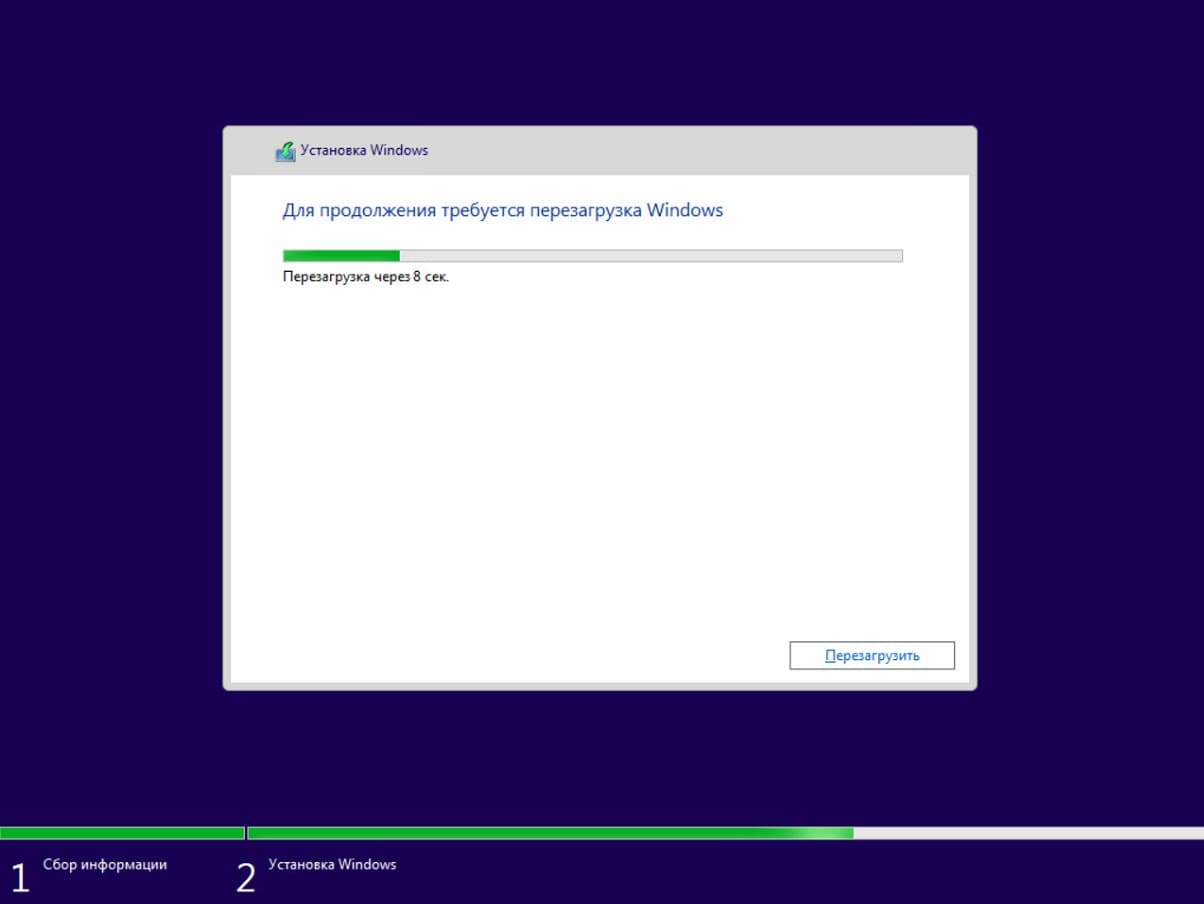
— Дожидаемся окончания установки системы, после нее Ваш компьютер перезагрузится.


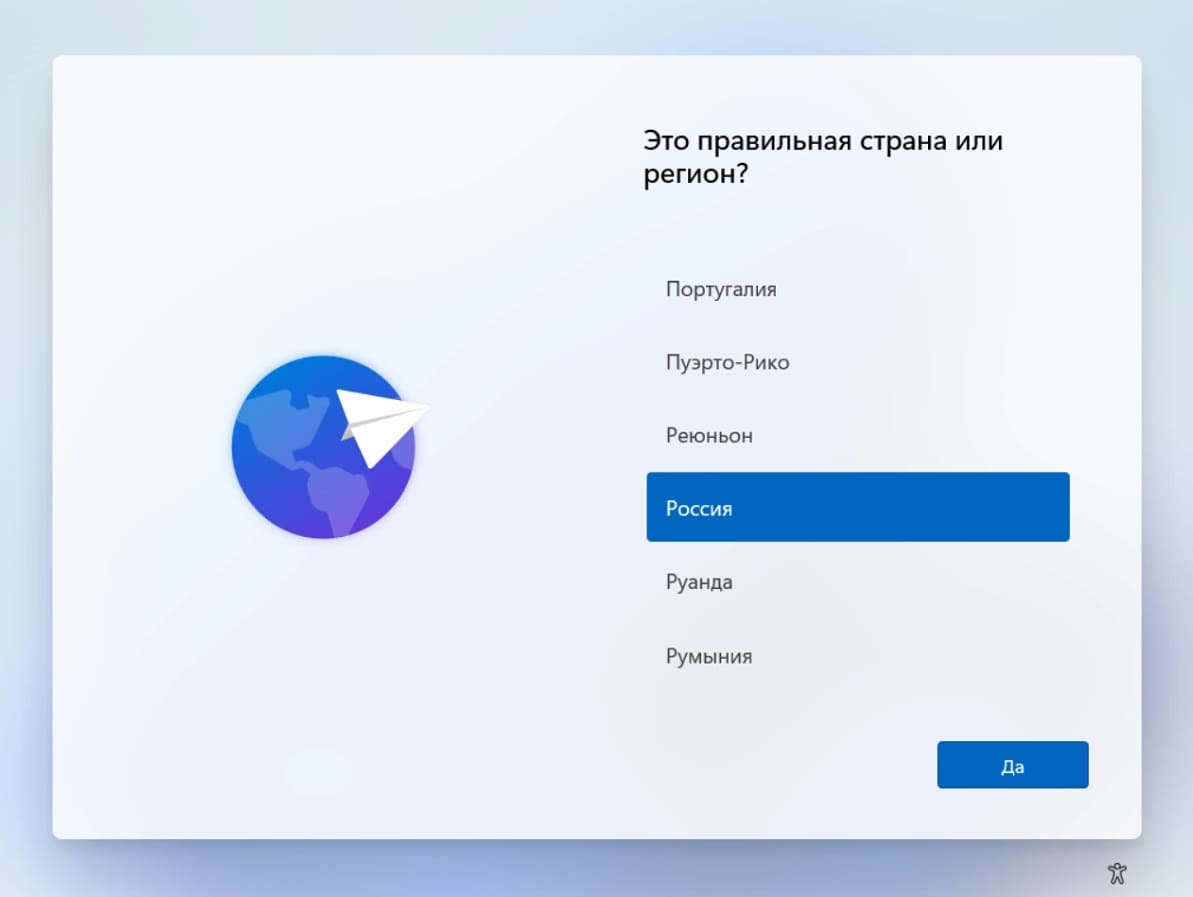
2) После перезагрузки ПК теперь приступим к первоначальной настройке системы.
— Выбираем Ваш регион, на примере выберем «Россия».
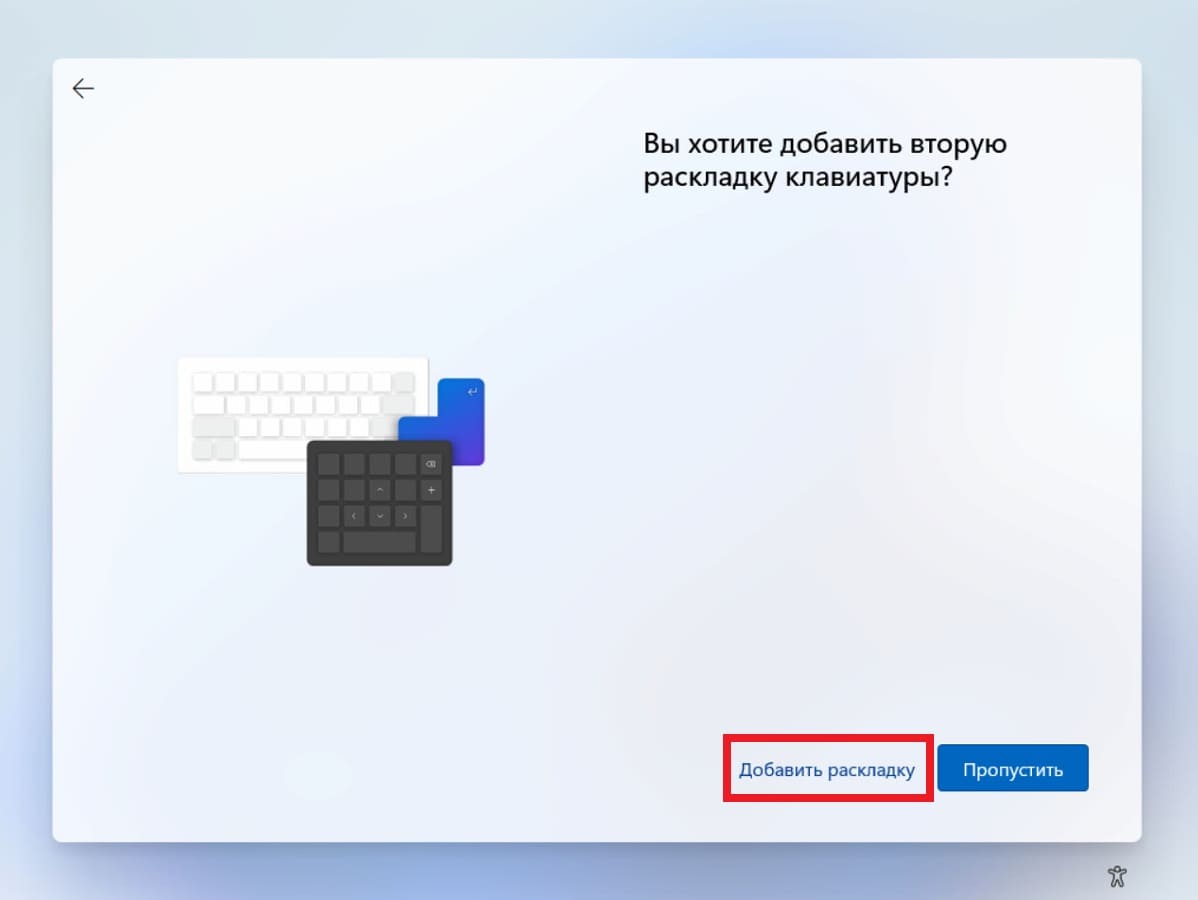
— Выбираем раскладку клавиатуры.

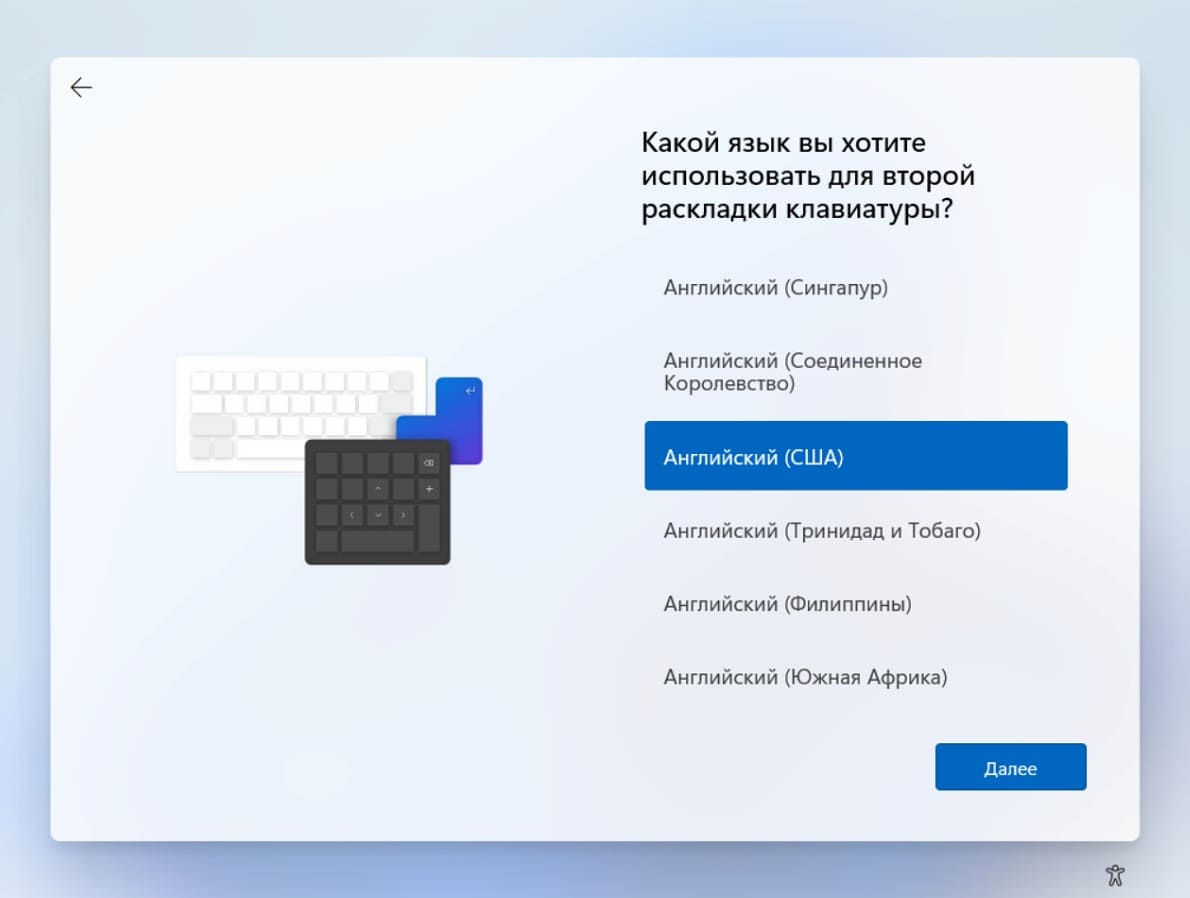
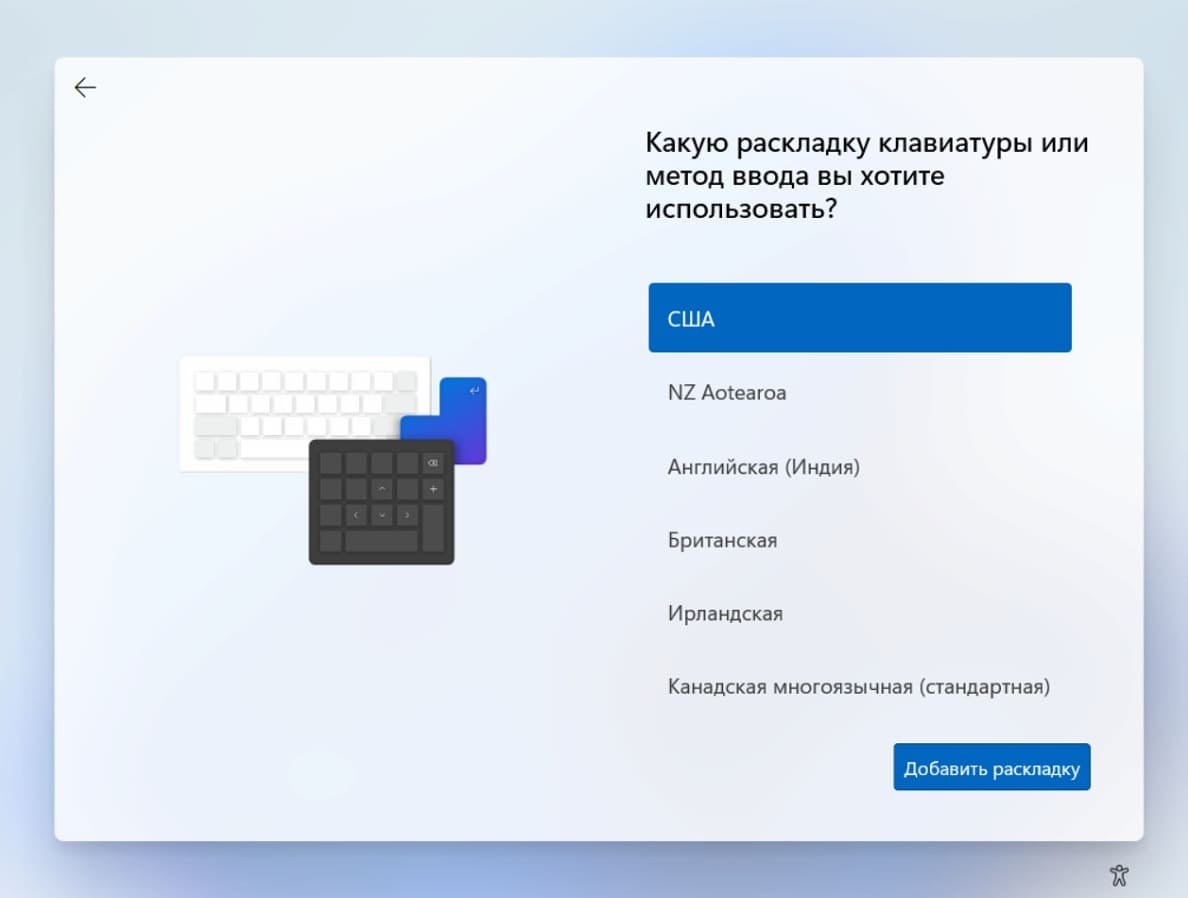
— Так же, не помешает выбрать доп. раскладку — английскую. Следующим меню нажимаем «Добавить раскладку». И выбираем там «Английский США» и США.
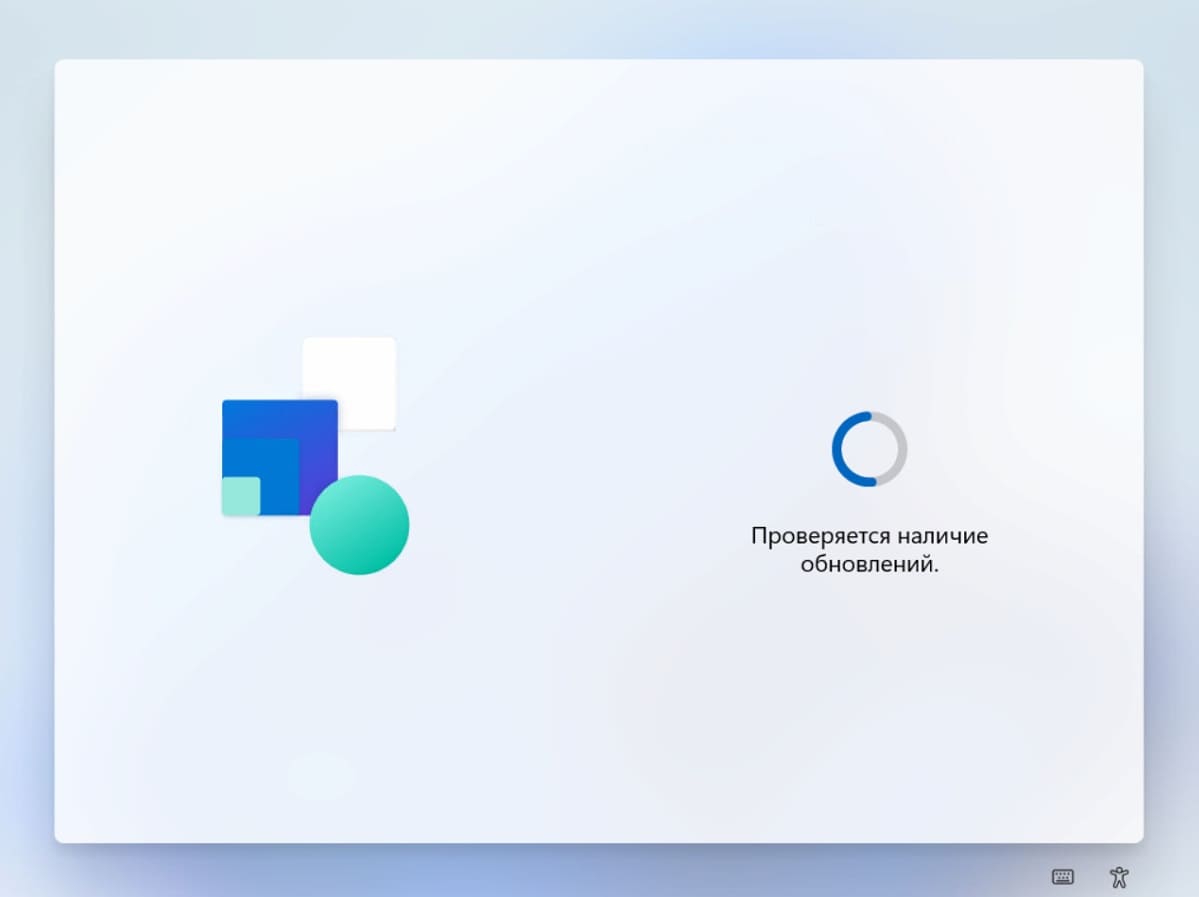
— Дождитесь загрузки и установки актуальных обновлений.
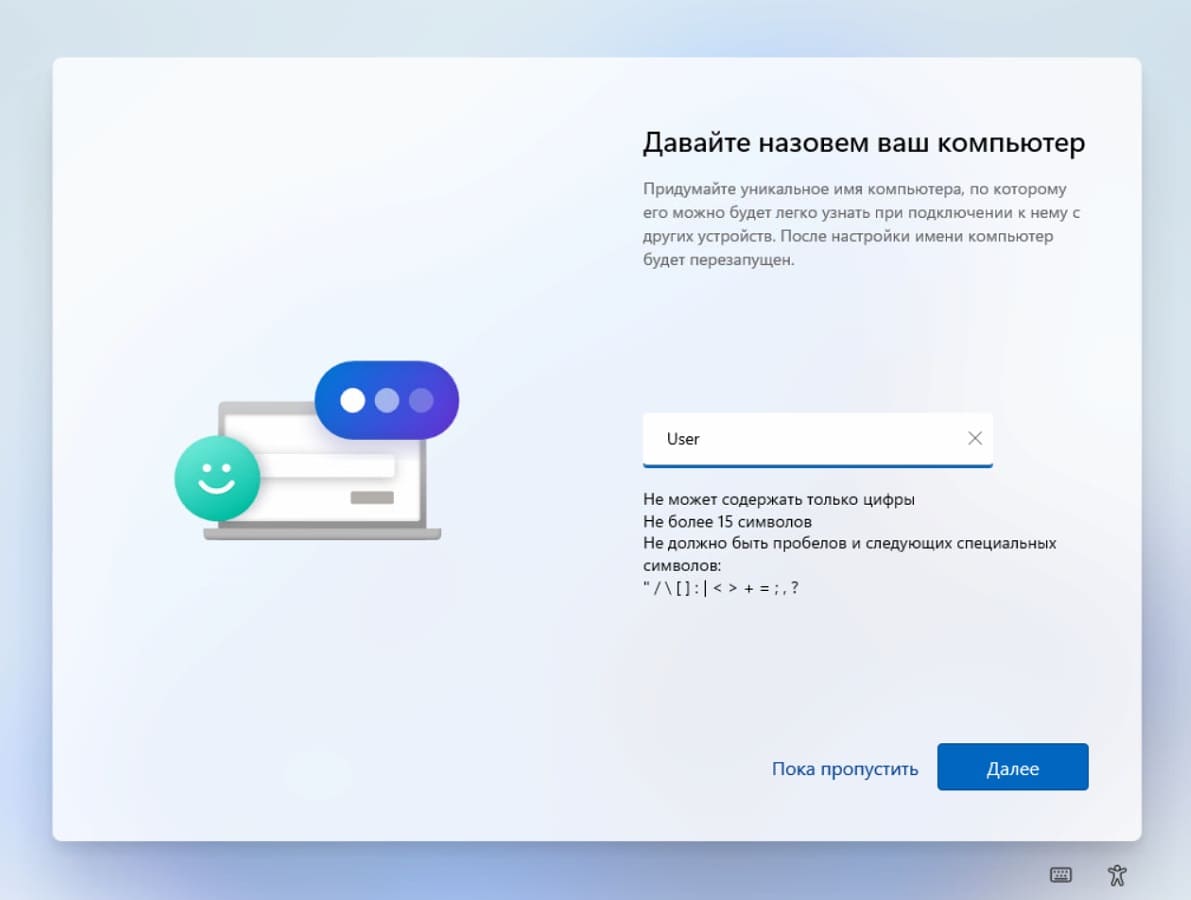
— Задайте имя ПК.
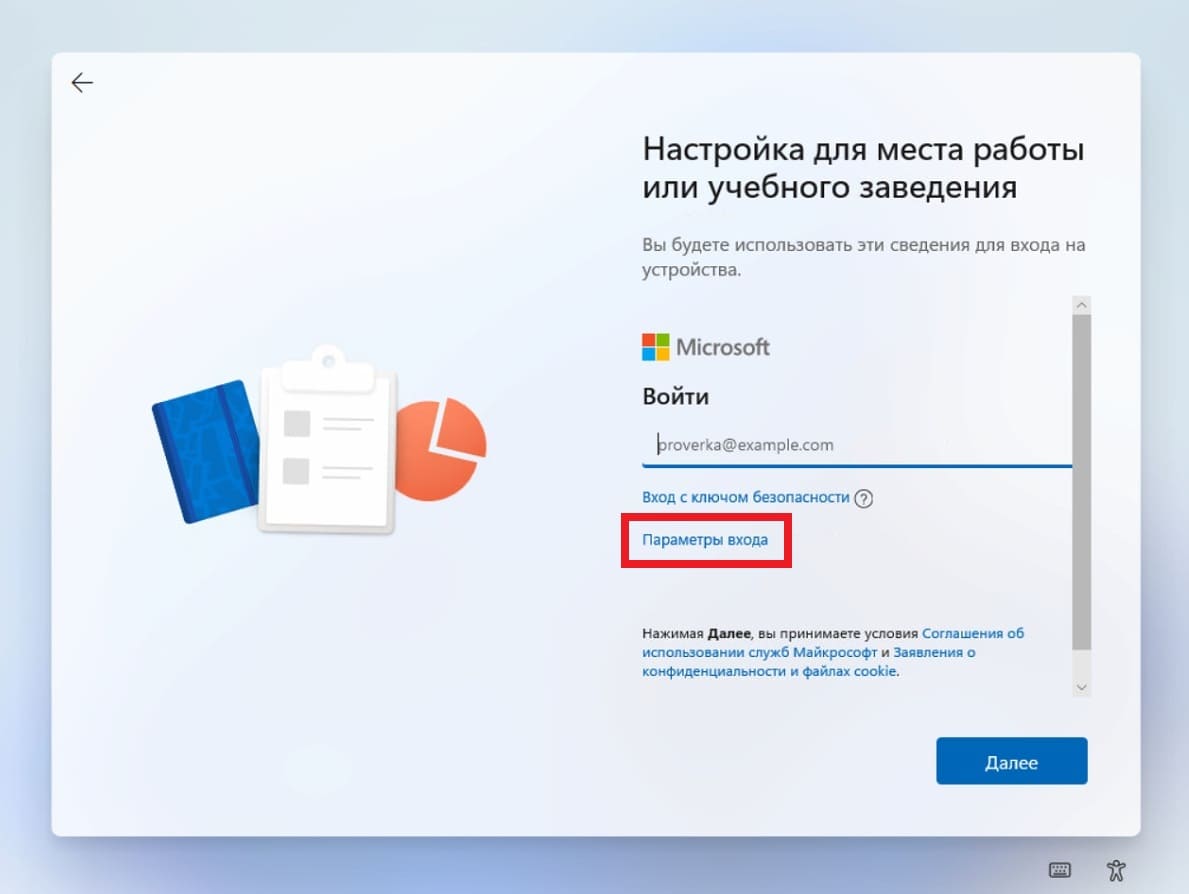
— Внимание! Вход под учетной записью возможен только, если она у Вас рабочая, или относится к учебному заведению. Вход под личной учетной записью невозможен!
Если же у Вас нет рабочей или учебной учетной записи, в этом случае заходим под автономной учетной записью по инструкции ниже:
— Нажимаем на «Параметры входа».
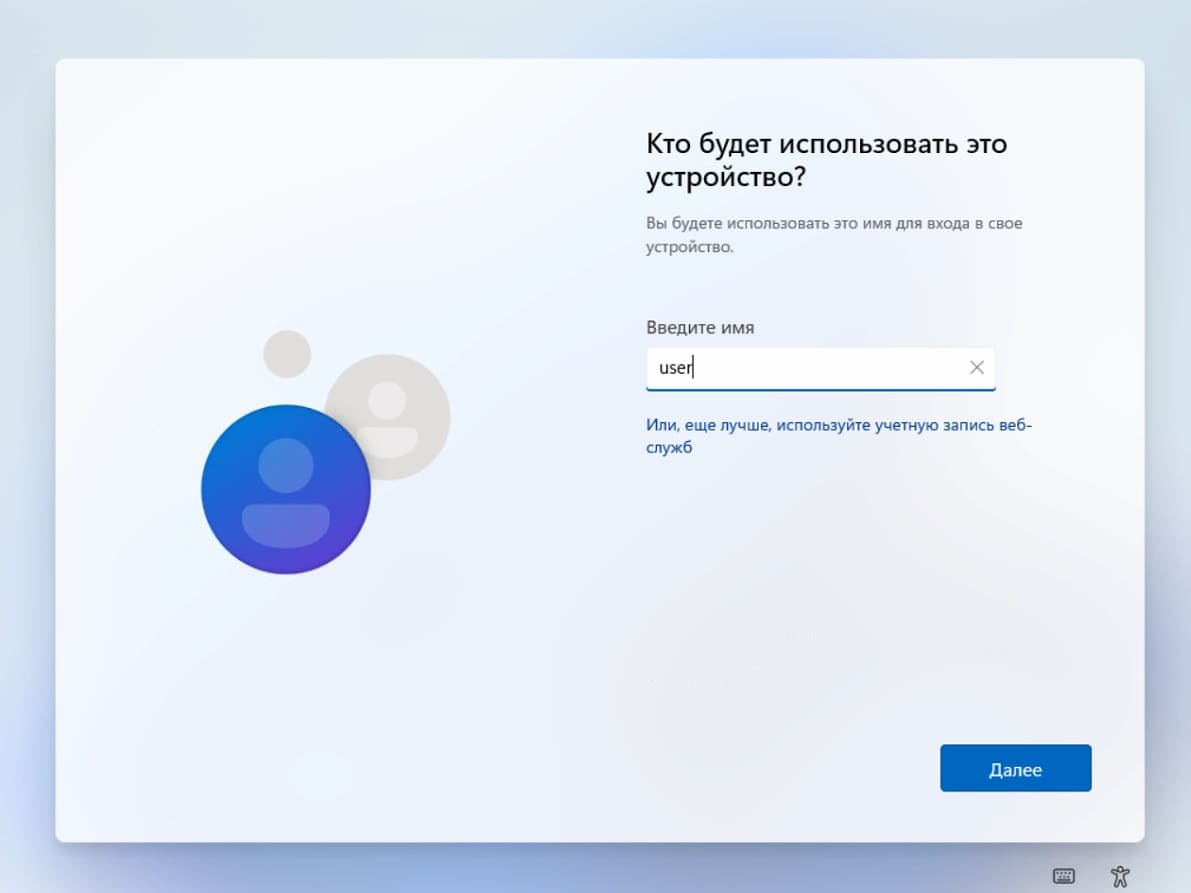
— Выбираем пункт: «Вместо этого присоединитесь к домену».

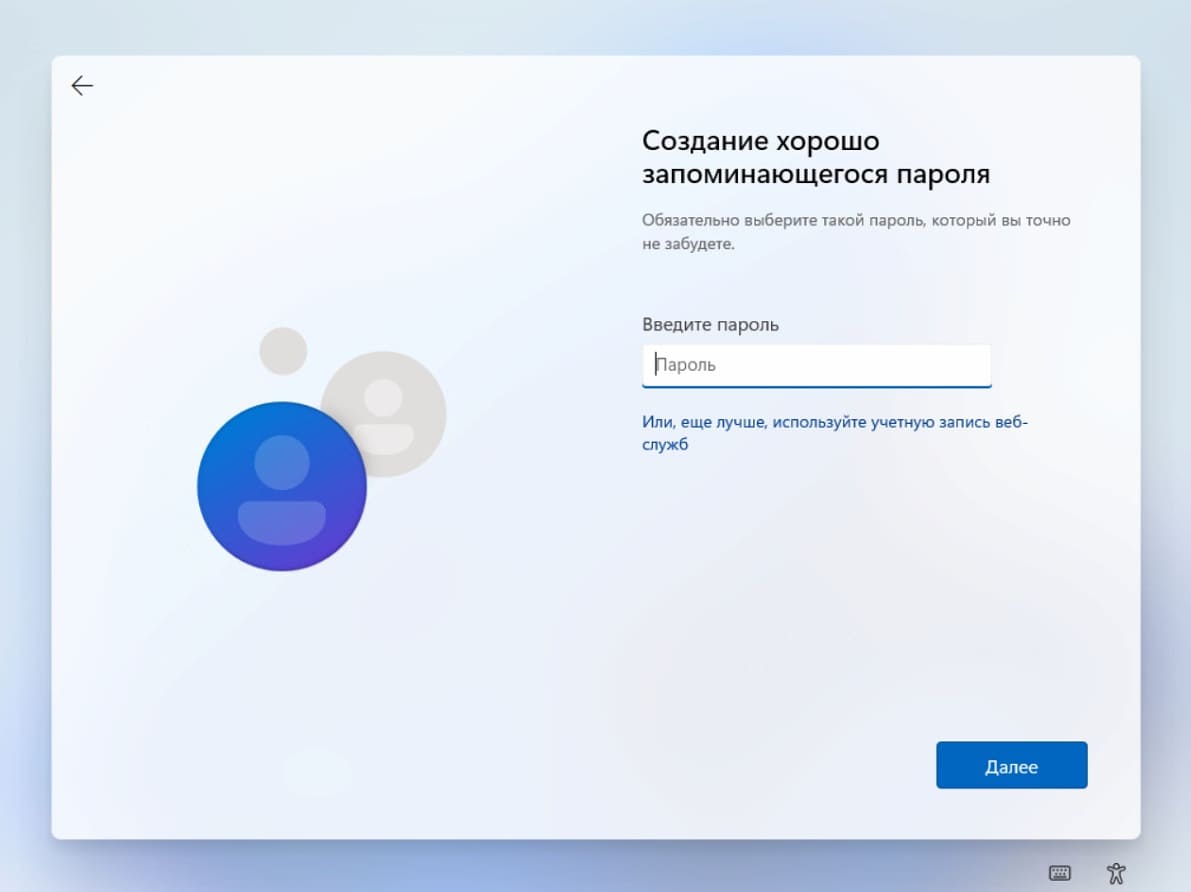
— Далее задаем имя устройству и пароль.
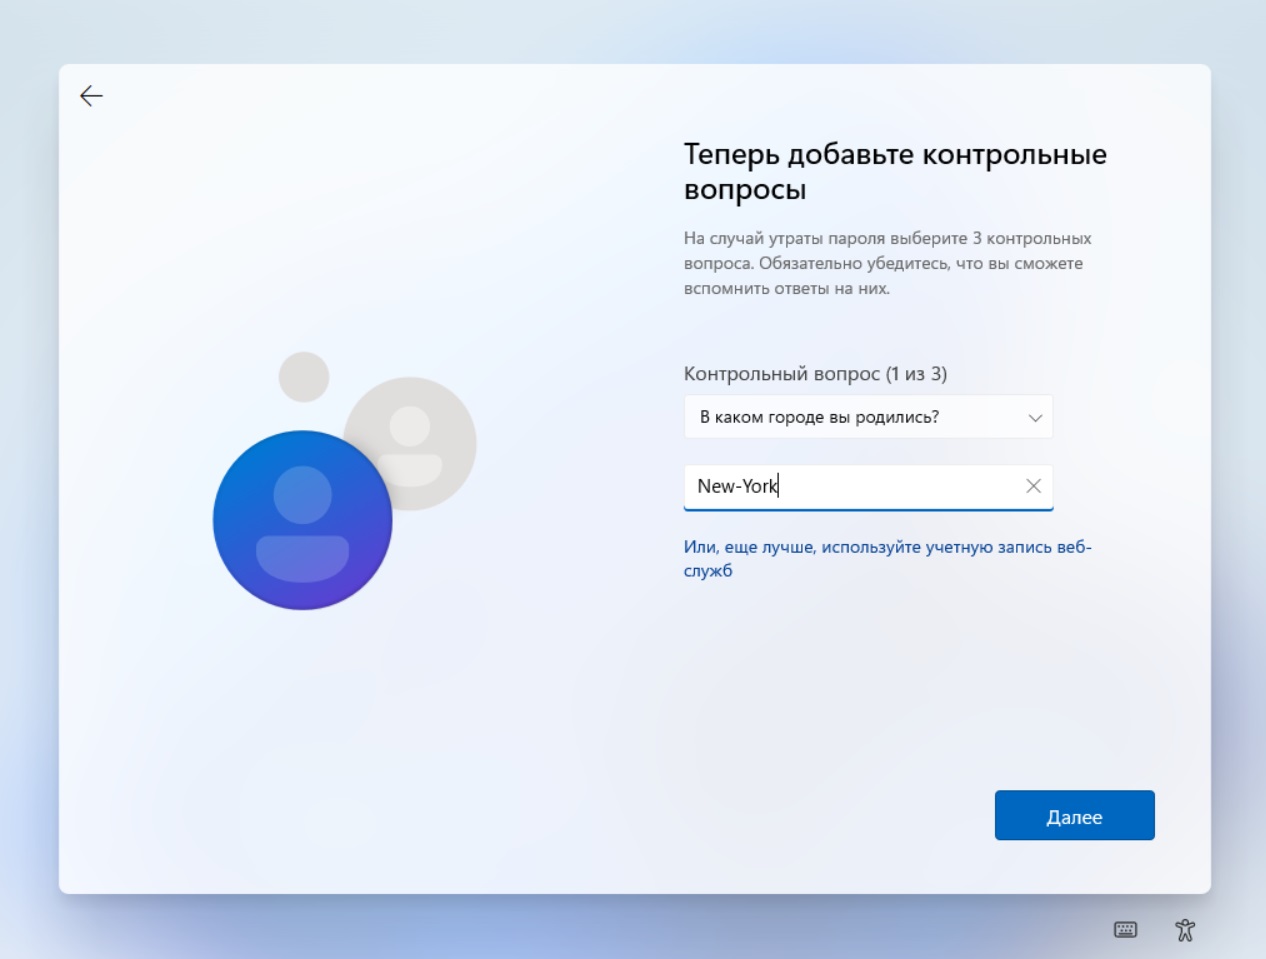
— Теперь необходимо задать 3 контрольных вопроса и ответа к ним для восстановления учетной записи в случае потери пароля.
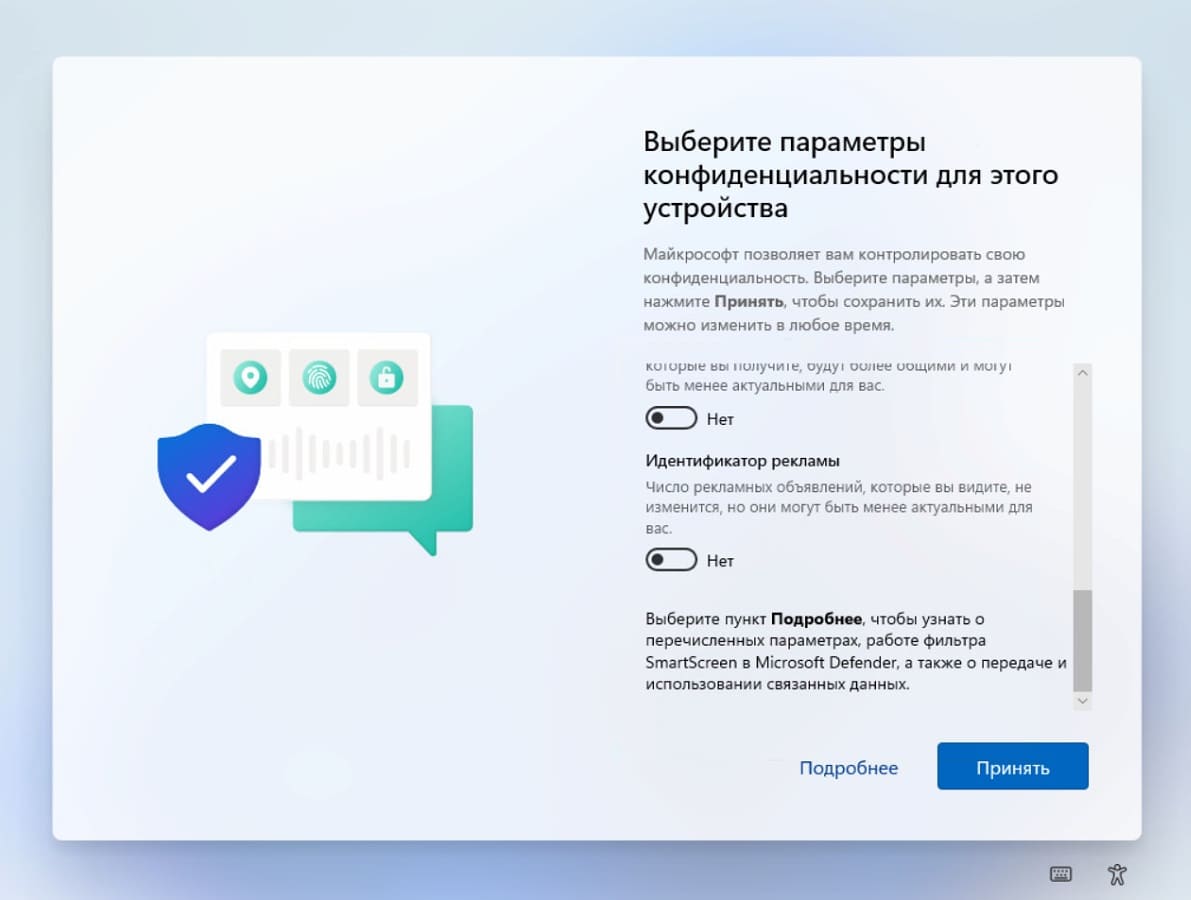
— По Вашему усмотрению задайте настройки конфиденциальности.

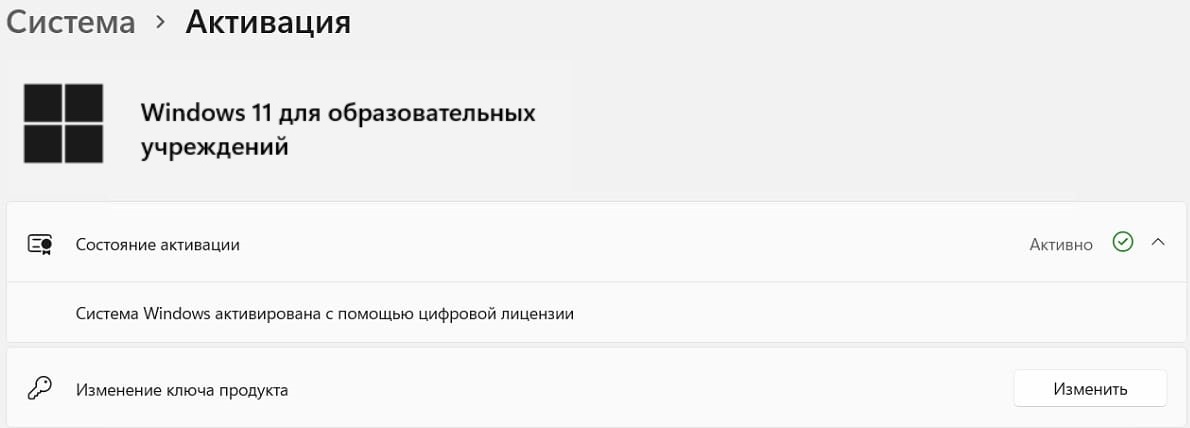
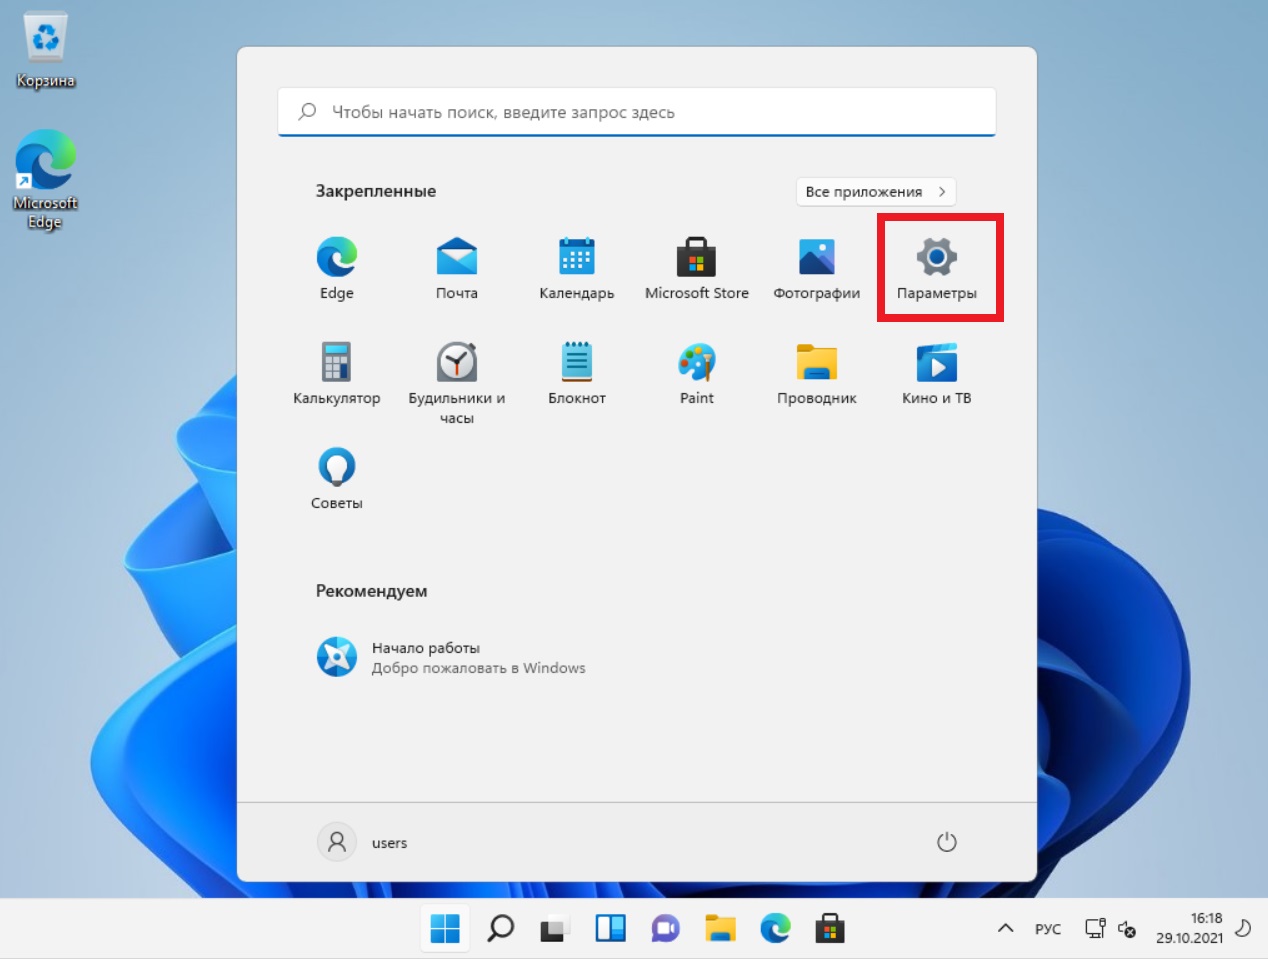
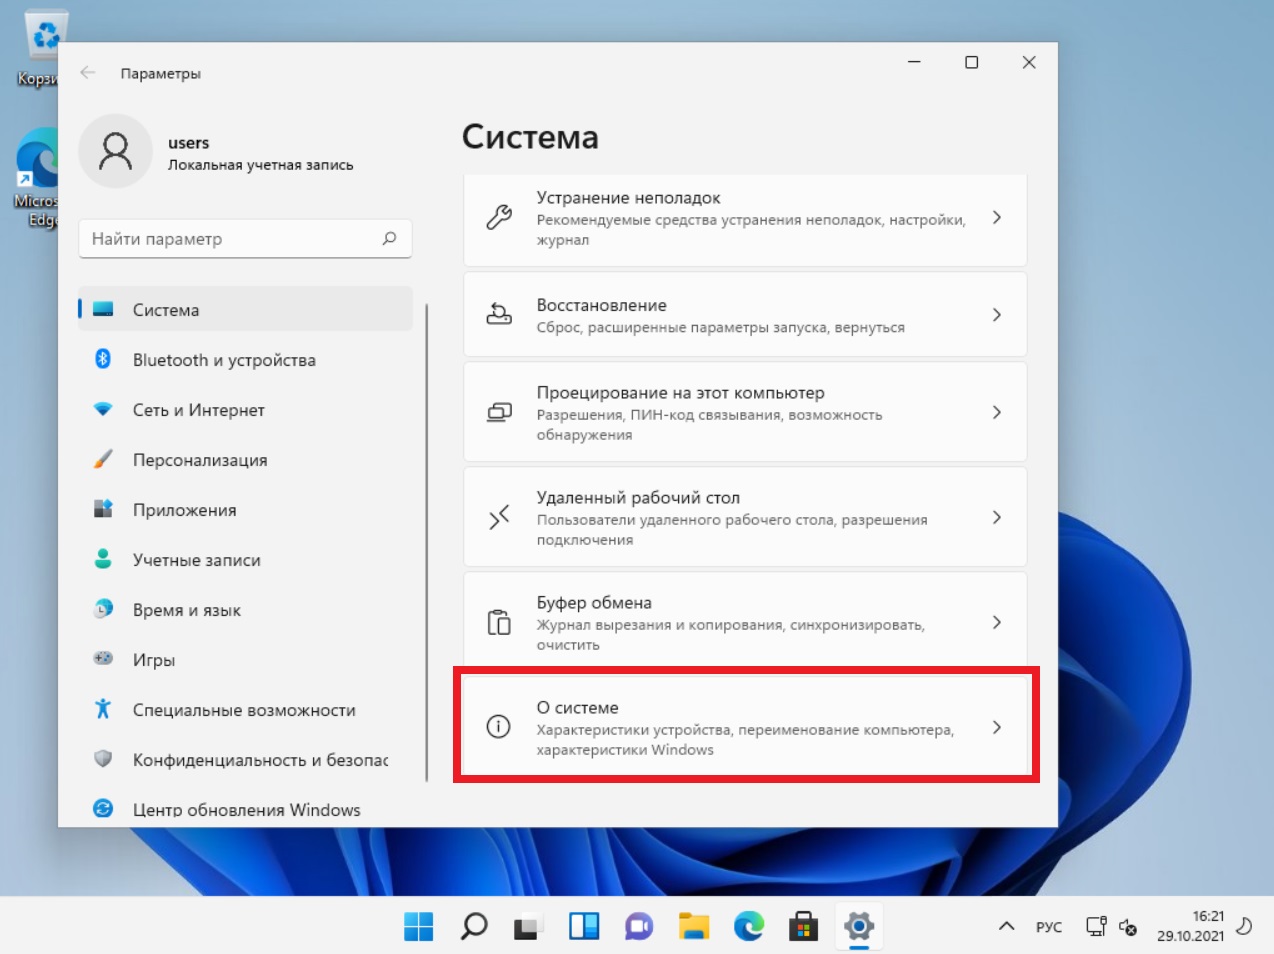
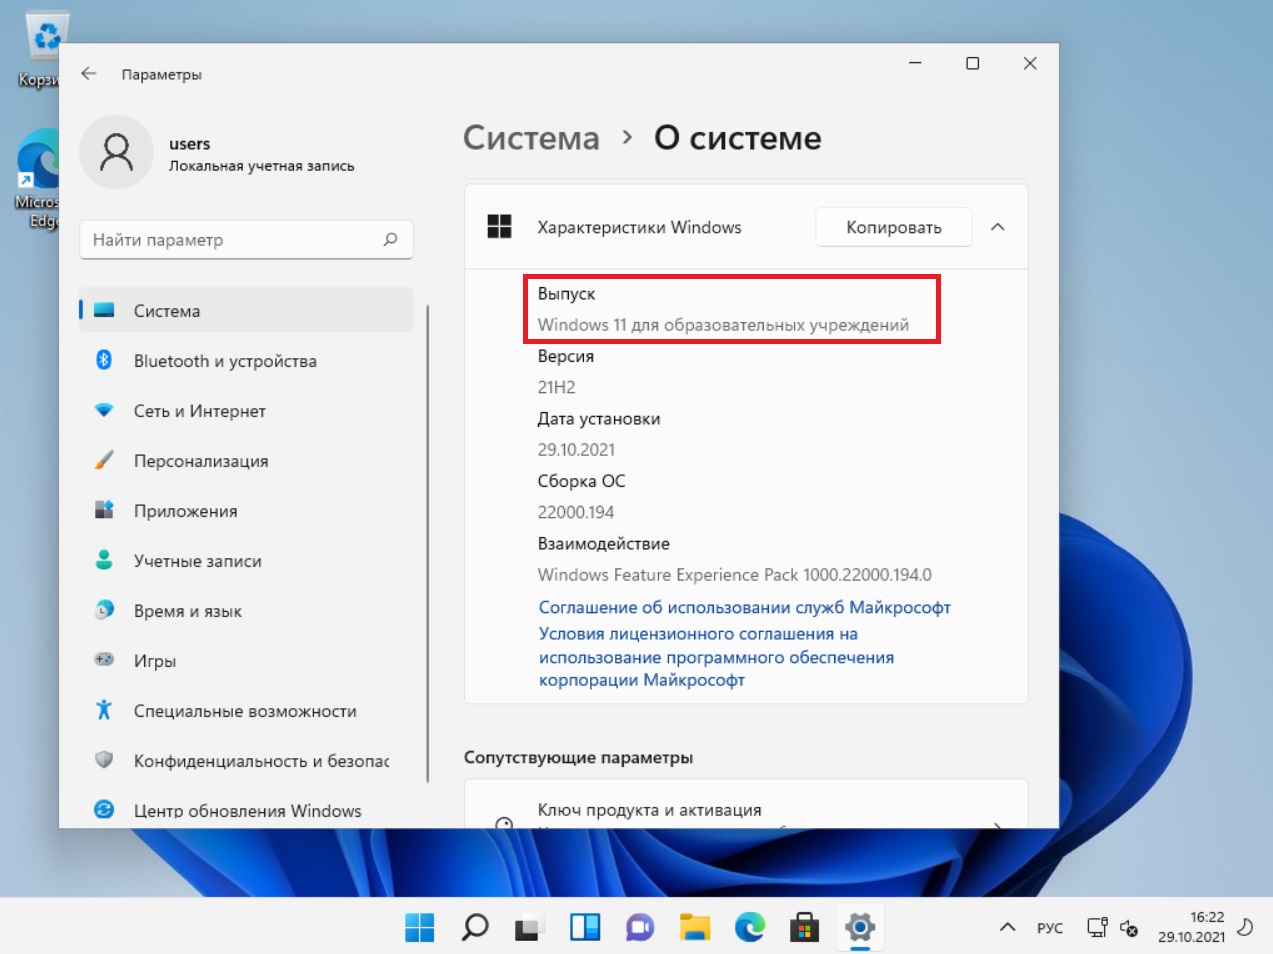
3) Готово! У нас загрузился рабочий стол. Для проверки версии системы, заходим в меню Пуск => Параметры => О системе => Видим, что у нас установилась корректная версия Windows 11 для образовательных учреждений.
4) Теперь необходимо активировать данную систему для ее корректной работы. Для этого у Вас должен быть в наличие ключ активации Windows 11 Education (Для образовательных учреждений). Если у Вас нет данного ключа, приобрести оригинальный ключ активации для Windows 11 можете в нашем каталоге.
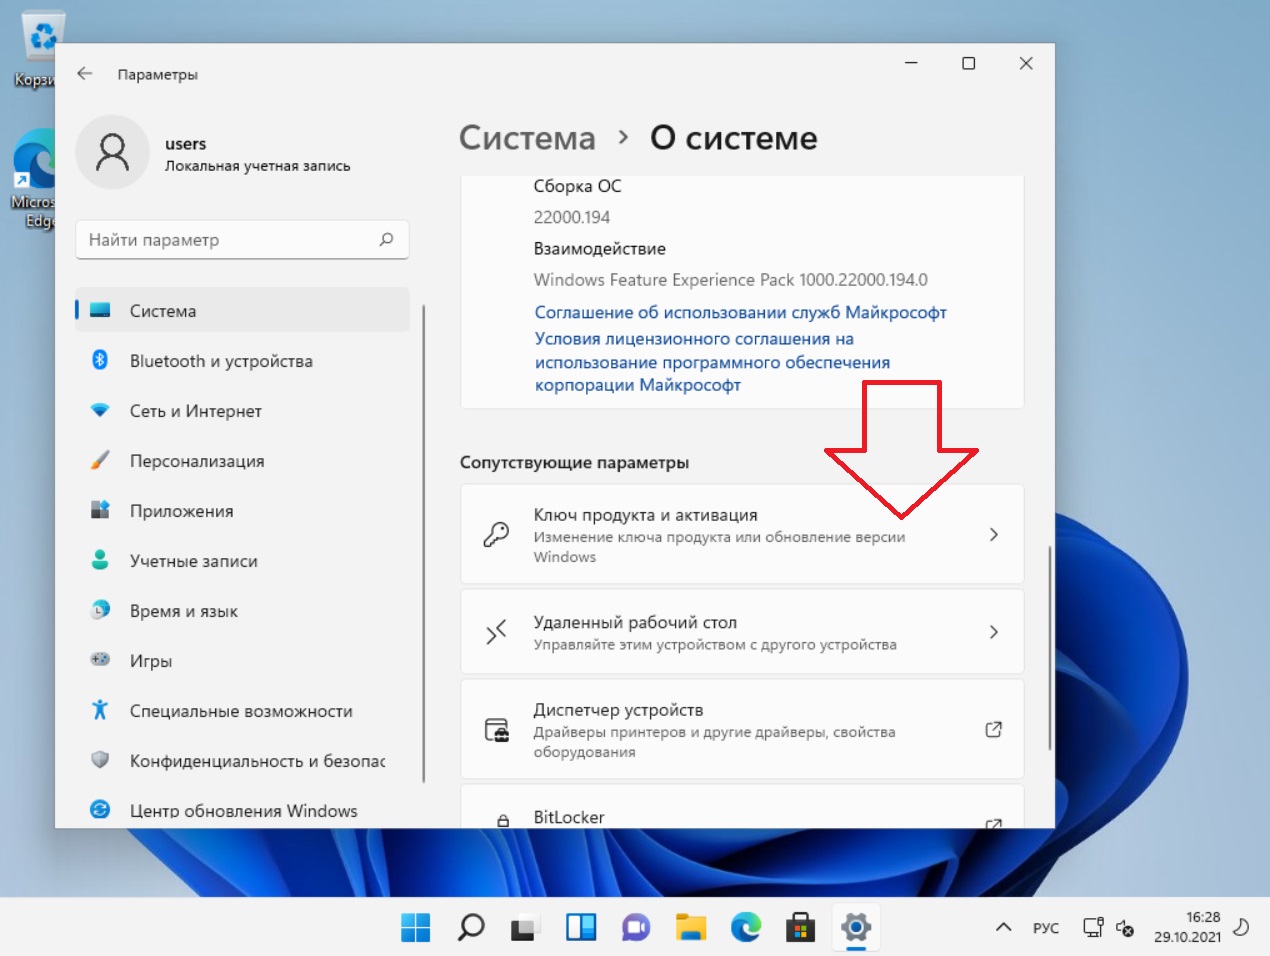
— Пролистываем меню «О системе» еще немного вниз и нажимаем на меню «Ключ продукта и активация».
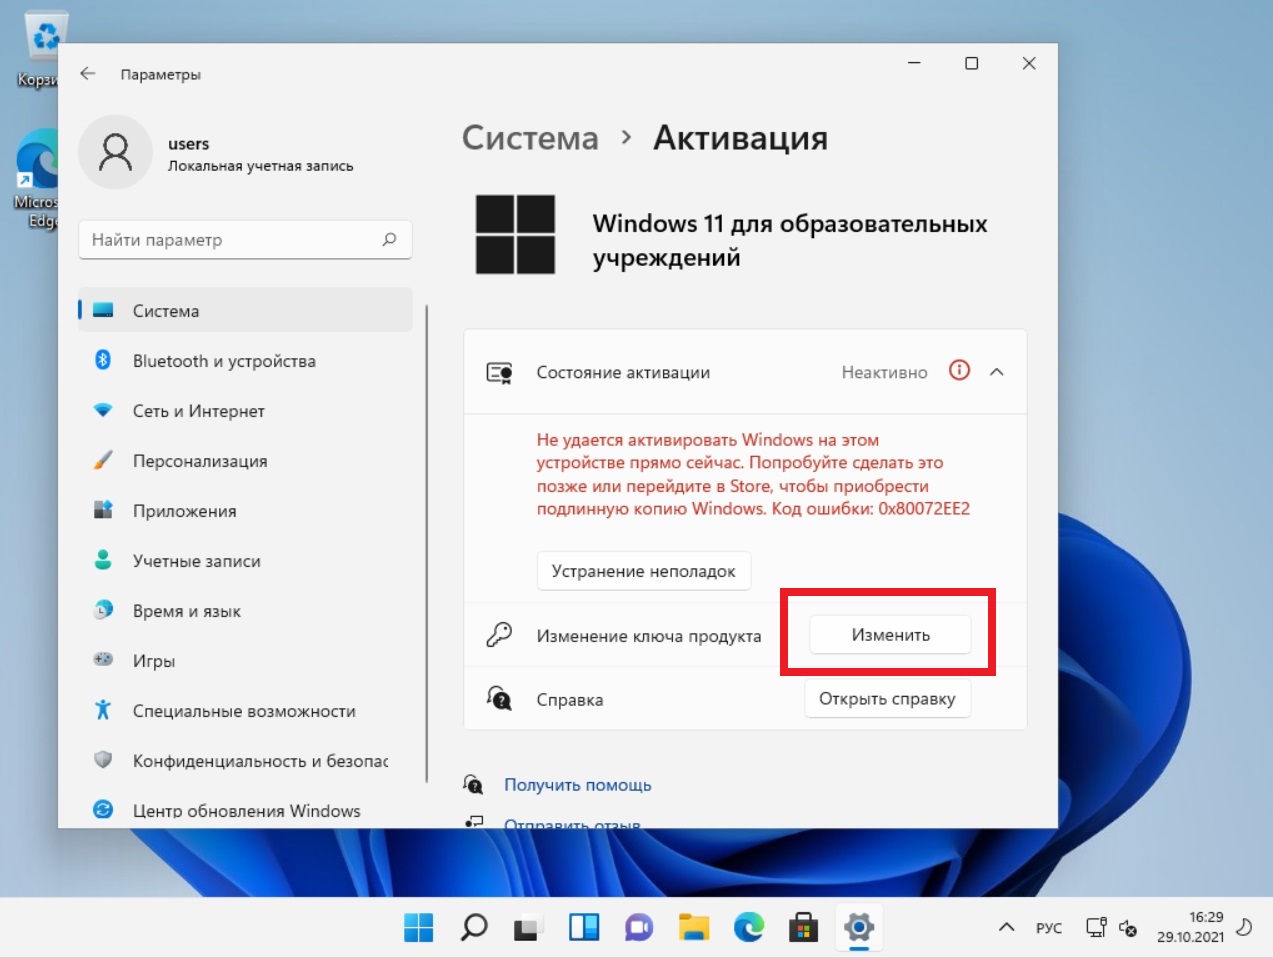
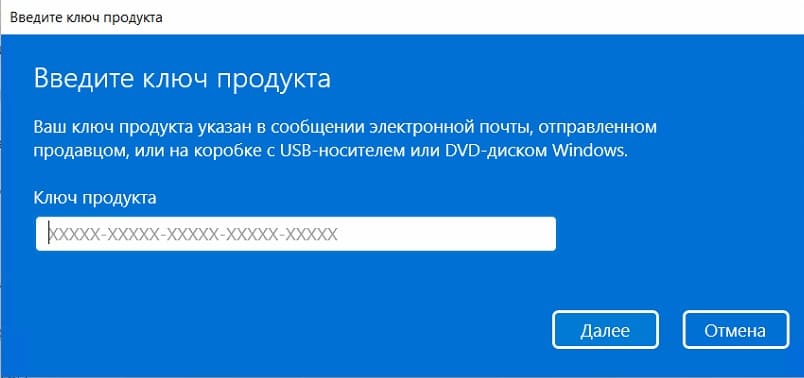
Нажимаем «Изменить» и вводить Ваш ключ продукта.

— Если ключ активировался успешно, то у Вас выйдет следующее сообщение.
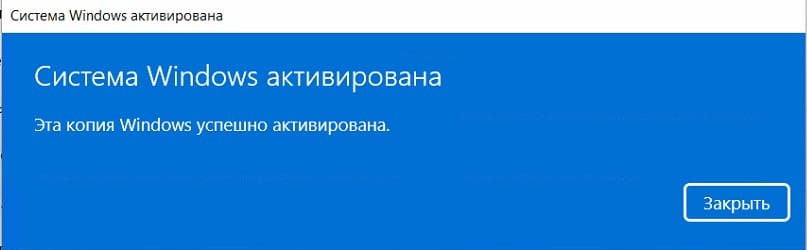
— Видим, что система активирована с помощью цифровой лицензии.