In this article, we will look at the process of installing Windows Server 2016 from scratch, from beginning to end, and we will briefly touch on the initial preparation for configuring Windows Server 2016. The actual configuration after the installation of Windows Server 2016 will be covered in the next article.
1) The first thing you need to do is download the installer. You can download it from our website via this link. The installer includes two editions, Standard and Datacenter, in both Russian and English. During installation, you will be able to choose which one you need.
2) The second step is to write the installer to a USB flash drive, making it bootable. This is necessary so that you can boot from the flash drive in the BIOS to install the system. A detailed guide on how to write the installer to a USB flash drive can be found at this link.
3) The next step is to boot from the bootable flash drive in the BIOS. If you don’t know how to do this, you can also refer to the instructions in our blog on this page.
4) Now, we have booted from the flash drive and are ready to start installing Windows Server 2016.
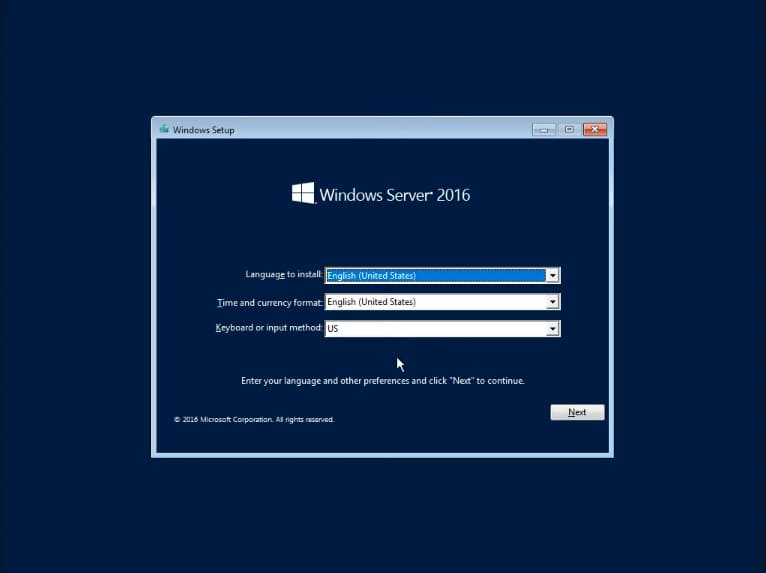
Select the desired language of the installer.
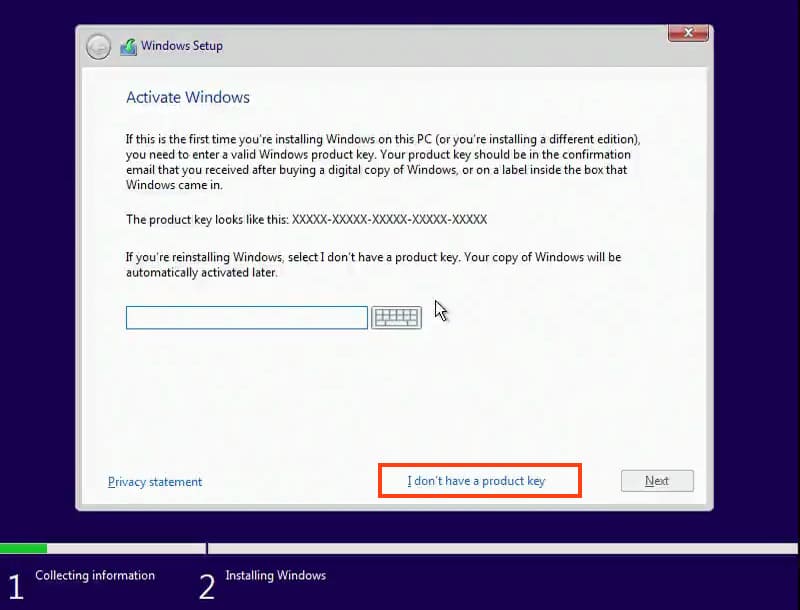
At the next stage, you will be asked for the product key for Windows Server 2016, which we will enter later, within the system itself. For now, select “I don’t have a product key.”
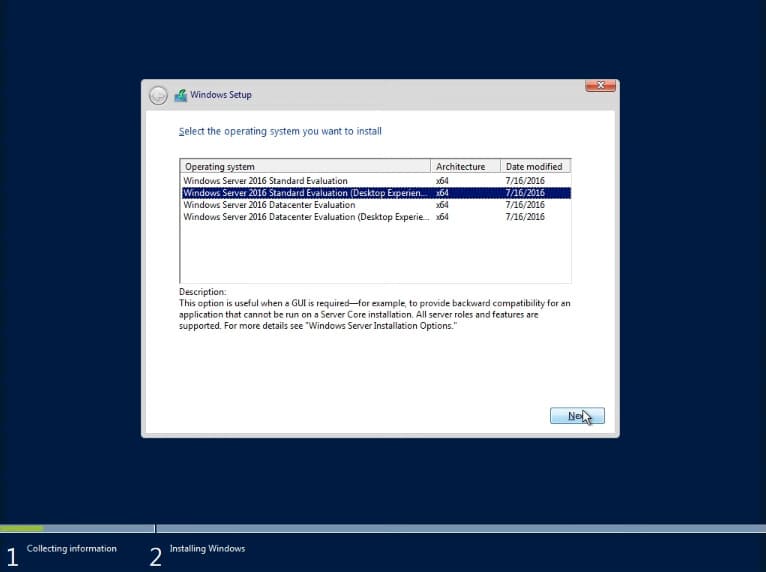
Next, you will be asked to select the version of the installer you want to install, Standard or Datacenter (in this example, we will install Standard, but the installation of Datacenter is the same), and make sure to select “Desktop Experience”; otherwise, the system will install without a graphical interface, and Windows Server management will only be available from the console.
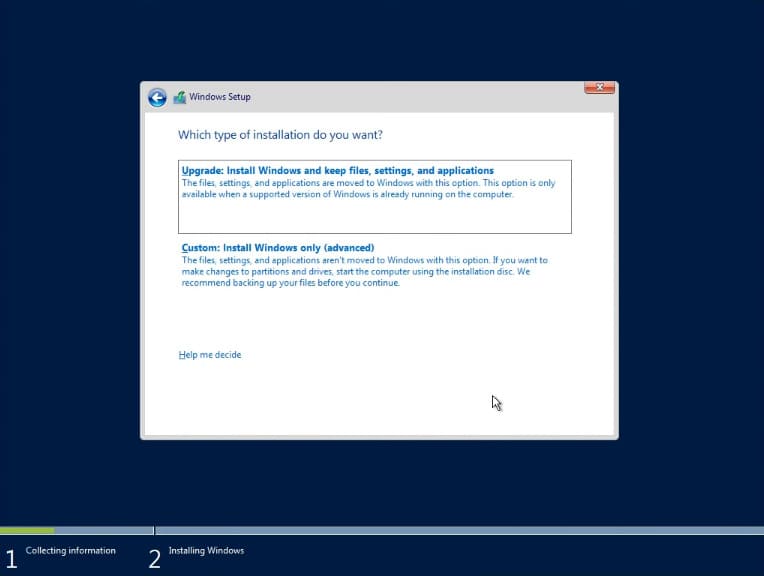
In the next step, select “Custom installation” as we are installing the system from scratch.
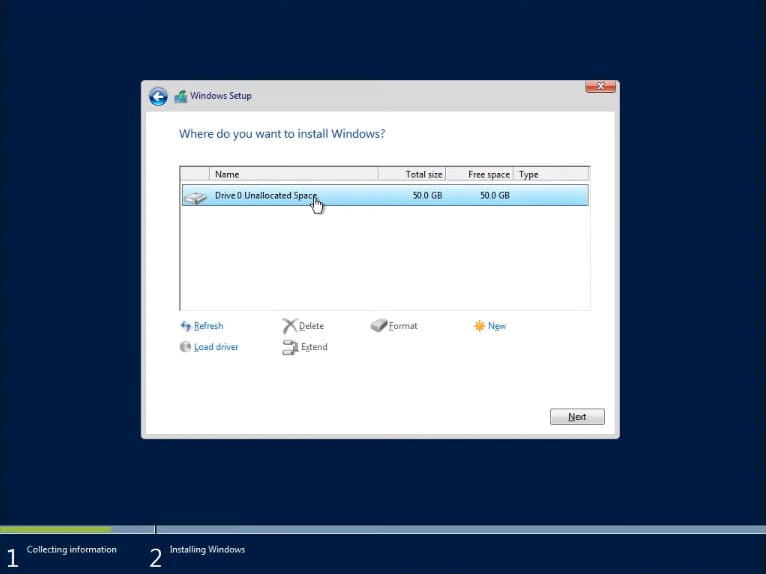
Next, you need to select the disk where you want to install the system. You may have several disks, such as an SSD for the system and an HDD for storing files or something else. In our example, there is only one disk.
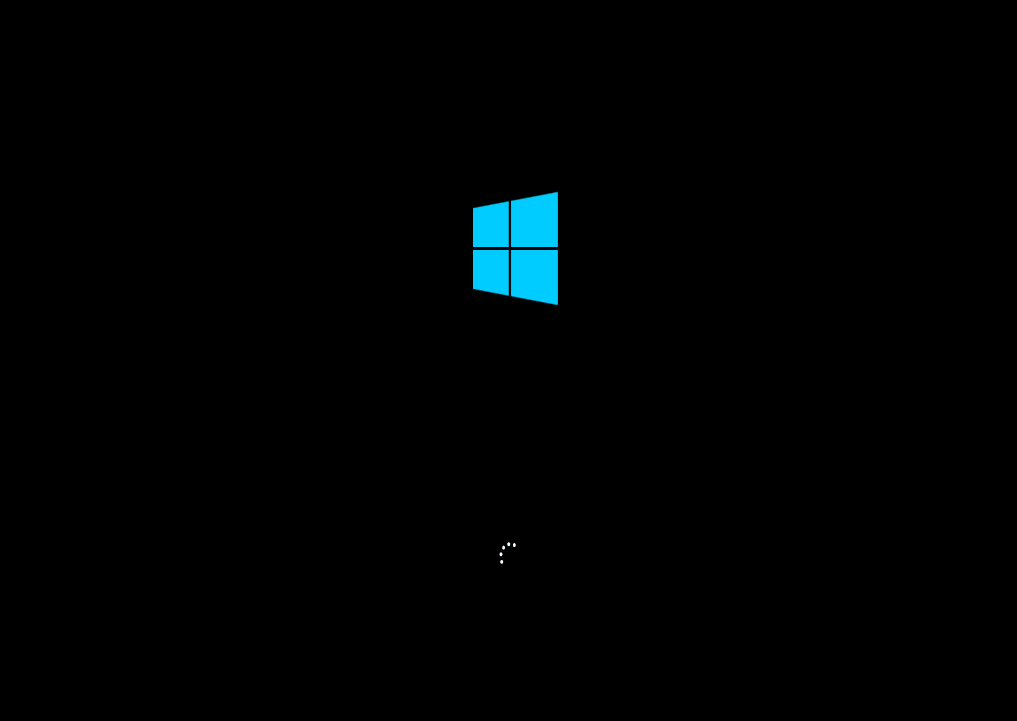
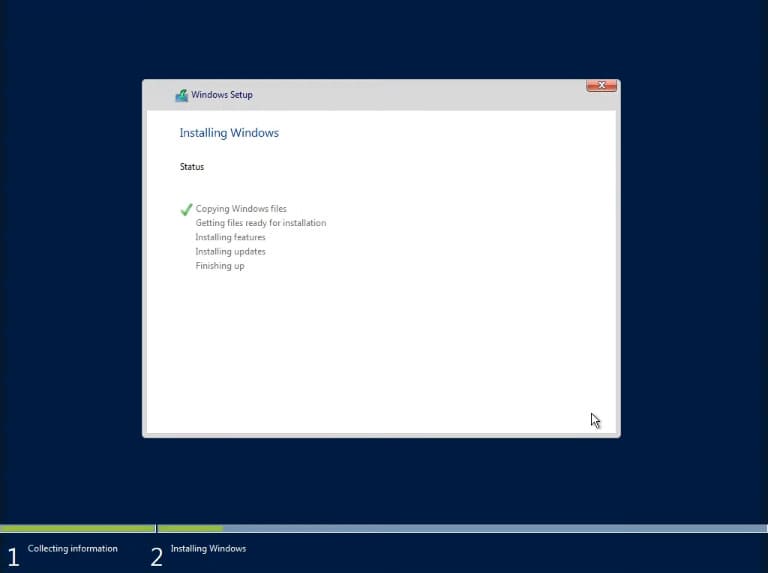
The installation of Windows Server 2016 will then begin.
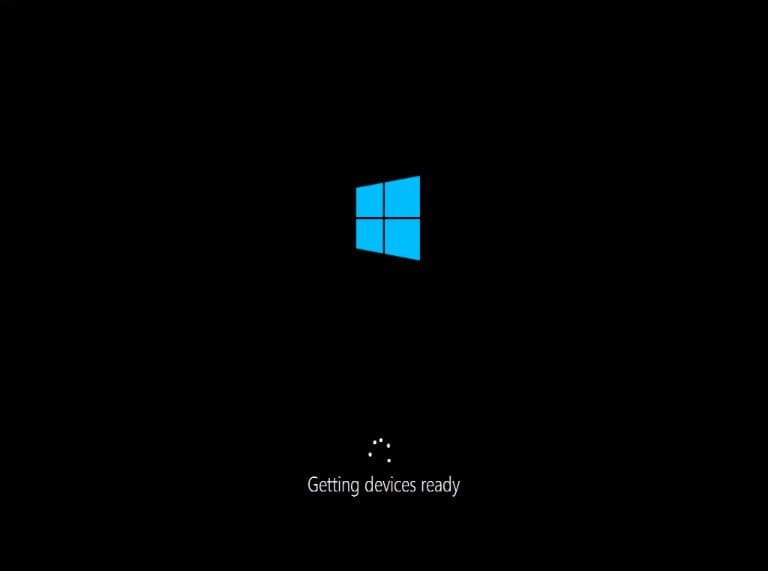
After the installation and updates, the computer may reboot several times.
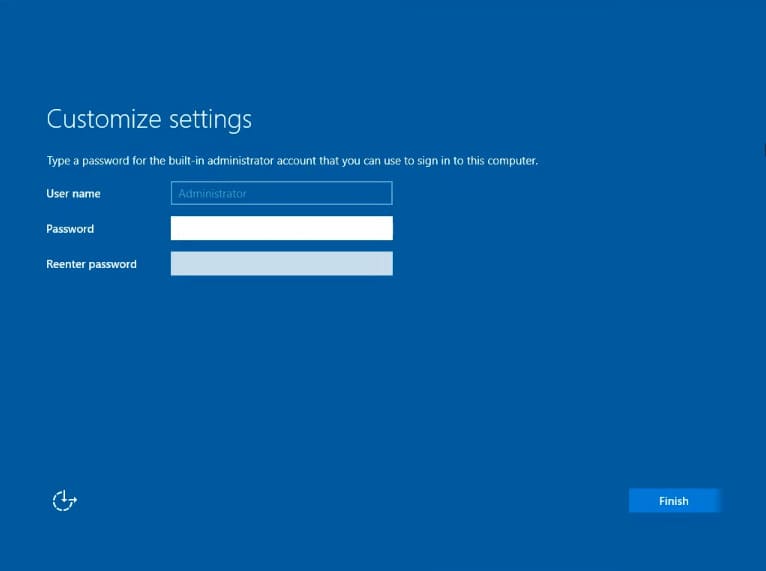
Next, you need to create an administrator password, which will be required to log in. Use Latin characters, and the password must contain at least one uppercase letter and one number.
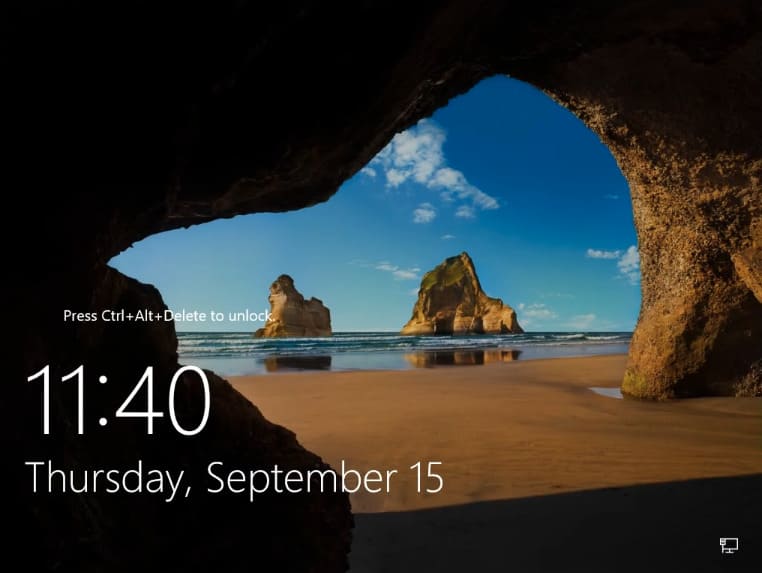
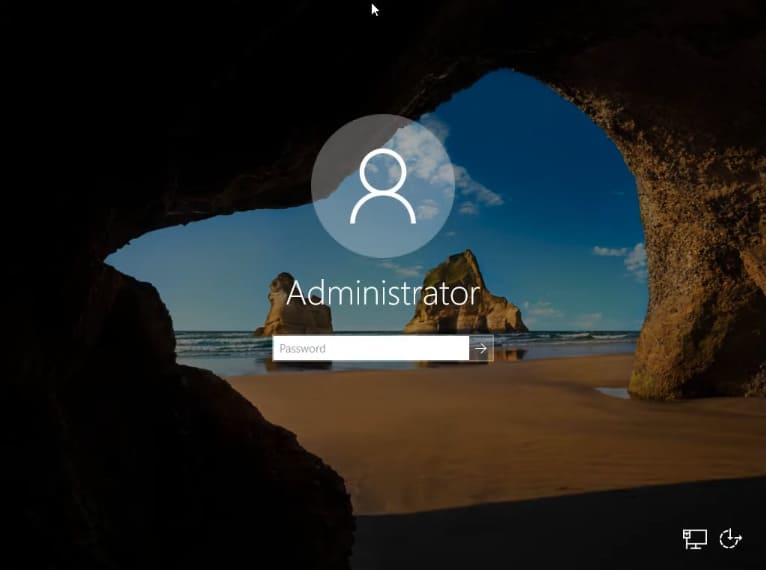
After setting the password, log in to the system.
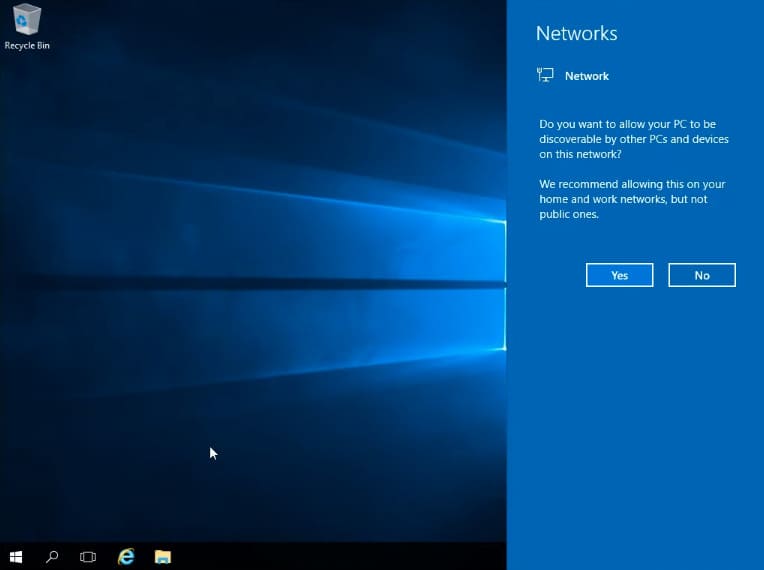
We have now reached the Windows Server 2016 desktop. Click “Yes” if you have a wired connection to get internet access.
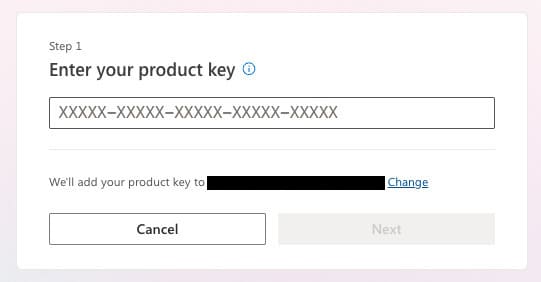
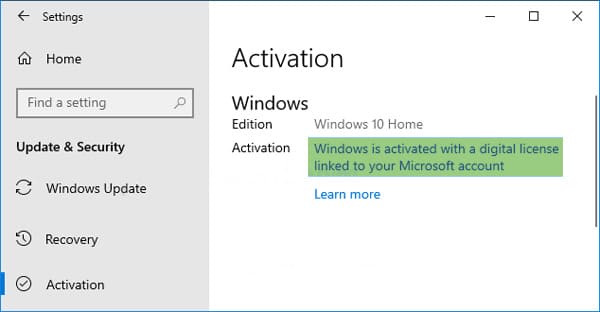
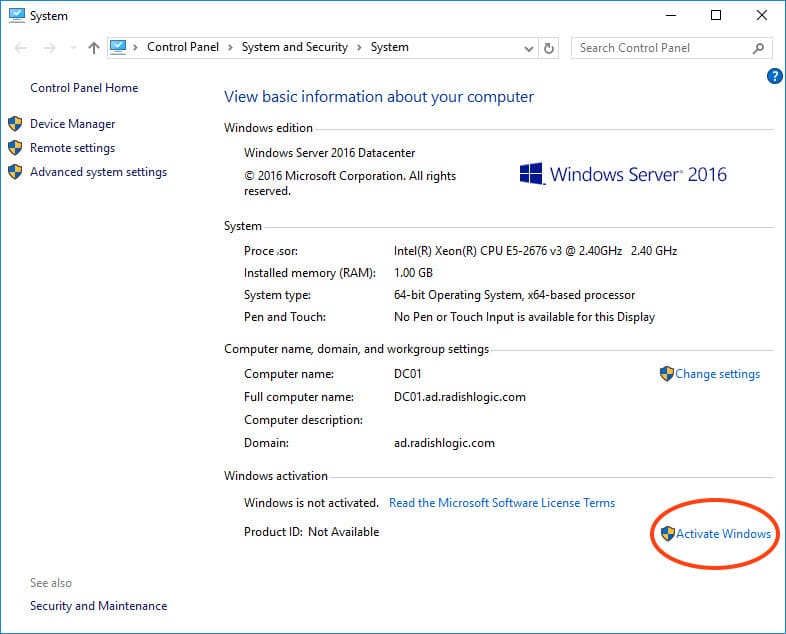
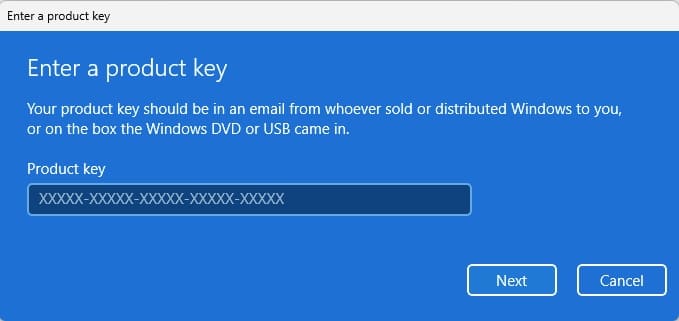
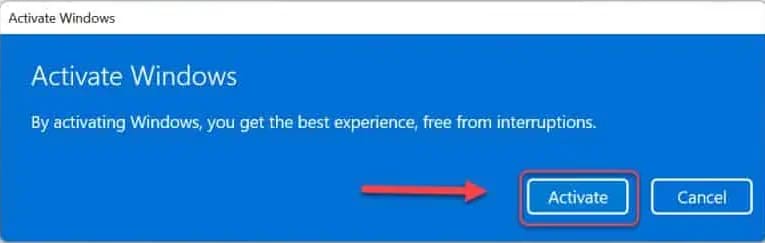
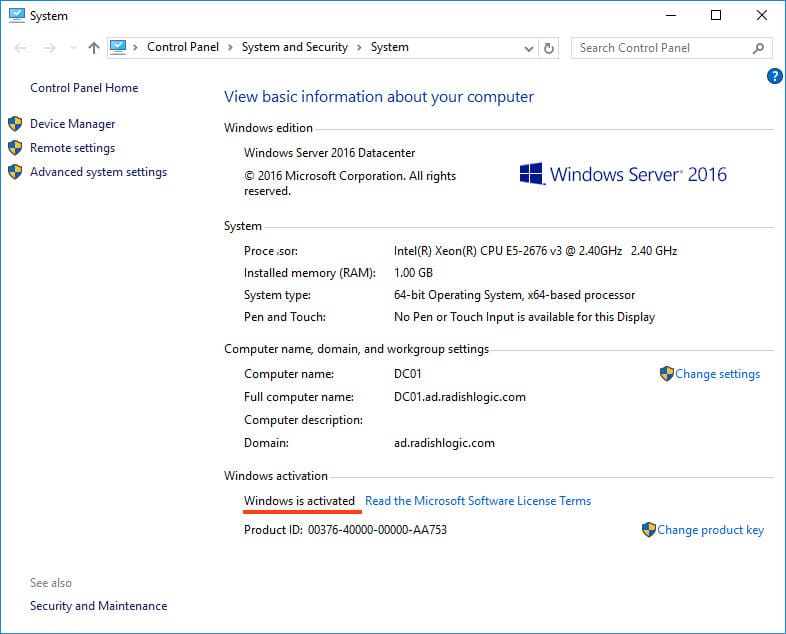
5) Let’s start with the initial setup without delving into the complexities of server system configuration. First, activate the system. Go to computer properties => Windows activation. There, you will need to enter the product key. You can purchase it from our online store at a low price. The key is delivered quickly to your email within an hour, so system setup won’t keep you waiting. You can purchase a product key for Windows Server 2016 in our catalog on this page.

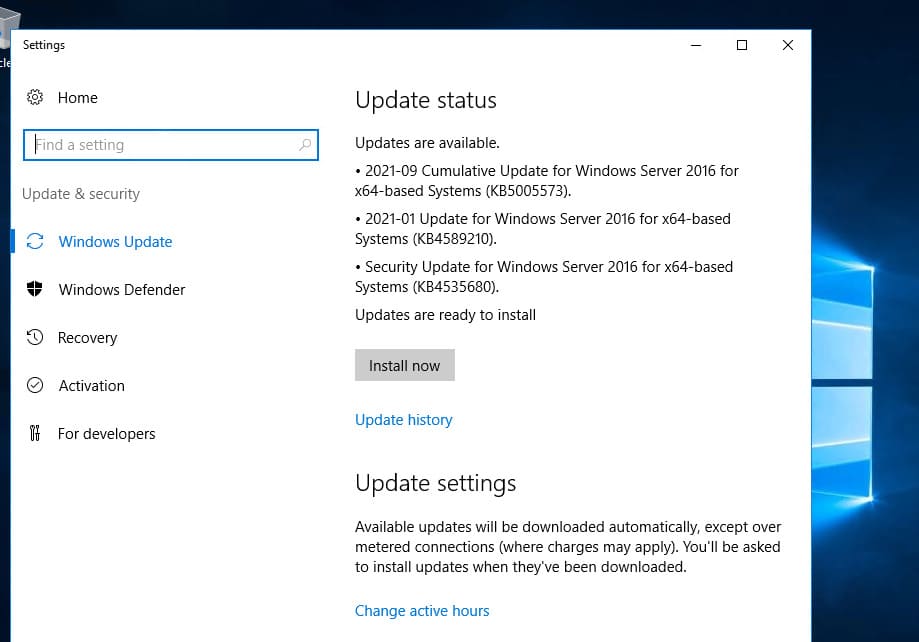
6) Next, update the system to ensure that you have all the latest updates and security patches, which are particularly important for Windows Server.
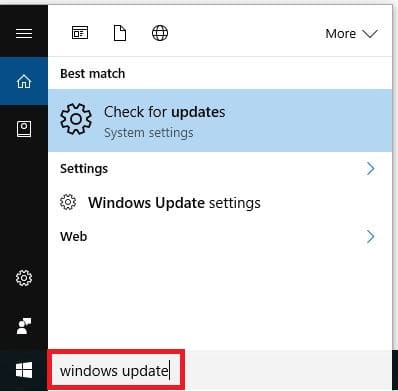
In the search, type “Updates” and go to “Windows Update settings.” Check for updates, download, and install them. After installing all update packages, restart the system.