


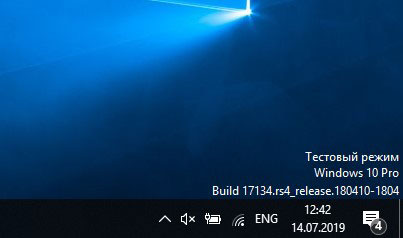
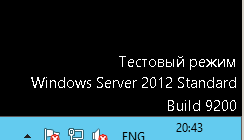
Тестовый режим в Windows — это режим, позволяющий установить драйверы без цифровой подписи, обычно это требуется для работы различного специфического оборудования. Данный режим может работать как на обычных версиях Windows, так и на серверных Windows Server. Бывает, что в правом нижем углу появляется надпись «Тестовый режим», или «Test mode», рассмотрим как эту надпись можно убрать, или наоборот включить, если Вам нужен тестовый режим для установки драйверов без цифровой подписи.
Отключить тестовый режим: (Данная инструкция подходит для всех версий Windows и Windows Server)
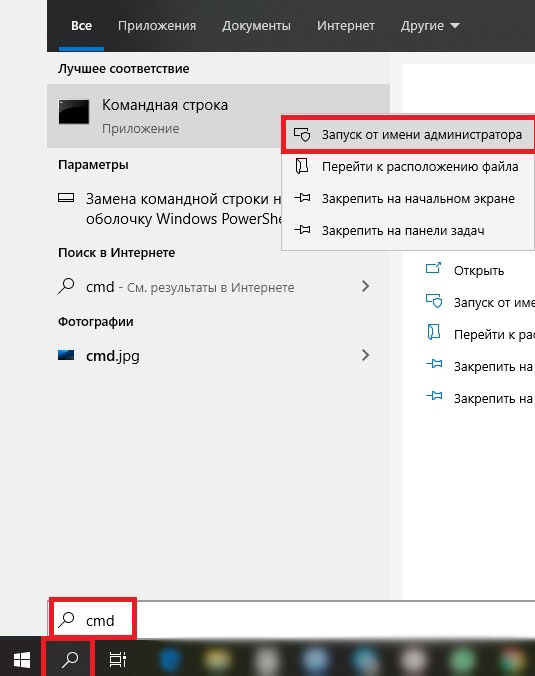
— Заходим в командную строну от имени администратора. Сделать это можно путем ввода в поиск cmd = > Запуск от имени администратора
— Вводим в окне консоли: bcdedit.exe -set TESTSIGNING OFF
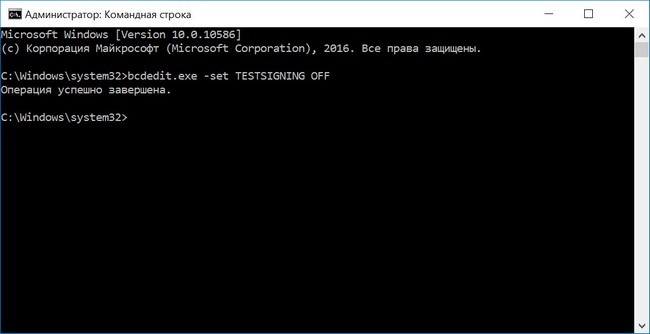
— Нажимаем Enter и перезагружаемся. После перезагрузки надпись «Тестовый режим» должен отключиться.
Если же, по каким-то причинам этот способ не помог, то делаем следующее:
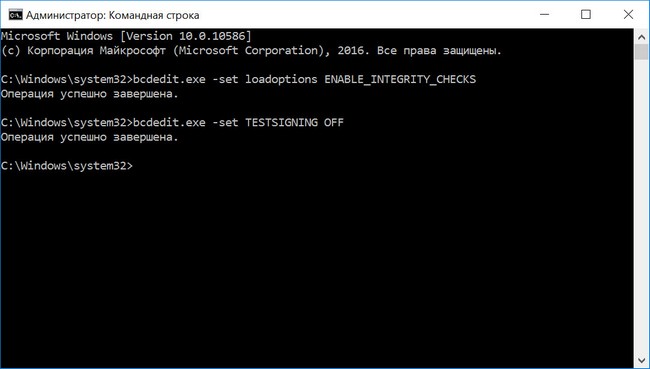
— Так же заходим к командную строку от имени администратора и вводит по очереди следующие команды. (после каждой строки нажимаем Enter)
— bcdedit.exe -set loadoptions ENABLE_INTEGRITY_CHECKS
— Второй строкой вводим: bcdedit.exe -set TESTSIGNING OFF
Жмем Enter и перезагружаем ПК. Теперь надпись «Тестовый режим» точно должна уйти.
Включить тестовый режим:
Здесь все так же предельно просто. Открываем командную строку от имени администратора и вводим: bcdedit.exe -set TESTSIGNING ON
Перезагружаем ПК и тестовый режим будет включен.


