
В данной статье пошагово расскажем как настроить Windows 7 после установки, т.е рассмотрим какие начальные настройки, которые желательно, а местами даже необходимо совершить в Вашей только что установленной системе.
1. Активация
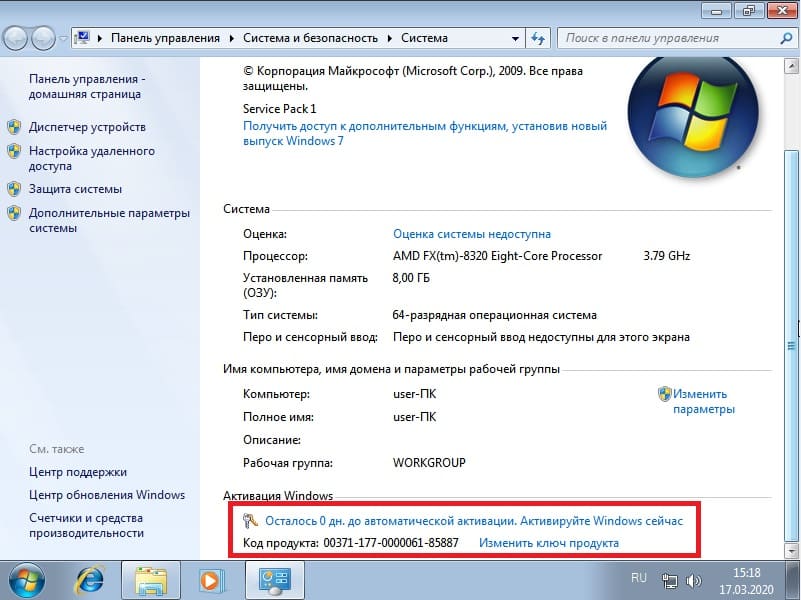
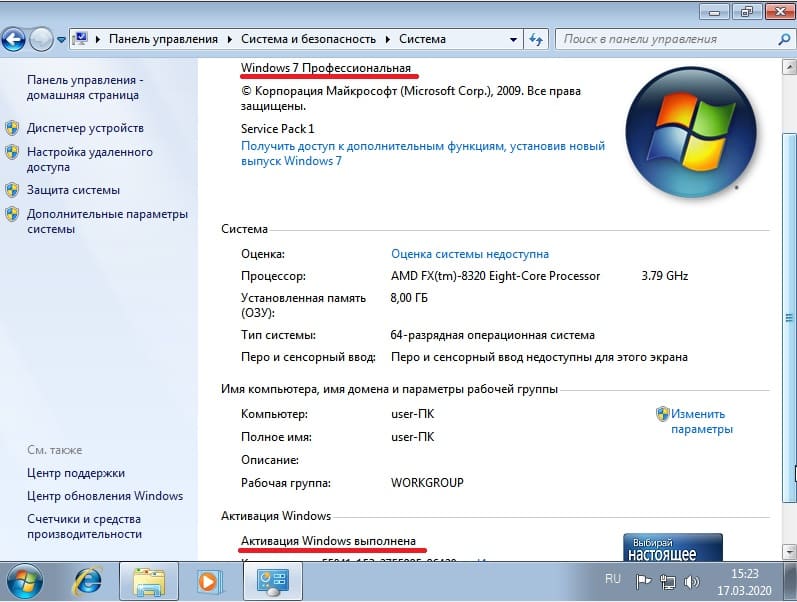
Первое, что мы рекомендуем делать — это активировать систему, т.к неактивированная система будет менять фон рабочего стола на черный фон, так же будет выходить окно с просьбой активировать систему, которое будет невозможно закрыть в течении 20 секунд. Помимо всего в некоторых версиях система будет перезагружаться каждый час.
Приобрести ключ активации по самым низким ценам от 1140 можете в нашем каталоге. Моментальная доставка ключа активации на Вашу электронную почту в автоматическом режиме.
Для активации нужно зайти в меню «Свойство системы» и нажать на «Изменить ключ продукта».
Далее выйдет окно активации Windows. Вводите в поле для ввода Ваш ключ.


После активации можете перезайти в меню «Свойство системы» и проверить на наличие проведенной активации, все должно пройти успешно.
2. Установка обновлений
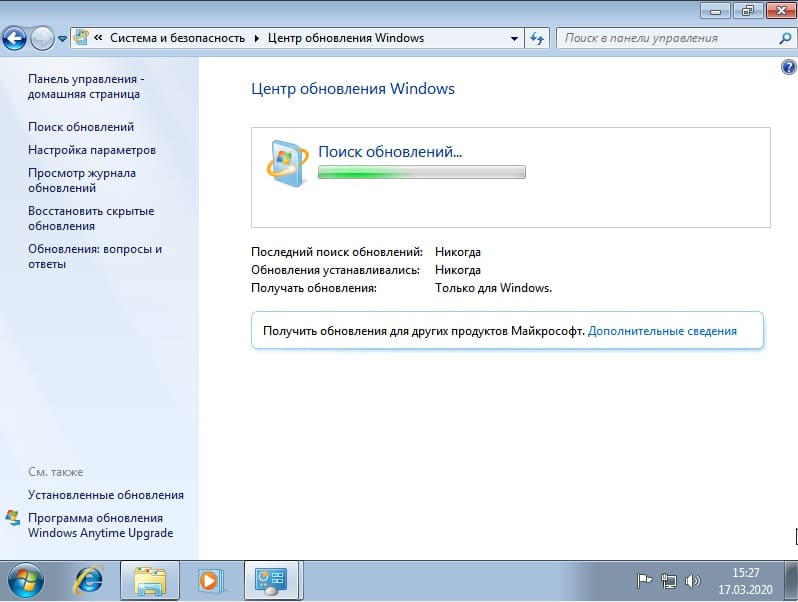
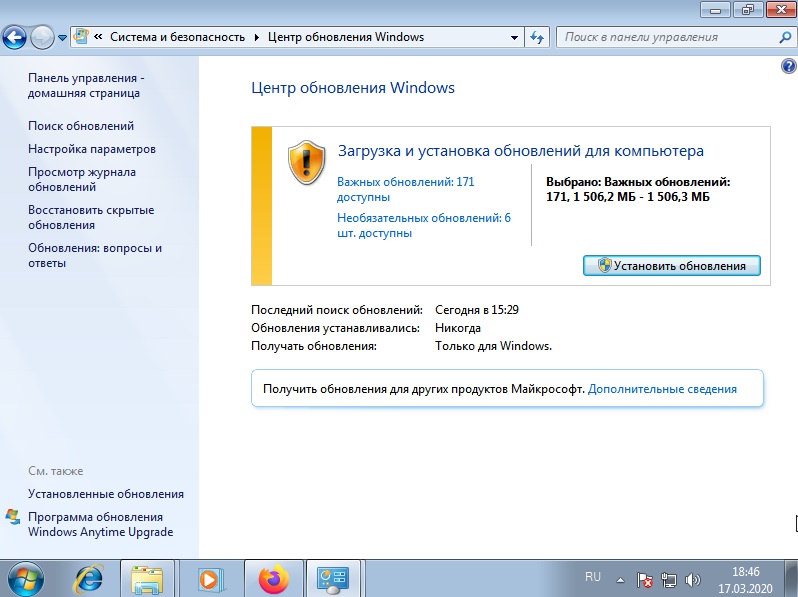
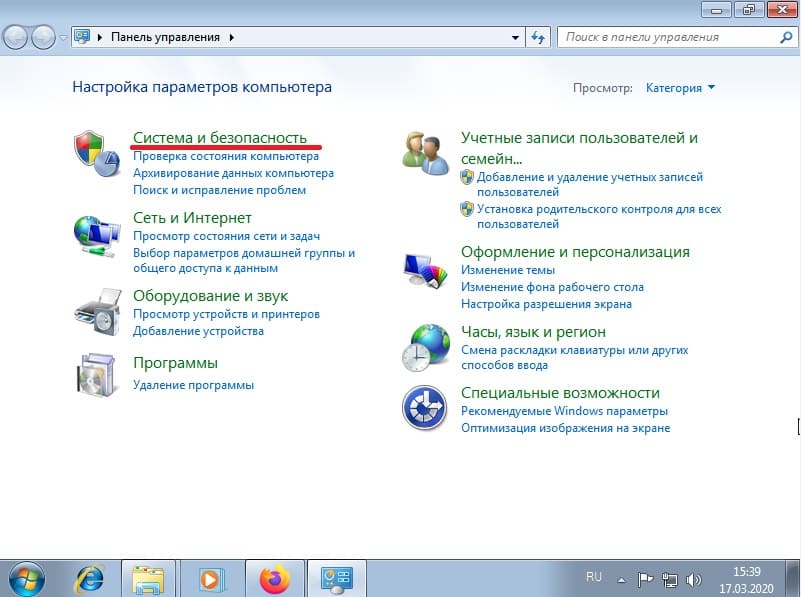
Теперь можете загрузить все актуальные обновления для Вашей Windows 7. Для этого можете зайти в меню «Пуск» => Панель управления => Система и безопасность => Центр обновления Windows.
Проверьте Вашу систему на наличие обновлений. После установите их.
3. Загрузка драйверов
В Windows 7 зачастую нужно загружать драйвера самим. Как правило помогает просто автоматический поиск драйверов, но иногда это не помогает и мы рекомендуем использовать сторонние приложения.
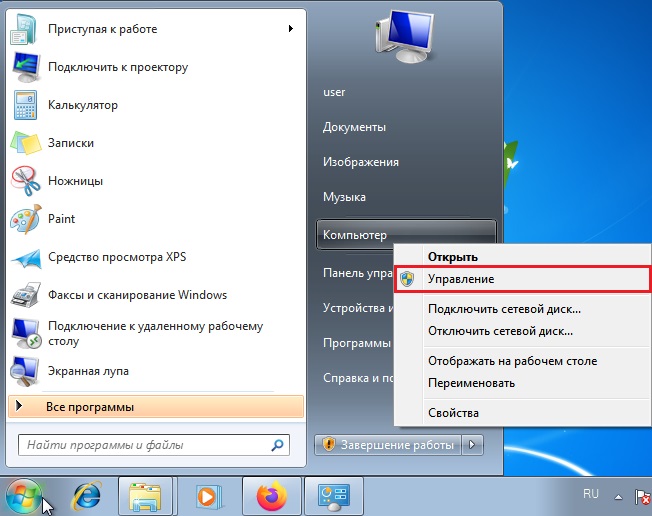
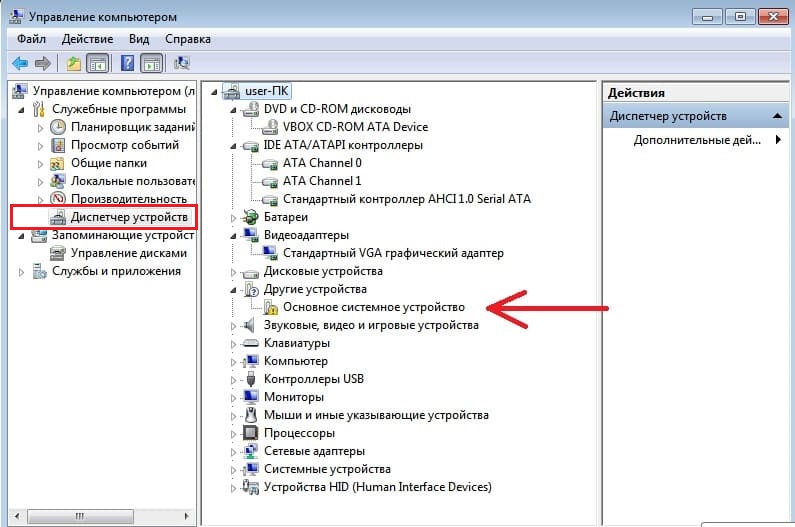
Для просмотра устройств без определенных драйверов нам нужно зайти в меню «Диспетчер устройств». Можно это сделать из меню «Пуск» => Правой кнопкой мыши на «Компьютер» => Управление => Диспетчер устройств.
Находите там неопределенные устройства. Можете нажать правой кнопкой мыши на устройство => Обновить драйверы => Автоматический поиск обновленных драйверов. После этого Windows сама попытается найти в интернете драйвер для Вашего устройства.
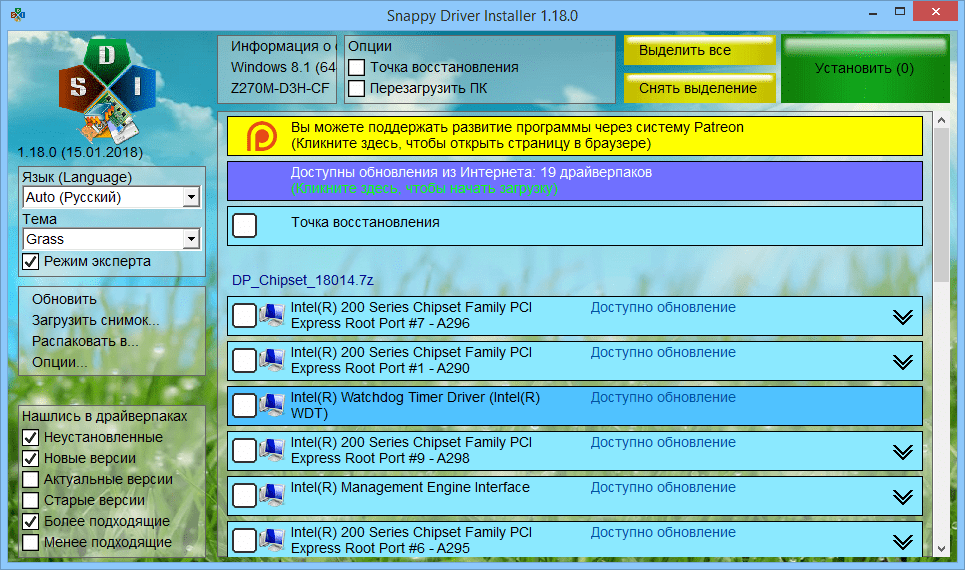
Если это не получится, т.е система ничего не найдет, то Вы можете использовать стороннее приложение для автоматического поиска драйверов Snappy driver installer. Приложение бесплатное, с помощью него Вы можете найти и установить все необходимые для Вас драйвера.
4. Настройка производительности
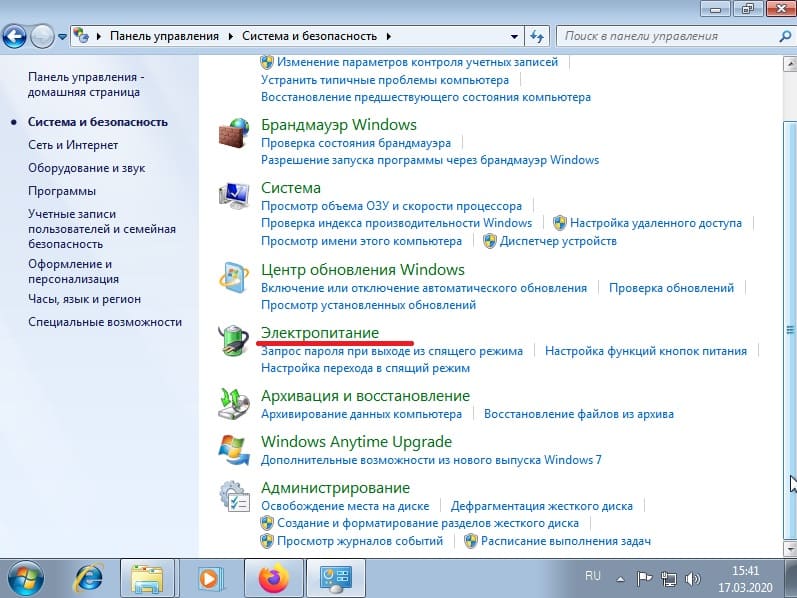
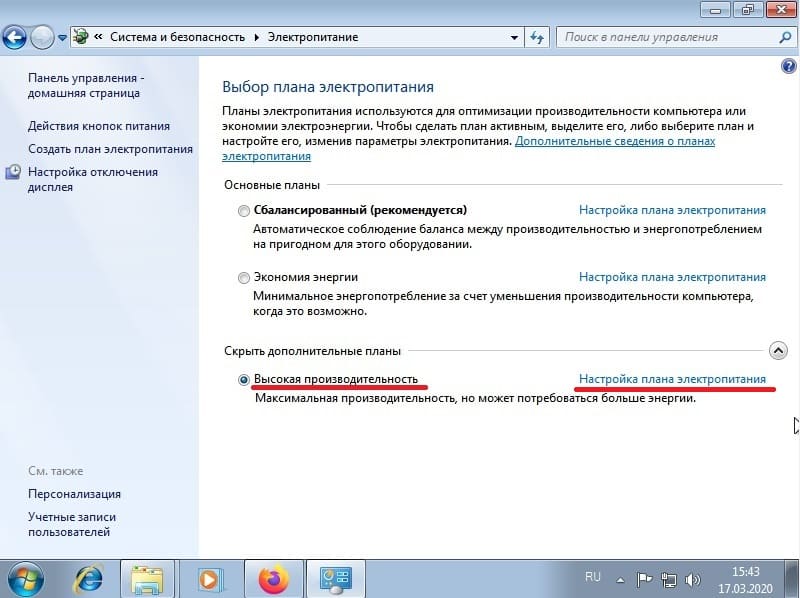
Чтобы добиться максимальной производительности Windows 7 — этот пункт для Вас. Внимание, настройки в этом пункте могут повлиять на время автономной работы Вашего ноутбука, для владельцев портативных компьютеров рекомендуем использовать сбалансированный вариант энергопотребления. Но если же Вы будете использовать Windows 7 на стационарном ПК, то нам нужно в этом случае зайти в меню «Энергопотребление. Сделать этом можно через меню «Пуск» => Панель управления => Система и безопасность => Энергопотребление.
Отмечаем чекбокс «Высокая производительность», далее переходим в настройки плана энергопотребления.
По желанию устанавливаем время отключения дисплея. После переходим в «дополнительные настройки».
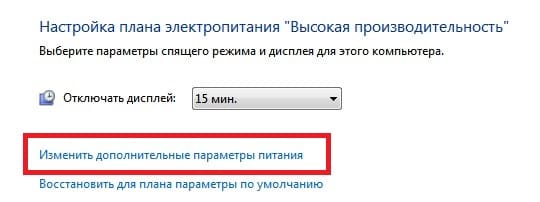
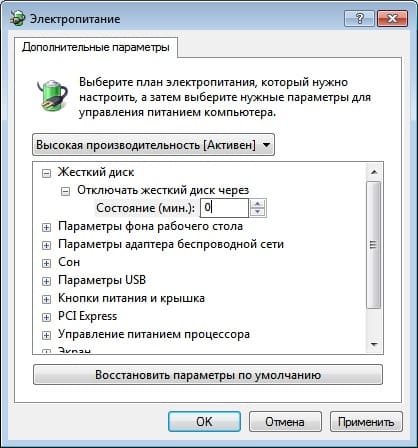
После переода к дополнительнымпараметрам электропитания можете выбрать следующие значения…
Жесткий диск:
— Отключать жесткий диск через: 0 мин (ноль минут – это значит никогда)
— Параметры адаптера беспроводной сети: максимальная производительность
Меню «Сон»:
— Сон после: 0 мин
— Разрешить гибридный спящий режим: Вкл
— Гибернация после: 0 мин
— Разрешить таймеры пробуждения: Включить
Параметры USB:
— Параметр временного отключения USB порта: Никогда
Управление питанием процессора:
— Минимальное состояние процессора: 100%
— Политика охлаждения системы: Активный
— Максимальное состояние процессора: 100%
Экран:
— Отключать экран через: 0 мин
Далее ок. Сохранить изменения.
5. Автозагрузка
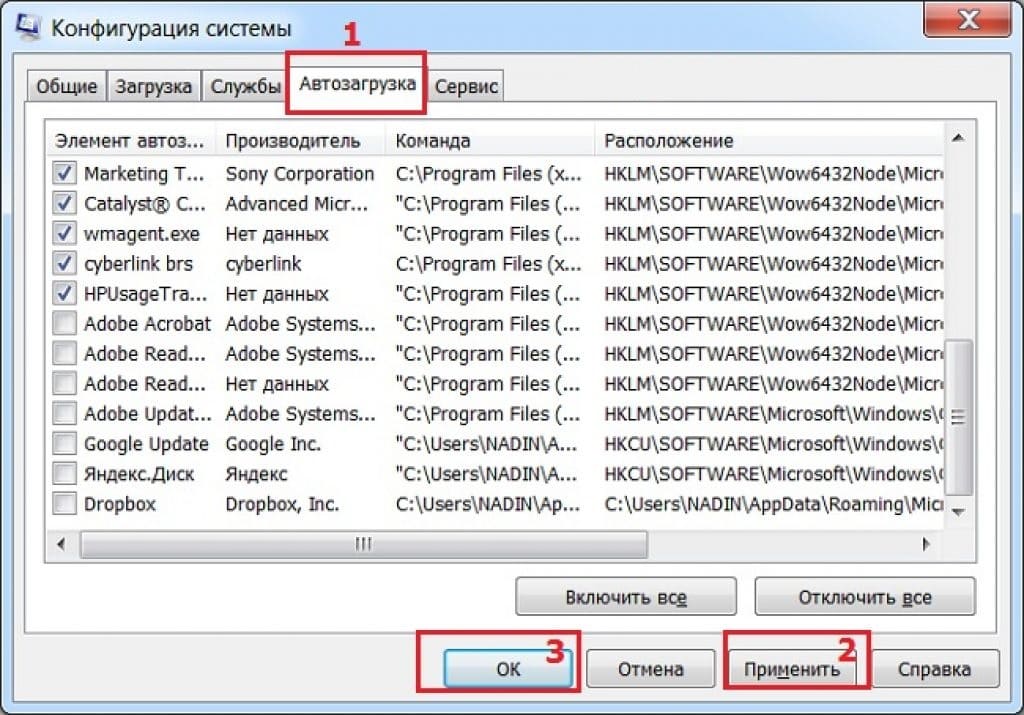
Данный пункт конечно не совсем подходит для чисто-установленной Windows 7, но все есть одно правило — «Чем меньше программ в автозагрузке, тем быстрее загружается Ваша система». Нажимаем горячие клавиши Win + R => Вводим «msconfig» => Далее переходим во вкладку «Автозагрузка» и снимаем все лишнее, что для Вас не требуется при автозапуске.
6. Точка восстановления
Является очень важным пунктом при настройке. Точка восстановления Вам понадобится, если вдруг с Вашей системой случиться какой-либо сбой и Вы могли откатить ее до того момента, когда данного сбоя не было.
Зайти в меню настройки точки восстановления можете из меню «Свойства системы» => Слева «Дополнительные параметры системы» => Вкладка «Защита системы».
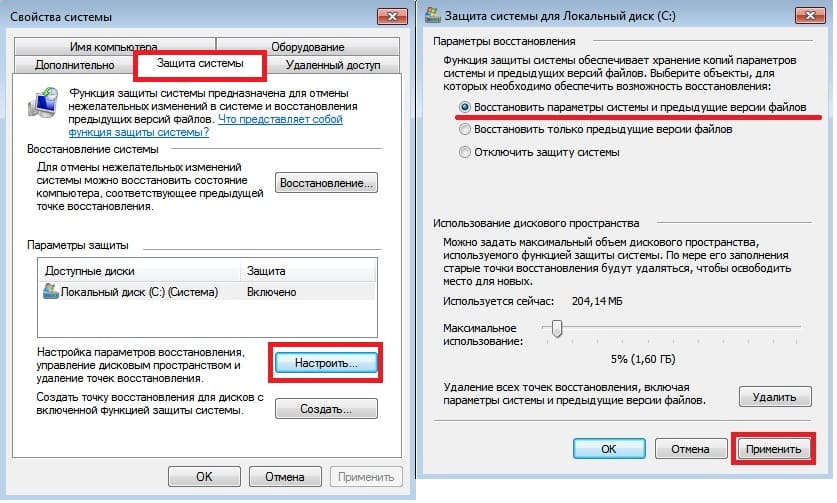
Выдяляем диск C => Настроить => Выбираем верхний чекбокс «Восстановить параметры системы и предыдущие версии файлов». Так же выделяем место под файлы восстановления, чем больше выделено места, тем больше точек восстановления у Вас будет, рекомендуемое выделение 5-10%.
7. Файл подкачки
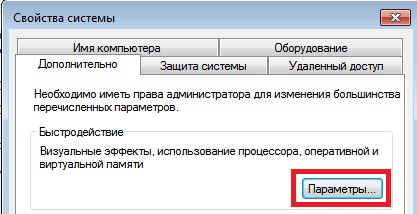
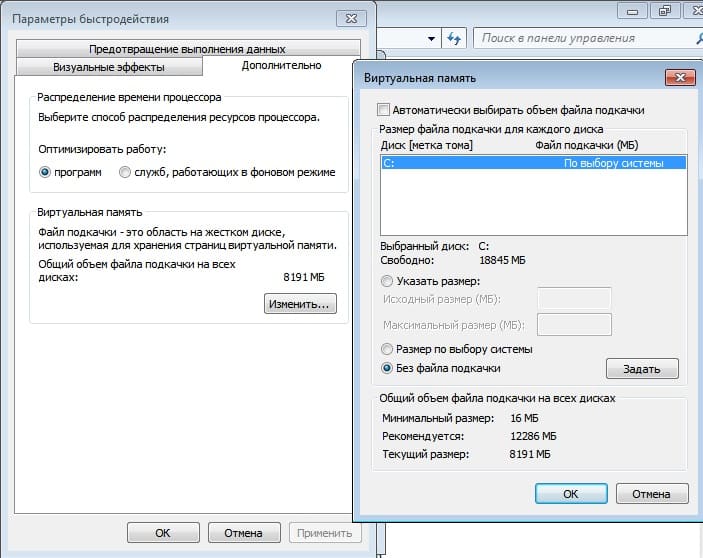
Данная функция нужна для того, чтобы увеличить количество вашей оперативной памяти за счет места на жестком диске. Полезная функция, если на Вашем ПК мало ОЗУ. Зайти в меню файла подкачки можно из меню «Свойства системы» => Дополнительные параметры системы => Быстродействие => Дополнительно => Изменить.
Если у вас к примеру ОЗУ 2 ГБ то в Исходный размер(МБ) так и указываете 2000 а в «Максимальный размер» в два раза больше т.е. 4000.
Если у Вас много оперативной памяти (от 8 ГБ), рекомендуем отключить файл подкачки.
8. Антивирусы и сторонние программы
Антивирусы — для Windows 7 антивирусы как никогда стали актуальными, в связи с окончанием поддержки Microsoft на данную систему больше не будут приходить накопительные обновления безопасности. Так что если Вы не уверены, что сможете самостоятельно защитить Ваш ПК от вирусов, то лучше используйте сторонние антивирусы, к примеру Dr.Web, Kaspersky и пр.
Браузеры — встроенный браузер Internet Explorer уже давно стал не актуальным и зачастую уже не поддерживает многие современные сайты. Поэтому он годиться только для скачивания других, сторонних бразеров. Благо Windows 7 пока не постигла участь Windows XP, где уже и некоторые современные бразуеры не поддерживаются.
Рекомендуем использовать Google Chrome, или Mozilla Firefox.
Аудио-видео проигрыватели — стандартный аудио-видео проигрыватель Windows Media Player в Windows 7 так же уже морально устарел и у Вас будут возникать сложности с проигрыванием многих видео и аудио форматов. Можем рекомендовать использовать VLC media player.
Офисные приложения (Microsoft Office, Word, Exel) — Windows 7 — это система в которой еще не было предустановлено никаких офисных приложений по умолчанию, как это делают сейчас в Windows 10. Так что, для Windows 7 Вам нужно их скачивать отдельно. Для данной системы рекомендуем Microsoft Office 365, либо любые версии Microsoft Office 2016. Данные версии Microsoft Office являются современными и актуальными по сей день.
Так же, если у Вас низкопроизводительный компьютер, можете использовать Microsoft Office 2013, либо Microsoft Office 2010.